
Clean an accessible tumble-dryer lint screen
Remove dry lint from the user-removable screen and refit it correctly before the next load.
What will you learn?
Remove dry lint from the user-removable screen and refit it correctly before the next load.
Materials
- Waste bag or bin for removed lintSearch Amazon UAE ↗
Step by step
Frank C. Müller · CC BY-SA 4.0 · Resized and JPEG optimized; original license retained
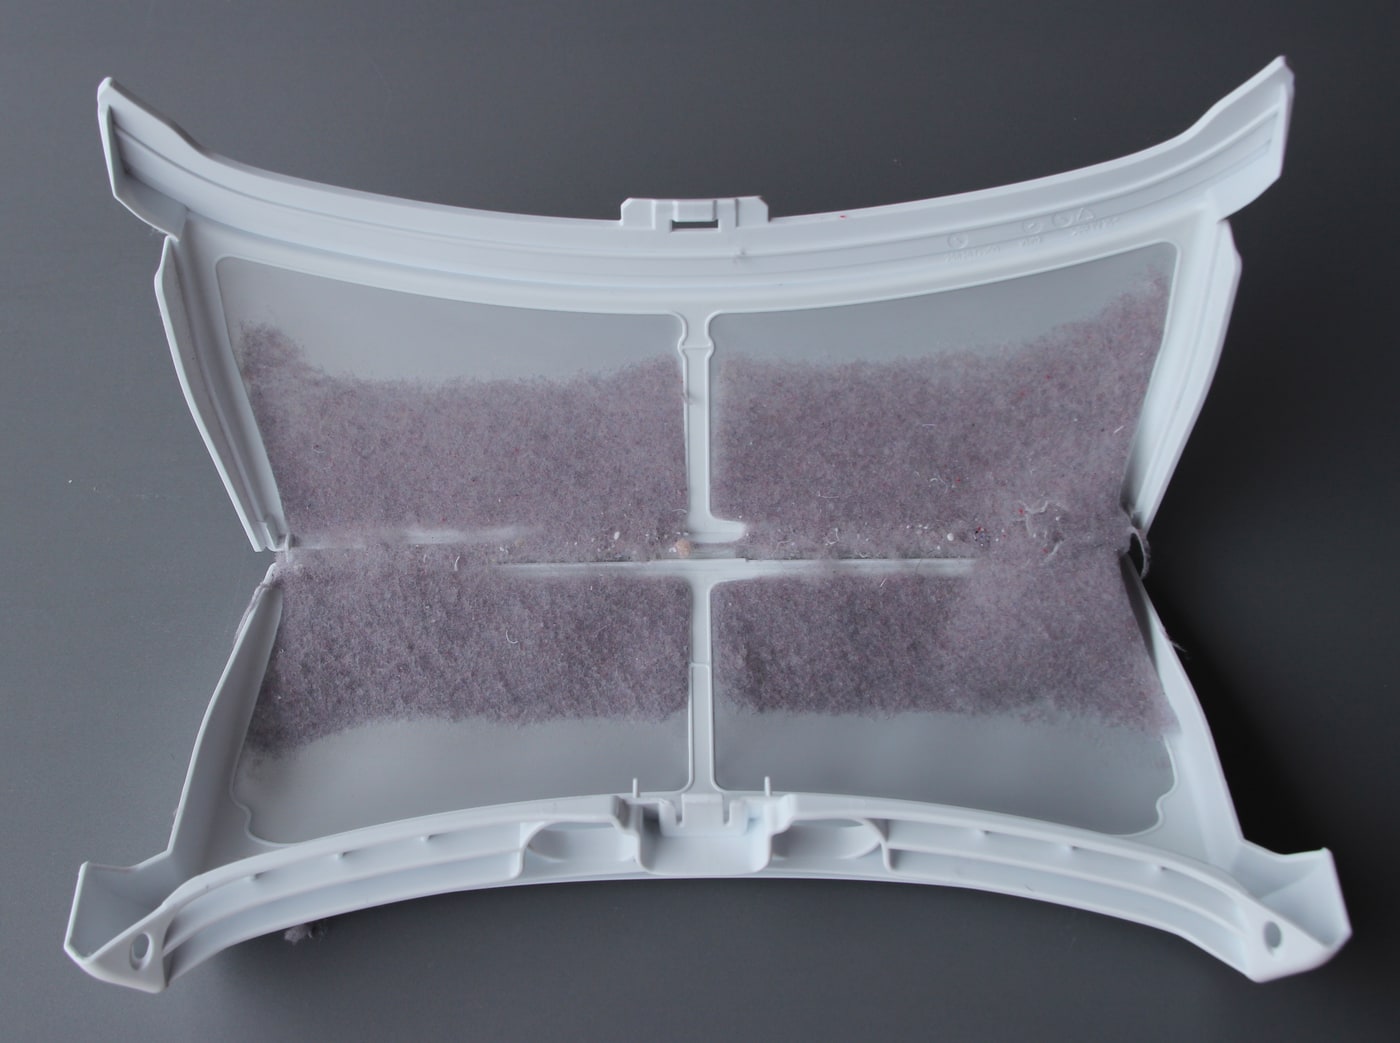
1. Locate and remove only the user-serviceable screen
With the dryer stopped, cool and empty, use the manual to identify its lint screen and the correct removal direction. Screens can sit in the door opening or elsewhere, and some open on a hinge after removal. Handle the frame gently and note how it fits so it can be returned correctly. Do not pull on an unfamiliar grille or remove a machine panel because it resembles the example photograph.
Frank C. Müller · CC BY-SA 4.0 · Resized and JPEG optimized; original license retained
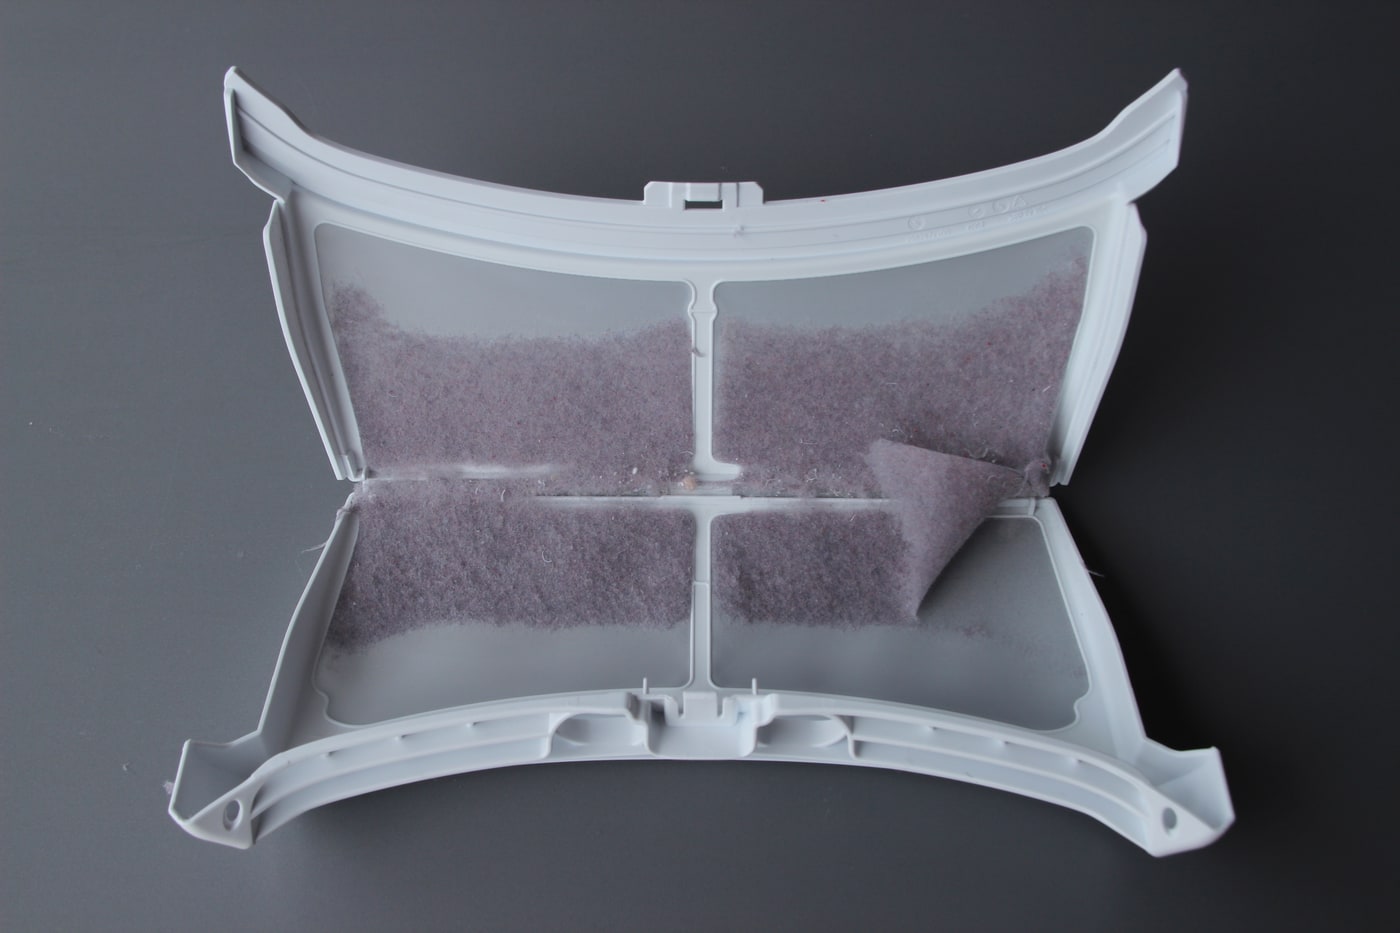
2. Roll dry lint away from the mesh
Open the screen only as designed and roll or lift the dry lint off with your fingers, keeping the frame supported. Work gently so a fingernail or tool does not tear the fine mesh. Place the collected lint straight in a waste container rather than dropping it into the dryer or blowing it into the room. Routine lint removal is normally done dry; wet lint can become more difficult to remove.
Frank C. Müller · CC BY-SA 4.0 · Resized and JPEG optimized; original license retained
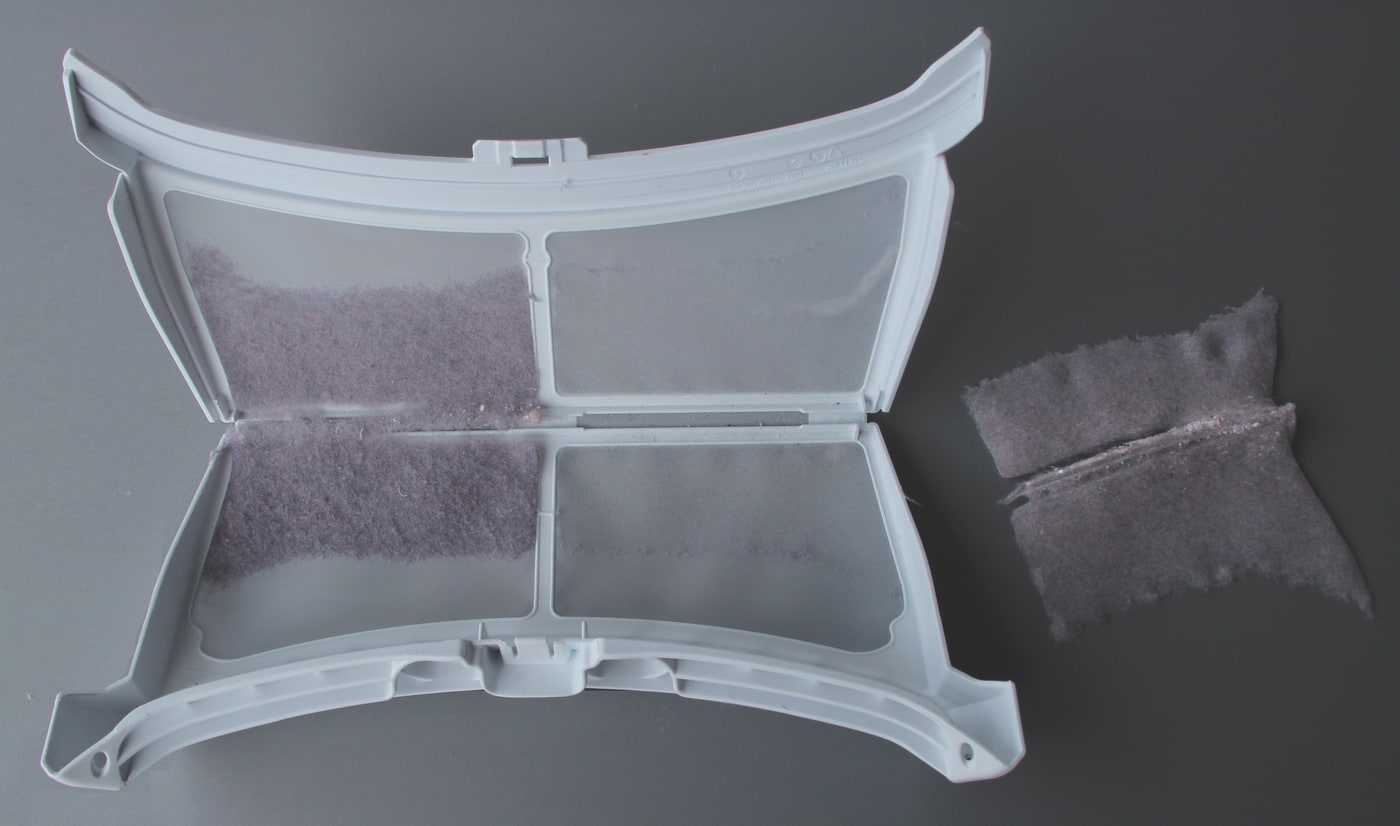
3. Clear both halves and inspect the screen
Continue over every accessible mesh section and look for tears, a broken frame or residue that remains despite removing the loose lint. Do not scrape the mesh with a metal edge or assume a clean-looking half means the whole screen is clear. Detergent or softener buildup can require a separate maker-approved washing procedure, including complete drying before refitting. Keep that deeper cleaning separate from this routine dry-lint check and replace damaged parts correctly.
Frank C. Müller · CC BY-SA 4.0 · Resized and JPEG optimized; original license retained
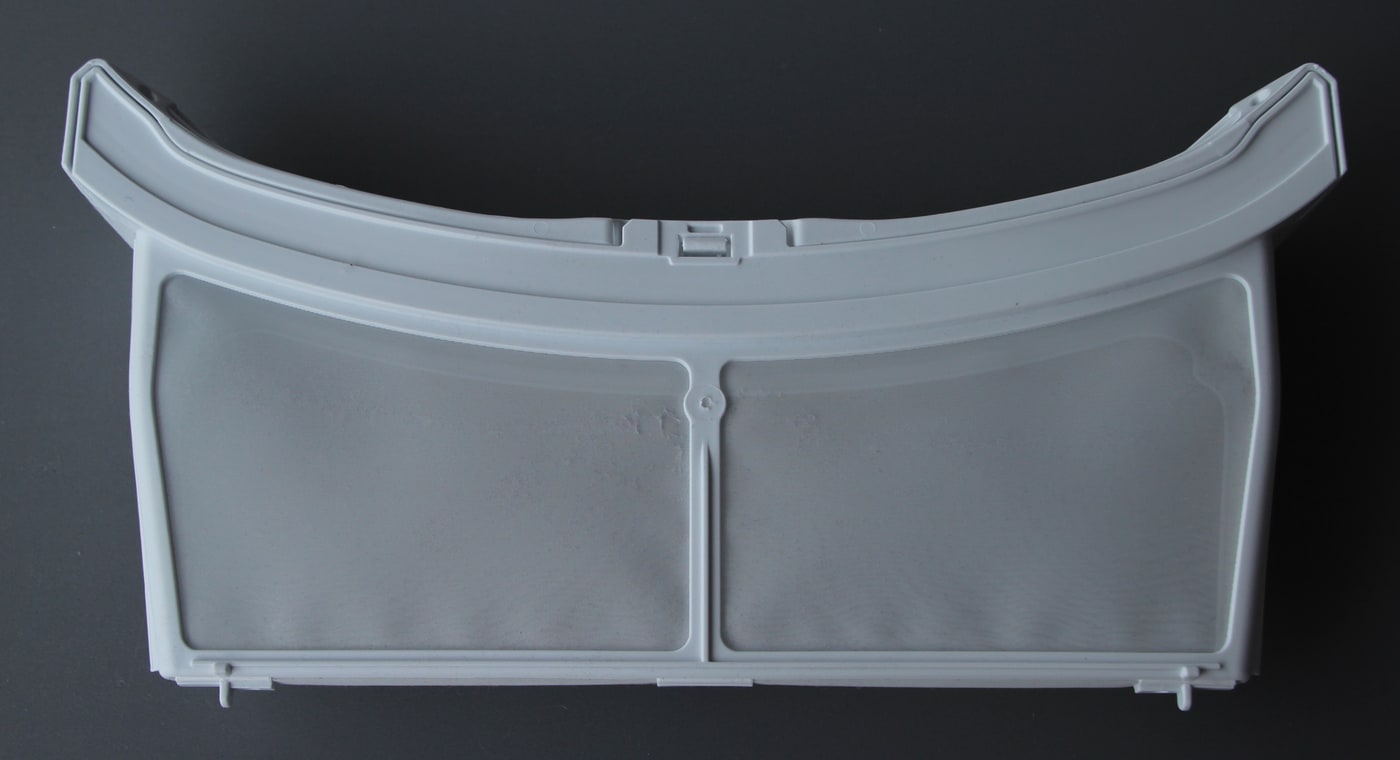
4. Close and refit before the next load
Close the hinged screen if your model requires it and return it in the specified direction until it sits firmly in its normal position. Do not force a distorted frame or substitute a similar-looking filter. Confirm the screen is present, intact and correctly seated before the next load. Make lint removal part of the maker’s before-or-after-load routine; persistent long drying times or overheating need further appropriate assessment, not operation with the screen removed.
Final checks
The screen must be intact and fully seated. This does not clean the exhaust duct or repair overheating; arrange appropriate service for persistent symptoms.
Sources
Photographs are credited beside each image. Generated photorealistic illustrations by Waey; linked videos remain with their creators.