
Fit an E-profile draught seal to a timber casement window
Replace a worn adhesive draught strip on a sound timber casement: check the gap, fit the matching E-profile and confirm the window still closes normally.
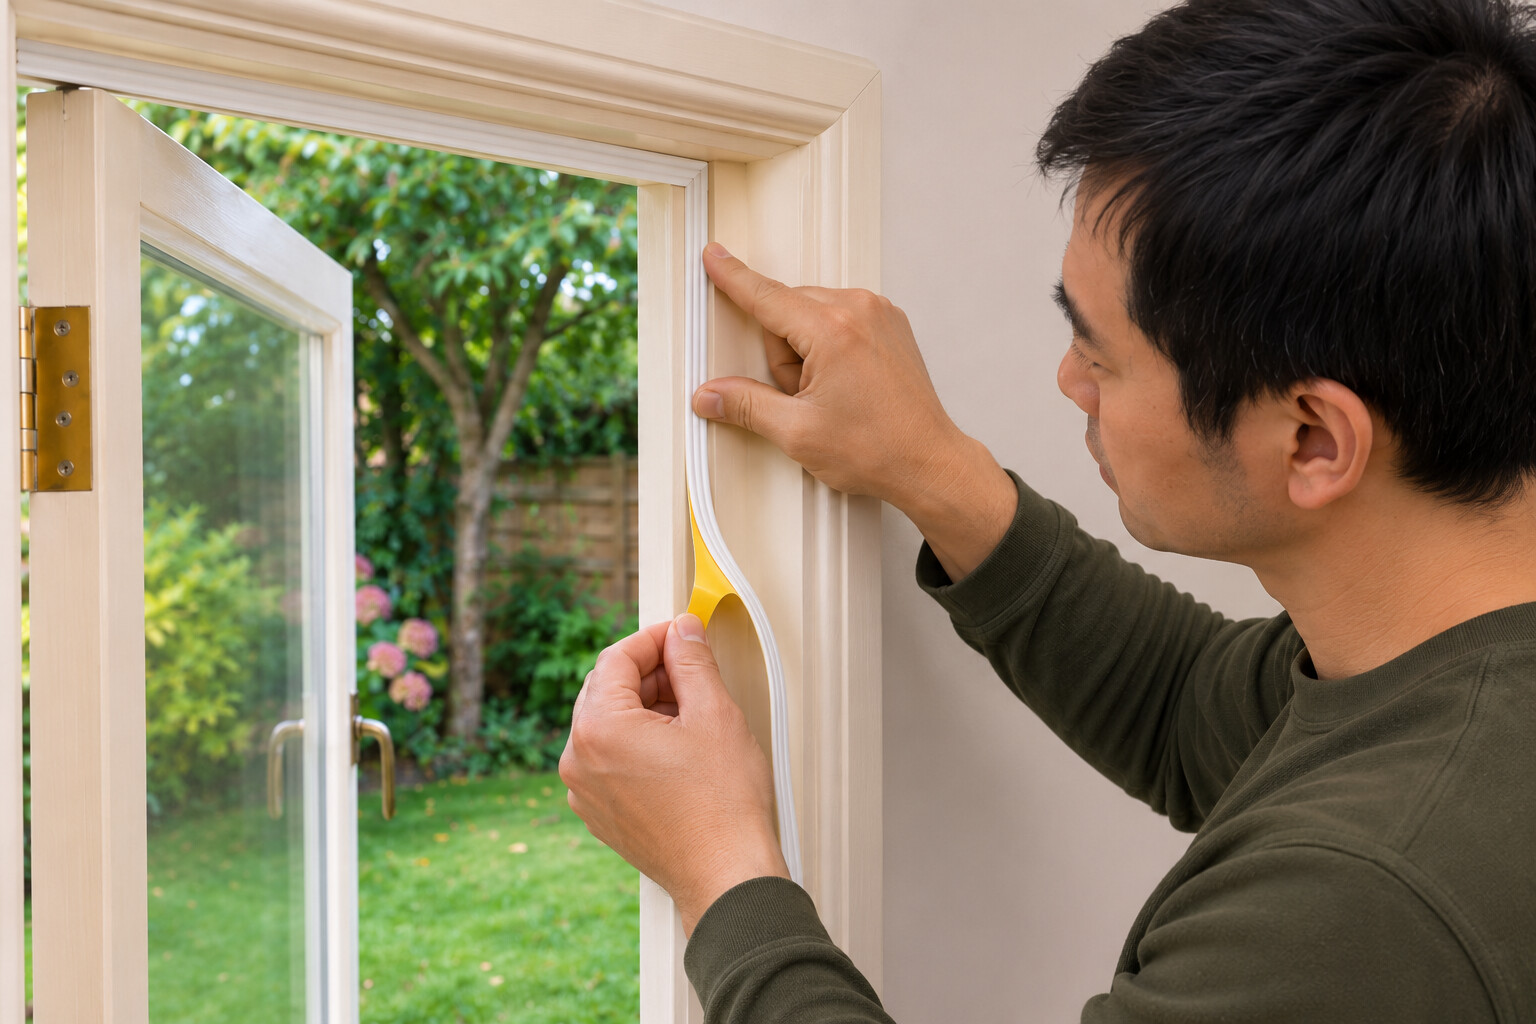
What will you learn?
Replace a worn adhesive draught strip on a sound timber casement: check the gap, fit the matching E-profile and confirm the window still closes normally.
Tools
- Tape measureSearch Amazon UAE ↗
- Small ruler or suitable gap-measuring toolSearch Amazon UAE ↗
- ScissorsSearch Amazon UAE ↗
- Plastic scraperSearch Amazon UAE ↗
- Clean clothsSearch Amazon UAE ↗
Materials
- Selected tesamoll E-profile self-adhesive rubber seal, matching gap and available landing widthSearch Amazon UAE ↗
- Small amount of non-hardening modelling clay for the manufacturer’s gap test, compatibility checked firstSearch Amazon UAE ↗
- Mild household detergent without a water-beading additiveSearch Amazon UAE ↗
- Clean water
Step by step
Photorealistic illustration · Waey
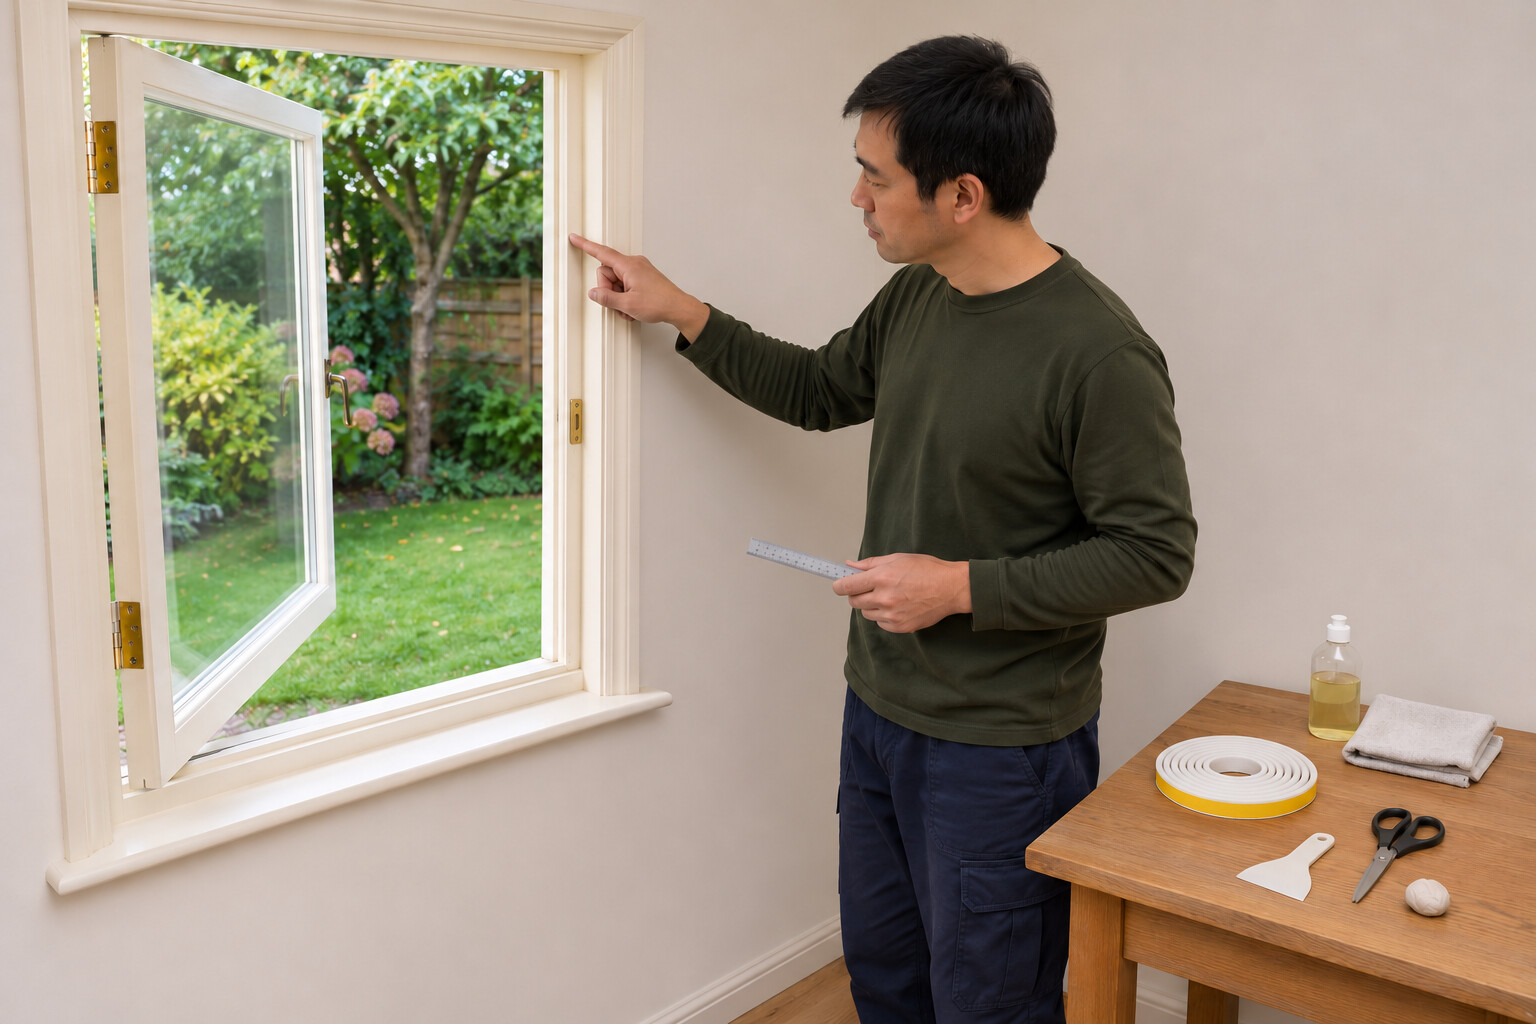
1. Confirm the window and sealing route are suitable
Choose a sound timber casement that opens and latches normally, with an accessible frame rebate previously fitted with a removable adhesive seal. Identify that same compression route before removing anything. Keep ventilation openings, drainage paths, hinges and locking parts clear. Stop if the timber is rotten, the sash is distorted or the existing seal fits into a groove; these need a different repair. Work from a stable floor and keep the sash controlled rather than leaning through the opening.
Photorealistic illustration · Waey
2. Remove the worn adhesive strip without damaging the finish
Peel away the old adhesive strip along the identified route, using a plastic scraper gently where needed. Do not cover it with a second seal: stacked material can prevent normal closure and hide a poor bond. Leave sound paint in place and stop if the coating lifts or the wood beneath is soft. This project replaces an adhesive draught strip, so do not pull out a factory-fitted grooved gasket or dismantle the glazing to make the new tape fit.
Photorealistic illustration · Waey
3. Check the closed gap at several positions
The selected E-profile is intended for gaps of 1–3.5 mm; its uncompressed thickness is not the gap rating. Check several points around the intended route before buying or cutting the full length. The manufacturer describes a small modelling-clay strip compressed by closing and reopening the window, then measuring its remaining thickness. Check that the clay will not mark the finish, use very little and remove it completely. If gaps vary outside the product range, choose another suitable system rather than forcing this one.
Photorealistic illustration · Waey
4. Prepare a clean dry landing for the adhesive
Clean the exposed sealing route with a little mild household detergent and water, removing dirt and old adhesive residue without scraping into the timber. Avoid cleaners that leave a water-repellent or oily film, because the new adhesive needs direct contact with the frame. Remove cleaning residue and let the surface dry fully. Do not apply to damp, loose or flaking paint. Keep the cleaned route clear while you check the actual pack’s fitting conditions and plan the separate straight runs.
Photorealistic illustration · Waey
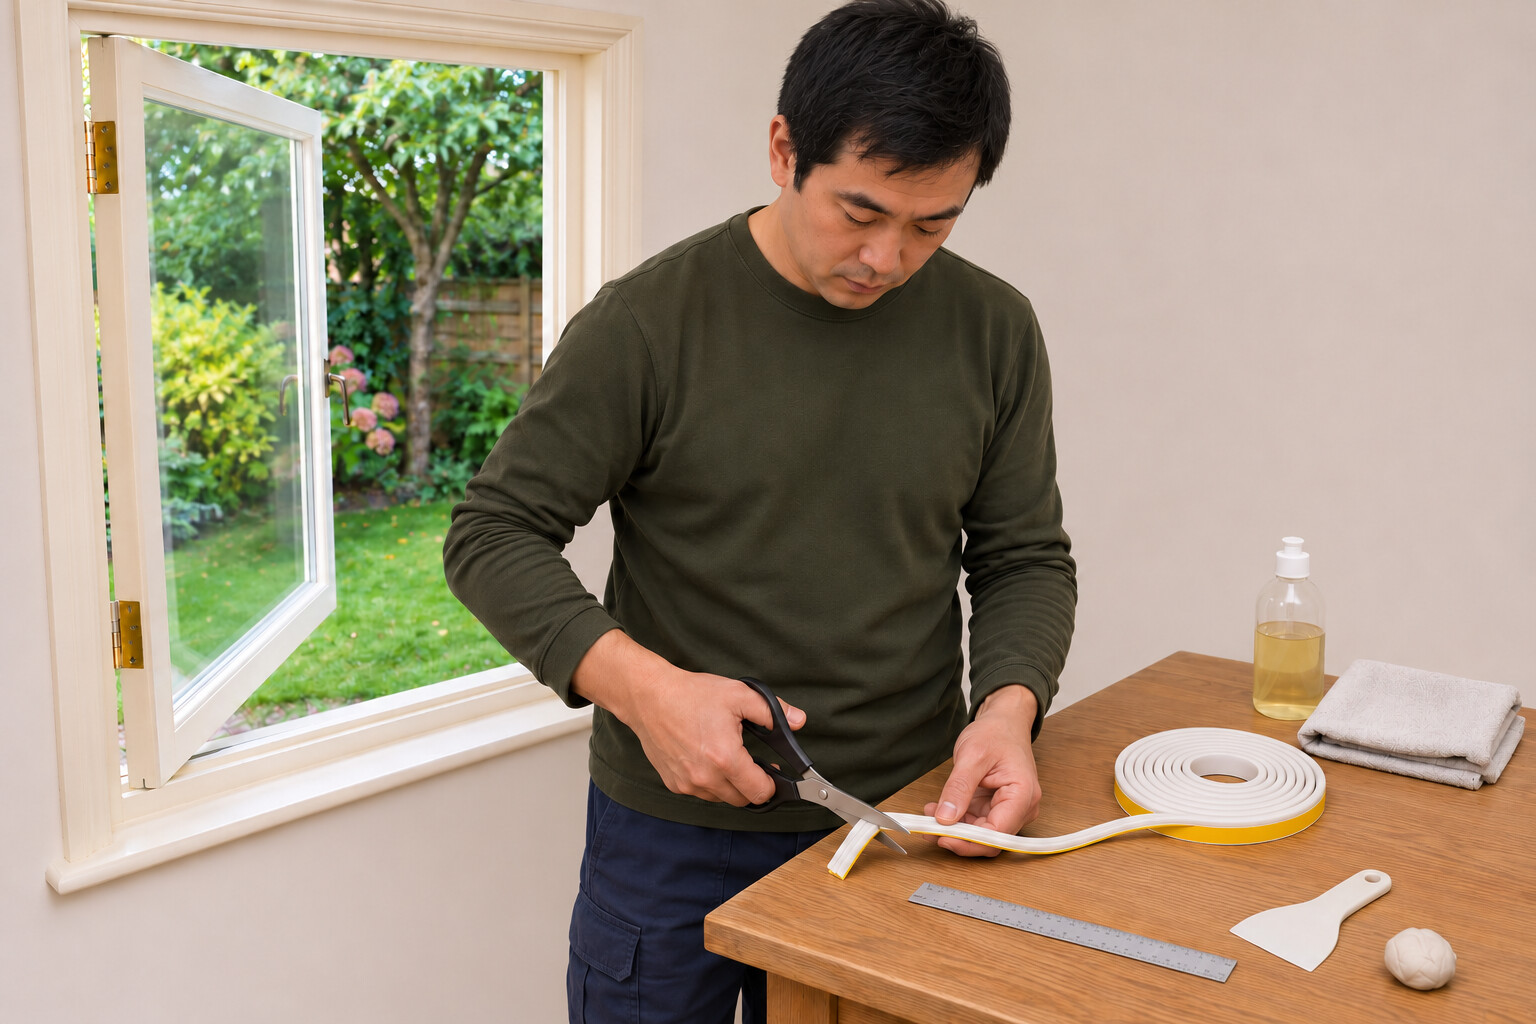
5. Separate and cut the lengths before exposing adhesive
Separate joined rubber strands along their intended join. Measure each straight section and cut a relaxed length with scissors, leaving its protective liner attached. At each corner, run one piece to the edge and trim the adjacent piece to meet it end to end, without overlap. Dry-position all pieces first. Keep the flat adhesive base against the checked frame landing, with compressible ribs facing the closing sash, and leave the hinges, keeper and drainage paths clear.
Photorealistic illustration · Waey
6. Peel gradually and press the seal onto the frame
Follow the fitting conditions on the current pack; the published service-temperature range is not an installation range. Expose only a short section of adhesive, align its base with the checked route and press it firmly onto the dry frame. Continue a little at a time instead of uncovering the entire strip and letting it stick to itself. Lay the rubber without pulling it longer. Keep the planned corner ends together without a doubled lump, and check every section is bonded before closing.
Photorealistic illustration · Waey
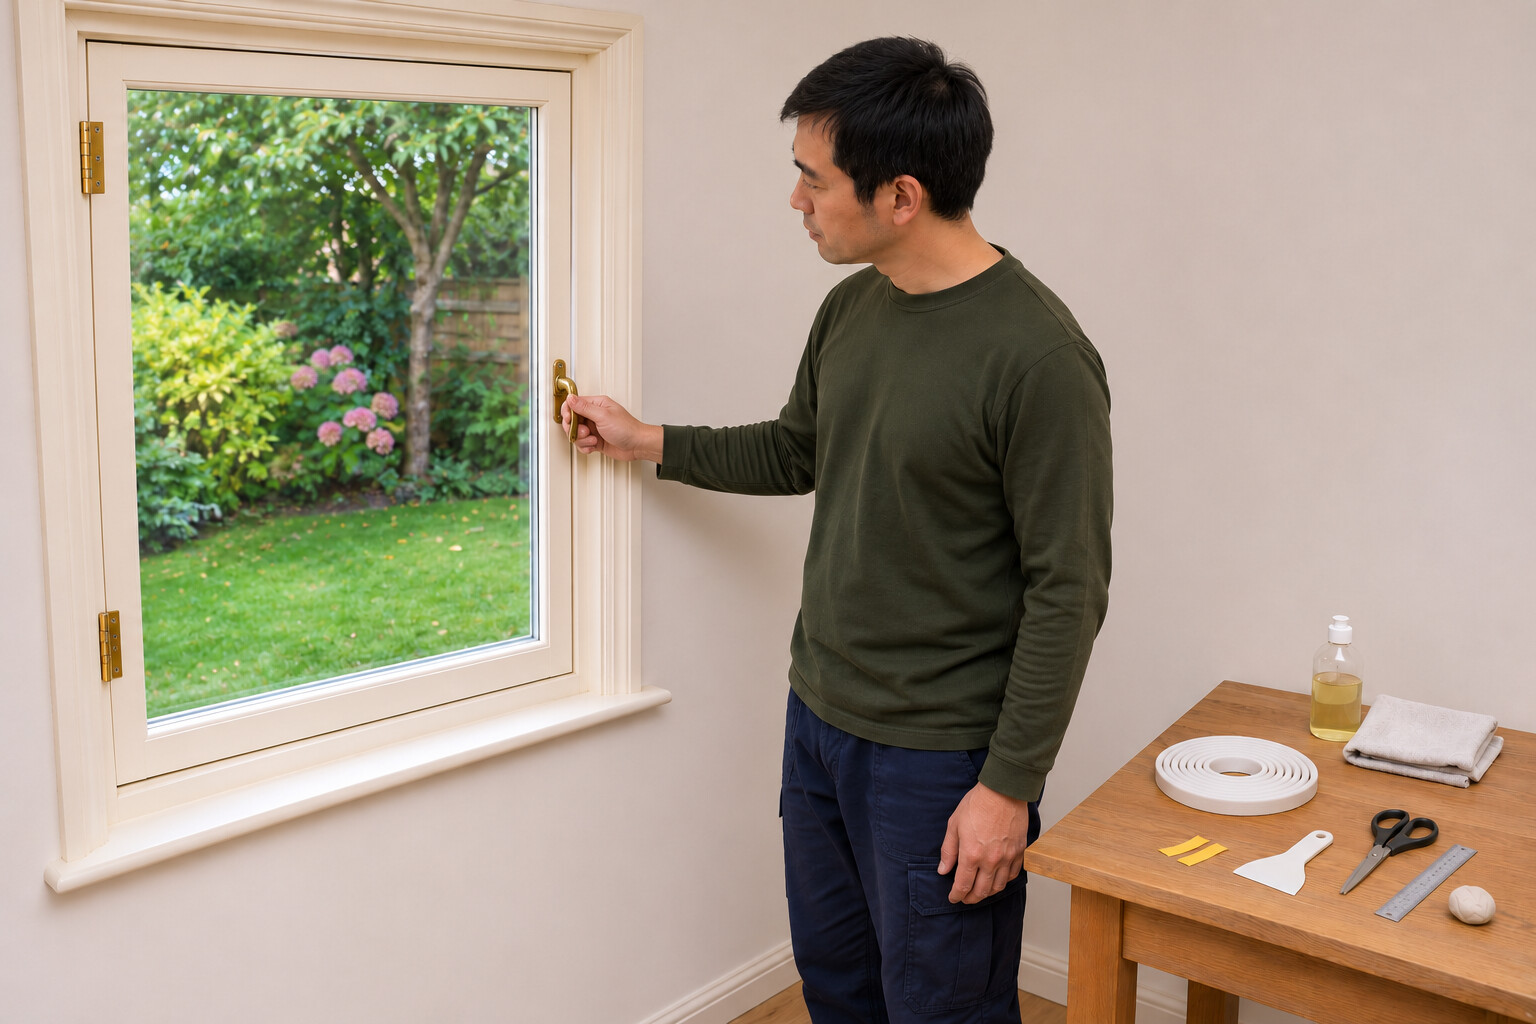
7. Check closure without forcing the latch
Close the sash slowly, watching that the new seal compresses where intended and stays clear of hinges and locking parts. The handle must operate normally, without pulling hard or slamming the window. Reopen and inspect for lifted ends, displaced rubber or a section that never makes contact. If closure becomes difficult, stop and correct the profile choice or placement; do not alter the latch to overcome an oversized strip. Confirm that permanent ventilation and drainage remain open.
Photorealistic illustration · Waey
8. Recheck the joints and maintain the seal
After normal opening and closing, look again at the corners and strip ends for gaps or lifting. Refit a poorly bonded section onto a properly prepared surface rather than adding another layer over it. Wipe the seal gently when dirty and replace it when it becomes damaged or no longer compresses properly. Keep using the room’s designed ventilation: reducing an unwanted draught does not replace ventilation or diagnose condensation. Retain the pack details so a future replacement matches the same product and measured gap.
Video demonstrations
tesamoll® Draft Excluder Tape - seal your window and save energy
Shows hands pressing a white seal near a timber-window corner at 0:19. The manufacturer uses P-profile; follow the selected E-profile specifications and this guide’s normal-closure checks.
tesa SE · Spoken language unconfirmed
Watch on YouTube ↗How to install Tesa insulation on doors and windows
Shows hands pressing a brown E-profile strip onto a timber door jamb at 5:05. Sliding-window seals, glazing film and door-bottom methods elsewhere in the film are outside this casement-window project.
Hágalo Usted Mismo con Sodimac · Spoken language unconfirmed; watch page labels auto-dubbed
Watch on YouTube ↗Final checks
Seal stays bonded, corner ends meet without overlap, window latches normally and ventilation/drainage stay clear.
Sources
Selected tesamoll E-profile — 1–3.5 mm gap range and product identity ↗
Instruction photographs generated with OpenAI image generation and reviewed for this guide.