
Install and check a matched solar garden-path light set
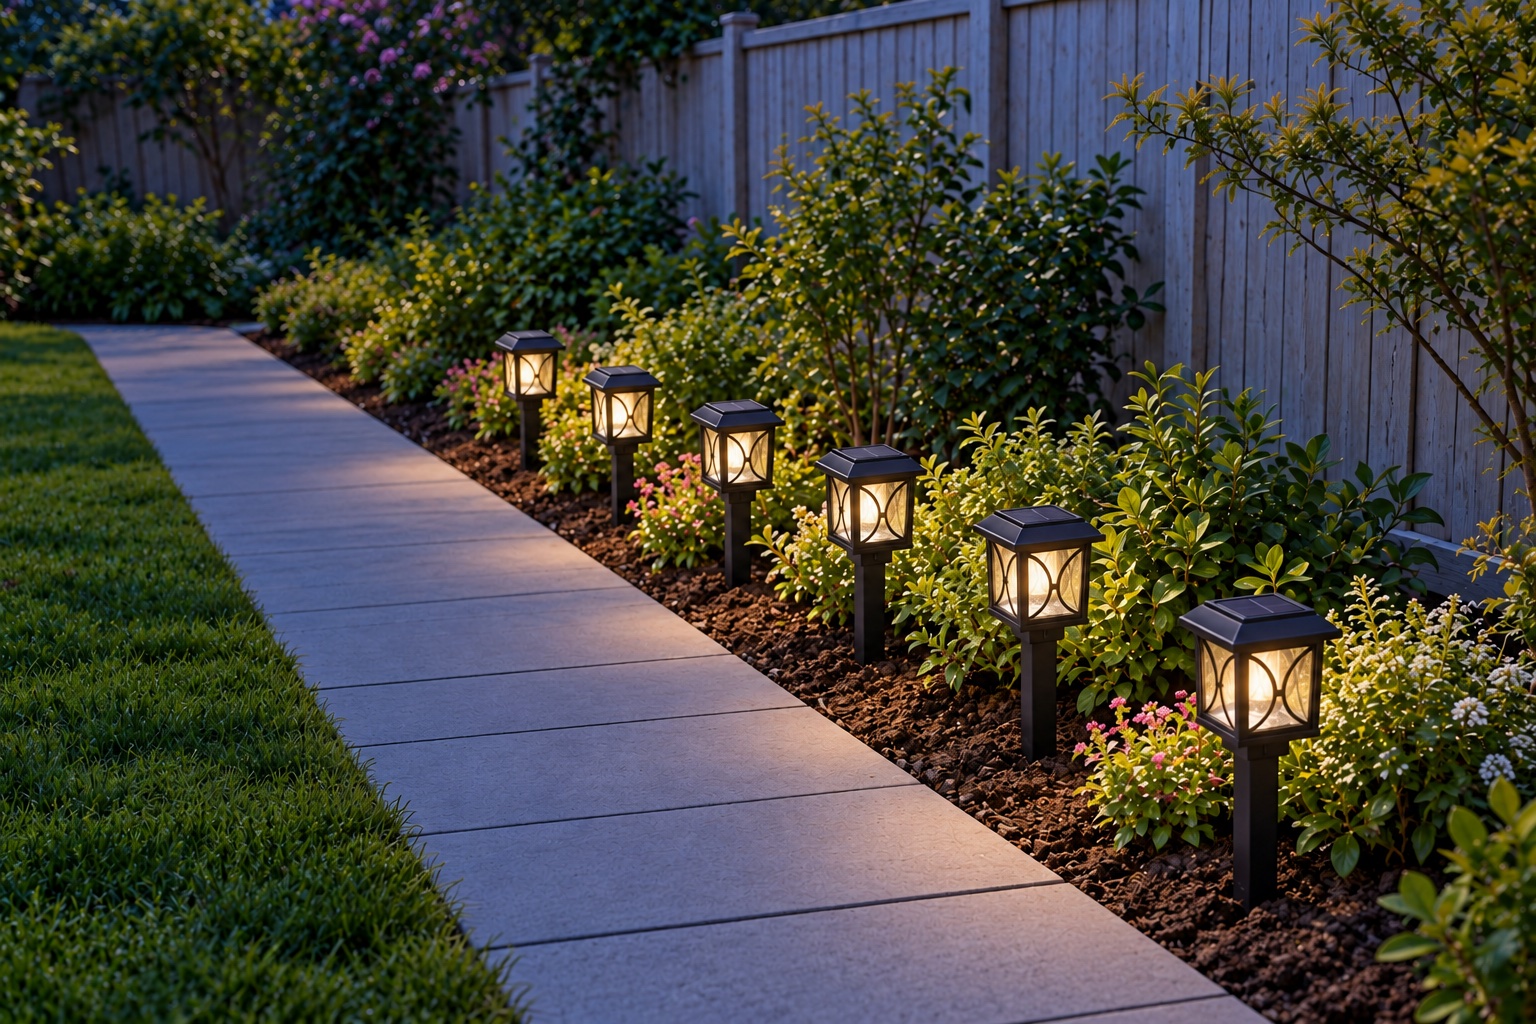
Assemble six HD41233 solar lights, seat them safely in a sunny planting edge and check charging and dusk operation.
What will you learn?
This project installs the six-light Hampton Bay HD41233 set as low-level garden-border markers. It uses solar heads and ground spikes, with no household wiring. Match the actual kit and manual; other Hampton Bay models use different batteries and hardware. Solar markers supplement the route, while dependable lighting remains necessary for steps and hazards.
Tools
- Gardening glovesSearch Amazon UAE ↗
- Sturdy closed shoesSearch Amazon UAE ↗
- Tape measureSearch Amazon UAE ↗
- Small hand trowel; use only in verified clear groundSearch Amazon UAE ↗
- Matched model manual
Materials
- One matched HD41233 six-light kit: six solar caps, glass cages, posts and spikes, with original preinstalled rechargeable cellsSearch Amazon UAE ↗
- Soft dry clothSearch Amazon UAE ↗
- Small amount of water to soften hard soil if needed
Step by step
Photorealistic illustration · Waey
1. Match the kit and check every part
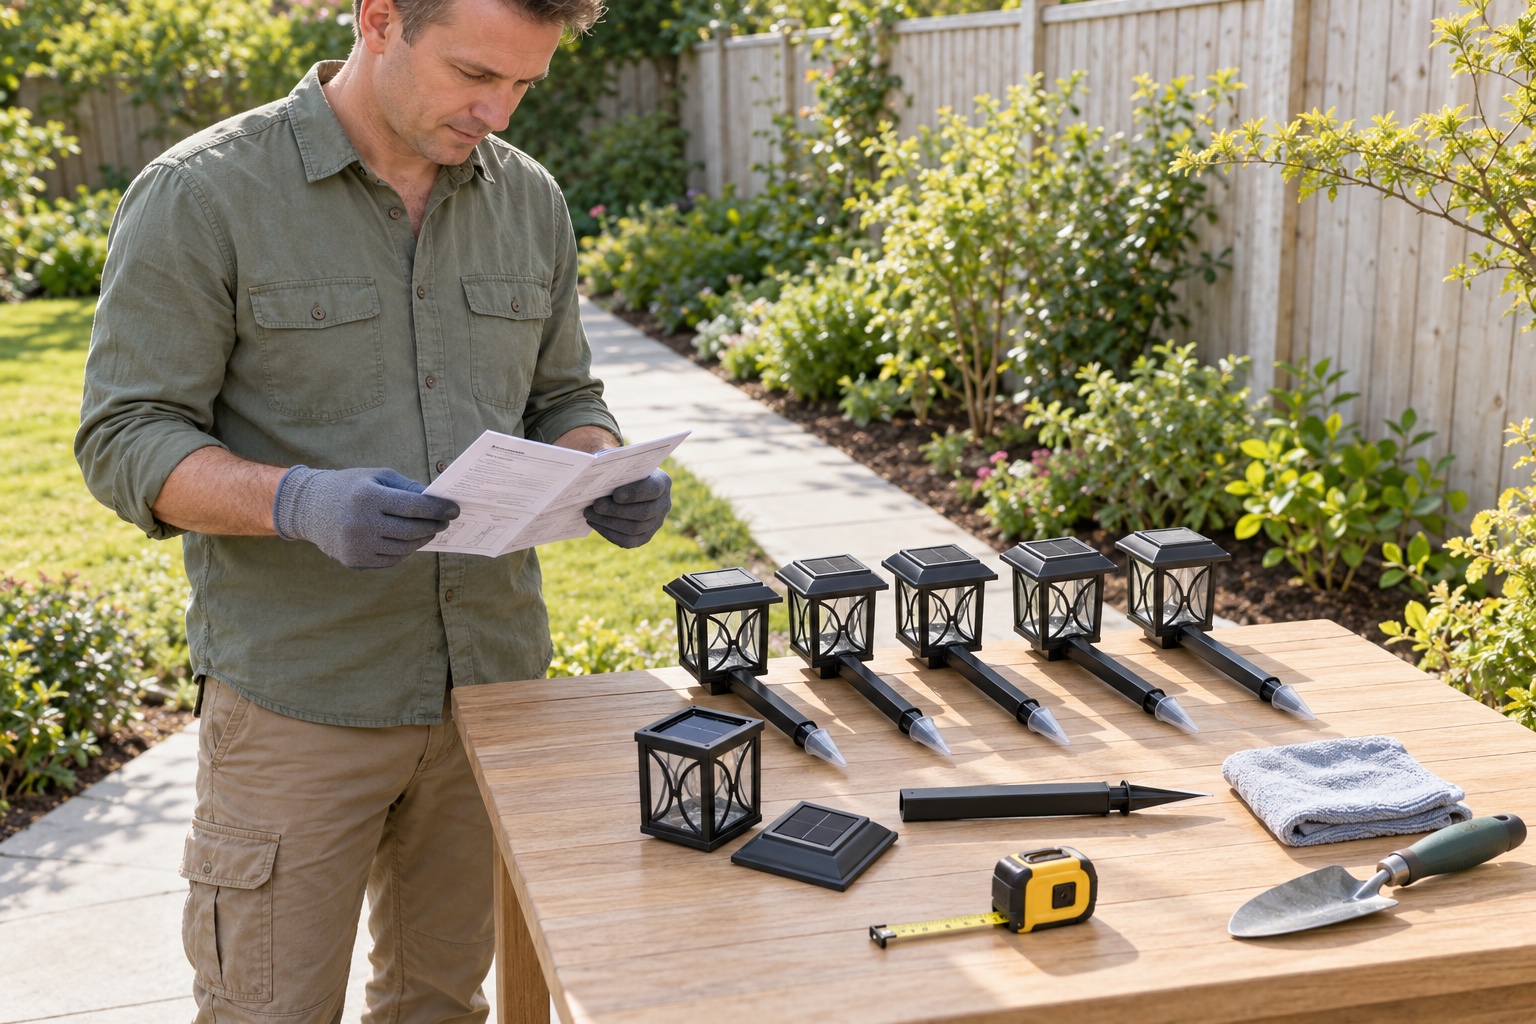
Match the HD41233 model and its supplied instructions before starting. Lay out six caps, glass cages, posts and ground spikes on a stable surface; a spike may be stored inside its post. Check for cracked glass, damaged plastic or a loose panel. Keep sharp tips away from hands and children. Set damaged units aside rather than gluing or forcing them together.
Photorealistic illustration · Waey
2. Choose sunny positions outside the walking line
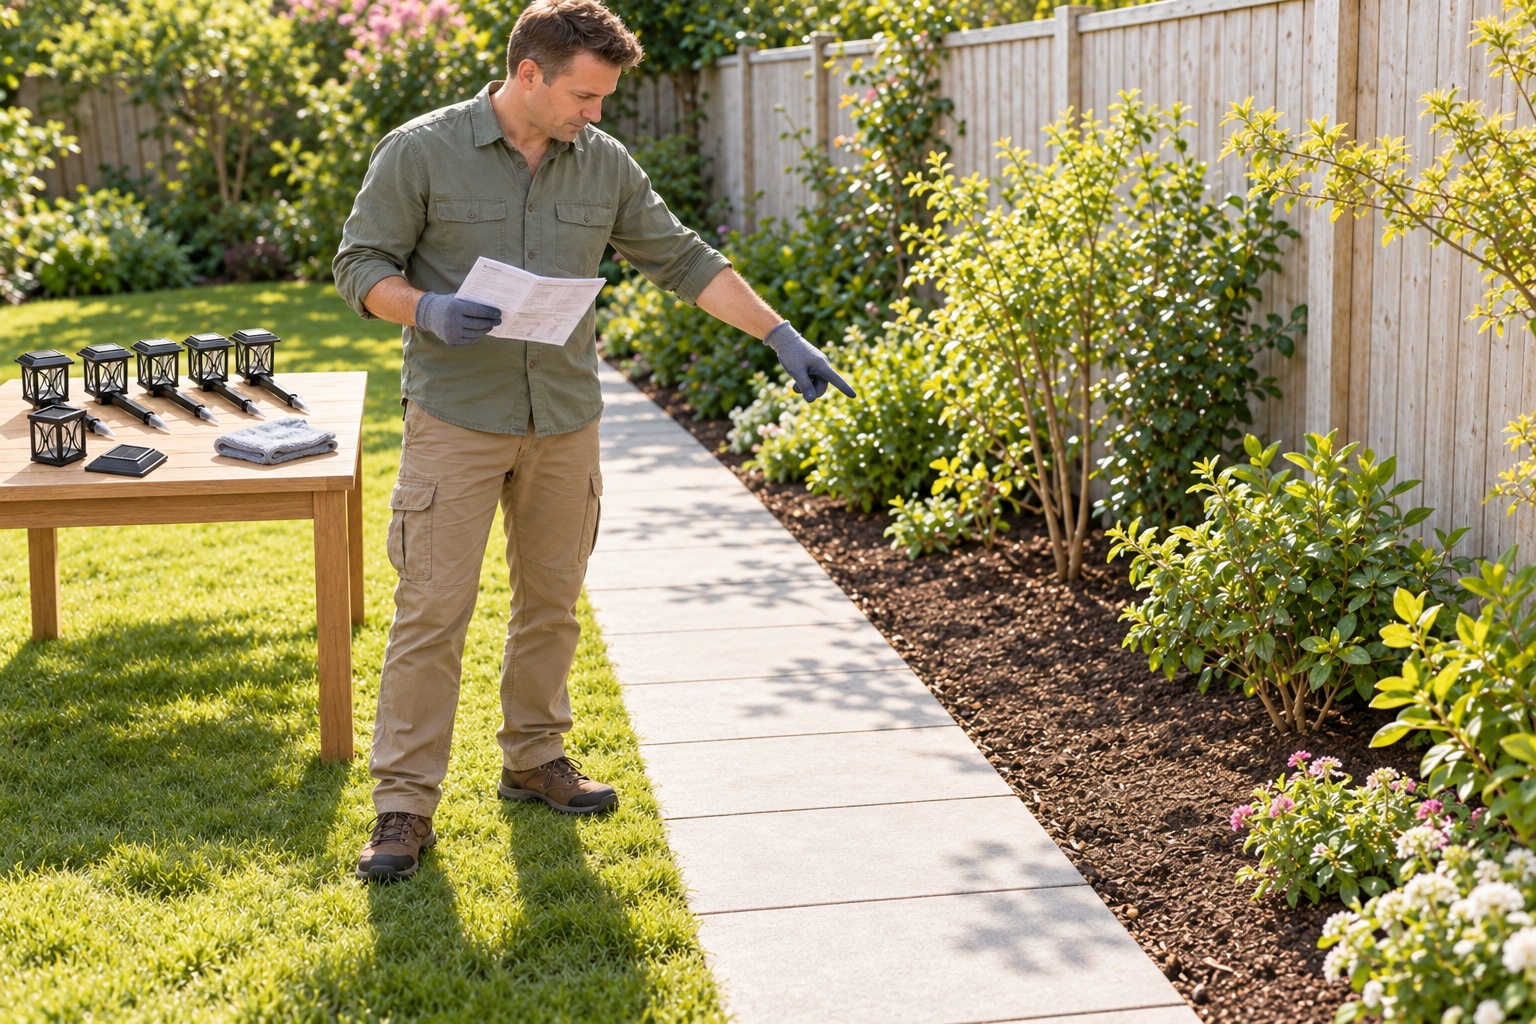
Choose a planting edge that receives direct sun and is clear of buried cables, pipes and irrigation. Confirm that before inserting a spike; appearance alone cannot prove the ground is safe. Keep the lights outside foot traffic, mower routes and access space. Avoid dense shade and nearby night lighting that could confuse the photocell. Place the uninstalled units to check the arrangement first.
Photorealistic illustration · Waey
3. Activate the solar heads while they are dry
Remove any protective film from the solar panel and the battery-door pull-tab, as the matched instructions show. If access requires removing the cap, turn it counterclockwise and support it without pulling internal wires. Leave the preinstalled rechargeable battery in place unless the owner instructions require attention. Close any opened battery cover securely. Do not pry up the solar panel or fit an alkaline cell.
Photorealistic illustration · Waey
4. Connect the posts, spikes and lamp bodies
Wearing gardening gloves, withdraw a stored spike carefully and press it into its matching post. Press the post into the base of the cage, supporting the joint rather than the glass. Fit the top cap clockwise until seated. Repeat for the remaining units. Stop if parts do not mate smoothly; a hammer, adhesive or a mismatched replacement post can damage the assembly.
Photorealistic illustration · Waey
5. Seat the spikes without loading the lamp heads
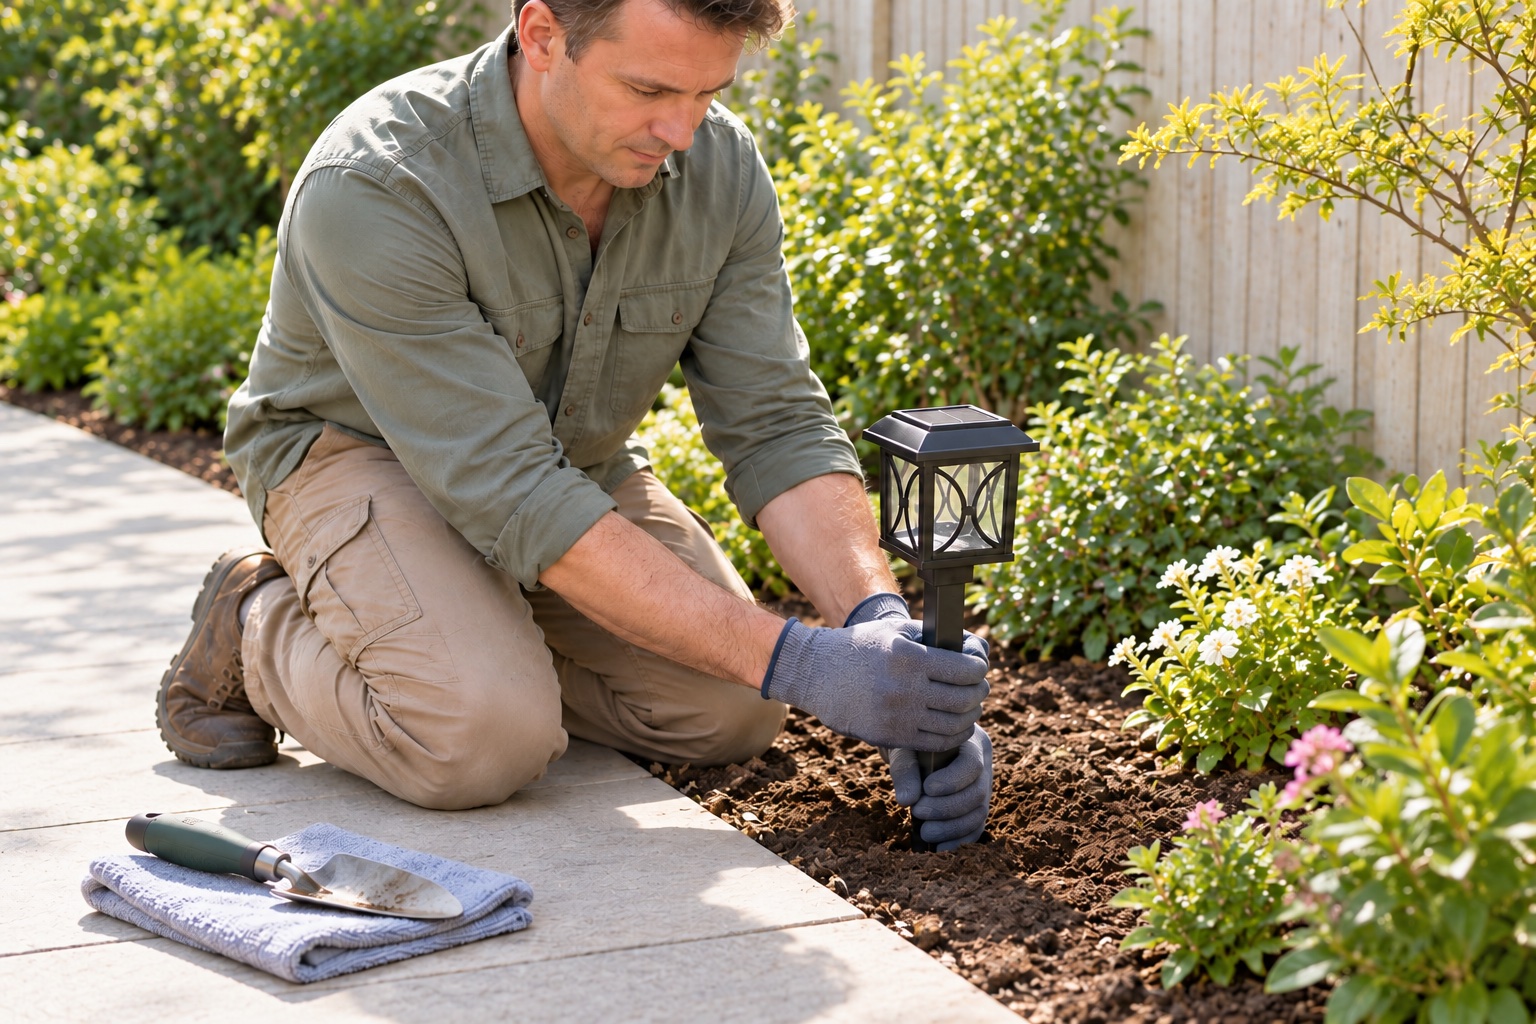
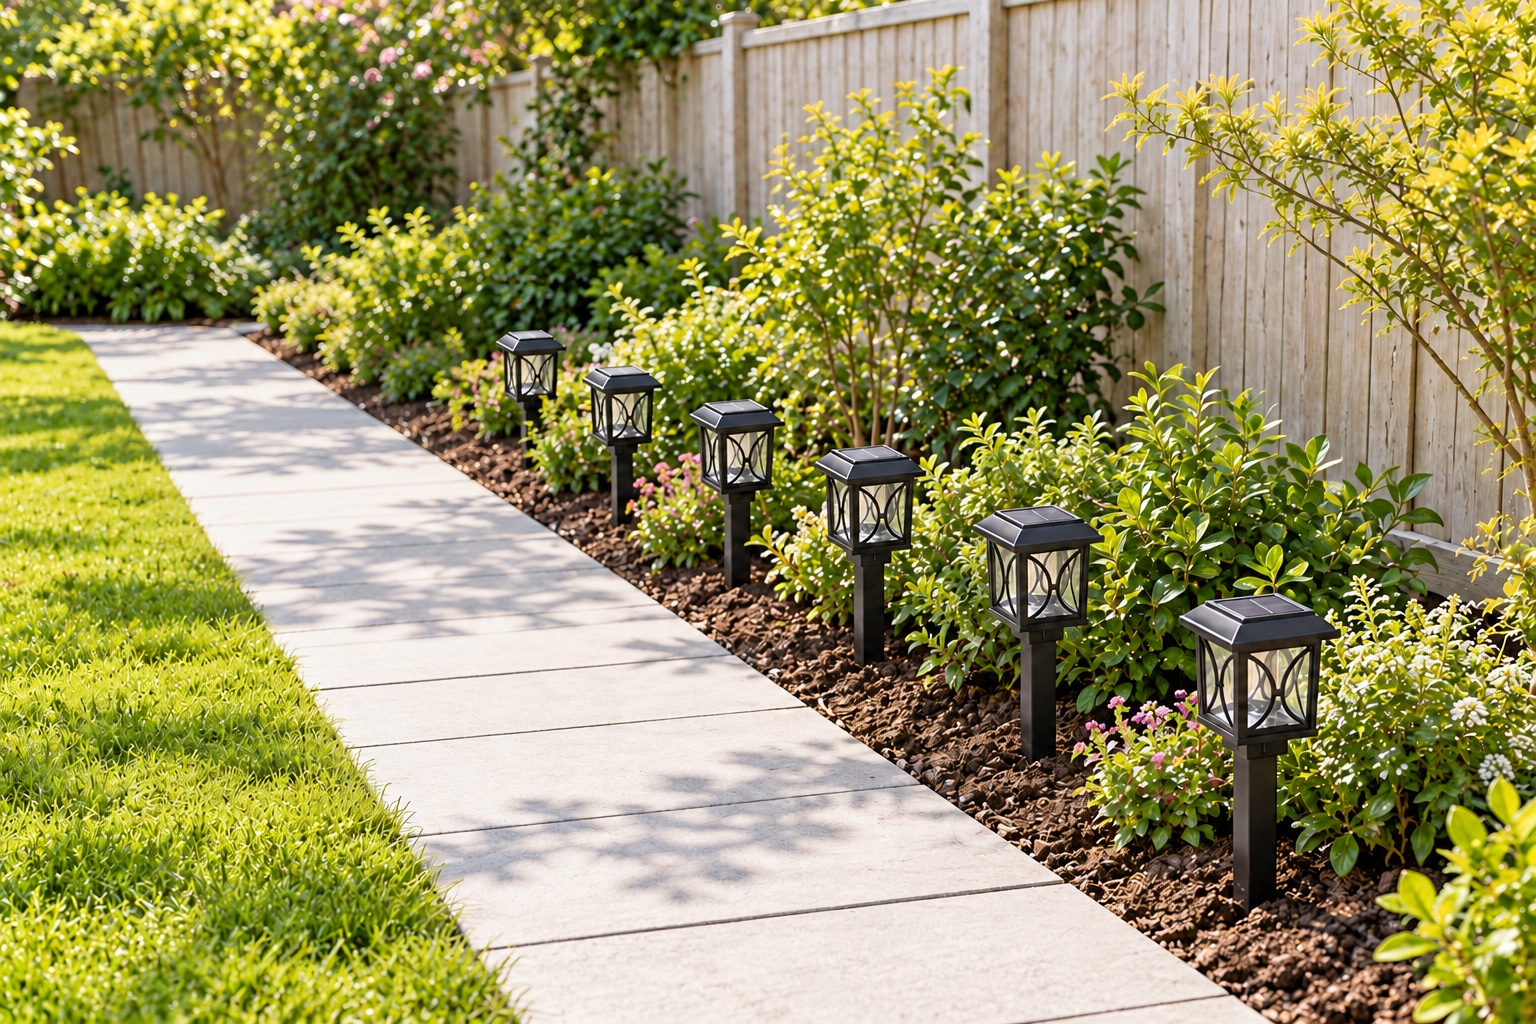
Use only the verified clear planting area. Soften hard soil with a little water; if necessary, loosen a small opening with a hand trowel and remove stones. Hold the post low down with both hands near the spike and press it in upright. Never push on the roof or glass cage. Backfill and firm loosened soil; relocate a unit that remains unstable.
Photorealistic illustration · Waey
6. Give the installed lights their first full charge
Start on a sunny morning and leave the panels uncovered for the manual’s full eight hours of sunlight. Check that plants or a fence do not shade them as the sun moves. Do not judge the battery from a few minutes of sun or promise a fixed winter runtime. If the day is heavily overcast, allow a suitable charging day before assessing night performance.
Photorealistic illustration · Waey
7. Check the result after dark and keep it working
At dusk, walk the route and check each light is upright, illuminated and clear of feet. If one stays dark, check the removed pull-tab, daylight exposure and interference from nearby lights before following the manual’s battery checks. A replacement must be the specified AA NiMH rechargeable type, fitted with correct polarity. Clean panels with a soft dry cloth. Keep dependable separate lighting for steps and hazards.
Video demonstrations
Hampton Bay Solar Lights Install - Set up & Review - Quick & Easy Install!
A different Hampton Bay set shows positioning and stake assembly. Follow the HD41233 manual; do not copy hammering or battery choices.
Ultimate Tech Hub · English
Watch on YouTube ↗Hampton Bay LED Solar Pathway Lights
Different five-pack: owner-access and night-check context only. The matched manual governs batteries and assembly.
John Masters Does it ALL · English
Watch on YouTube ↗Final checks
Each head is secure, the spikes hold upright, panels remain exposed and the walking route stays clear. All six should respond at dusk after suitable charging; persistent failure or battery damage needs the manual’s service route. Recheck shade, cleanliness and stability after garden growth or heavy weather. Do not interpret a brief glow as proof of full battery capacity.
Sources
Hampton Bay HD41233 — model-specific assembly, charging and care manual ↗
Home Depot — HD41233 six-light square-cage model identification ↗
Generated instructional illustrations; follow the matched kit manual for exact parts.