
Fit a 52 cm STÖTTA battery sensor light inside a wardrobe
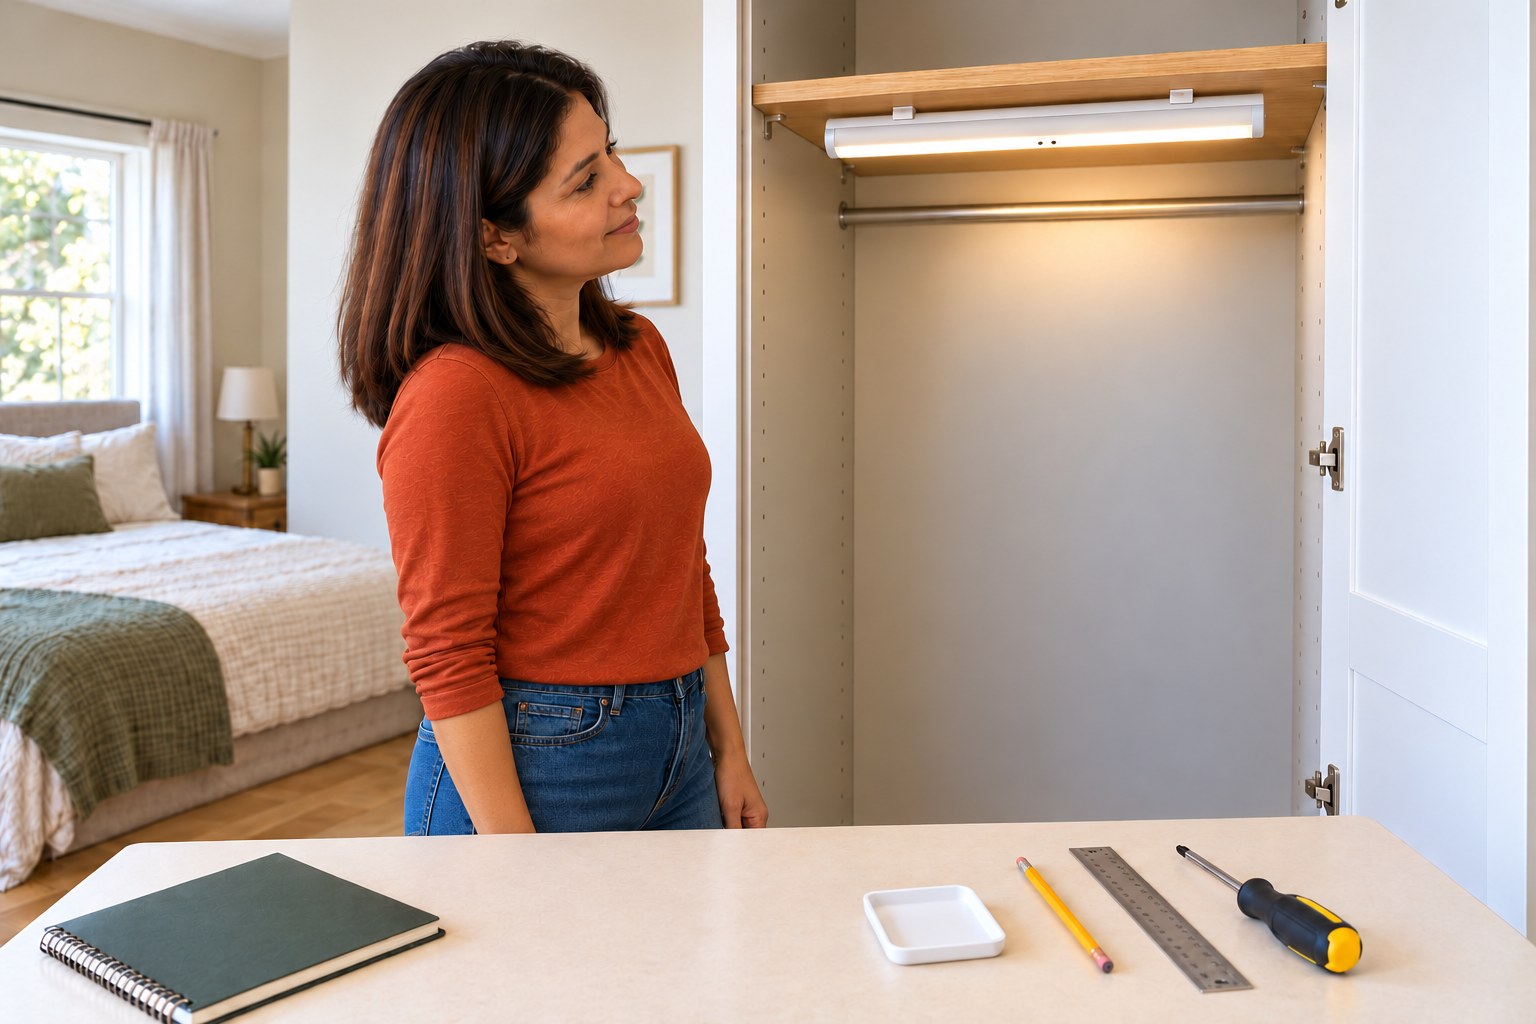
Fit the matched four-AA light to two supplied clips, check On and Off, then test Auto with the hinged wardrobe door.
What will you learn?
Fit the matched four-AA light to two supplied clips, check On and Off, then test Auto with the hinged wardrobe door.
Tools
- PencilSearch Amazon UAE ↗
- RulerSearch Amazon UAE ↗
- Hand screwdriver matched to supplied screw headsSearch Amazon UAE ↗
- Controlled hand starter-hole tool, if neededSearch Amazon UAE ↗
Materials
- STÖTTA52cm50360090 with matched manual, two original clips and two screwsSearch Amazon UAE ↗
- Four matching intact AA cells; use one battery type and capacitySearch Amazon UAE ↗
- Soft clean work-surface clothSearch Amazon UAE ↗
- Existing stable wooden wardrobe
Step by step
Photorealistic illustration · Waey
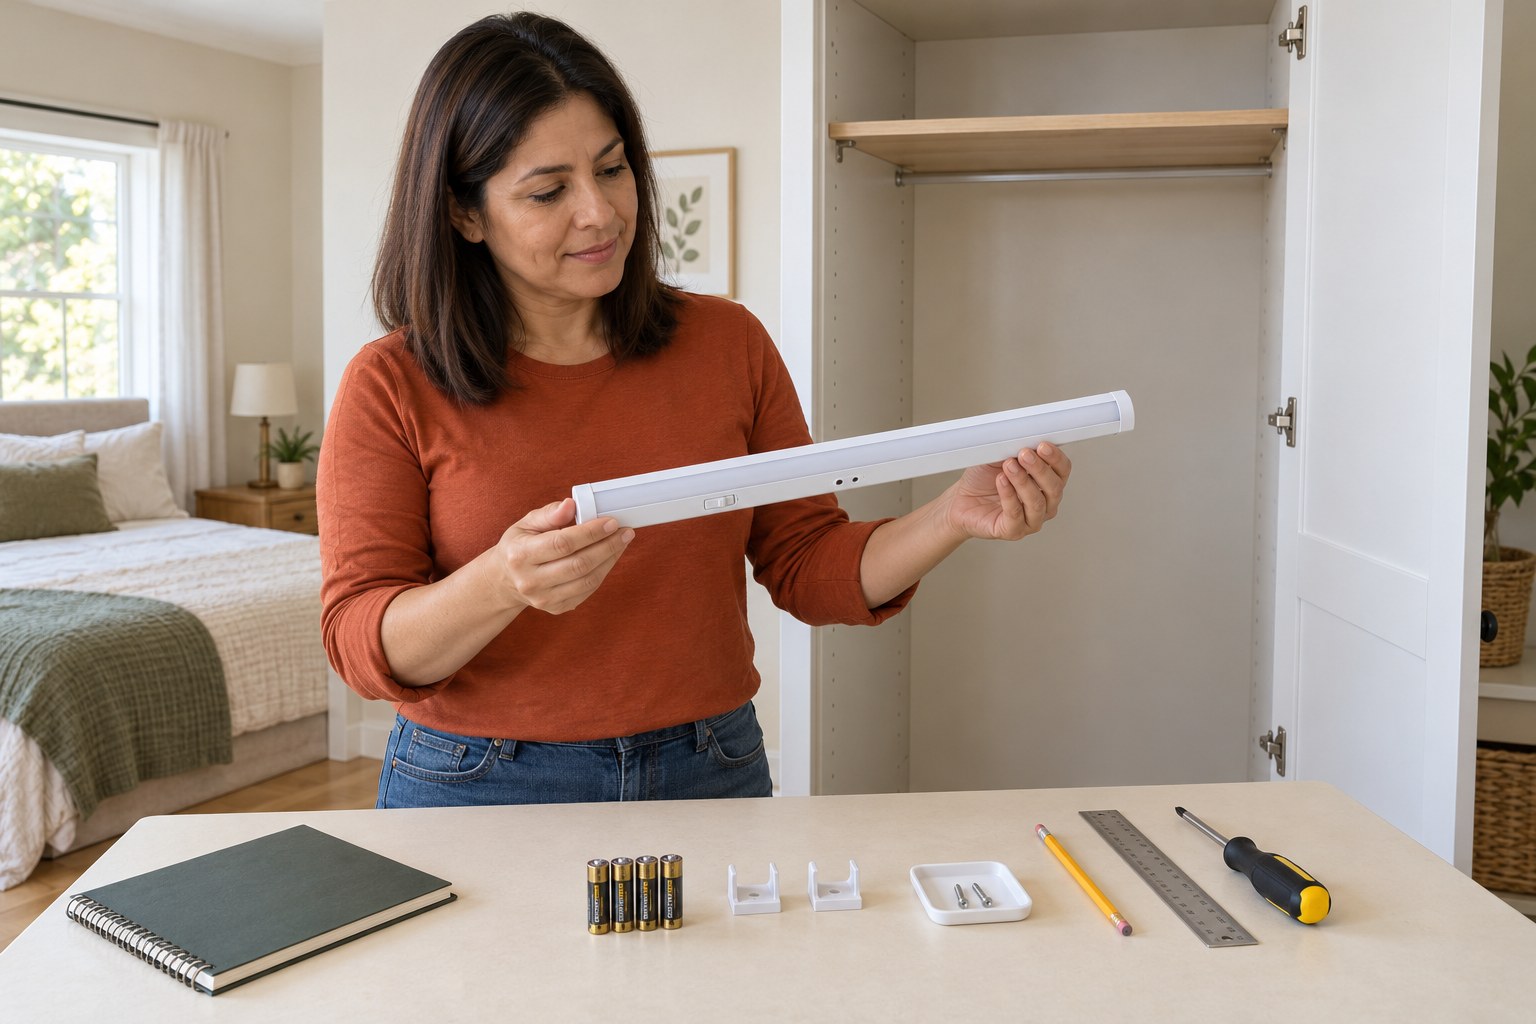
1. Match the light and choose a suitable wardrobe
Use the 52 cm STÖTTA, article 503.600.90, with its matching AA-2069544-6 instructions, two clips and two screws. Inspect the light and fittings for damage. Choose a dry, stable wardrobe with a sound wooden underside within easy reach from the floor. Check that the supplied screws suit the panel thickness without breaking through. Keep the light switched Off while fitting; stop for damaged furniture, missing fittings or a substrate requiring a different fixing method.
Photorealistic illustration · Waey
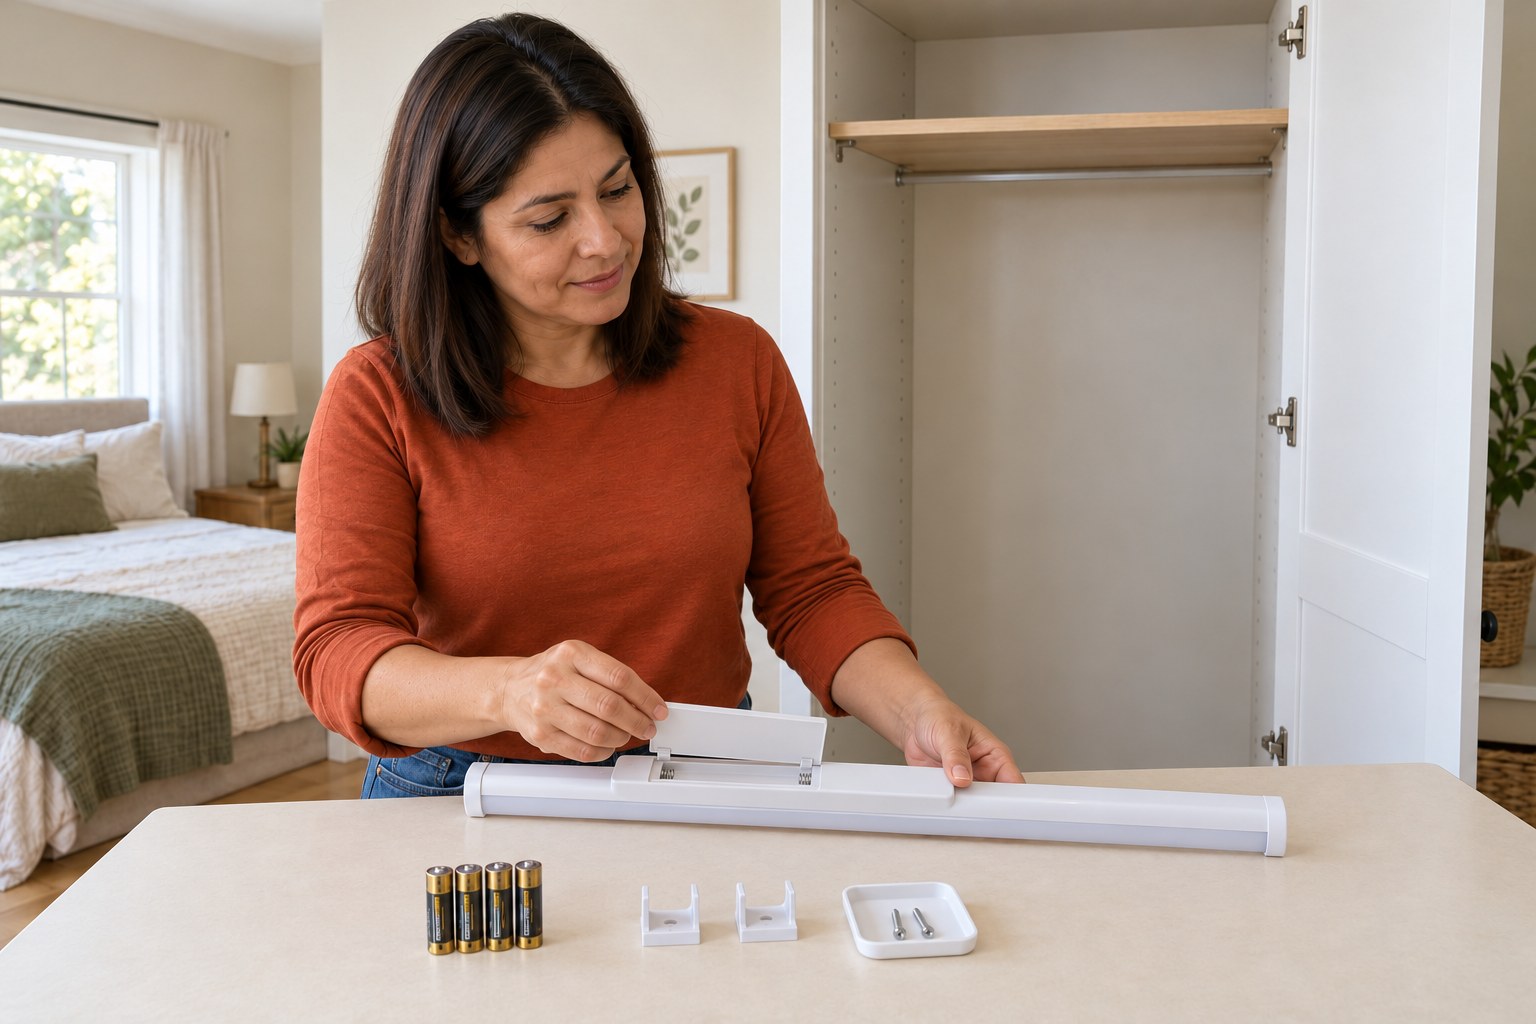
2. Fit four matching AA cells and close the cover
Place the light on a soft, stable work surface. Release the rear battery-cover latch as shown in the manual, without prying the diffuser or opening the electronics. Fit four matching intact AA cells according to every marked positive and negative position in the actual compartment, keeping its removal ribbon accessible. Close the cover securely and leave the switch Off. Do not mix old and new cells, different chemistries or capacities, and never recharge disposable cells.
Photorealistic illustration · Waey
3. Dry-position the light and mark the two fixing points
Hold the unlit strip against the intended underside near the wardrobe front, with the light and sensor face directed into the doorway as in the wardrobe drawing. Leave clearance for the door, hinges, clothing and later battery access. Use the actual shoulders of the rear battery box and the matched drawing to locate the two fixing marks; do not guess a spacing or use the bar’s far ends. Keep the sensor clear rather than hiding it behind the shelf lip.
Photorealistic illustration · Waey
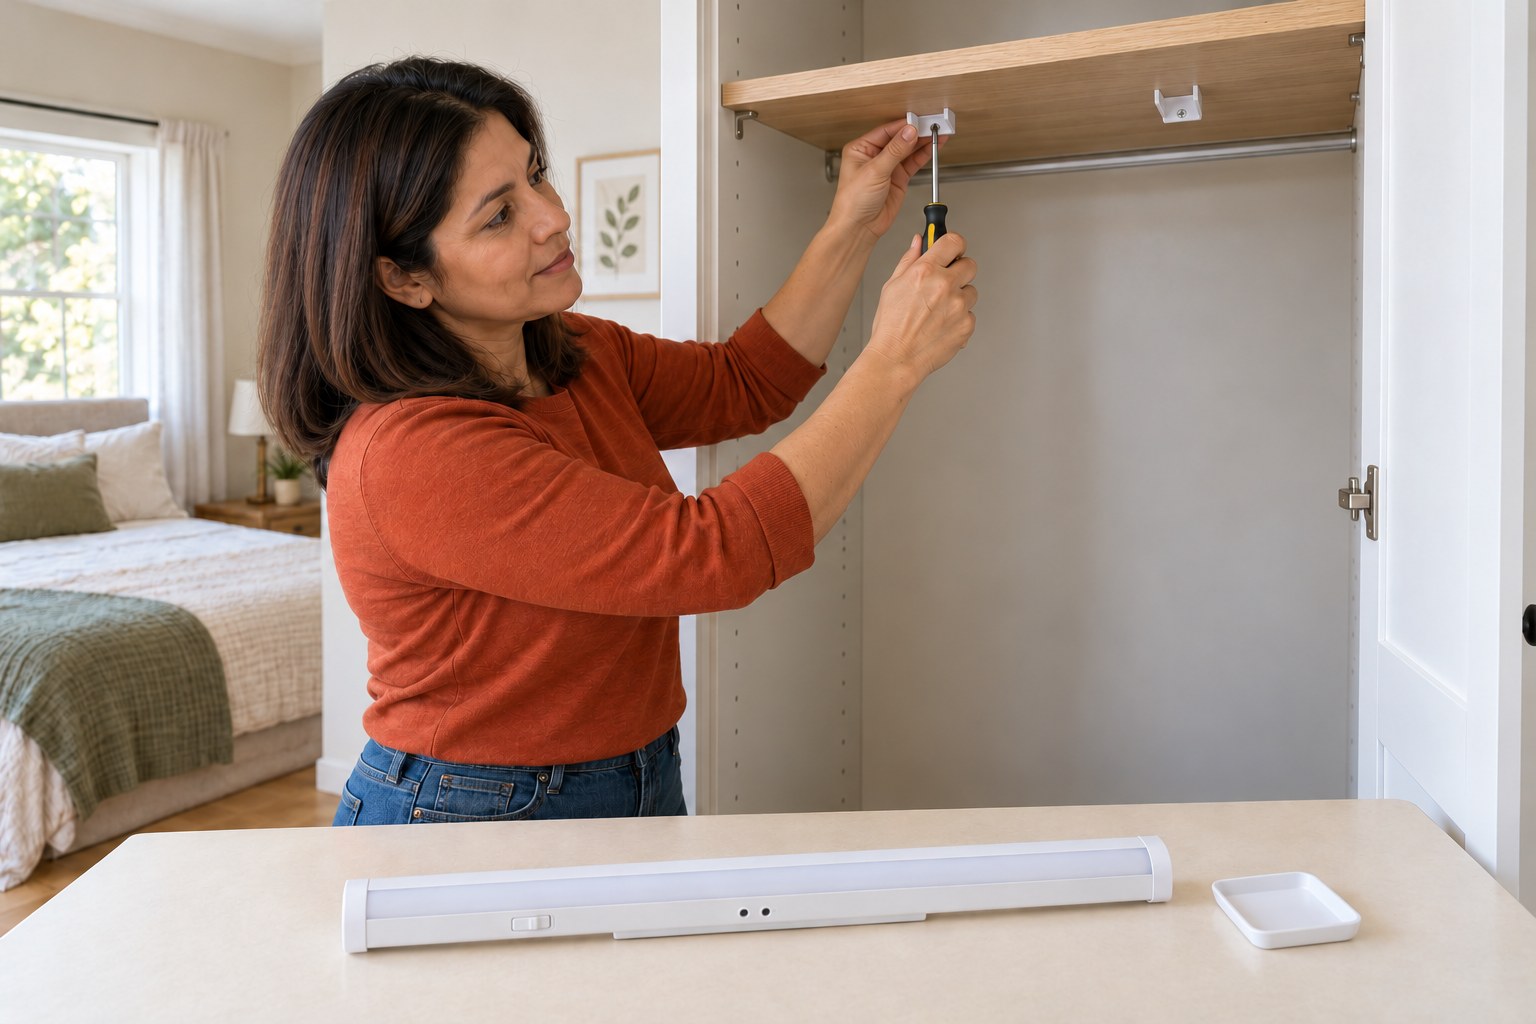
4. Attach both clips to the sound wooden underside
Put the light aside before preparing the two marks. Make only the small starter holes needed for the supplied screws using a suitable controlled hand tool, following the assembly drawing and avoiding the far face of the panel. Fasten one supplied clip at each mark with its screw, using a correctly fitting hand screwdriver. Orient both clips as shown so their snap lips can engage the light. Stop if the screws strip, the panel splits or either clip remains loose.
Photorealistic illustration · Waey
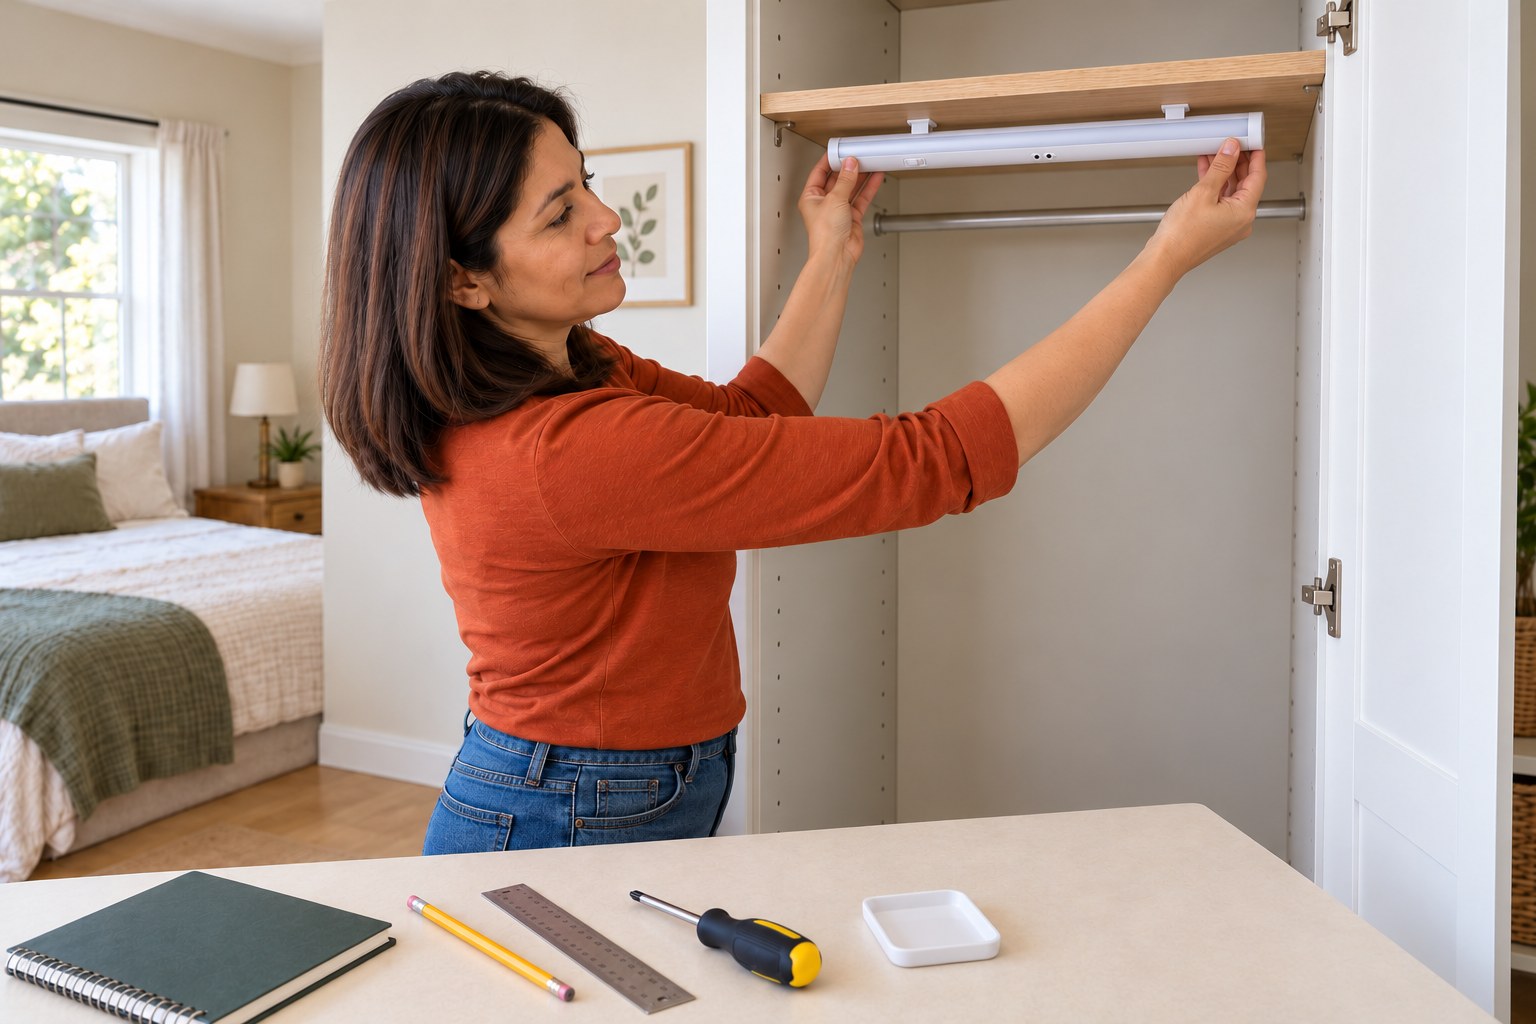
5. Lift the light evenly into both clips
Support the strip with both hands and align its intended edges with the two fitted clips. Lift it into position and let the clip lips engage as illustrated, without bending the strip or forcing the diffuser. Check both attachments individually with gentle support before releasing your hands. The light should sit steadily under the panel and leave the sensor and battery access unobstructed. Remove and correct a misalignment instead of leaving one end hanging from a single clip.
Photorealistic illustration · Waey
6. Check the labelled On and Off modes
With the wardrobe open and the light secured, use the positions labelled On and Off on the actual three-position slider. Confirm that On gives steady light and Off extinguishes it; do not confuse the small sensor openings with a push button. If it does not light, return to Off and check the cells, polarity and closed cover. Stop for unusual heat, smell, leakage or damaged contacts, and do not open or bridge the internal circuitry.
Photorealistic illustration · Waey
7. Test Auto with the door and preserve service access
Select Auto and test opening and fully closing the hinged door with the sensor face unobstructed. The matched drawing shows light after opening for about three minutes and switch-off about four seconds after closure; those are different situations. Repeat the door cycle rather than judging a still photograph. If operation is inconsistent, check placement and obstruction before changing fixings. Keep clothing clear, retain the instructions, and switch Off before later battery service; recycle used cells appropriately.
Video demonstrations
Unboxing and installation of IKEA STÖTTA LED cabinet lighting strip
Simple Home DIY shows STOTTA wardrobe clip mounting. Follow the matched52cm manual for fourAA cells, clip positions and sensor direction.
Simple Home DIY · Visual installation demonstration; browser captions unavailable. Full narration not independently assessed.
Watch on YouTube ↗How to install Ikea STÖTTA lamp
Ingsan RC shows STOTTA cover handling and placement below a shelf. Confirm503.600.90 and its fourAA instructions; other lengths or revisions may differ.
Ingsan RC · Visual installation demonstration; browser captions unavailable. Full narration not independently assessed.
Watch on YouTube ↗Final checks
Both clips secure and fully engaged; no screw breakthrough; closed battery cover; On/Off work; Auto responds consistently to door cycles; sensor, clothes and battery-service clearance retained.
Where to find supplies
Use the exact manual for other STÖTTA lengths or older mounting revisions. This guide covers hinged-door wardrobe fitting, not the separate drawer branch. For weak panels, different fittings or inaccessible locations, choose a suitable alternative with IKEA guidance instead of improvising tape or longer screws.
Sources
IKEA — actual AA-2069544-6 assembly drawings, official PDF ↗
IKEA — LILLANGEN US guide, matched50360090 and AA quantity ↗
Original generated instruction illustrations created for Waey. Videos belong to their credited creators.