
Set slate stepping stones into a lawn
Create a short occasional-use lawn route with purpose-made slate stepping stones on individually prepared granular beds. Set a comfortable stride, support each stone fully and check that the finished tops meet the surrounding soil without rocking.
What will you learn?
Create a short occasional-use lawn route with purpose-made slate stepping stones on individually prepared granular beds. Set a comfortable stride, support each stone fully and check that the finished tops meet the surrounding soil without rocking.
Tools
- Tape measureSearch Amazon UAE ↗
- Short spirit levelSearch Amazon UAE ↗
- StraightedgeSearch Amazon UAE ↗
- Surface marking chalkSearch Amazon UAE ↗
- Spade or turf edgerSearch Amazon UAE ↗
- Small hand rake or trowelSearch Amazon UAE ↗
- Rubber malletSearch Amazon UAE ↗
- BucketsSearch Amazon UAE ↗
- Stable kneeling padSearch Amazon UAE ↗
- Work glovesSearch Amazon UAE ↗
- Sturdy protective bootsSearch Amazon UAE ↗
- Eye protectionSearch Amazon UAE ↗
- Aggregate dust protection as specified by the supplierSearch Amazon UAE ↗
- Suitable handling help or lifting aids for the actual stone weight
Materials
- Purpose-made Oppdal quartzite-slate stepping stones approved by the supplier for granular lawn beddingSearch Amazon UAE ↗
- Supplier-approved0–8mm graded sand or fine gravel for approximately30mm continuous bedding beneath each stoneSearch Amazon UAE ↗
- Retained sound turf and suitable clean soil for small perimeter gaps
Step by step
Photorealistic illustration · Waey
1. Confirm the site and stone system
Choose a short route across firm, drained lawn, away from tree roots, building edges and water. Ask the stone supplier to confirm that the actual purpose-made units suit this shallow granular-bed installation; measure each unit’s thickness. Arrange service assessment before any turf cutting or ground penetration. If ground suitability or buried-service clearance is uncertain, move the route or obtain competent help rather than proceeding with a shallower guess.
Photorealistic illustration · Waey
2. Trial the spacing on the intact lawn
Place the stones flat in a trial line and adjust their positions for the intended users’ comfortable stride. Check the route from the ground beside them; do not jump between unsecured units. Keep enough grass between stones for the selected layout and avoid an awkward last step at either entrance. Record positions with surface chalk or measurements so you can return every stone to the same place without driving pegs into the ground.
Photorealistic illustration · Waey
3. Lift the turf and prepare individual openings
After service checks, mark the outline and move one stone safely aside with suitable help. Cut and lift the turf, retaining sound pieces for the edges. Remove enough soil for that stone’s actual thickness plus approximately 30mm of bedding below the planned finished top at surrounding soil level, allowing for final seating. Keep the base even and firm. Stop for soft spots, standing water, roots or unexpected buried material; do not bridge a hollow with the stone.
Photorealistic illustration · Waey
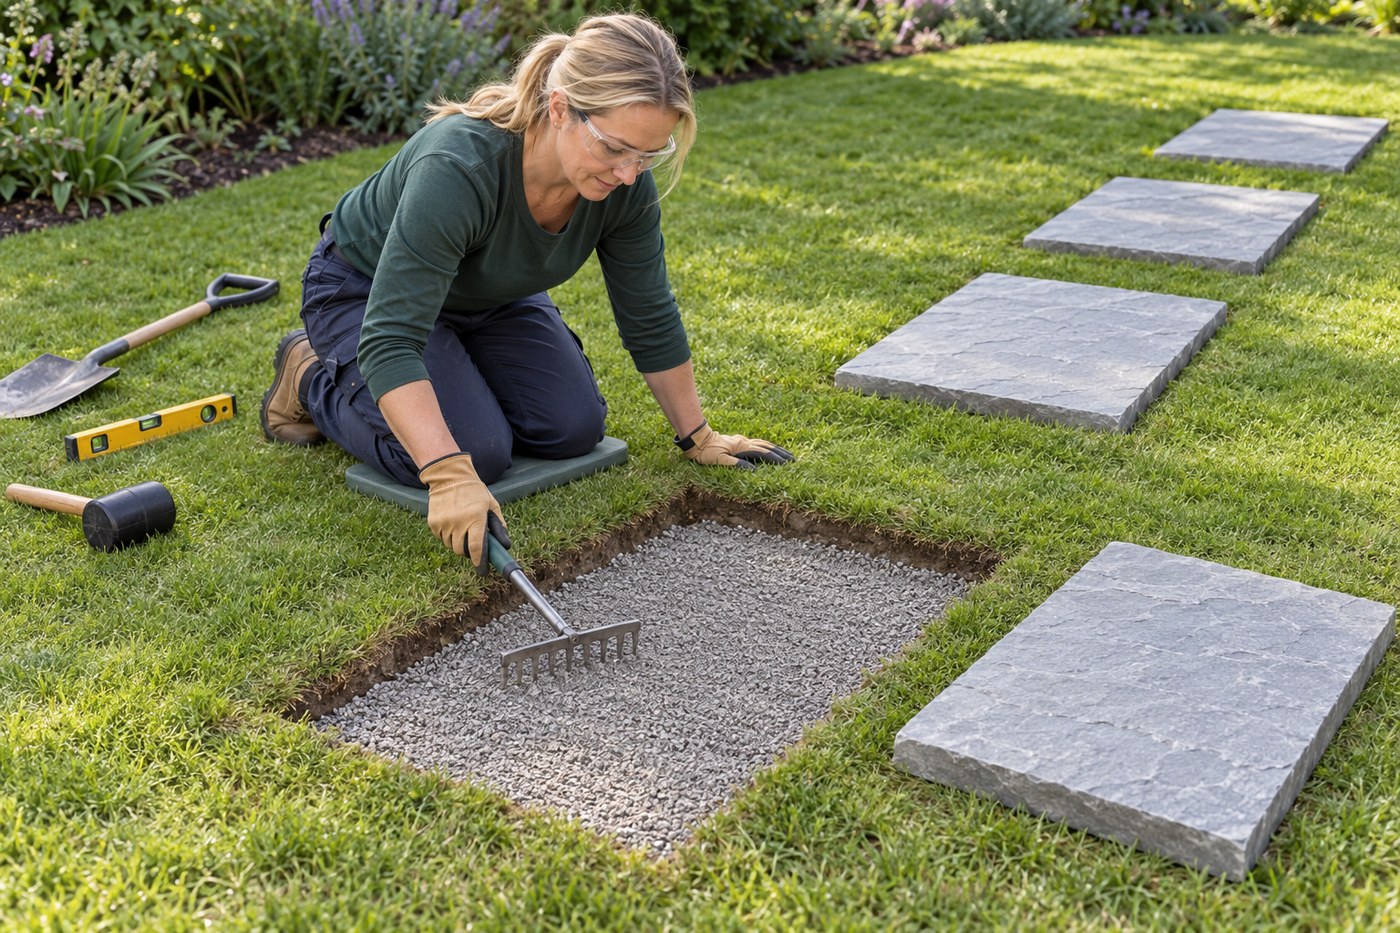
4. Form an even, continuous granular bed
Spread the supplier-approved 0–8mm material across the whole opening to an approximately 30mm even layer, following its moisture and preparation instructions. Rake or trowel it smooth without mixing turf or topsoil into the bed. The surface must support the full underside rather than a few isolated heaps. Check depth from the planned finished top and adjust before lowering the unit. This route uses neither cement mortar nor primer; do not combine the alternative recipes.
Photorealistic illustration · Waey
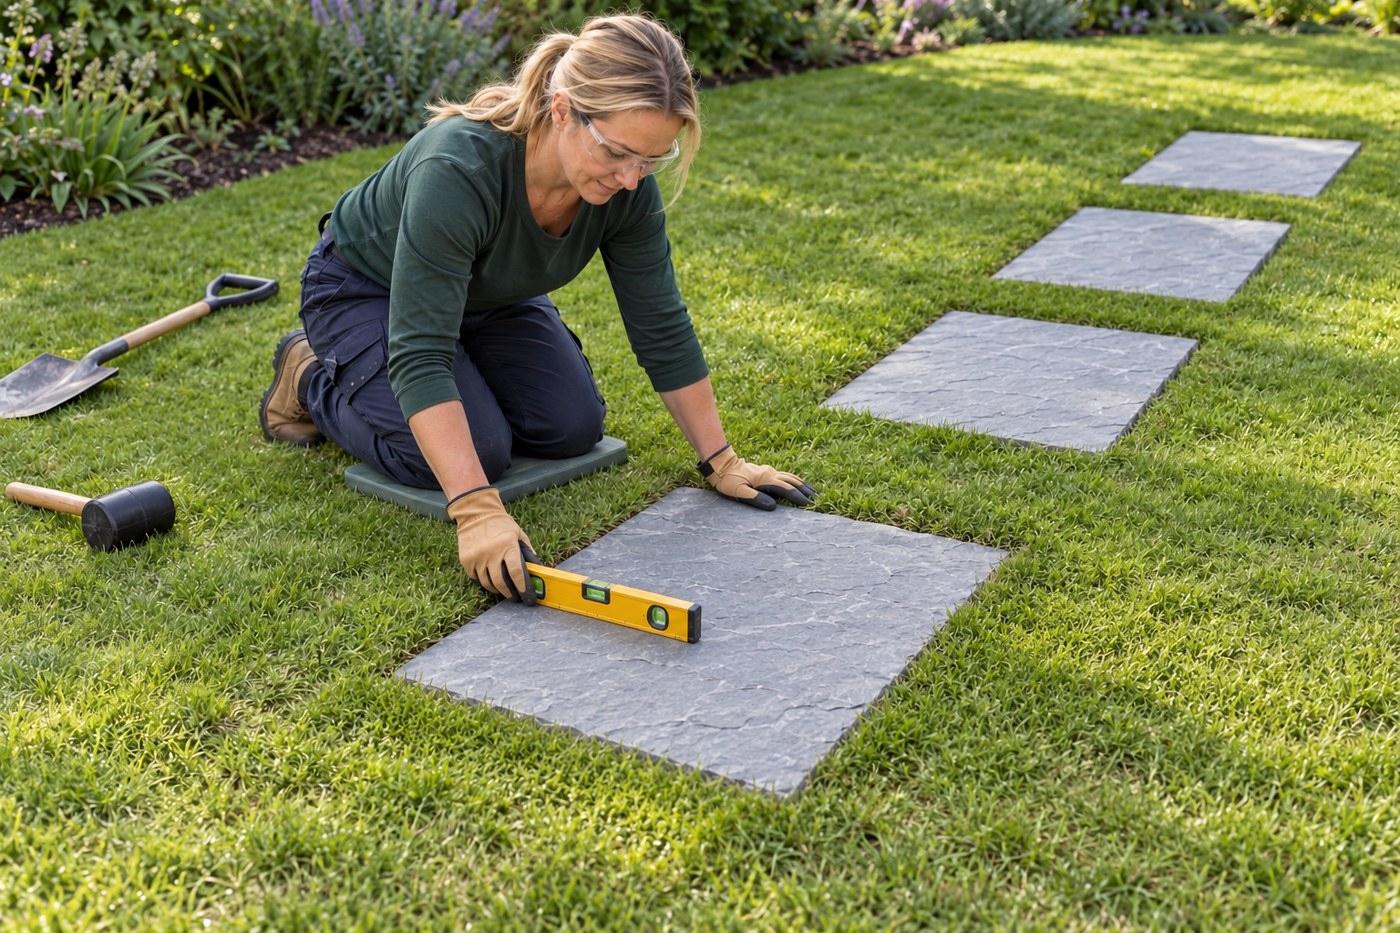
5. Lower and seat the stone without rocking
Lower the stone with controlled handling, keeping hands and feet out from under the load. Seat it with gentle rubber-mallet taps while checking its top against the surrounding soil and the planned route. Use the level and straightedge to spot a tilted edge or hollow, rather than forcing a stone down with heavy blows. If it rocks or sits too high or low, lift it safely and correct the bed; do not wedge a corner or jump on it.
Photorealistic illustration · Waey
6. Complete the line and close the edges
Prepare and seat the remaining units in the same way, checking the recorded spacing and height as you go. Return sound turf and suitable soil around each perimeter without leaving an exposed drop, loose gravel on the face or soil piled over the walking surface. Keep the grass gaps intact rather than joining all beds into a trench. Remove temporary marks, surplus material and tools, and leave no loose stone beside the route.
Photorealistic illustration · Waey
7. Check use and monitor after weather changes
Press the corners carefully to check for movement, then walk the route slowly only when every stone is stable and the area is clear. Check the real stride and entrances without assuming that an attractive layout suits everyone. Reinspect after rain and seasonal ground movement; keep people off any rocking, sunken or slippery unit until corrected. Before mowing, check the mower’s instructions and actual blade/deck clearance; soil-level stones alone do not guarantee a safe mower crossing.
Watch the method
Legge tråkkheller av skifer | Minera Skiferskolen
Manufacturer demonstration of slate stepping stones, turf removal and granular bedding. The title and on-screen text are Norwegian. Follow the written service, ground and handling checks; use gentle mallet seating and do not jump on stones.
Minera Skiferskolen · Norwegian title/description; audio unconfirmed; no caption metadata
Watch on YouTube ↗Final checks
Correct stone system and suitable ground; service risks resolved before digging; full even beds, no rocking or raised trip edges; comfortable spacing and safe entrances; weather and mower-clearance checks remain necessary.
Sources
Minera Skifer — Slate stepping-stone lawn installation ↗
HSE — Planning and safe work around underground services ↗
Marshalls — Stepping-stone route planning and maintenance context ↗
Pavingexpert — Stepping-stone stability and separation context ↗
AI-generated representative photographic illustrations by Waey using only Waey-generated references. Supplier photographs and diagrams are research, not public assets or generator inputs. External video belongs to its credited creator.