
Build and test a scaled room-layout model
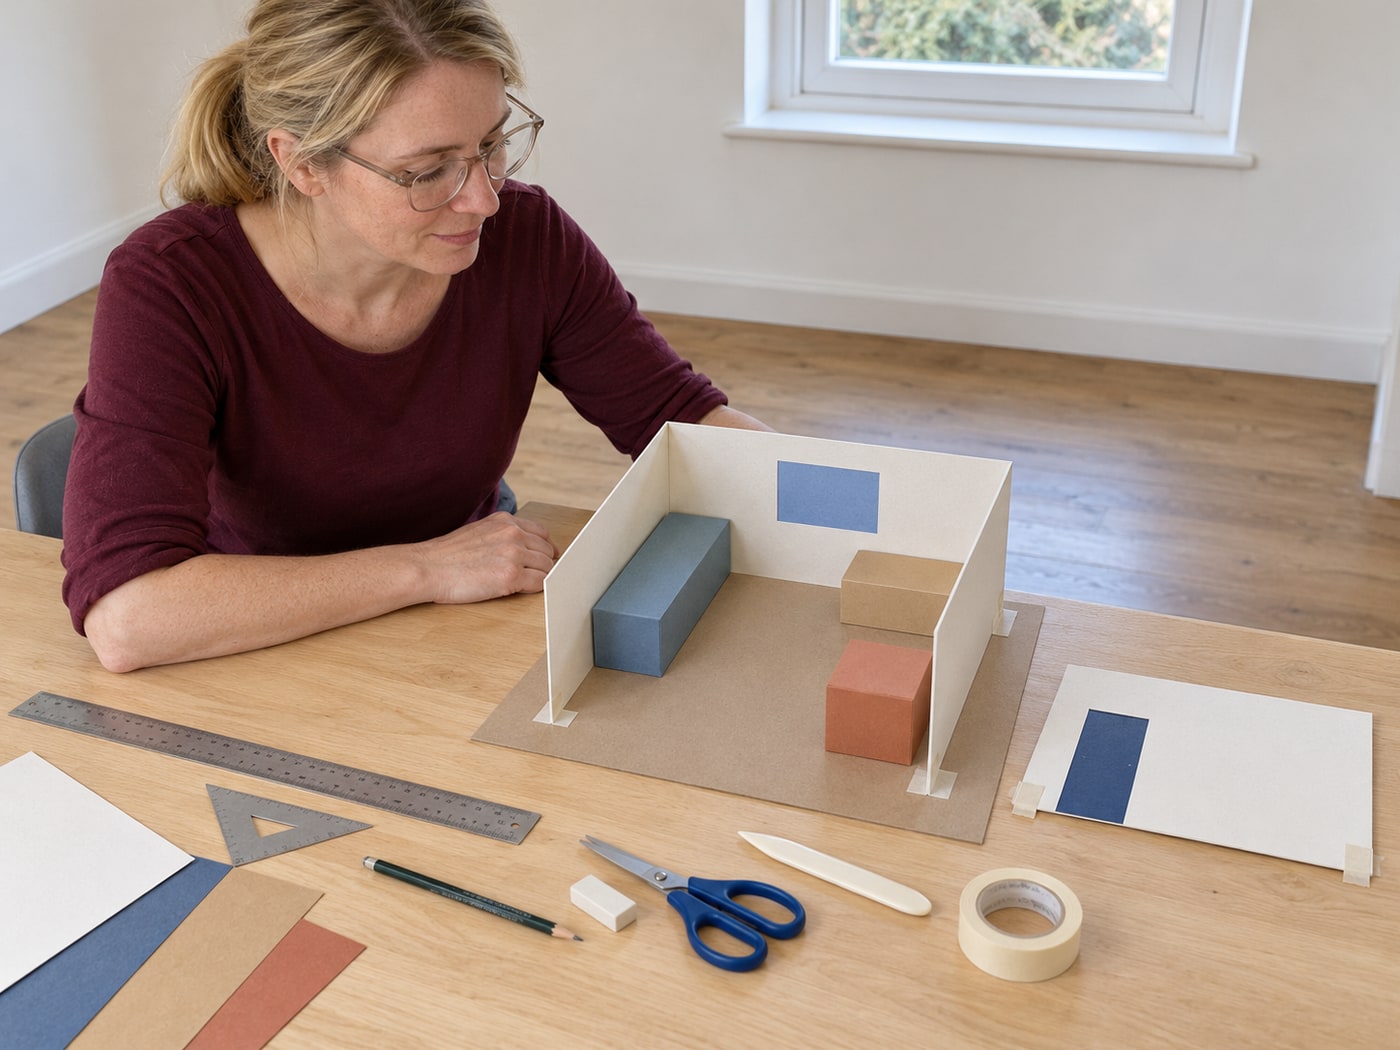
Build and test a measured room plan and removable-wall card model with movable furniture envelopes, comparing two layouts before making a final dimensioned proposal.
What will you learn?
Build and test a measured room plan and removable-wall card model with movable furniture envelopes, comparing two layouts before making a final dimensioned proposal.
Tools
- Tape measure with a helper when needed; metric ruler, set square and calculatorSearch Amazon UAE ↗
- Pencils, eraser, scissors and blunt bone folder or similar creasing toolSearch Amazon UAE ↗
Materials
- Plain or graph paper, flat card base and clean lightweight card for walls and furnitureSearch Amazon UAE ↗
- Low-tack paper tape, coloured paper and a removable marking method compatible with the floor finishSearch Amazon UAE ↗
Step by step
Photorealistic illustration · Waey
1. Define a room-layout problem that the model can answer
Choose one accessible, simple room and identify what must improve: a door that conflicts with furniture, an awkward route, or a desk that cannot be used comfortably. List furniture that must stay and the activities the room must support. This project produces a measured plan, wall information and a removable-wall card model with movable furniture envelopes. It does not design structural changes or prove building-code compliance. Keep exits, ventilation and access to controls available. Do not move heavy furniture simply to obtain a hidden measurement.
Photorealistic illustration · Waey
2. Survey the room from consistent reference corners
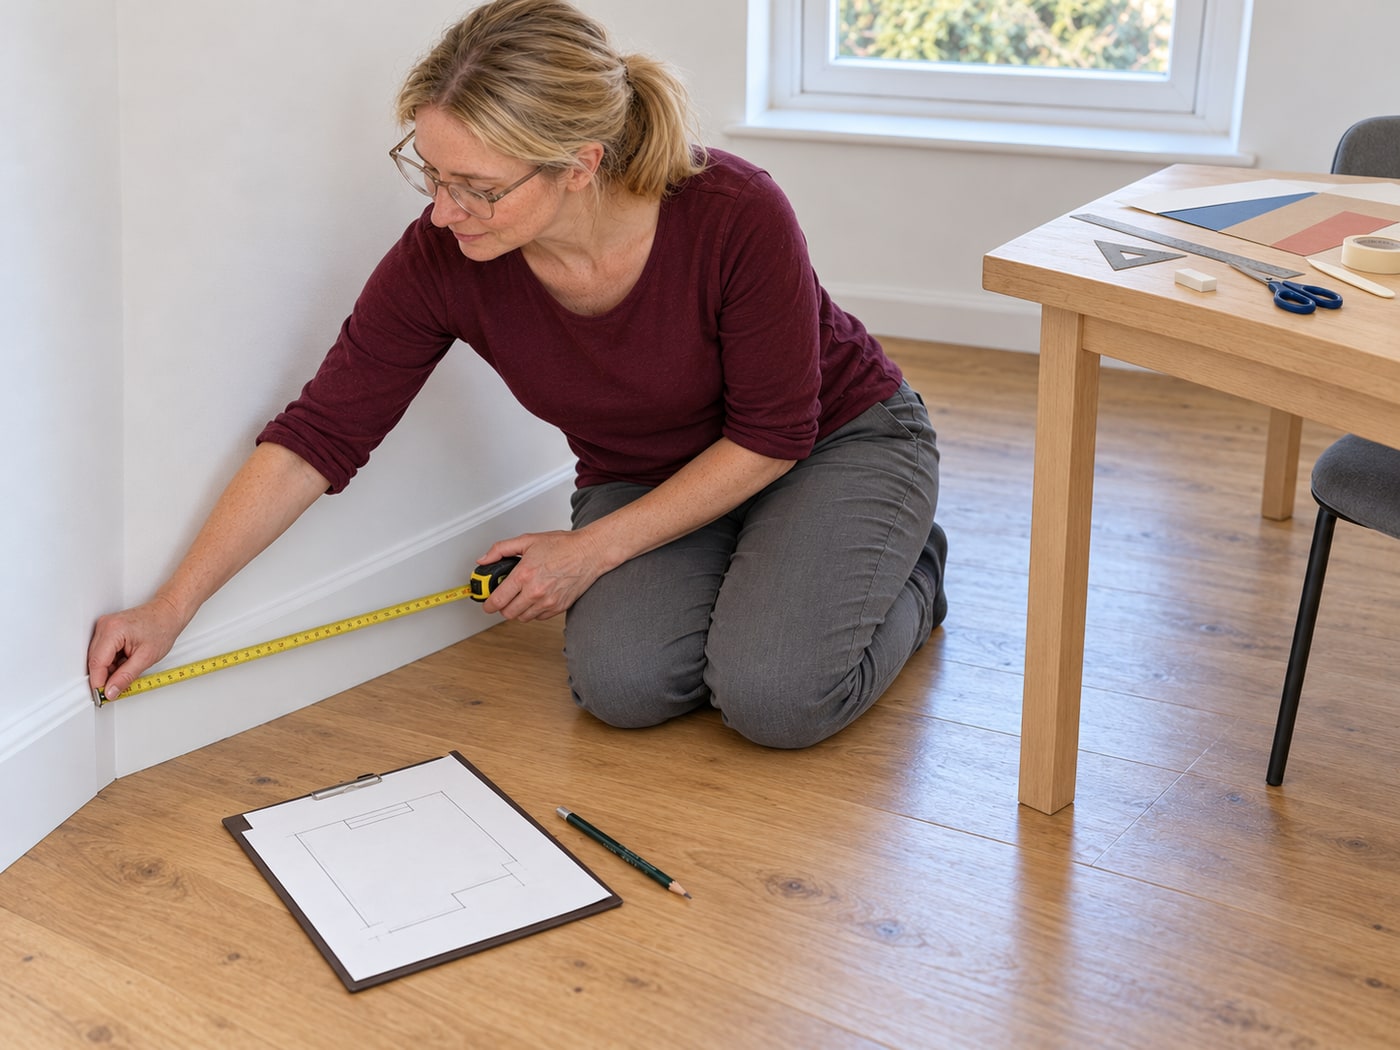
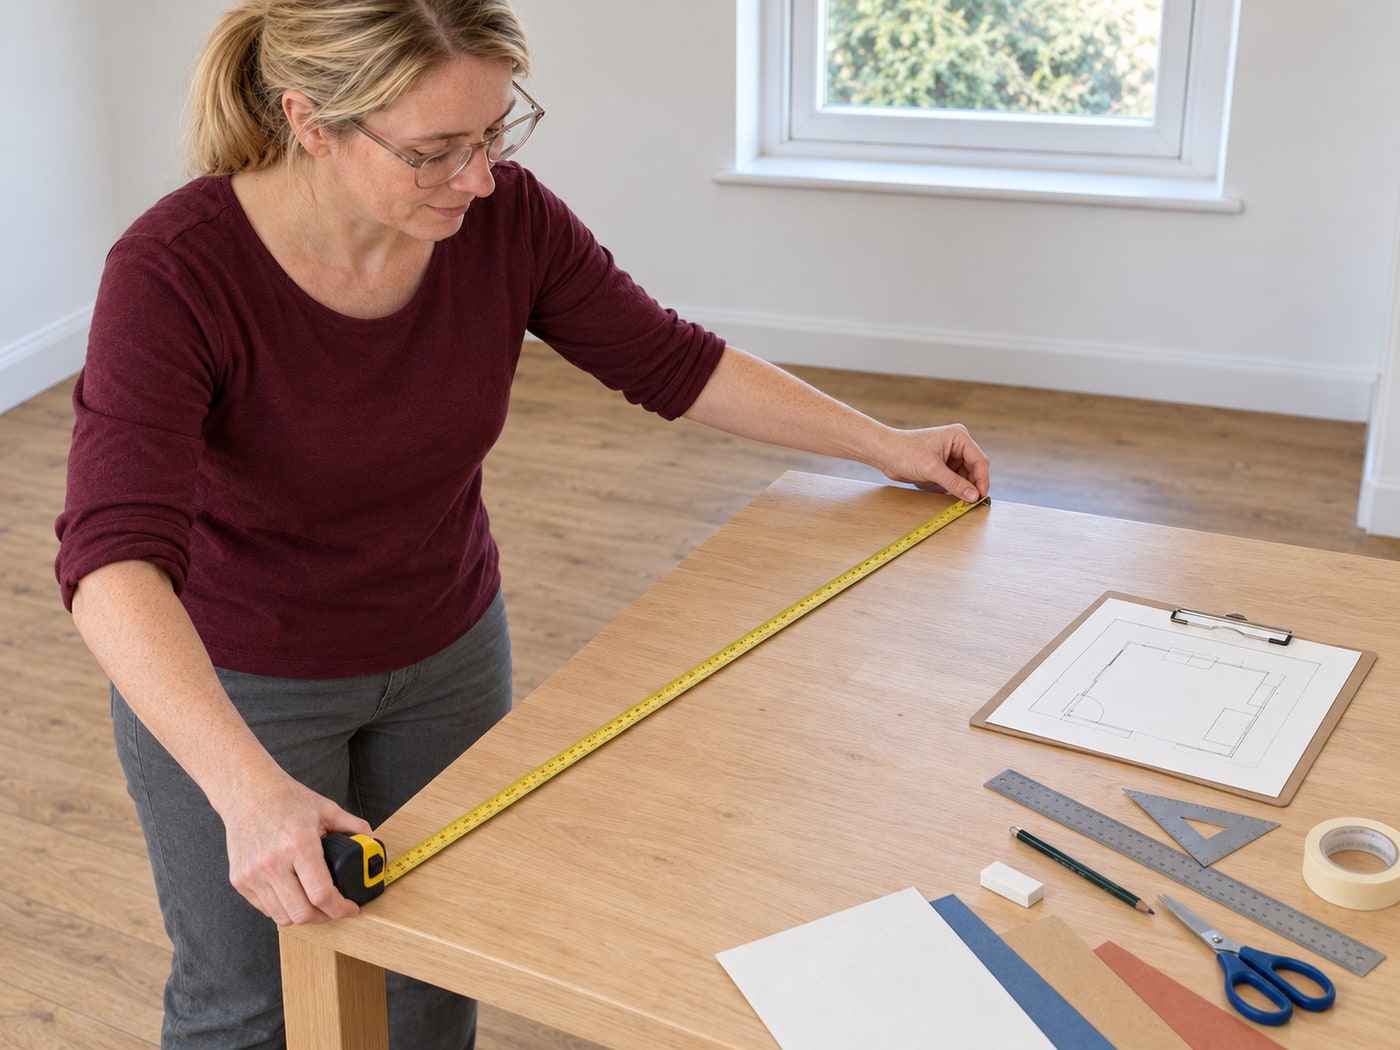
Sketch the empty room from above and label the walls in order. Record each accessible wall length in millimetres, then locate door and window frames from the same reference corner on each wall. Record opening direction and projections such as skirting, columns or radiators. Check that the measured wall segments reconcile with the overall length; remeasure a mismatch rather than stretching the drawing to hide it. Measure safely from the floor with help for a long tape. Do not climb on furniture or open service covers.
Photorealistic illustration · Waey
3. Record heights and the furniture’s complete working envelope
Draw a simple elevation for each relevant wall, recording safely obtained ceiling height, window sill and opening height, and fixed obstructions. Use existing reliable records or appropriate help for inaccessible heights. Measure the actual furniture’s widest overall width, depth and height, including handles or projecting feet. Separately record what moves: a door leaf, drawer, chair pulled back or recliner extended. A top-view rectangle alone cannot reveal these conflicts. Leave uncertain dimensions marked as uncertain and resolve them before treating a close fit as feasible.
Photorealistic illustration · Waey
4. Convert every element to one checked metric scale
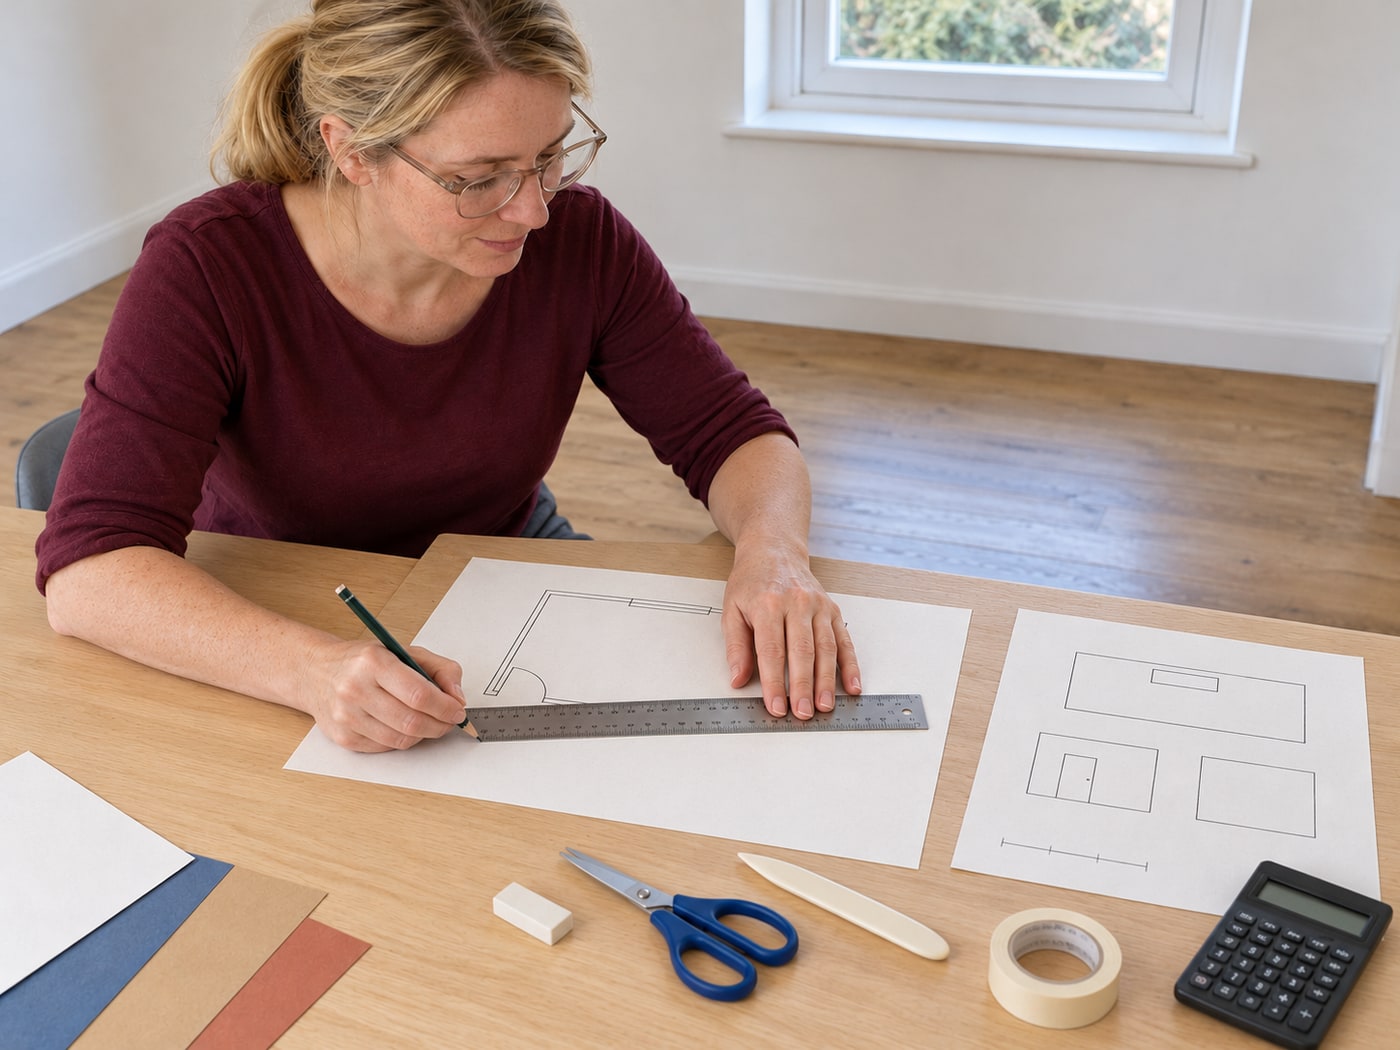
Use a single scale throughout: at 1:20, divide every real dimension in millimetres by twenty. An illustrative 4000 by 3200 mm room becomes a 200 by 160 mm clear floor area; a 2600 mm height becomes 130 mm. These are arithmetic examples, not measurements of your room. Draw a 100 mm calibration line to represent 2000 mm and verify it with a ruler. Keep actual dimensions written beside model dimensions. Do not mix this metric scale with the videos’ half-inch-to-one-foot scale or their classroom rounding.
Photorealistic illustration · Waey
5. Build an accurate base plan before adding walls
Draw the clear internal floor outline on paper fixed to a larger flat card base. Transfer opening positions, door swings and fixed-obstruction footprints using the same scale and reference corners. Keep separate layers or differently coloured lines for existing features and proposed furniture. Check an overall length, width and an opening offset against the survey before cutting anything. The model’s inside wall faces will stand at this clear-floor boundary, with their card thickness outside it. An attractive outline with shifted openings is not a reliable planning tool.
Photorealistic illustration · Waey
6. Make removable walls without losing the clear floor size
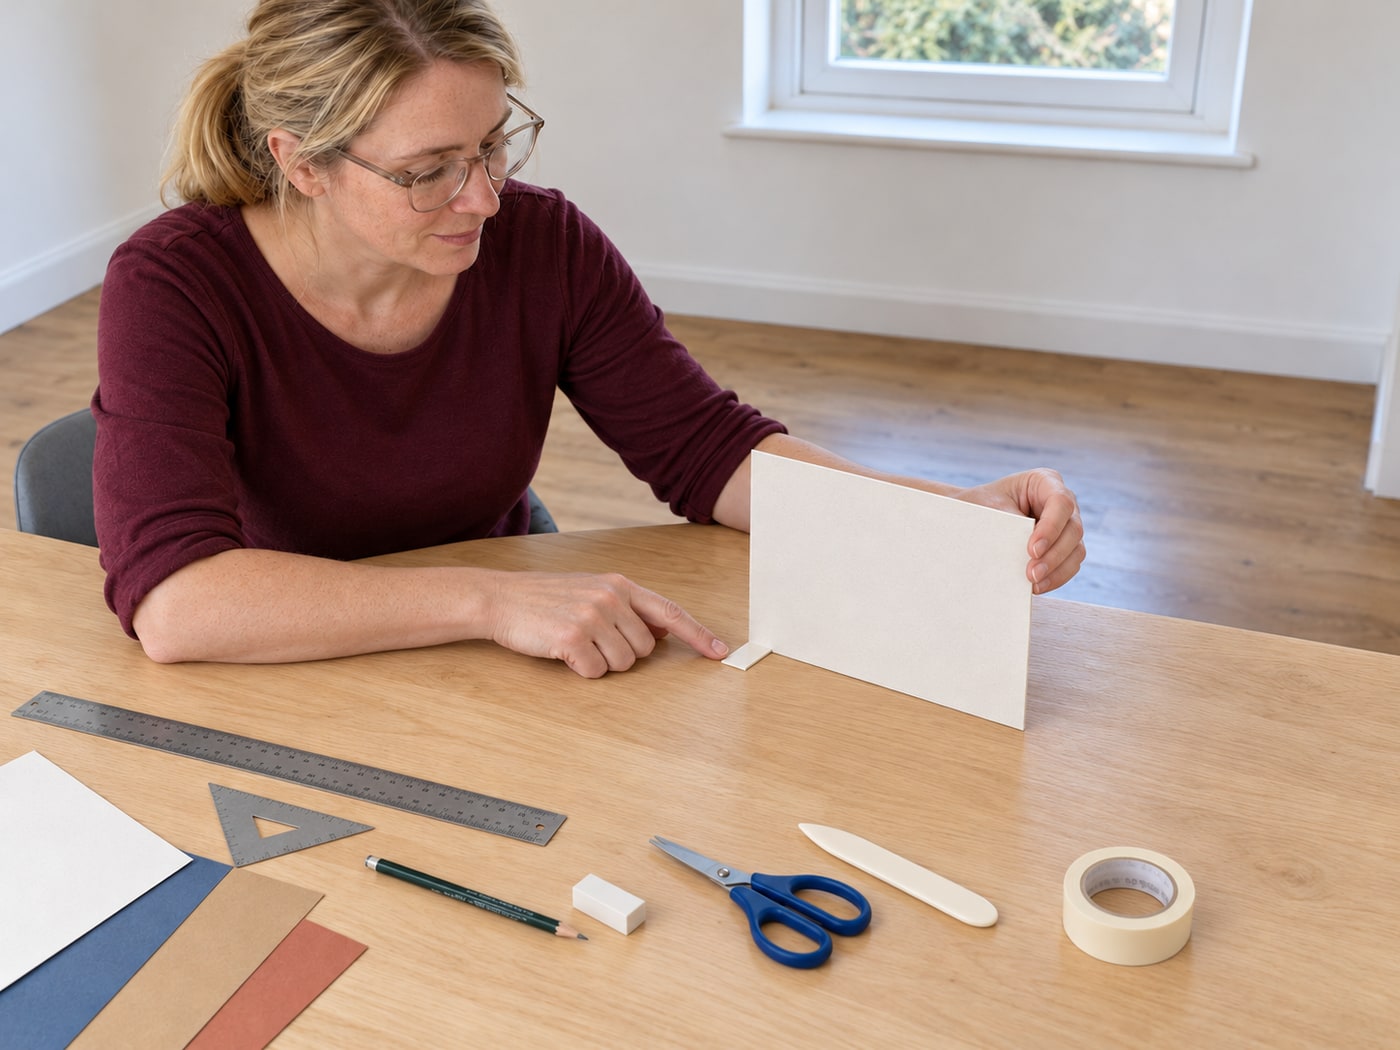
Use clean lightweight card that scissors can cut comfortably. Mark each wall’s scaled length and measured height, adding a separate outward-folding bottom tab for attachment. Crease with a blunt folding tool against a ruler, then cut with fingers clear of the blades. Represent windows and doors with coloured paper and keep their operational arcs on the plan; internal knife cutouts are unnecessary. Tape the tabs outside the floor boundary and align inside faces with its lines. Keep corners removable and avoid pushing overlapping card into the model’s clear area.
Photorealistic illustration · Waey
7. Fold movable furniture volumes to the same scale
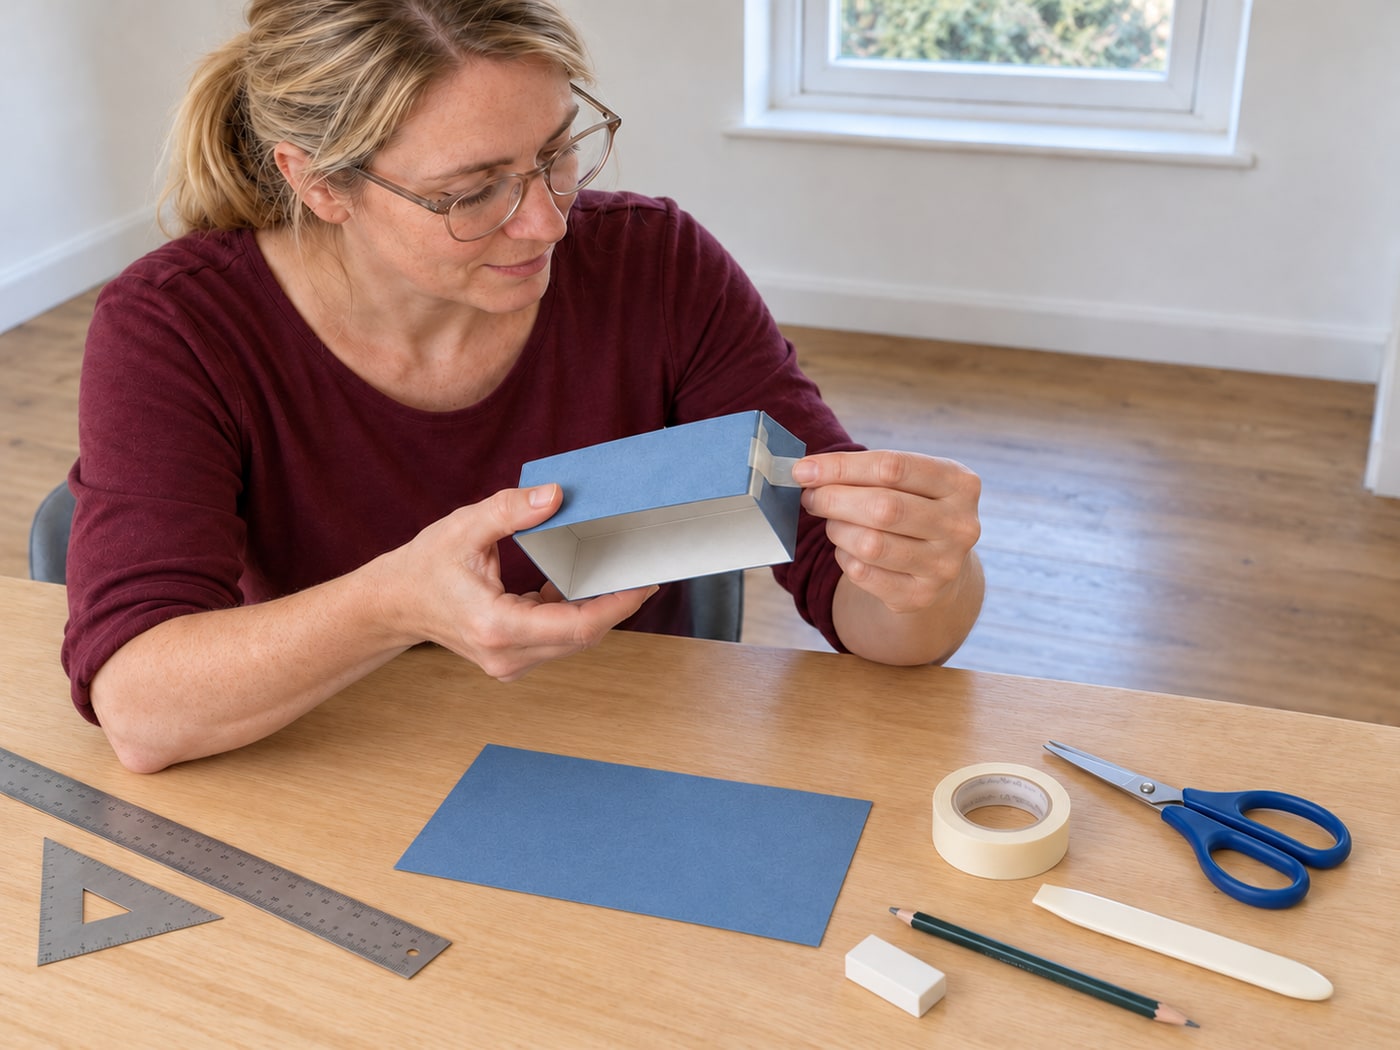
Make each furniture envelope as a simple open-bottom card box. Draw its scaled top rectangle, add four side flaps equal to its scaled height, and add small joining tabs at the corners. Test one scrap net before making all pieces; card thickness and folds can enlarge the result. For example, an 1800 by 800 by 800 mm sofa envelope becomes 90 by 40 by 40 mm at 1:20. Fold with a blunt tool and tape the corners. Check the finished outside dimensions, label the piece, and keep it movable.
Photorealistic illustration · Waey
8. Compare two layouts with explicit movement zones
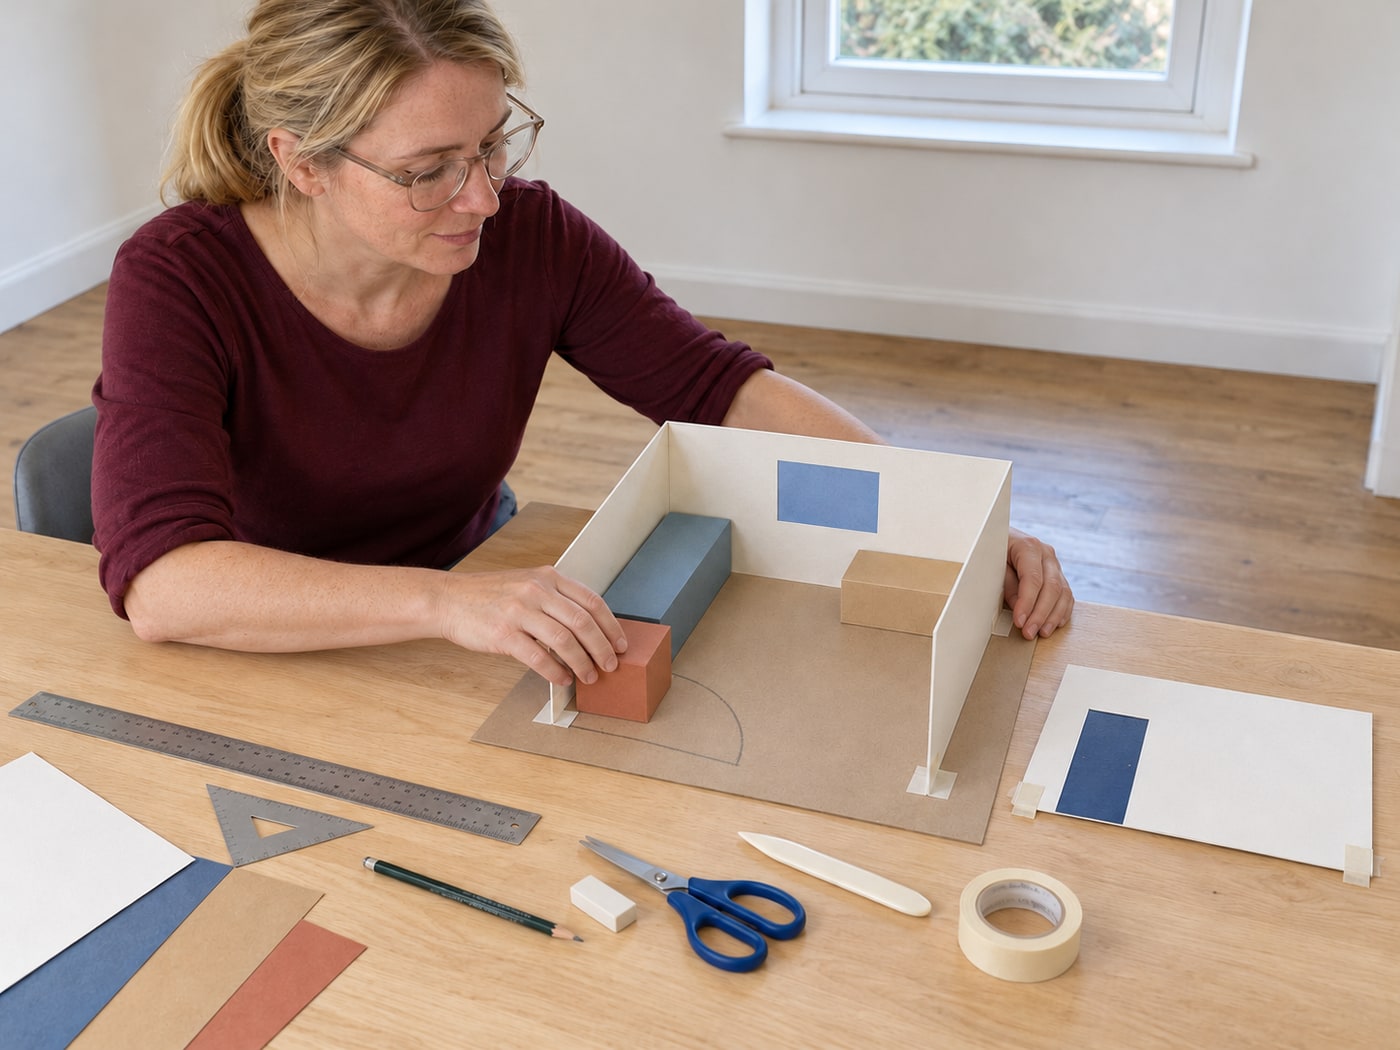
Try at least two arrangements rather than gluing the first attractive composition down. Add removable paper overlays for the measured door sweep, drawer extension and chair-use area. Trace a usable route between the entrance and the room’s activities while keeping fixed controls and vents accessible. Test the actual users’ needs; there is no single universal clearance supplied by this model. Check the vertical view too: a tall piece may conflict with a sill or obscure a control even when its footprint fits. Record the reason for rejecting each conflict.
Photorealistic illustration · Waey
9. Check the preferred layout in the real room
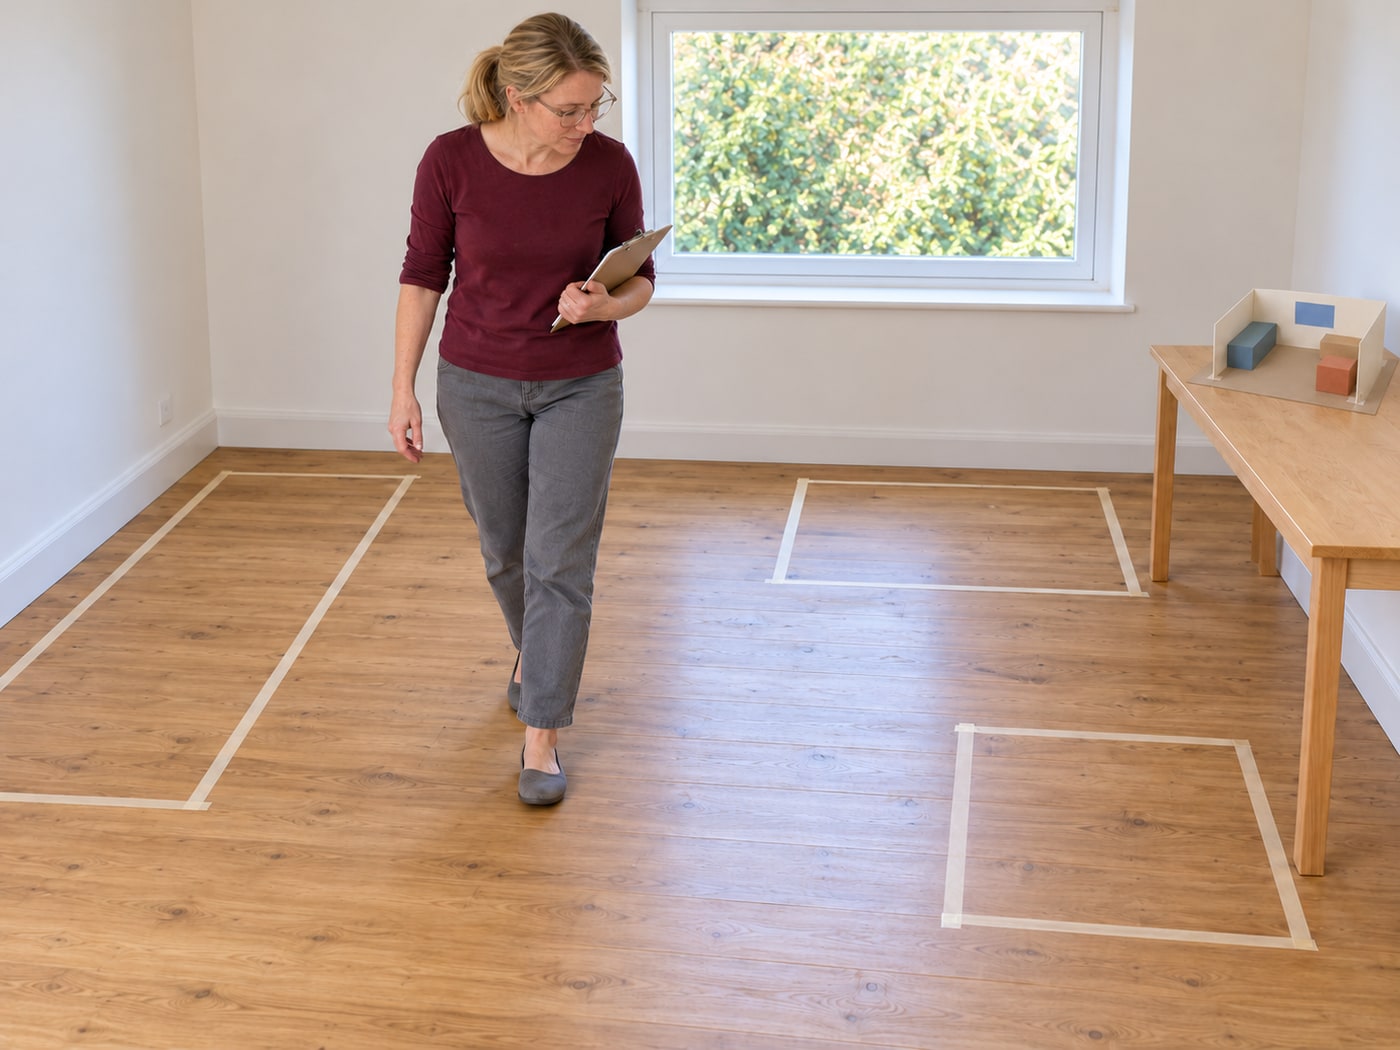
Translate the preferred furniture outlines back to full-size dimensions and mark them temporarily with a removable method tested on the floor finish. Walk the route and operate accessible doors and existing drawers without moving heavy pieces or creating a trip hazard. Check chair movement and the actual users’ mobility needs; seek appropriate professional guidance where accessibility or regulatory requirements apply. Reconcile any discrepancy with the model and revise both records. The model helps discover conflicts but cannot prove delivery access, anchorage, ventilation performance or structural capacity.
Photorealistic illustration · Waey
10. Finish a dimensioned layout package that can be revised
Produce a clean final plan and the relevant wall elevations, keeping the measured existing shell separate from the proposed furniture positions. Record the scale, actual dimensions, furniture identifiers and unresolved items, and retain the alternate layout for comparison. Attach the chosen movable pieces lightly so the model remains usable. Before ordering anything, recheck the actual product’s outside dimensions, delivery route and manufacturer installation requirements. This finishes a room-planning and model-making skill; it does not authorize drilling, electrical changes, furniture anchoring or a building alteration.
Video demonstrations
How to Measure A Room
Original room-survey demonstration. Educational rounding differs from this exact metric example.
Center for Architecture · en
Watch on YouTube ↗How to Draw Your Floor Plan to Scale
Original scaled-plan demonstration using half-inch-to-one-foot (1:24); our original plan uses 1:20, never mix rulers or templates.
Center for Architecture · en
Watch on YouTube ↗How to Create a 3-D Interior Model
Original lightweight-card interior-model demonstration; its example wall height and scale are not specifications for your room.
Center for Architecture · en
Watch on YouTube ↗Final checks
One consistent scale, reconciled survey, actual opening and furniture envelopes, two compared layouts, full-size use checks and unresolved constraints clearly recorded.
Sources
Eight original AI-generated photographic illustrations across ten steps, with drafting and final-context reuse. No external manufacturer or education photographs were adapted. Original videos belong to their attributed creators. No physical room/model or clearance test is claimed.