
Re-cover a removable dining-chair seat
Replace a plain fabric cover on one sound removable dining-chair seat, with verified material suitability and staple selection.

What will you learn?
Replace the plain fabric cover on one sound screw-removable dining-chair seat, retaining its known clean, resilient padding. Confirm the base and staple choice before starting; this method does not repair a damaged seat or frame. Before stapling, have a matching offcut of the base material and thickness for trials, or have a competent upholsterer select the fixing. Confirm the proposed cover and retained padding combination with a competent upholstery supplier before removing the old cover.
Tools
- Manual Arrow T50 staple gunSearch Amazon UAE ↗
- Instructions for the actual manual T50
- Staple removerSearch Amazon UAE ↗
- PliersSearch Amazon UAE ↗
- Correct hand screwdriver for the original seat screwsSearch Amazon UAE ↗
- Fabric scissorsSearch Amazon UAE ↗
- Tape measureSearch Amazon UAE ↗
- Fabric markerSearch Amazon UAE ↗
- Caliper or suitable thickness gaugeSearch Amazon UAE ↗
- Bench clampsSearch Amazon UAE ↗
- Stable protected workbench
- Eye protectionSearch Amazon UAE ↗
- Container for removed staplesSearch Amazon UAE ↗
Materials
- Suitable upholstery fabric sized to the actual seat and wrapSearch Amazon UAE ↗
- Upholstery underside dust clothSearch Amazon UAE ↗
- Genuine T50 staples selected and checked for each layer thicknessSearch Amazon UAE ↗
- Matching offcut of the sound seat-base material and thickness, plus fabric test scraps; otherwise competent fixing selection before stapling
- Original seat-retaining screws, kept for reuse if sound
Step by step
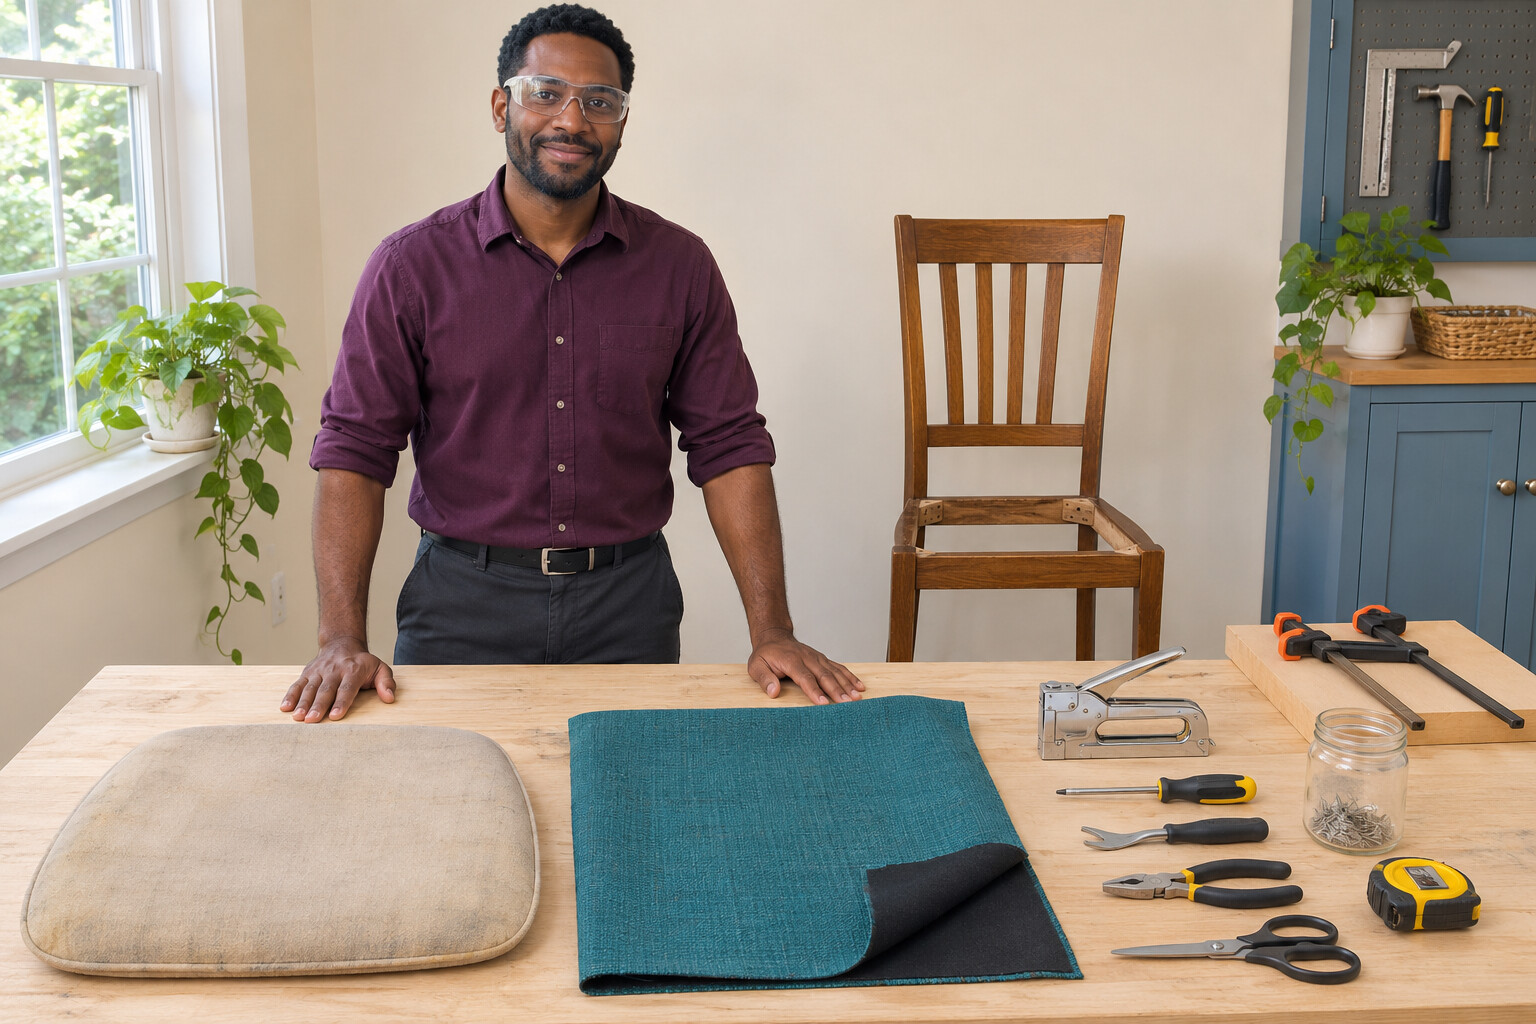
Photorealistic illustration · Waey
1. Check that this is a suitable seat
Use this method only for a conventional dining chair with a screw-removable upholstered seat, a sound wooden base and known clean, resilient padding. Photograph the underside and mark the front. Stop for a loose or cracked chair frame, damaged base, crumbling or contaminated padding, springs, webbing or an uncertain seat construction; those need assessment rather than a new cover. Before buying fabric or removing the old cover, ask a competent upholstery supplier to confirm the proposed cover and retained padding combination is suitable for the applicable local fire-safety requirements, with relevant product documentation. Clean padding or a generic upholstery-fabric description does not establish fire performance. If the existing assembly cannot be identified or its suitability confirmed, stop for professional assessment. Do not apply a spray as a substitute.
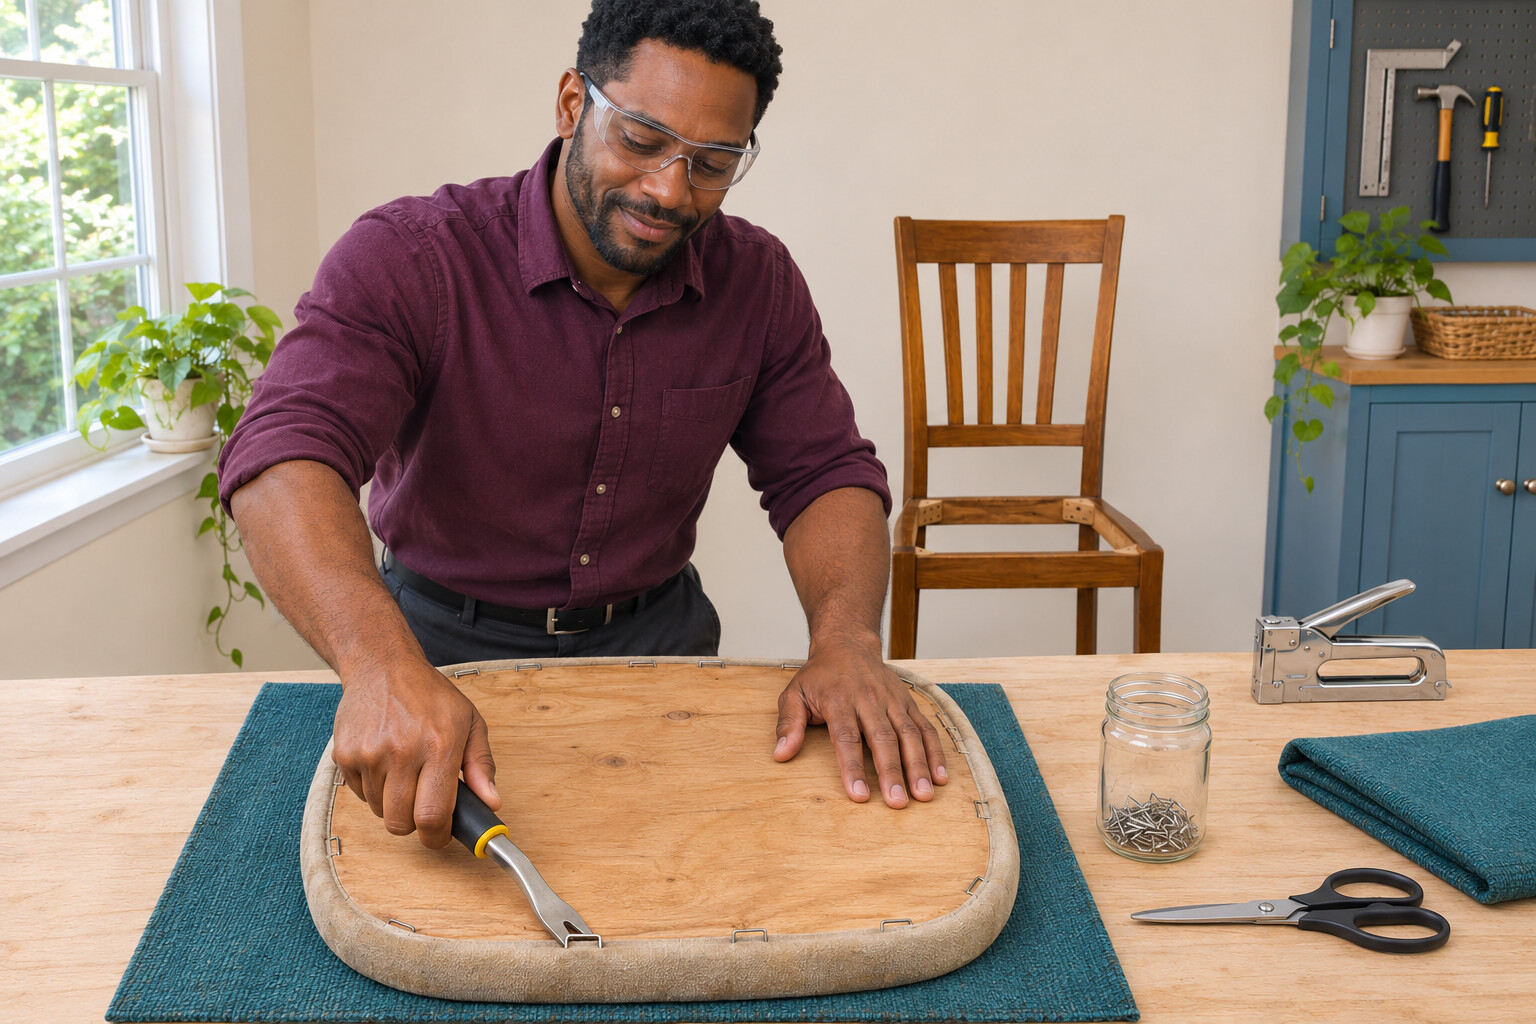
Photorealistic illustration · Waey
2. Remove the seat and old cover
Support the chair securely on a protected surface. Remove only the screws that retain the seat, keeping their positions and hardware together. Lift out the seat. With eye protection on, lift the old underside-cover staples with a staple remover and pull them out with pliers. Remove the cover staples the same way, keeping the old fabric intact as a guide. Collect every loose staple; keep your free hand out of the tool path. Inspect the exposed base and padding before continuing.
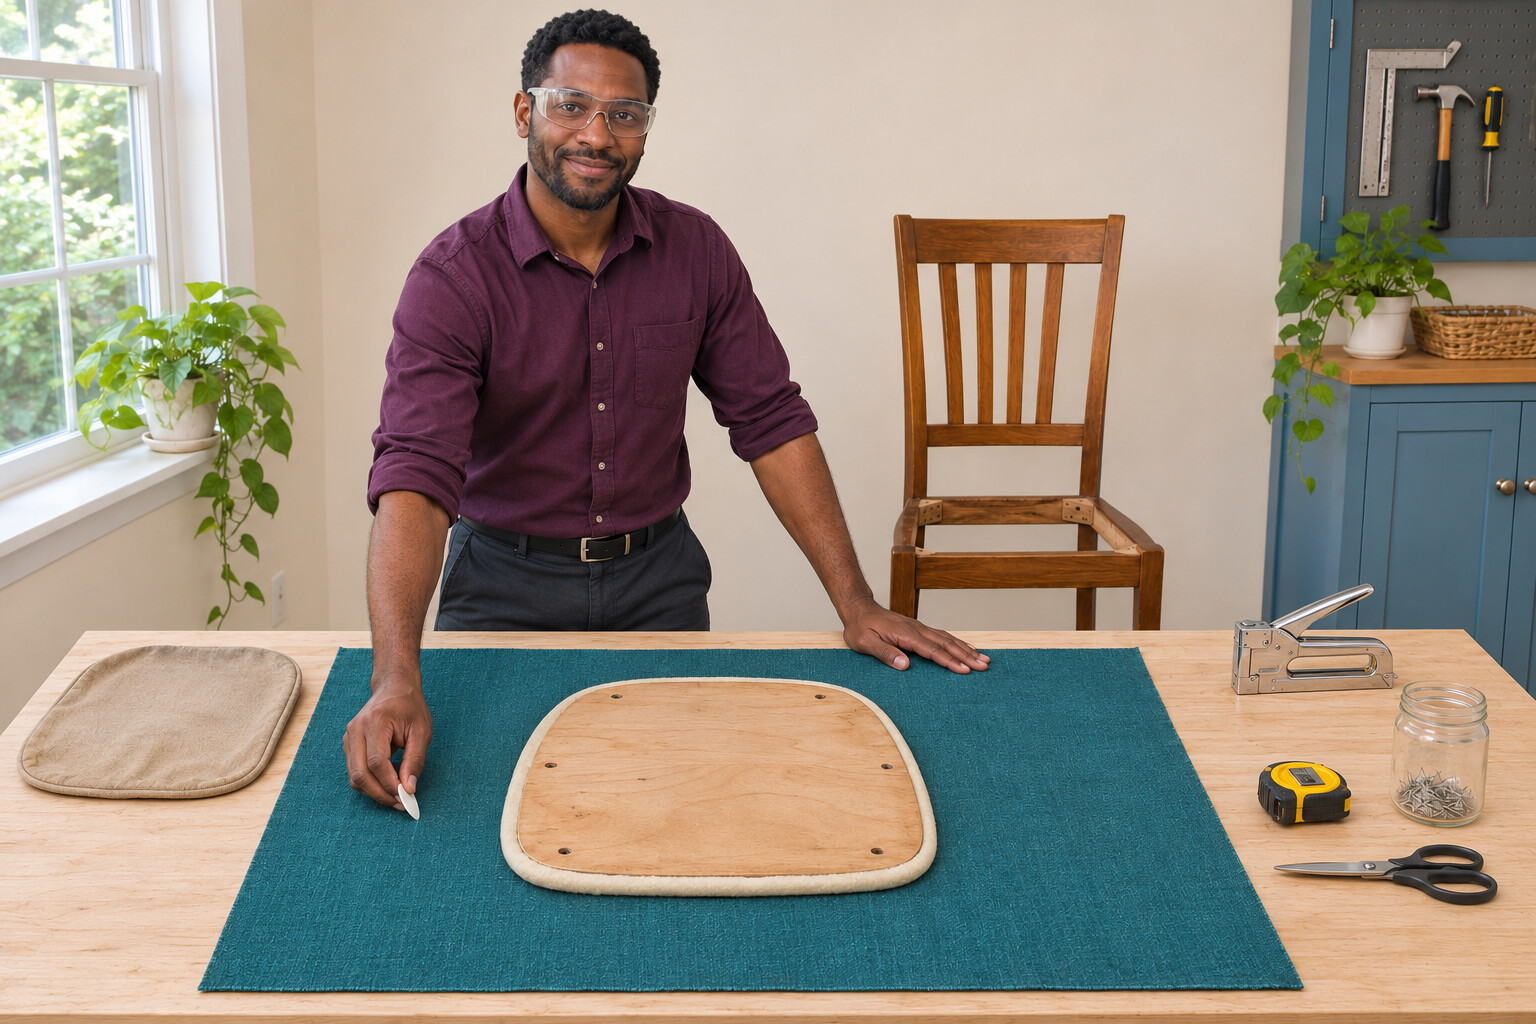
Photorealistic illustration · Waey
3. Cut and centre the new fabric
Choose upholstery fabric suitable for the chair and its applicable fire-safety requirements. Follow its care and preparation instructions. Use the old cover as a starting guide, then check the actual seat: allow enough fabric to wrap over the padding and reach the underside staple line on every side. Mark the front and centres on the wrong side, keeping any weave or pattern straight. Cut a generous blank; trim only after fastening. Do not assume the example dimensions in a guide fit your chair.
Photorealistic illustration · Waey
4. Load and use the manual stapler safely
Wear eye protection and keep the outlet directed away from people, with fingers clear. Without pressing the handle, control and remove the rear spring pusher, insert genuine T50 staples legs downward, then return and secure the pusher as the T50 loading diagram shows. Work on a stable bench; keep the discharge path clear. Stop if the tool malfunctions; do not probe the outlet or dismantle it. For both the trial and the seat, support the work securely on the bench, with fingers and clamps clear of the outlet and staple path. Place the T50 nose against the intended fastening point, hold its intended upper grip, bear down at the front and slightly raise the rear as Arrow directs, then squeeze the handle in control. Never fire away from the work. Unload and set the stapler aside before inspecting both faces, turning the work or removing staples.
Photorealistic illustration · Waey
5. Match the staples to the seat base
Check the exposed base thickness and condition before replacing the cover. Choose genuine T50 staples for the manual T50, allowing for the compressed fabric layers and keeping the points within the board. Do not copy a staple length from another chair. Try the proposed staple through the same folded fabric on a matching offcut of the same base material and thickness, supported on the bench with hands clear underneath. Check both faces: the crown must hold the cloth firmly without cutting it, and neither point may emerge. If staples stand proud, try the next shorter compatible leg as Arrow directs; if the fabric will not hold securely without breakthrough, stop and have an upholsterer select the fixing. Do not use a trial to approve a cracked, crumbling or delaminated base. Test both the thinnest wrap and the thickest intended corner folds. Clamp the offcut securely without putting clamps in the staple path. Unload and set the tool aside before inspecting both faces. Never cut a test piece from the seat itself. If a matching offcut is unavailable, have a competent upholsterer select the fixing before stapling.
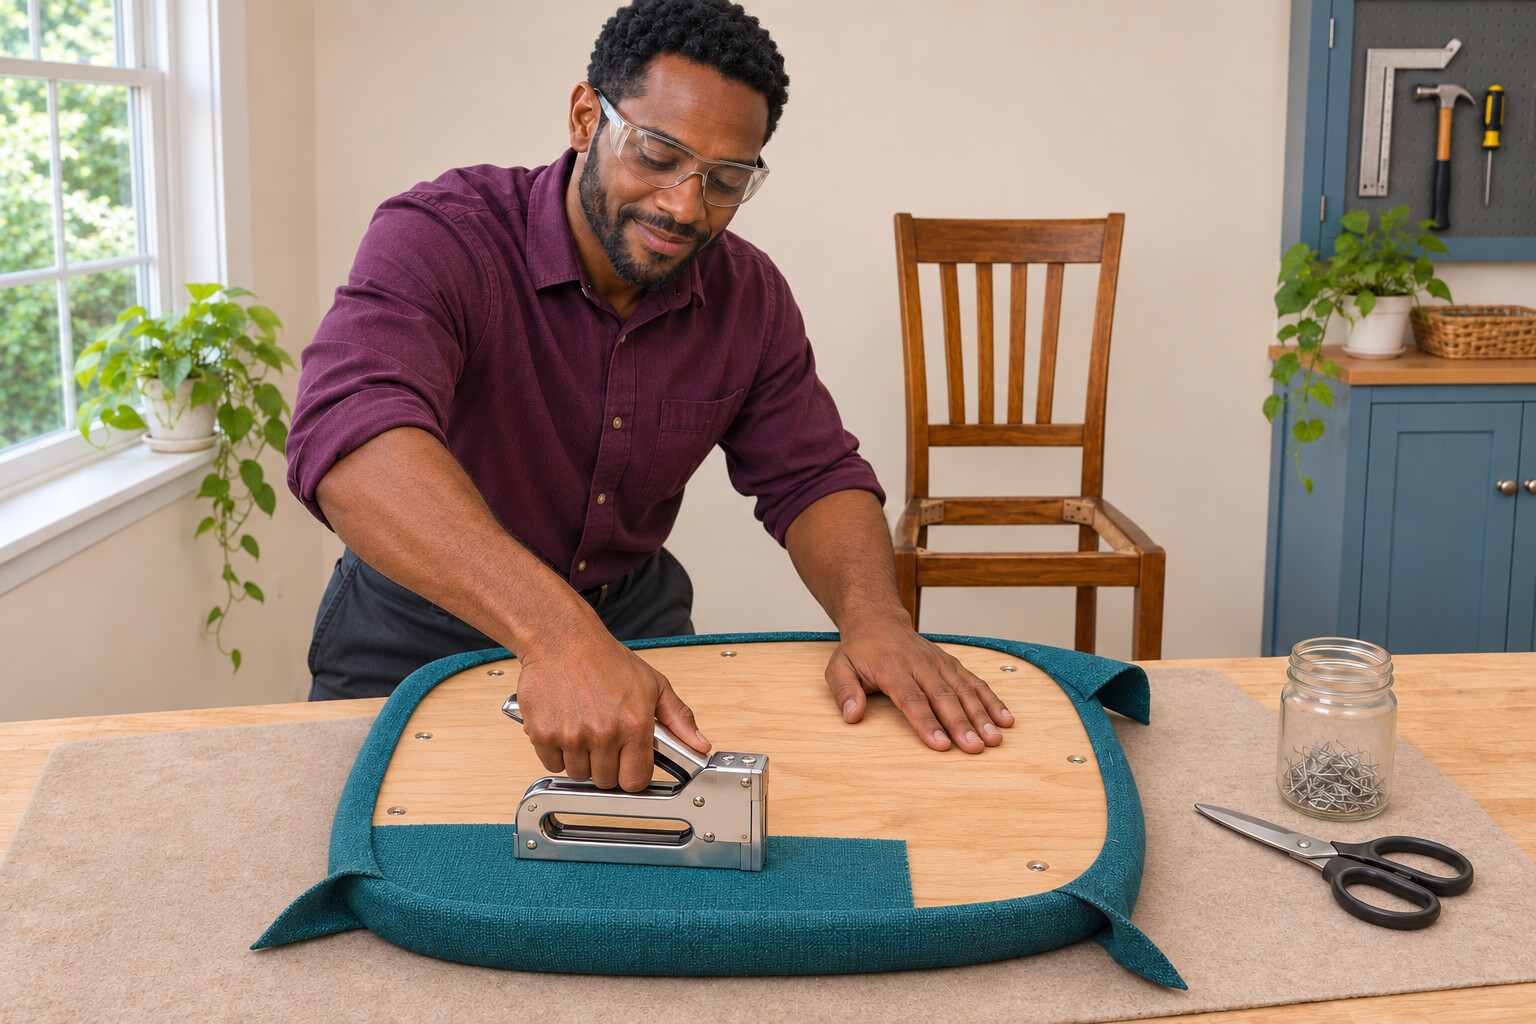
Photorealistic illustration · Waey
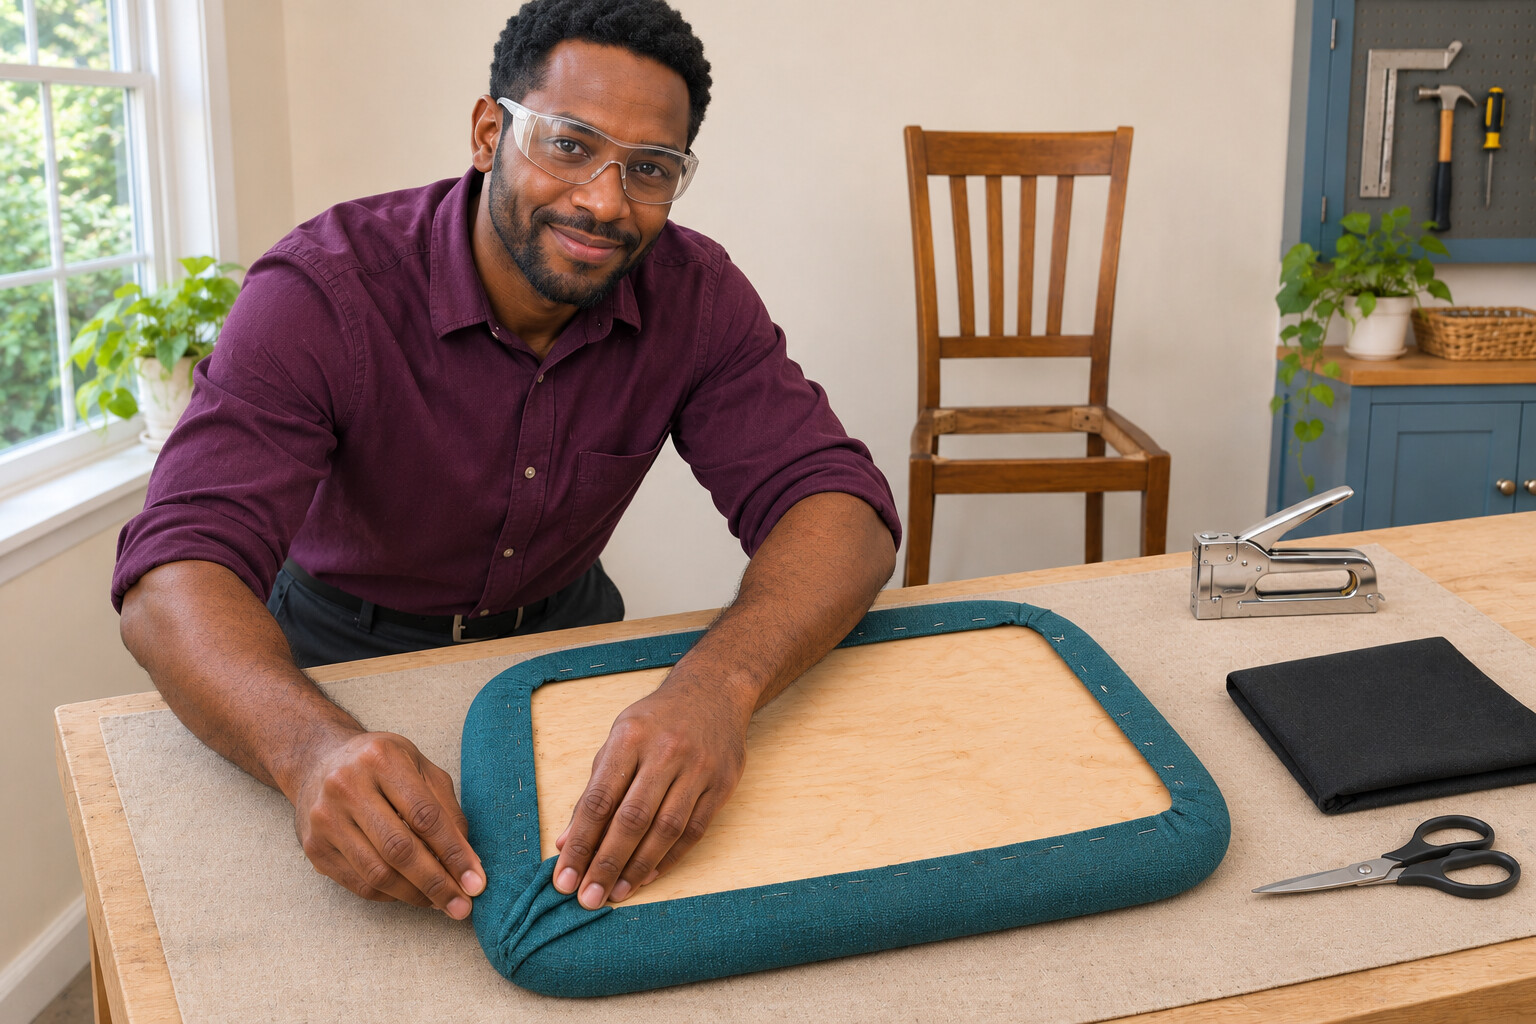
6. Work from the centres toward the corners
With the cover centred and the seat underside upward, secure the middle of one edge, then the opposite edge with even tension. Repeat across the other pair of sides and check the visible face before adding more staples. Work outward from each centre, alternating sides rather than finishing one edge first, and leave about 5–8 cm near each corner unfastened. Keep original seat-screw holes clear. If the fabric twists or bags, remove the affected staples and reset the tension before continuing. Unload and set the stapler aside before turning the seat over to check the face or removing staples to adjust the cover. Reload safely only when ready to resume.
Photorealistic illustration · Waey
7. Fold the corners and finish the underside
Use the same controlled stapling technique and unload before turning the seat or adjusting staples. At each corner, bring the centre of the fabric around first, then make small, even pleats on either side. Keep bulk underneath and check the visible edge before securing it. Recheck the face for wrinkles and the screw holes for clearance. Trim excess fabric leaving about 25 mm beyond the staple row. Fit a clean upholstery dust cloth, turned in at the edges and slightly smaller than the base, keeping the screw holes clear; use the separately checked staple choice for this thinner layer. Unload the tool and inspect for loose or sharp fasteners.
Photorealistic illustration · Waey
8. Refit and check the seat
Return the seat in its original orientation. Refit the original seat-retaining screws in their original holes by hand, tightening evenly until secure without stripping the base. If a screw will not hold, stop for repair; do not substitute a longer screw that could emerge through the seat. Set the chair upright on a level floor and check that the seat is firmly retained, the frame is stable and no sharp fastener is exposed. Do not use it until any looseness or damage is resolved.
Video demonstrations
How to Reupholster a Chair Seat With Piping
Muted visual samples at 4:00 show fabric being handled around a padded seat, and at 7:00 show the covered face held for inspection. This Sailrite project uses piping and a different stapling setup; these samples do not verify manual T50 operation, staple size or holding strength. Audio and the full video were not reviewed.
Sailrite · English; audio not reviewed
Watch on YouTube ↗HOW TO REUPHOLSTER DINING SEATS | DINING SEAT PADS | UPHOLSTERY FOR BEGINNERS | FaceliftInteriors
Visual reference for handling the cover around a dining-seat pad (sampled at 6:03). Follow this article’s checks for the actual base, padding and manual stapler; this sample does not establish their suitability. Only a muted visual sample was reviewed.
FaceLiftInteriors · English; audio not reviewed
Watch on YouTube ↗Final checks
Cover smooth; corners tidy; no loose or exposed sharp staples; original holes clear; seat and frame secure. Stop for any damage or looseness.
Sources
Instruction images generated with OpenAI and reviewed individually and as a sequence. They illustrate visible context; no physical upholstery, fire or load tests were performed.