
Repair a small plasterboard hole with a fibre patch
Repair one small isolated hole in a sound plasterboard wall, then feather, wet-finish, prime and repaint it with a matched coating system.
What will you learn?
Repair one small isolated hole in a sound plasterboard wall, then feather, wet-finish, prime and repaint it with a matched coating system.
Tools
- Small plastic putty knife supplied with the selected kitSearch Amazon UAE ↗
- Metric rulerSearch Amazon UAE ↗
- Clean clothSearch Amazon UAE ↗
- Protective gloves suitable for each selected product, following its current label and safety sheetSearch Amazon UAE ↗
- Drop sheetSearch Amazon UAE ↗
- Small waste containerSearch Amazon UAE ↗
- Wet-sanding sponge suitable for the selected compoundSearch Amazon UAE ↗
- Side-shield safety glassesSearch Amazon UAE ↗
- Nylon/polyester brushSearch Amazon UAE ↗
- Small roller with a cover matched to the wall texture and coating instructionsSearch Amazon UAE ↗
- Paint traySearch Amazon UAE ↗
- Paint stirrerSearch Amazon UAE ↗
- Lidded container for wash waterSearch Amazon UAE ↗
- Portable inspection light for checking the feathered edgesSearch Amazon UAE ↗
- Chemical-resistant protective clothing; an impervious apron is recommended for the finish paintSearch Amazon UAE ↗
Materials
- US DAP Wall Repair Patch Kit with DRYDex, code 12345: 5×5 inch fibre patch and matched compoundSearch Amazon UAE ↗
- Clean water
- BEHR Drywall Plus Interior Primer & Sealer No.73Search Amazon UAE ↗
- BEHR PREMIUM PLUS Interior Flat No.1050, matched to the known existing wall colour and sheenSearch Amazon UAE ↗
- Mild soap for tool cleanupSearch Amazon UAE ↗
Step by step
Photorealistic illustration · Waey
1. Check that this is a local surface repair
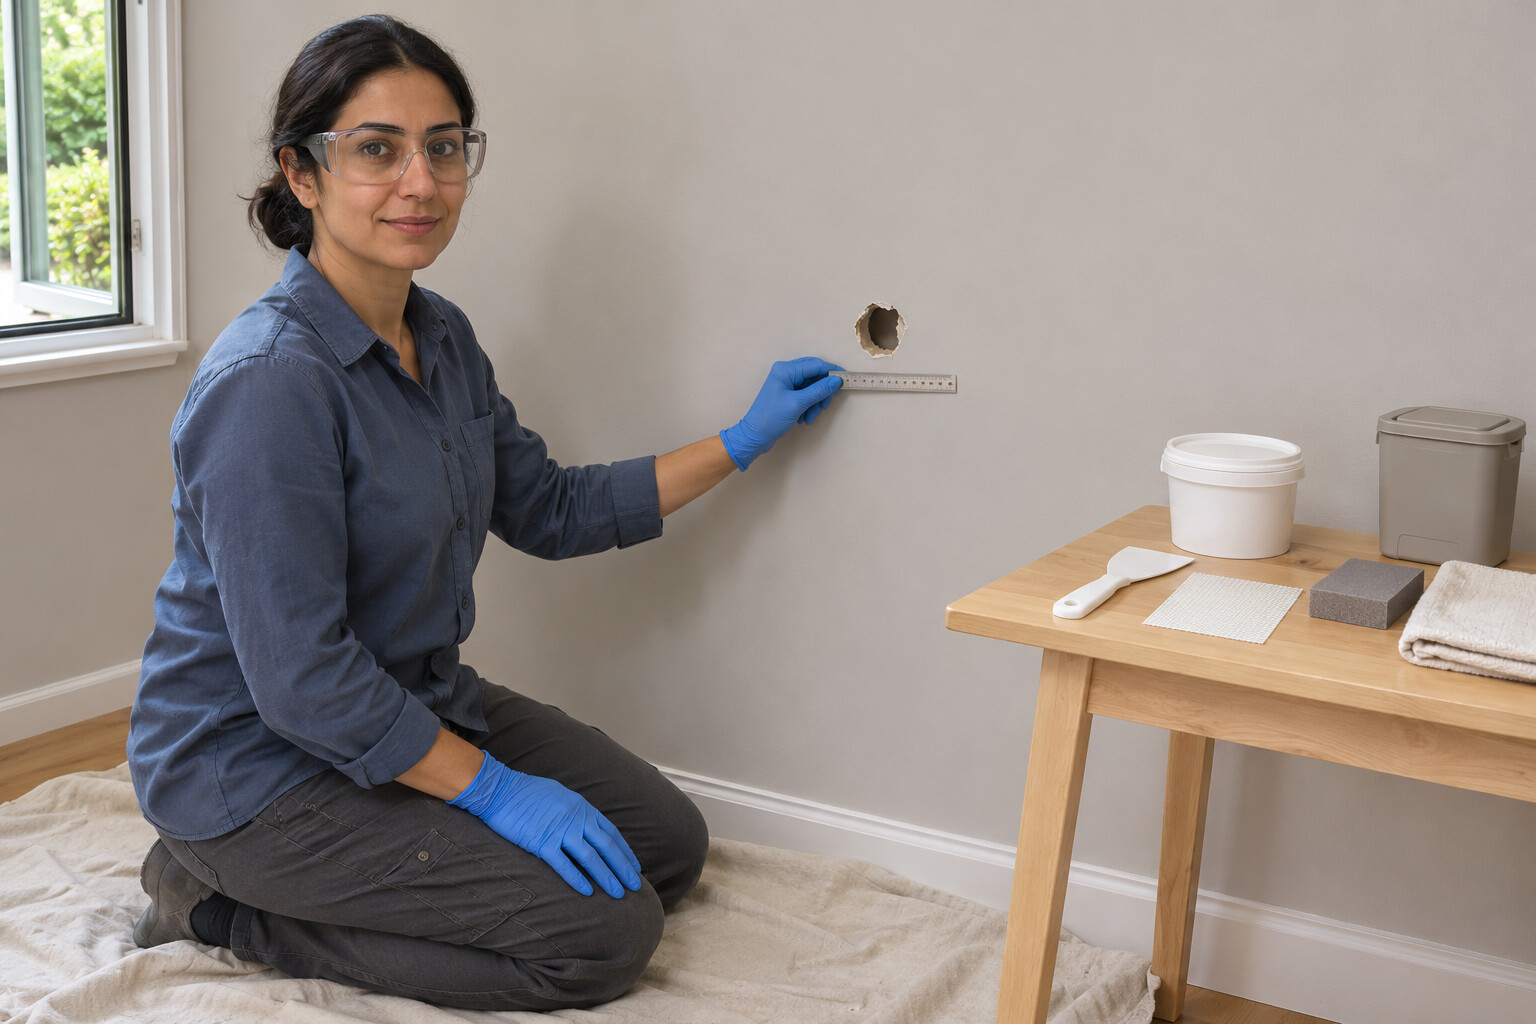
Use this method only on a dry, sound interior plasterboard wall with known modern coatings and a small isolated hole. Measure the damaged opening and check the full patch can sit on firm surrounding material. Stop for dampness, crumbling board, continuing cracks or a wall with a required fire or acoustic rating. Do not push tools into the cavity or enlarge the hole to investigate it. A surface patch does not restore a fixing point or carry a shelf.
Photorealistic illustration · Waey
2. Prepare the surrounding surface without opening the wall
Protect the floor and remove only loose surface debris with the putty knife, keeping its edge outside the cavity. The surrounding face must be clean, dry and firm so the patch can bond. Leave sound paper and paint in place rather than gouging a recess. Keep dust contained and use the protection required by the actual product label. If cleaning leaves moisture behind, wait for full drying before the patch or compound is applied.
Photorealistic illustration · Waey
3. Bed the matched fibre patch over the hole
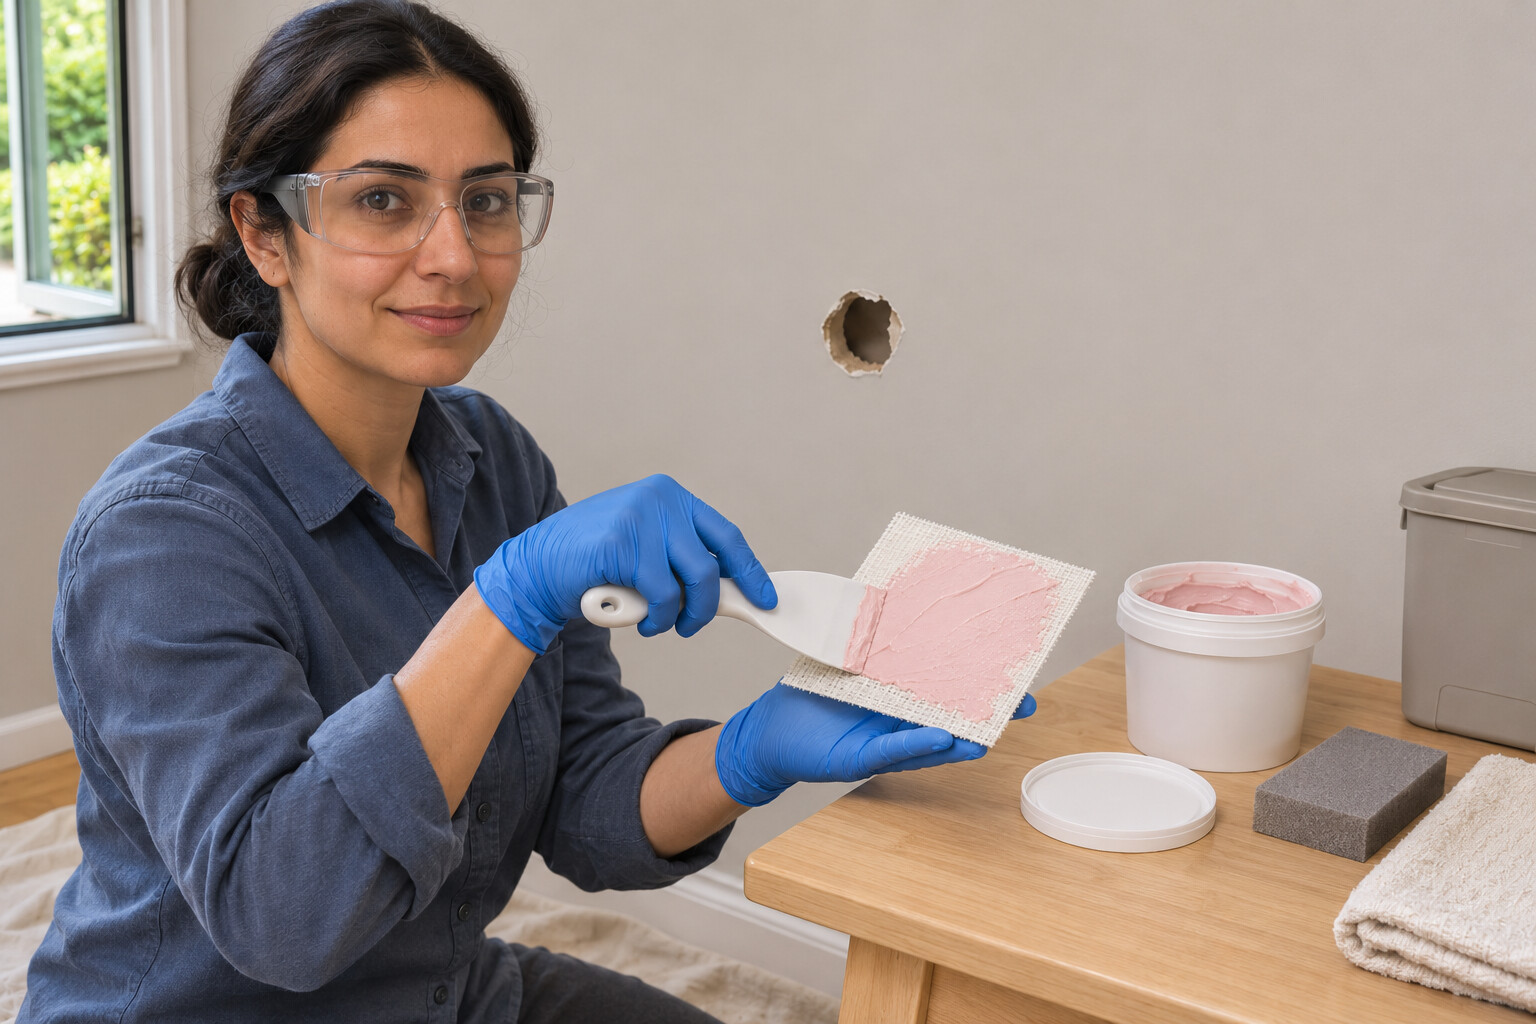
Work at or above 10°C (50°F) and check the kit instructions: the reviewed fibre-patch method uses DRYDex on the back of the patch, rather than assuming every repair patch is self-adhesive. Centre the complete patch over the small opening and press its perimeter onto firm wall material. Keep it flat, with no lifted corners or wrinkles. Do not substitute an unrelated mesh, metal patch or tape and retain the same instructions; their bonding and covering systems can differ.
Photorealistic illustration · Waey
4. Cover the patch and feather its perimeter
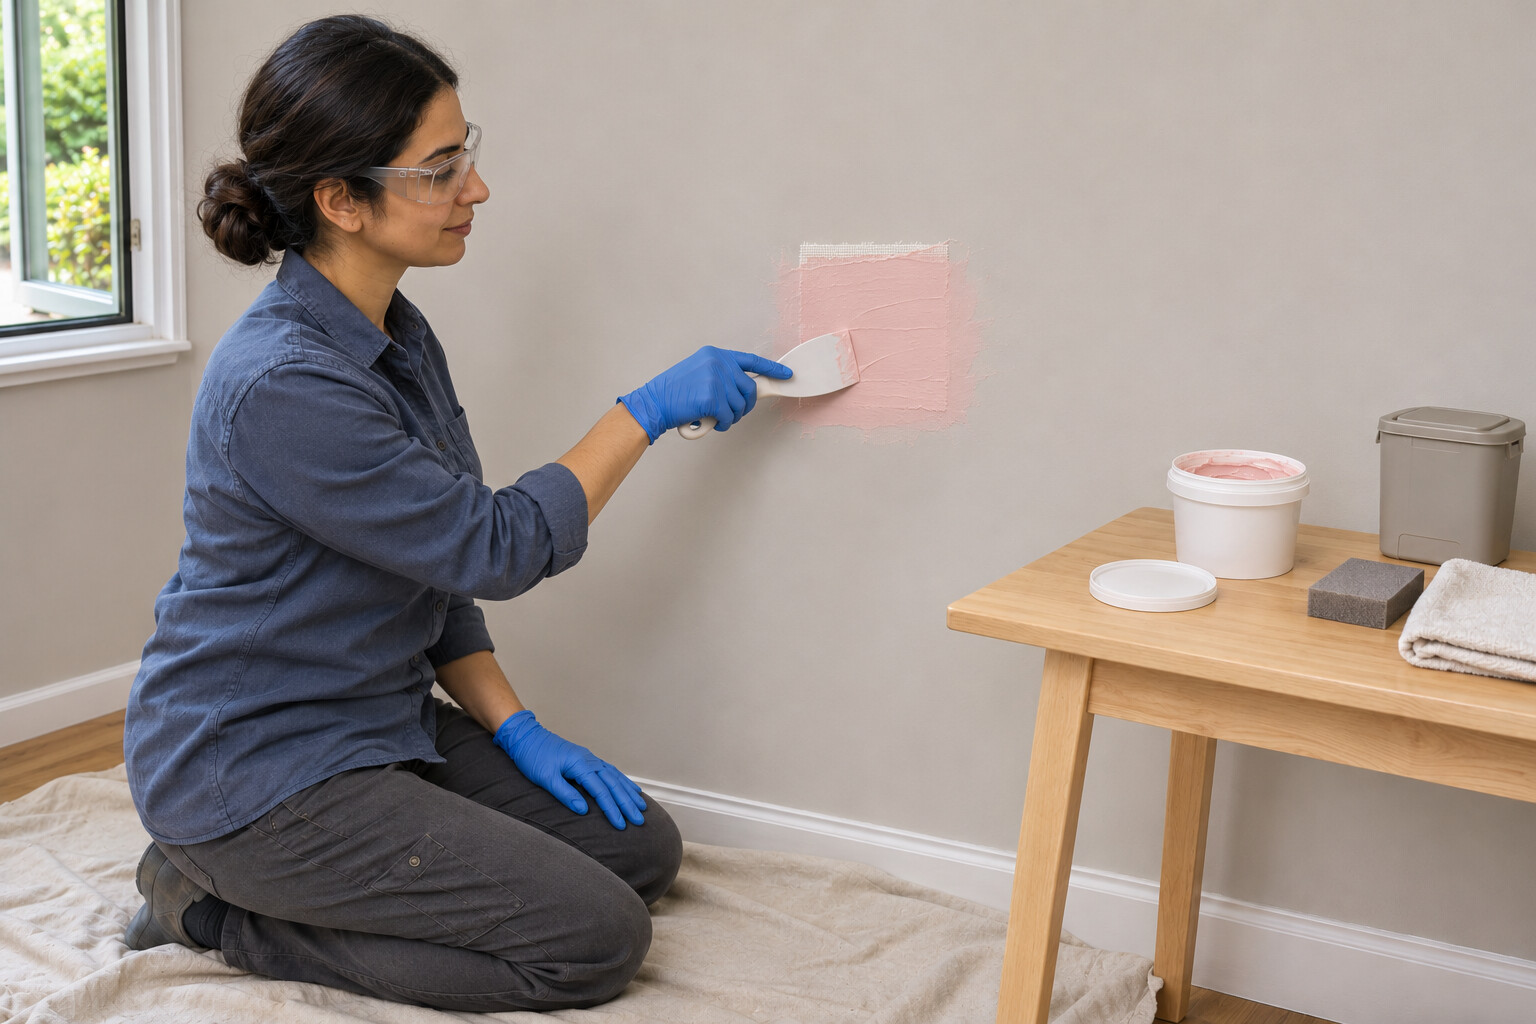
Spread the matched compound across the patch and onto the surrounding face, thinning the outer edge so the repair does not end in a sharp ridge. Work with the knife nearly flat and avoid pulling a corner loose. Close the tub promptly after taking what you need. Leave the repair undisturbed until it has changed from pink to white and is completely dry; temperature, humidity and thickness affect that wait, so do not sand by the clock alone.
Photorealistic illustration · Waey
5. Blend the dry repair without making a dust cloud
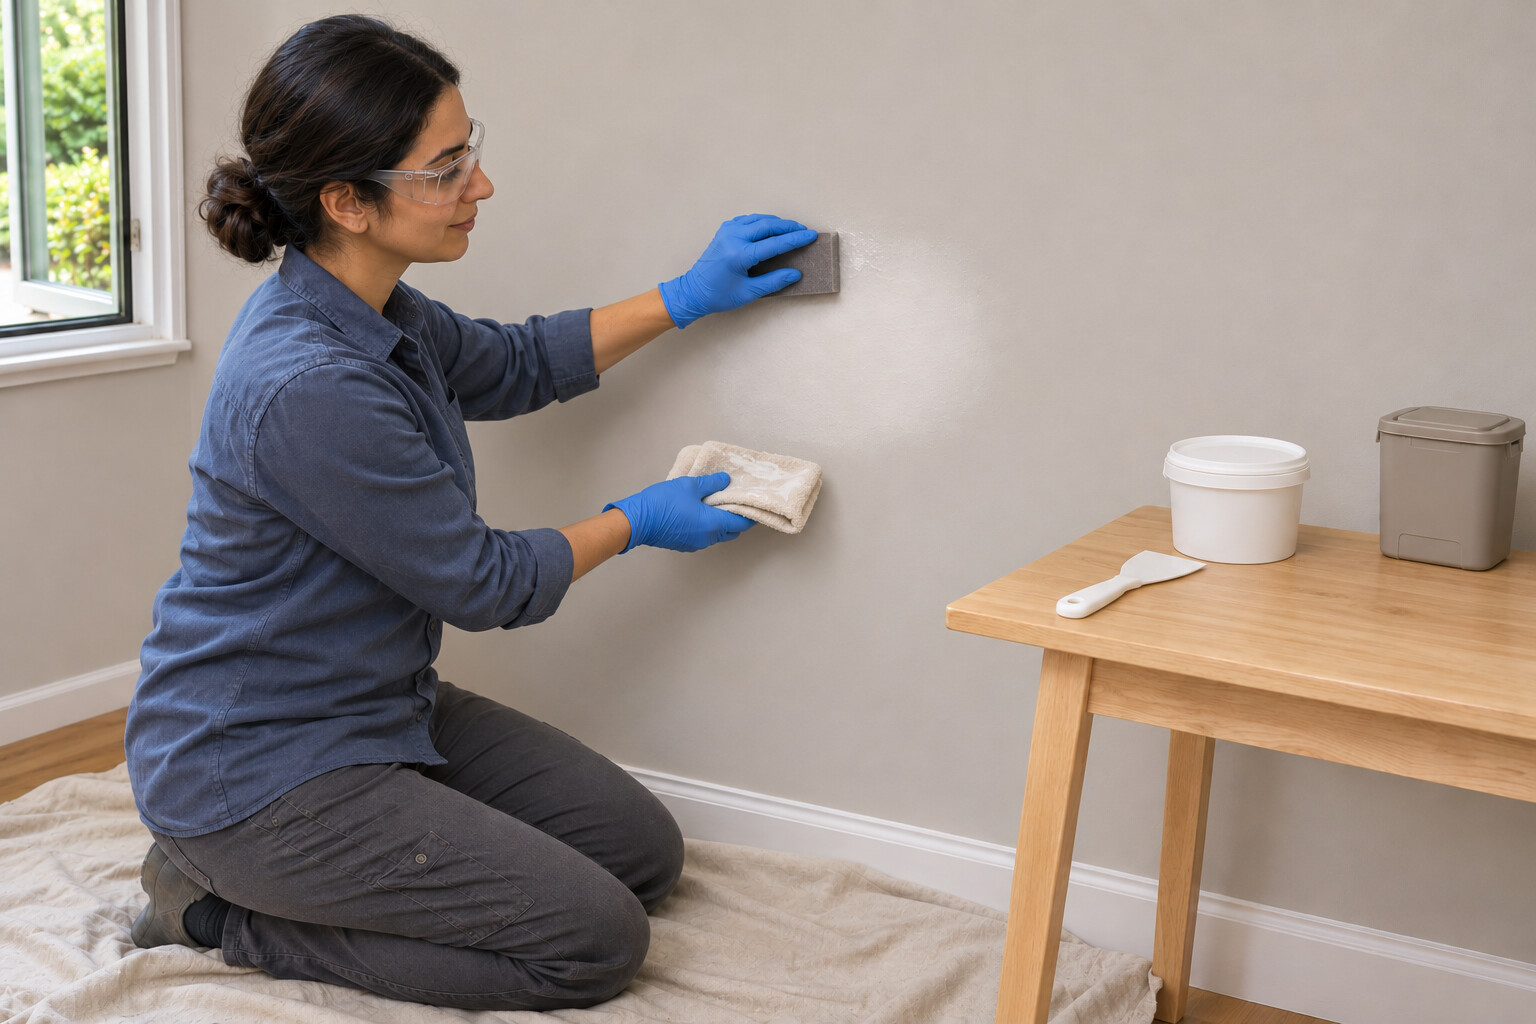
When the compound is fully dry, inspect the patch under side light. Use the manufacturer-recommended wet-finishing route with a suitable damp sanding sponge, working lightly on ridges and feathered edges; do not soak the wall or scrub through the fibre patch. Keep the residue contained, then allow the repair to dry again. If a depression or visible mesh remains, add a thin finishing coat and repeat the full drying and smoothing checks rather than sanding the patch away.
Photorealistic illustration · Waey
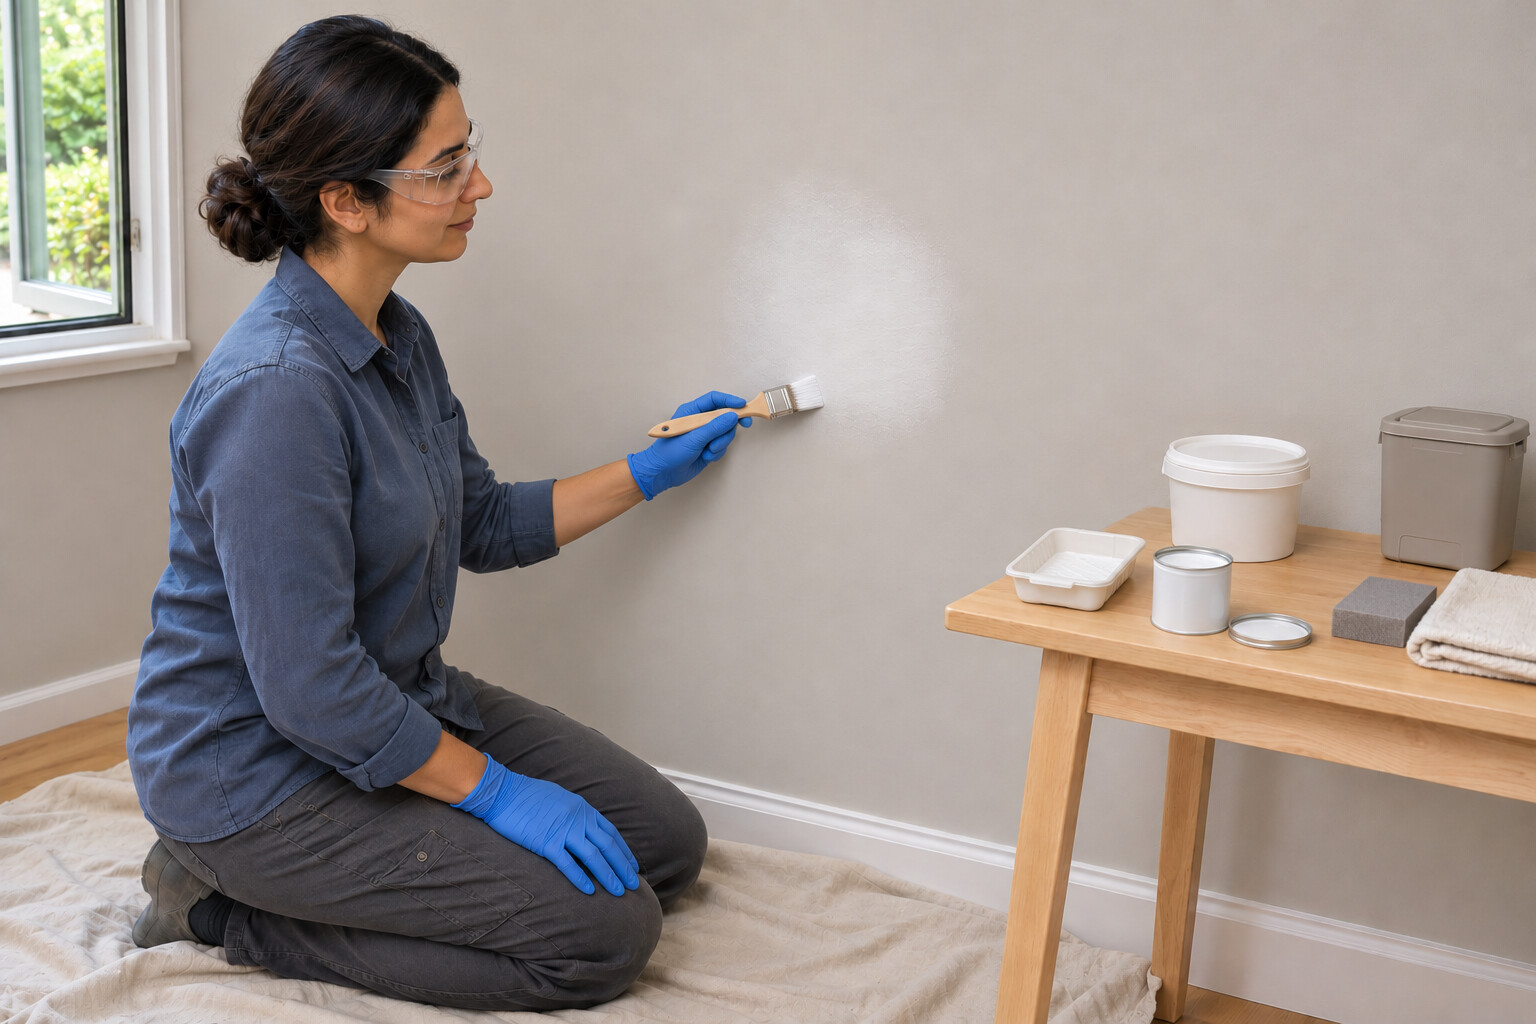
6. Seal the fully dry repair before the finish paint
Remove all wet-finishing residue and let the repair dry completely again. Stir BEHR Drywall Plus No.73 and apply one even primer coat over the repaired porous area, using a nylon/polyester brush or suitable roller without thinning. Work within its 10–32°C application range. Its one-hour recoat time is stated at about 25°C and 50% relative humidity; cooler or damper conditions need longer. Continue only when the actual surface is ready, rather than trapping moisture beneath the finish.
Photorealistic illustration · Waey
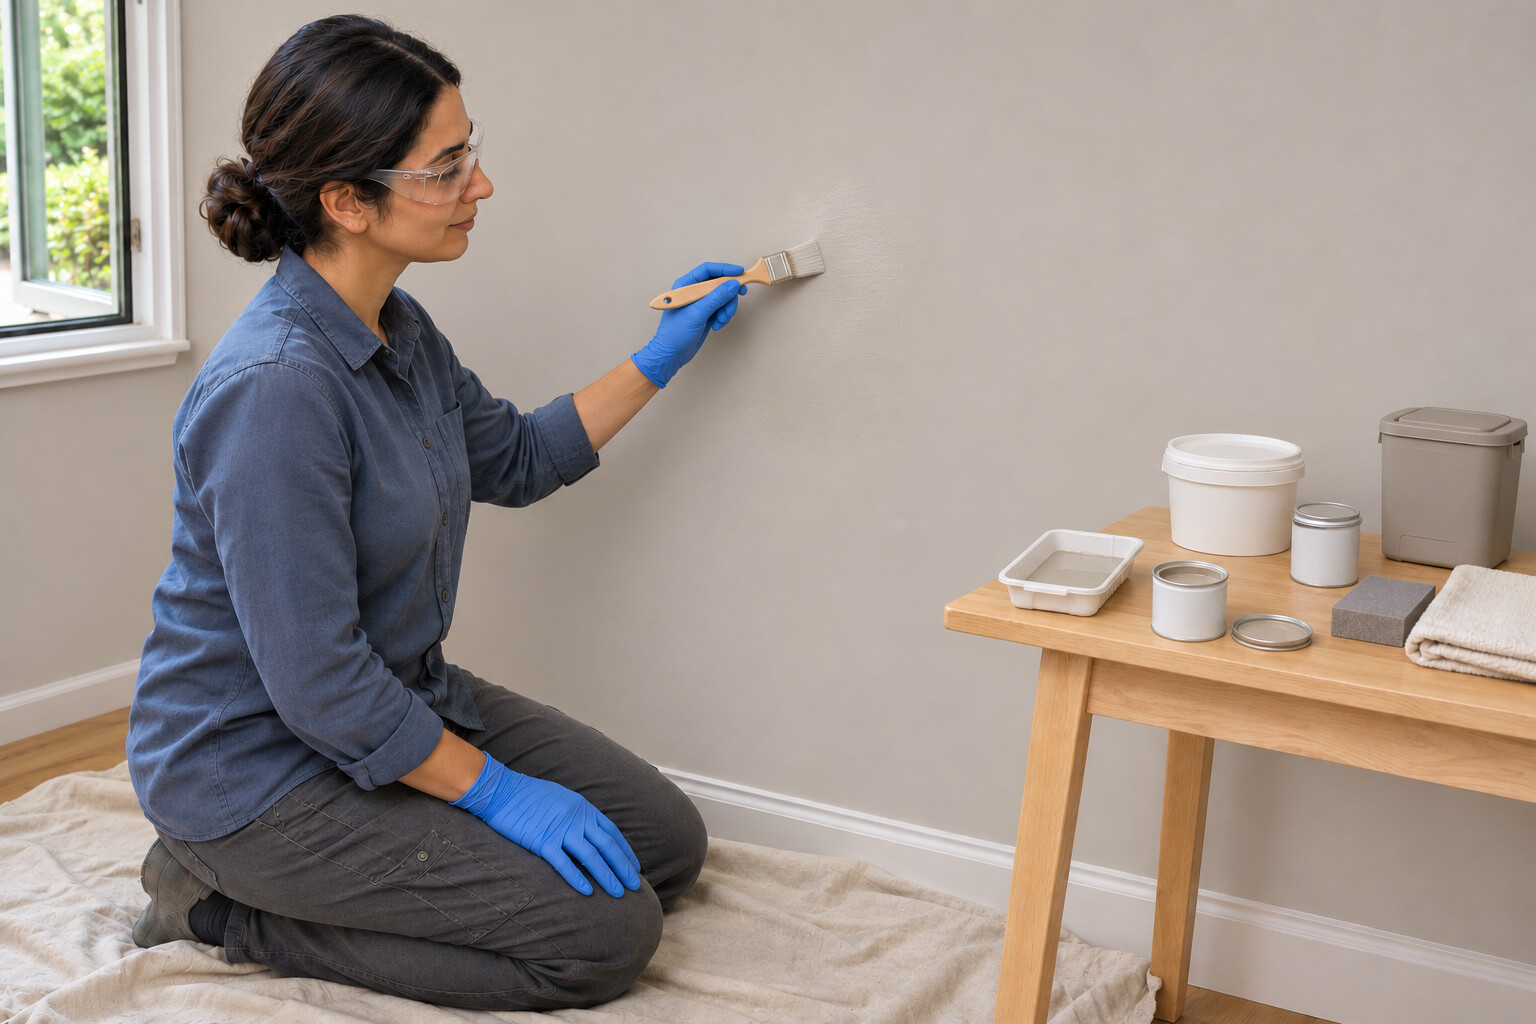
7. Apply the matched flat finish in two coats
Use BEHR PREMIUM PLUS Interior Flat No.1050 matched to the wall’s known colour and sheen. Stir it and apply two even finishing coats with the chosen brush or roller; do not thin for either method. The stated recoat interval is two hours at about 25°C and 50% relative humidity, with longer drying in cool or damp conditions. Keep the repair’s texture consistent with its surroundings. A small paint patch may remain visible; matching the product does not guarantee an invisible touch-up.
Photorealistic illustration · Waey
8. Check the finish and clean up without releasing residue
Inspect the dry coating in room light and side light. Correct raised patch edges rather than hiding them under thick paint. Avoid rubbing the fresh finish and wait at least two weeks before washing or cleaning it; follow the current pack and allow longer when conditions require. Collect compound residue and paint wash water in containers, away from drains. Clean tools promptly, close the tubs and use the local waste service. The repair remains a decorative surface, not a new anchor location.
Video demonstrations
DAP Wall Repair Patch Kit with DryDex Spackling
Shows a knife spreading pink compound over a perforated repair patch at 0:27. Follow the selected kit instructions and wet-finishing precautions here.
American Builder · Spoken language unconfirmed
Watch on YouTube ↗Wall Repair Kit With Everything You'll Need (DAP Patch Kit)
Shows pink compound being spread over a wall patch at 3:05. The video discloses paid promotion; its bare hands and nearby exposed hardware are outside this guide’s precautions and scope.
Refresh Home Improvements · Spoken language unconfirmed
Watch on YouTube ↗Final checks
Patch lies flat; no exposed fibre or raised feathered edge; repair fully dry before primer. Wait at least two weeks before washing the finish, allowing longer as conditions require.
Sources
DAP US kit 12345 — selected fibre patch and compound; other regional kits may differ ↗
DAP selected compound safety sheet, 14 July 2025 — handling, dust and wet-sanding precautions ↗
BEHR No.73 technical sheet, revised 7/2024 — application, drying and exposure warnings; not an SDS ↗
BEHR073 — manufacturer-linked English-US safety sheet, revision16June2020 ↗
BEHR1050 — manufacturer-linked English-US safety sheet, revision03March2026 ↗
Instruction photographs generated with OpenAI image generation and reviewed for this guide.