
Replace a matched push-in refrigerator door gasket
Replace a torn fresh-food door seal, seat its retaining bead evenly and verify cooling before returning food.
What will you learn?
This guide replaces a damaged push-in fresh-food door gasket on a GE top-freezer refrigerator, using GTS16BBSJRWW and WR24X10231 as the documented example. It includes diagnosis, part matching, removal, seating and temperature checks. The door stays attached. Use it only when the complete model, replacement part and push-in retaining channel match; other gasket designs need their own procedure.
Tools
- Appliance thermometerSearch Amazon UAE ↗
- Thermometer for temporary cold storageSearch Amazon UAE ↗
- Insulated food cooler, unless another working fridge is availableSearch Amazon UAE ↗
- Clean soft clothsSearch Amazon UAE ↗
- Small bowlSearch Amazon UAE ↗
- Measuring spoonSearch Amazon UAE ↗
- FlashlightSearch Amazon UAE ↗
Materials
- One genuine matching WR24X10231 gasket, confirmed against the complete model and current parts listingSearch Amazon UAE ↗
- Ice packs sufficient to maintain safe temporary food storageSearch Amazon UAE ↗
- Warm water
- Baking soda: about 15 ml per liter of waterSearch Amazon UAE ↗
- Small amount of petroleum jelly for the hinge-side treatment specified by this model-family manualSearch Amazon UAE ↗
- Clean paper strip for comparative grip checksSearch Amazon UAE ↗
Step by step
Photorealistic illustration · Waey
1. Decide whether the gasket actually needs replacing
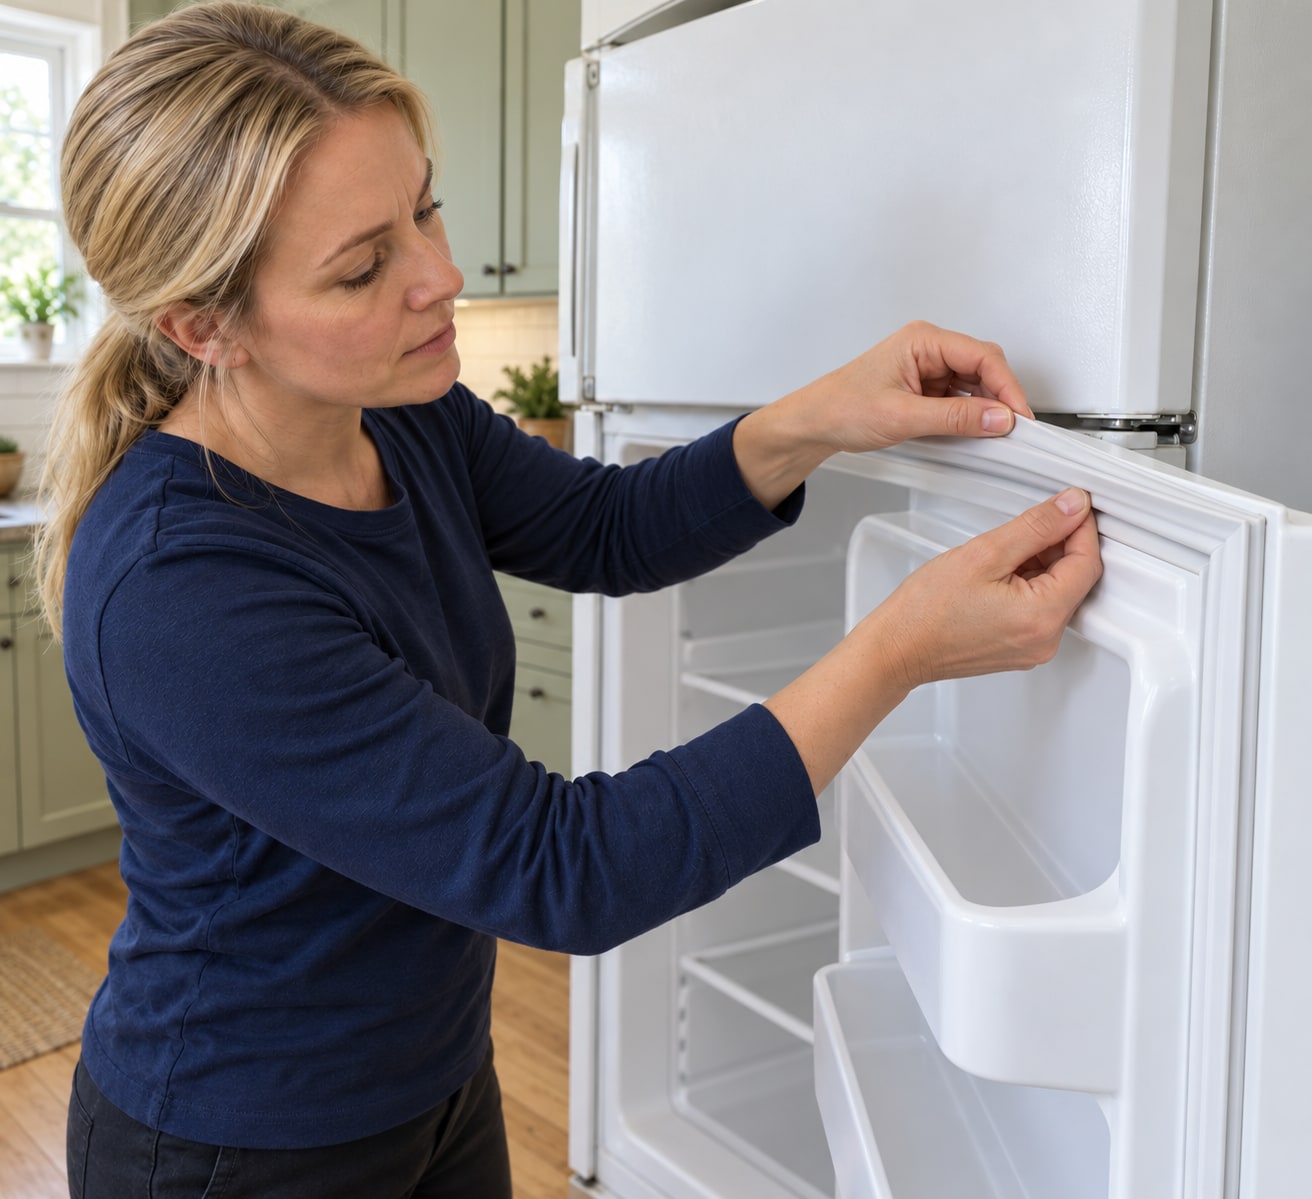
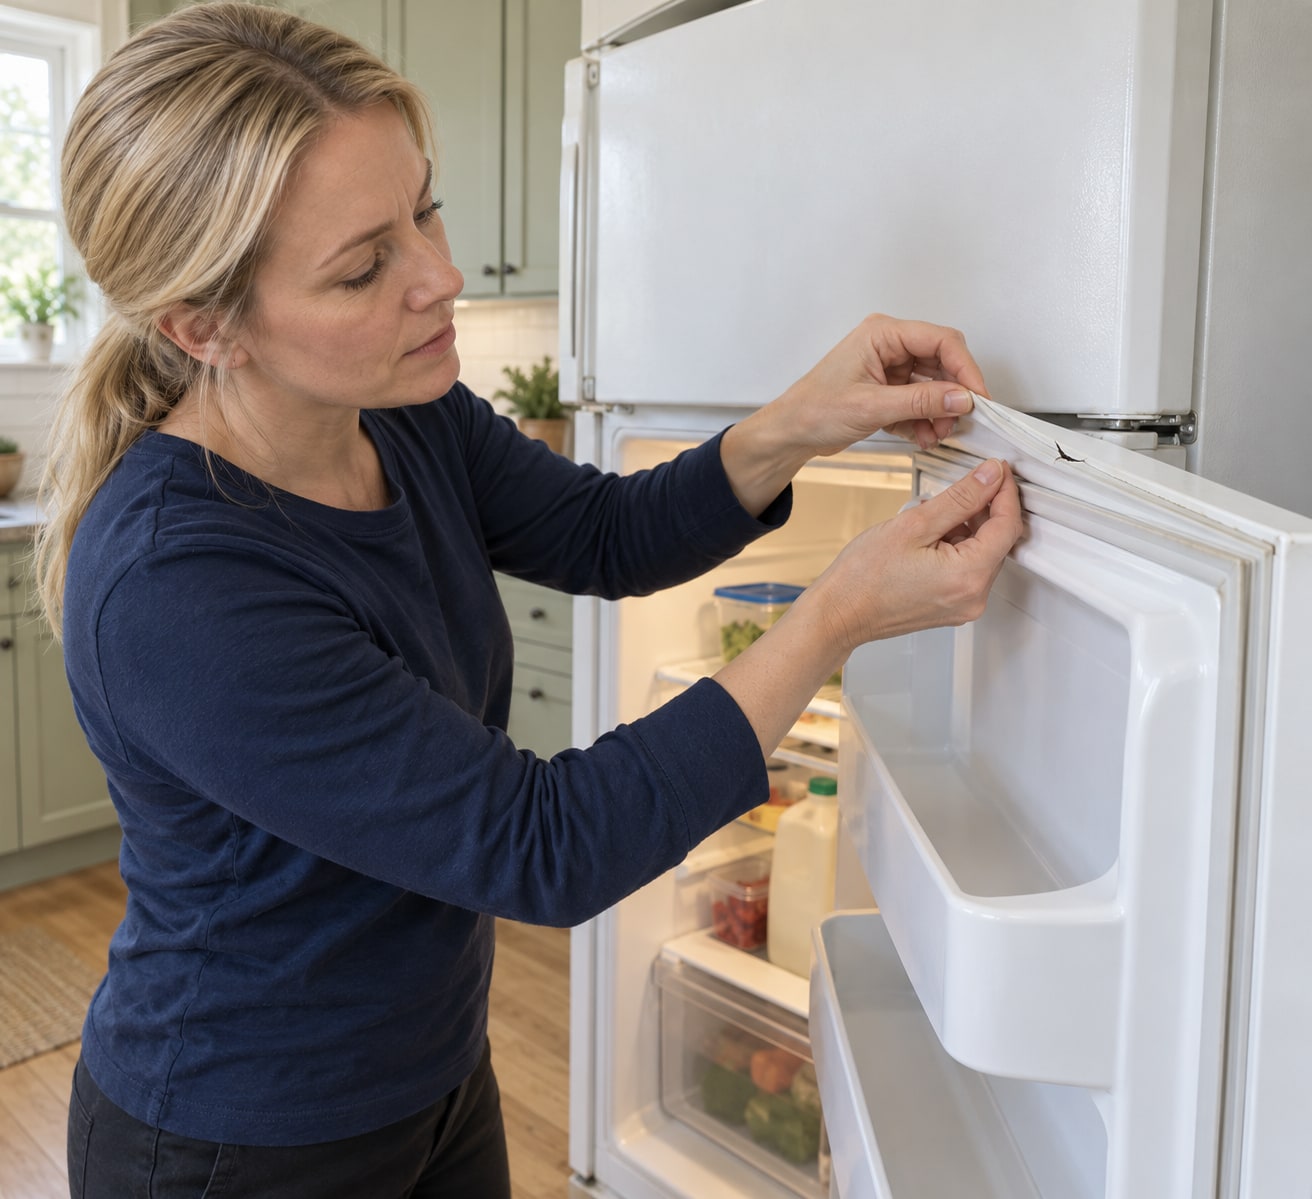
Clear packages from the door opening and wipe the existing seal and cabinet contact surface. Look for a split, missing section or permanently damaged corner. A sound gasket that has simply pulled loose may only need reseating. Check that the door is not visibly sagging or rubbing. A damaged liner, distorted door or hinge problem needs diagnosis before a new seal; replacing rubber will not correct the door geometry.
Photorealistic illustration · Waey
2. Match the appliance, part and retaining profile
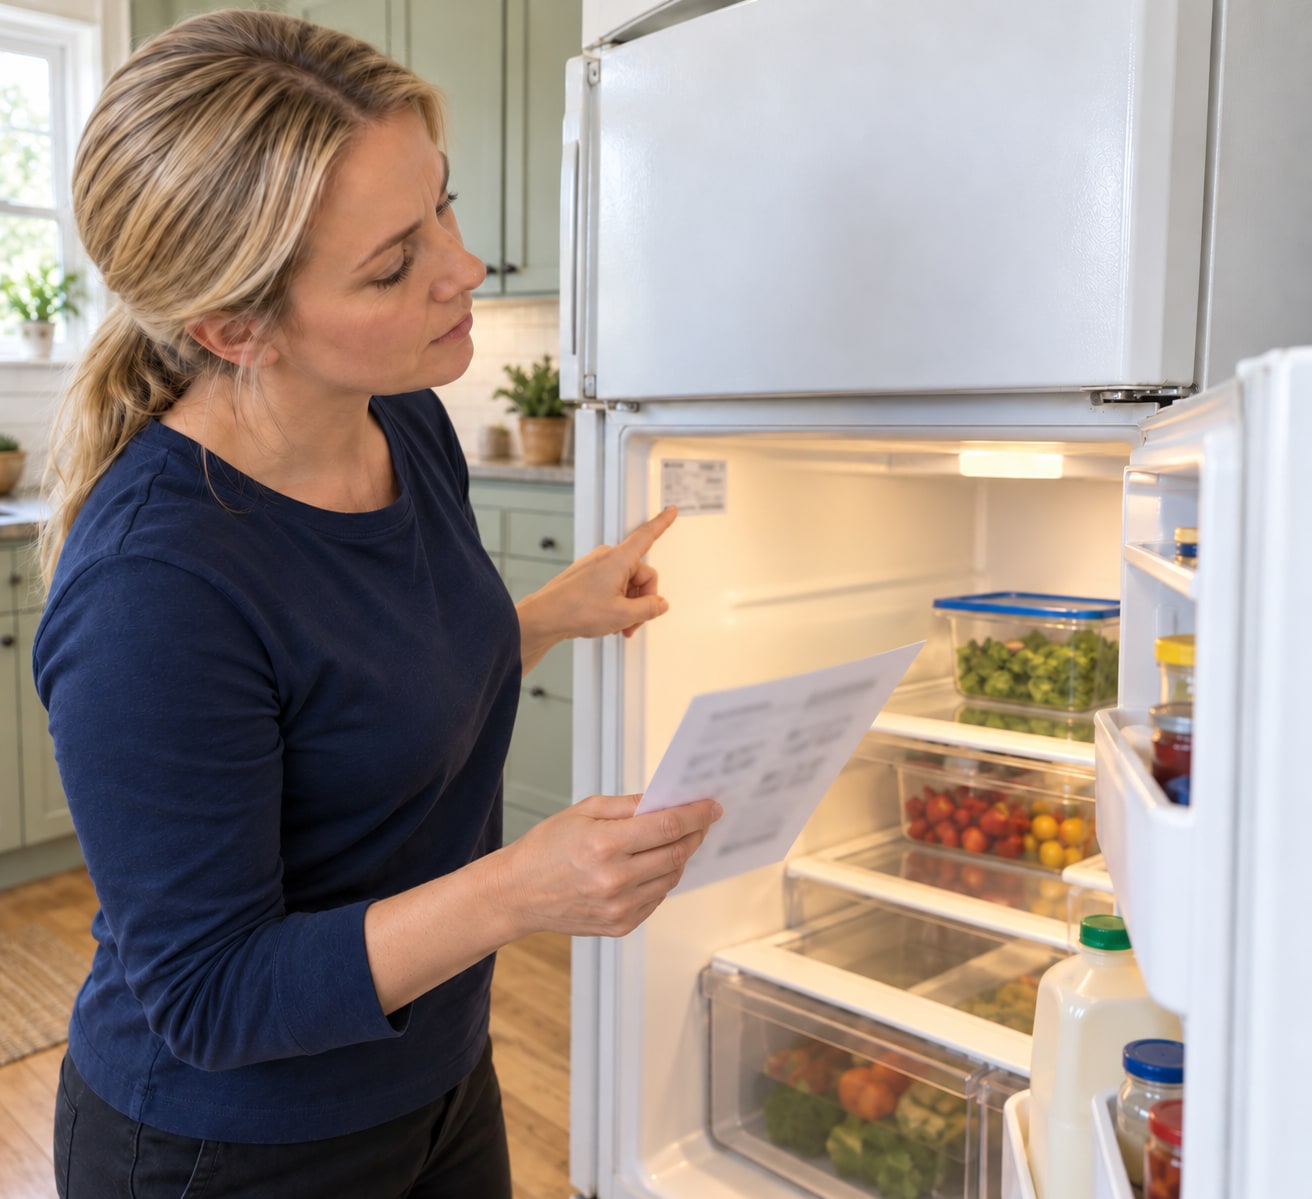
Read the complete model number from the label near the upper left of the fresh-food compartment. For the example GTS16BBSJRWW, GE lists fresh-food door gasket WR24X10231 at diagram position 104. Confirm the current replacement and any serial-number restrictions with the supplier. Gently lift an existing corner lip to inspect the attachment: this guide requires a flexible rear bead pressed into a door channel. Stop if yours is screw-clamped, glued, foamed in or otherwise different.
Photorealistic illustration · Waey
3. Prepare the replacement before opening the cold compartment
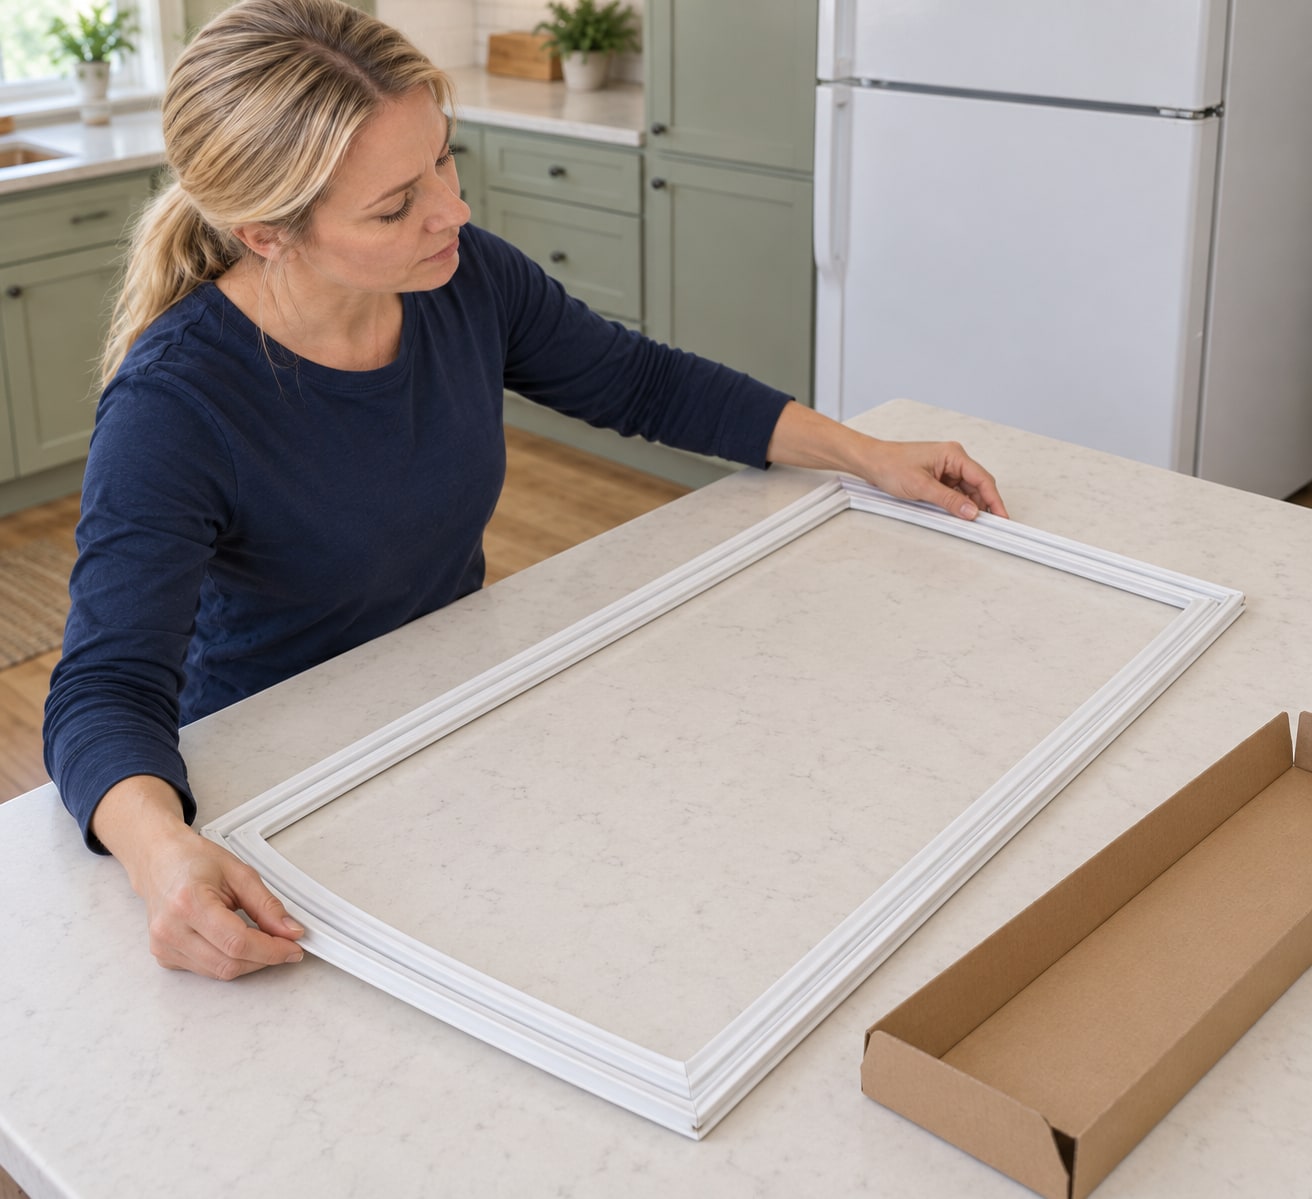
Unpack the new continuous gasket on a clean surface without cutting its sealing lips. Compare its outline, corners and rear retaining profile with the fitted part; keep the old seal intact until the match is certain. Follow the instructions supplied with this particular gasket to remove shipping creases, then allow it to become ready for fitting. Do not invent a boiling-water soak or use a heat gun. If instructions are missing or folds remain severe, resolve that with the supplier first.
Photorealistic illustration · Waey
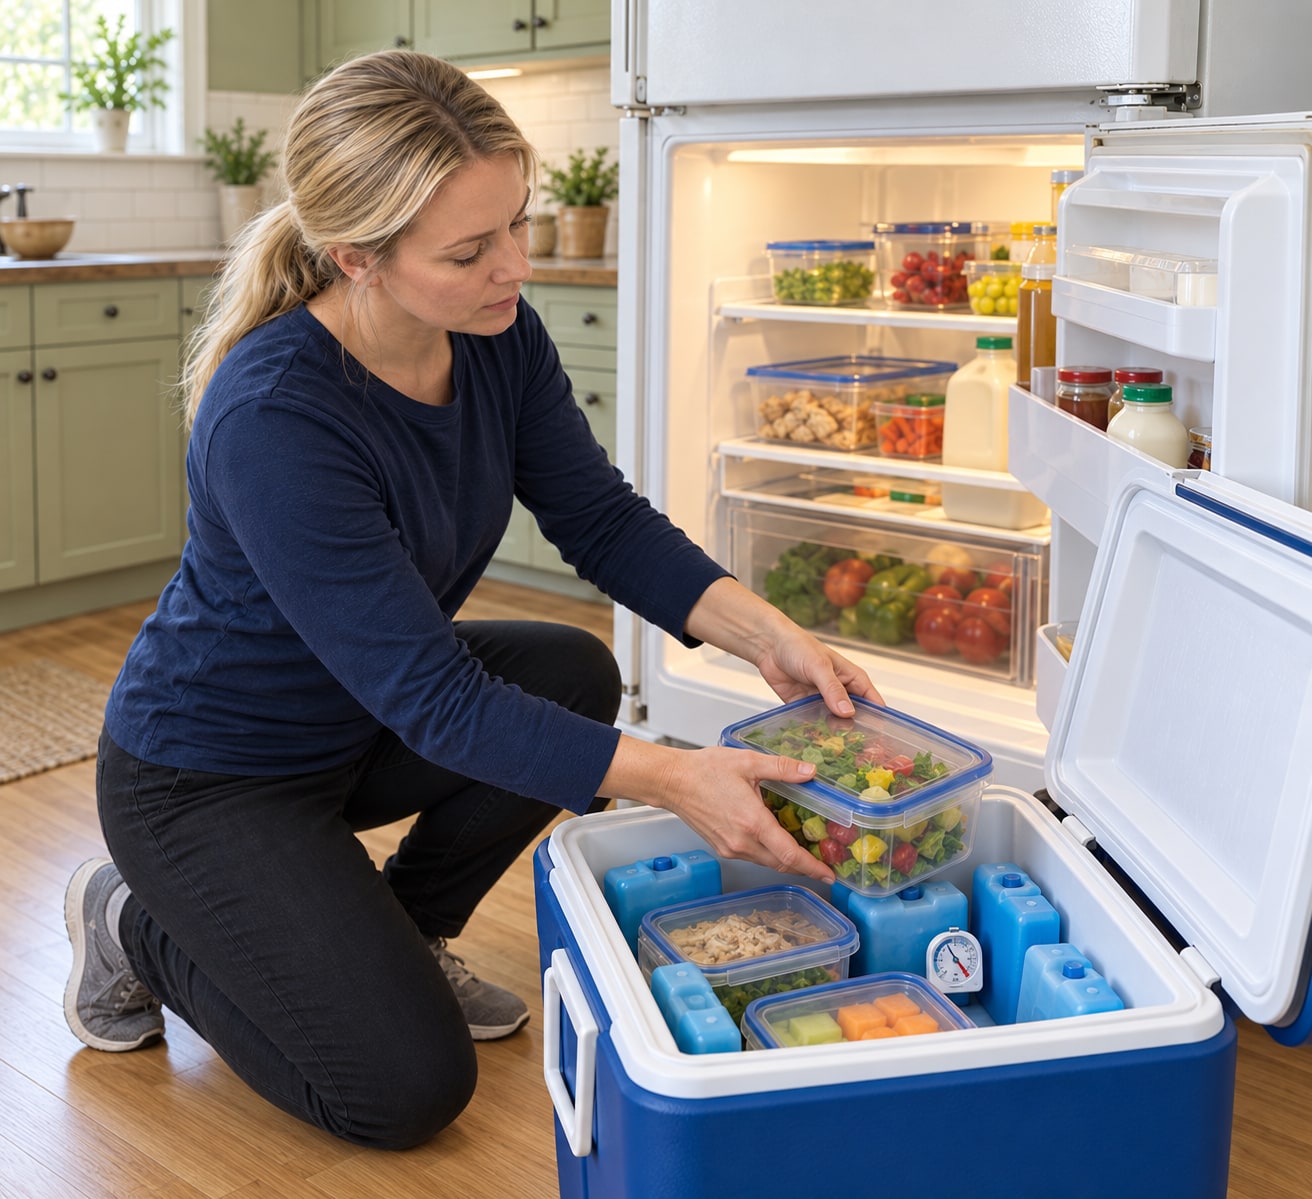
4. Protect the food and disconnect the appliance
Move perishables to another working refrigerator or an insulated cooler with enough ice packs and a thermometer to keep them at 4°C or below. Keep frozen food frozen and keep the freezer door closed. Unload the fresh-food door bins, clear a safe working space and unplug using an accessible, dry connection. Do not move a heavy refrigerator alone just to reach the plug; use the appropriate identified circuit isolation or get help. The temperature dial at zero does not isolate power.
Photorealistic illustration · Waey
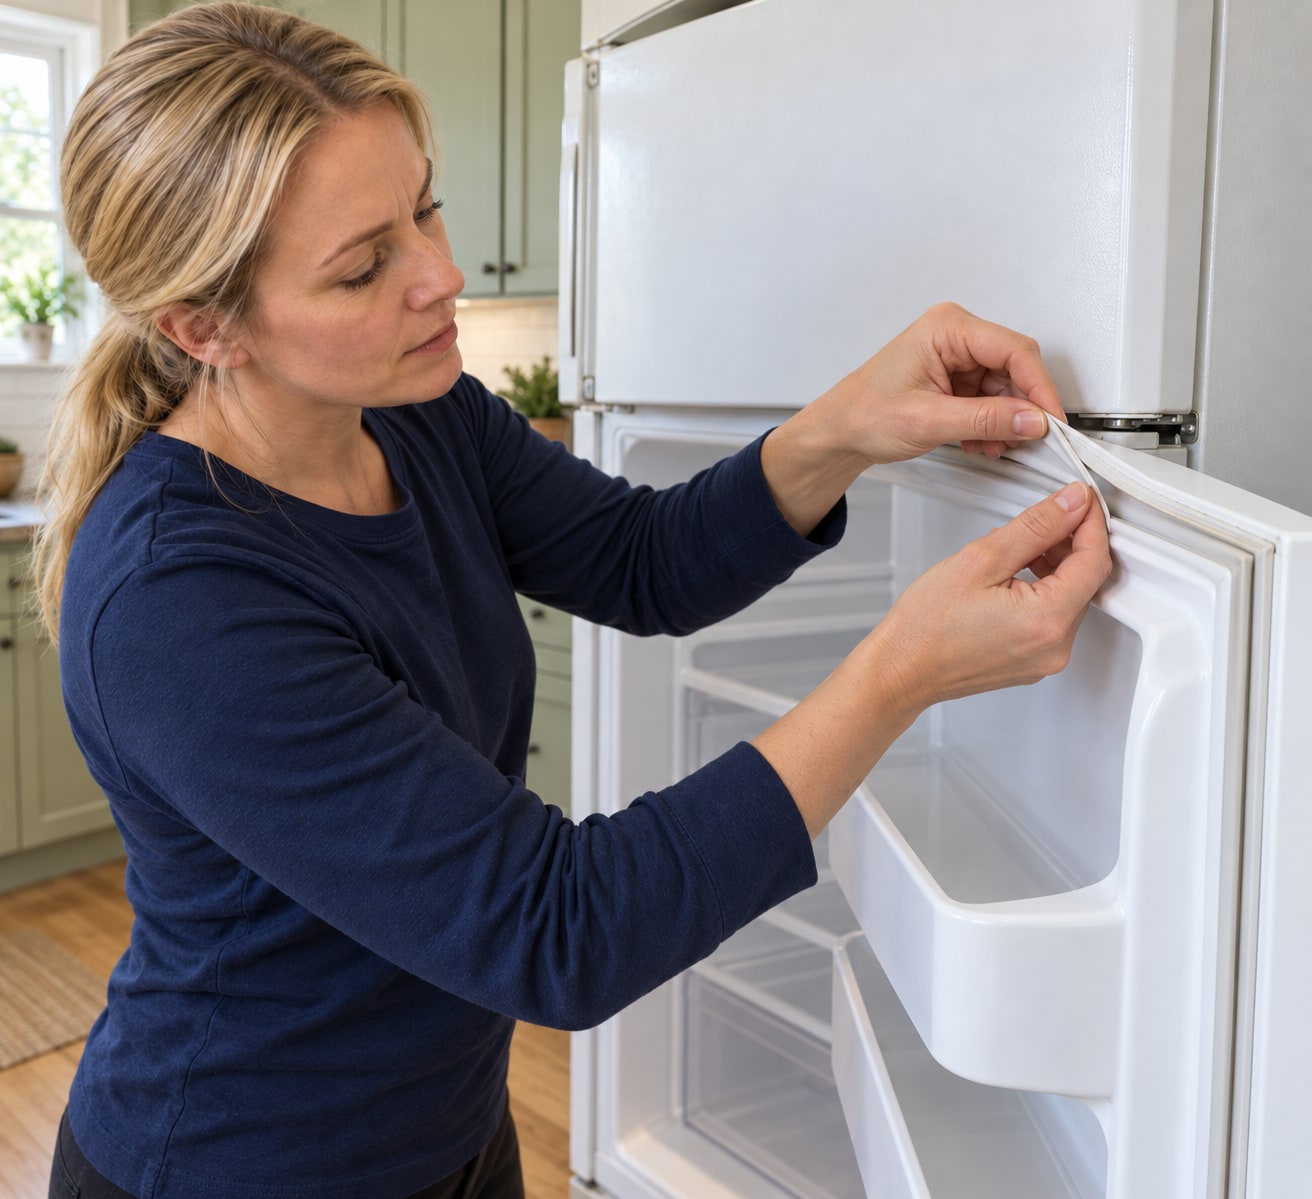
5. Peel out the old seal and clean its channel
With the door still supported by its hinges, start at a corner and pull the retaining bead gently out of the channel a short section at a time. Hold close to the section being released so the plastic liner is not bent. Do not remove hinge screws, lever against the liner with a knife or pull exposed foam out of the door. If the seal will not release as a push-in part, stop. Remove loose debris, wipe the groove with a damp cloth and dry it without flooding the door. Use the manual’s mild baking-soda solution: about 15 ml in 1 liter of warm water. Wipe away the solution with a clean damp cloth, then dry.
Photorealistic illustration · Waey
6. Seat the corners, then work along each side
Hold the new gasket in the same orientation as the old one, with its sealing face toward the cabinet. Start the corners in their matching channel positions, then press the rear bead in along the top, sides and bottom using short, controlled sections. Support the gasket as you work so its weight does not pull out an installed corner. Press over the retaining bead rather than stretching the thin sealing lip. The perimeter should sit evenly without twists, bunched corners or a loose section hiding beneath the lip.
Photorealistic illustration · Waey
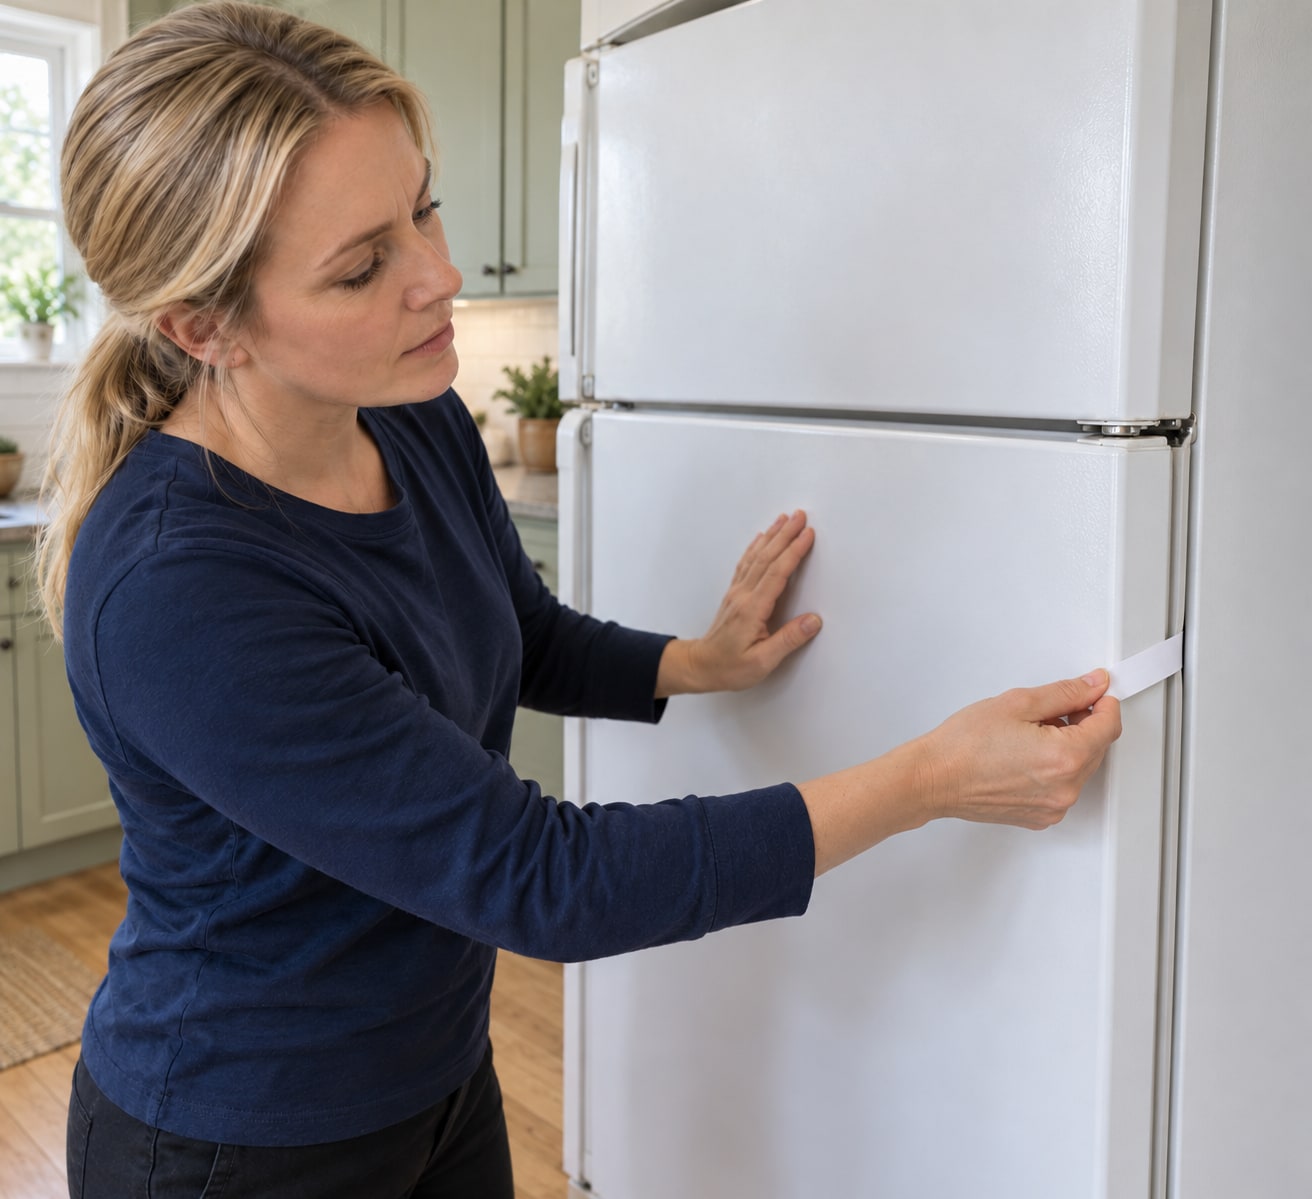
7. Check the whole seal before restoring power
Close the empty door gently and inspect contact around all four sides. Reopen it to reseat any section whose rear bead is not fully in the groove; do not compensate with glue or extra screws. For this model-family manual, clean the hinge-side gasket and apply only its specified thin film of petroleum jelly there. A strip of paper closed at several positions can help compare grip, but it cannot certify an airtight seal. Persistent gaps, rubbing or a door that springs open need further diagnosis before the job is accepted.
Photorealistic illustration · Waey
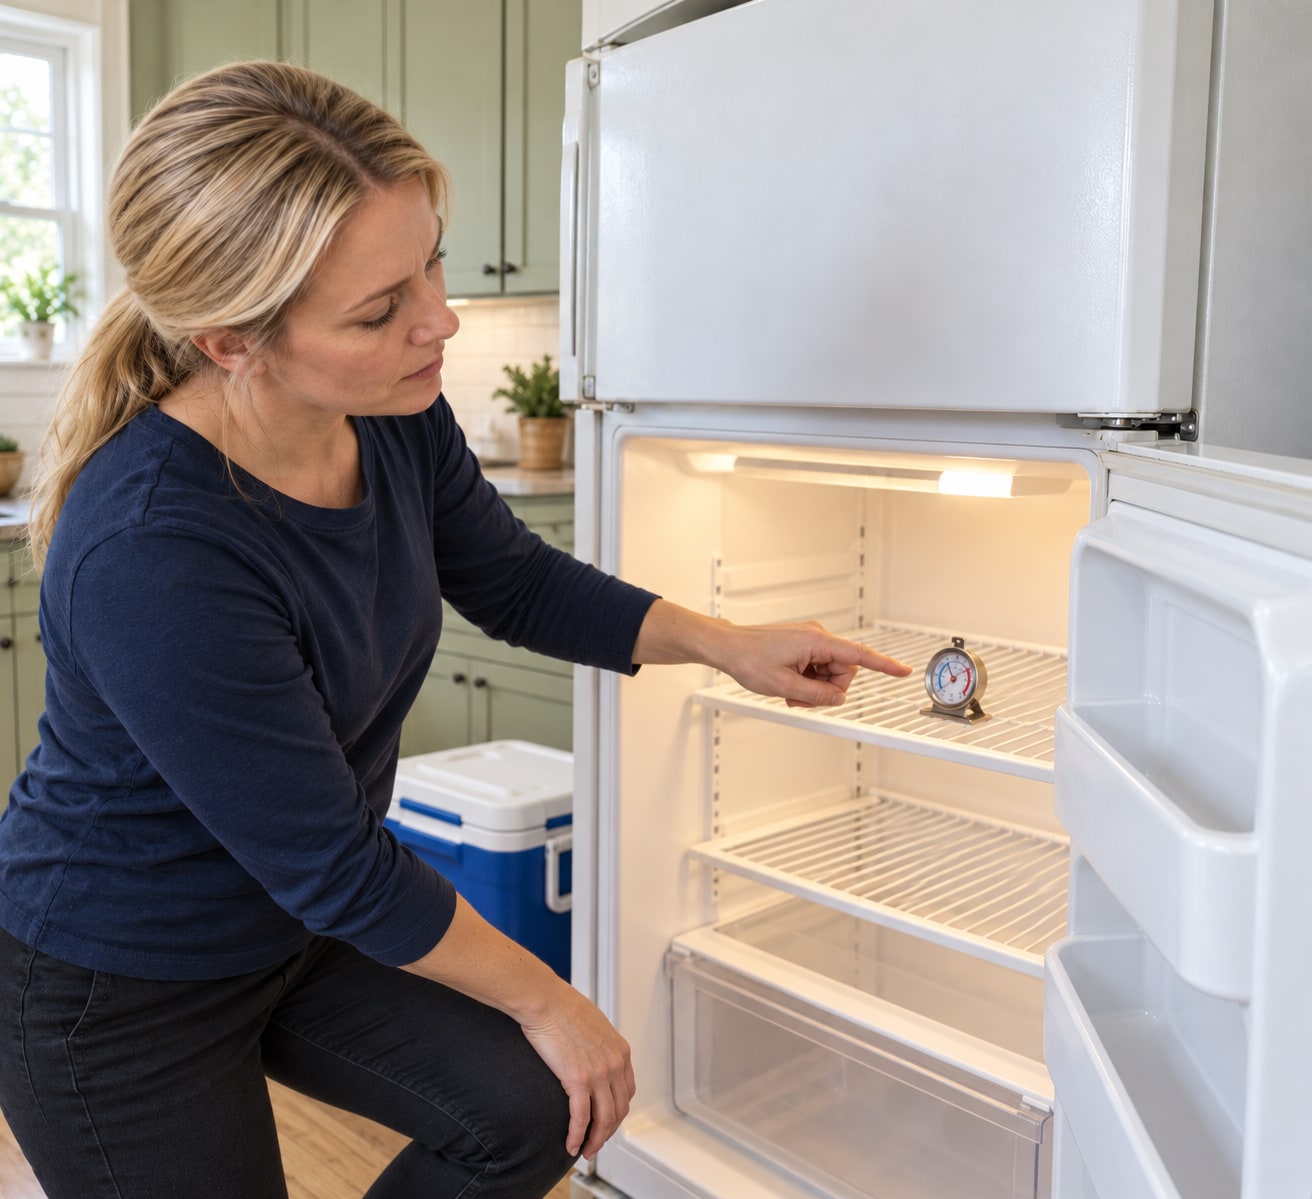
8. Restore cooling and verify the result with a thermometer
Dry the work area, remove tools and reconnect power safely. Leave the controls at their normal documented setting and close both doors. Check the fresh-food compartment with an appliance thermometer and keep perishables in verified cold storage until it is at 4°C or below; the freezer should be -18°C or below. Do not assume a fixed recovery time. Recheck the gasket after a few normal door openings. If temperature will not recover or the seal still gaps, keep food safe elsewhere and arrange service rather than repeatedly heating or stretching the rubber.
Video demonstrations
How To: GE Refrigerator Door Gasket WR24X10231
AppliancePartsPros shows the WR24X10231 push-in gasket and fitting sequence. Match your appliance and follow the replacement’s supplied conditioning instructions.
AppliancePartsPros · English metadata; full narration not independently assessed
Watch on YouTube ↗Gasket Installation - Top Mount Refrigerators
GE demonstrates seating a top-mount refrigerator gasket and warns against heat guns. This overview does not establish exact model fit.
GE Appliances · English metadata; full narration not independently assessed
Watch on YouTube ↗Final checks
The bead is seated throughout its channel, the lip lies flat and contacts the cabinet around the full perimeter, and the door closes without rubbing or springing open. Verified storage temperatures, not a paper-grip test alone, determine when food can return. A new gasket does not establish that the hinges, thermostat or cooling system work correctly.
Where to find supplies
Reseat an undamaged loose push-in gasket instead of replacing it. Ask the supplier for the correct procedure when the attachment differs; arrange service for damaged liners, hinges or persistent temperature problems.
Sources
GE — GTS16BBSJRWW door parts, diagram 104 ↗
GE — WR24X10231 refrigerator door gasket ↗
GE — Models 16, 17, 18 owner manual, 49-60655 03-11, page 8 ↗
GE — Easy-to-remove gasket and shipping-crease instructions ↗
GE — Top-freezer refrigerator gasket guidance ↗
FoodSafety.gov — Chill: safe refrigerator temperatures and time limits ↗
Original generated instruction illustrations created for Waey. Videos belong to their credited creators.