
Sharpen a bench chisel with waterstones and a honing guide
Restore a dull, undamaged bevel-edge chisel, keep its back flat and test it on secured scrap wood.
What will you learn?
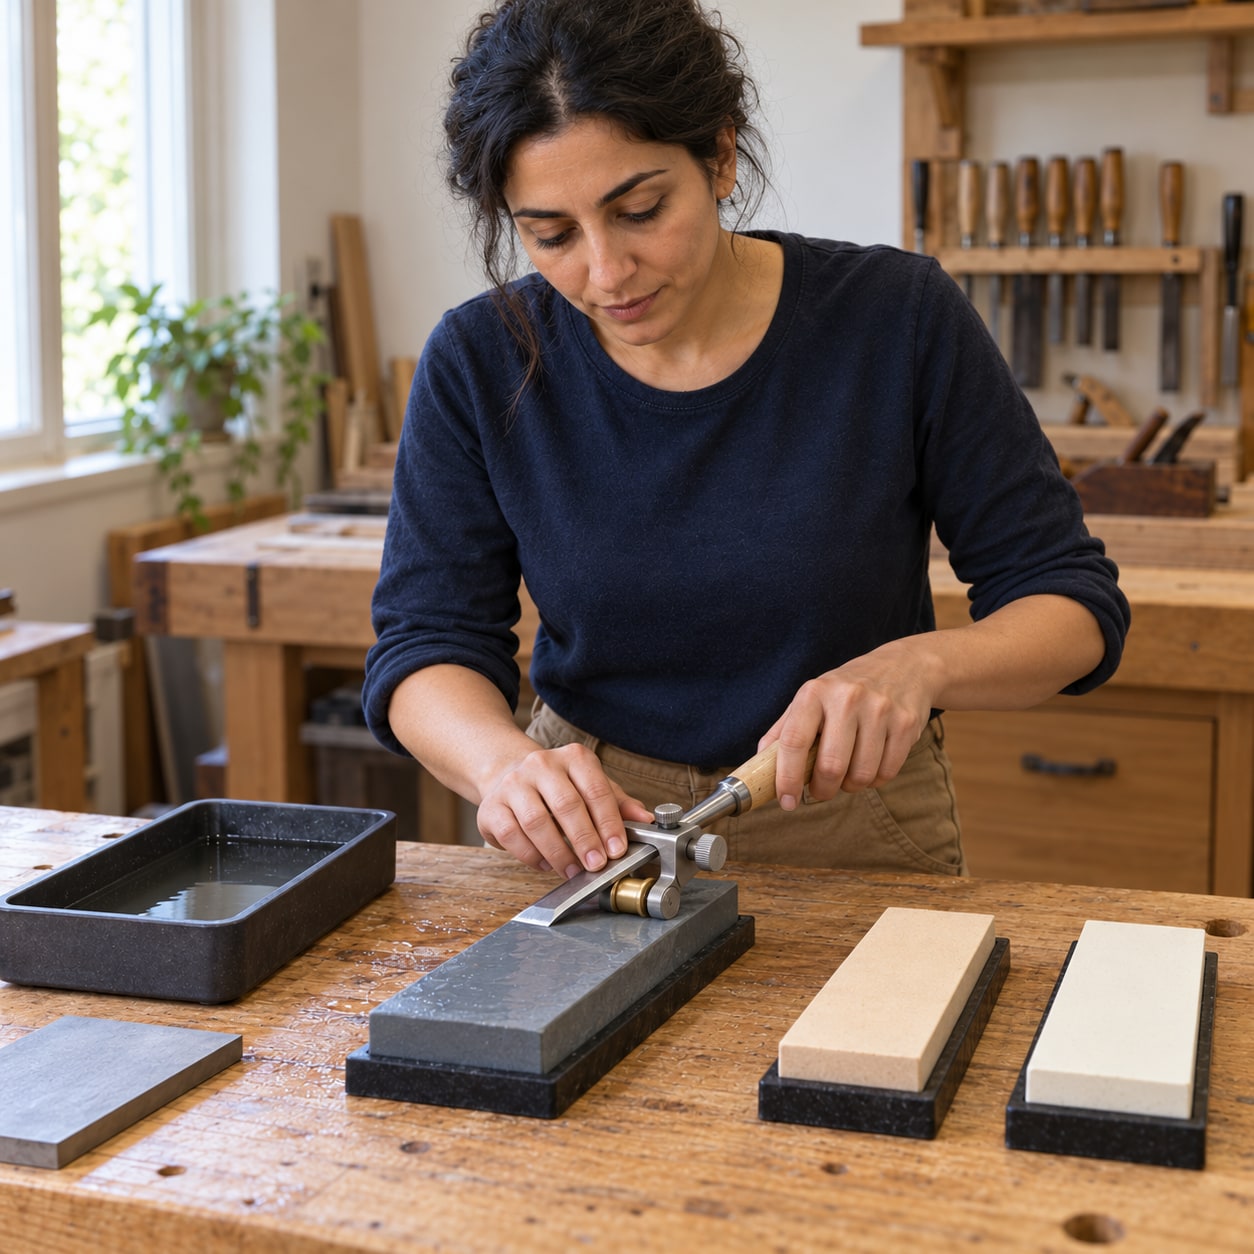
This hand-sharpening method is for a straight bevel-edge bench chisel with a sound handle and no deep chips. It covers stone preparation, the flat back, a guided secondary bevel and a controlled cutting test. The example follows Lie-Nielsen’s waterstone method; choose an angle and guide jaws approved for your own chisel. A cracked handle, severely pitted back or badly chipped edge needs restoration beyond this guide.
Tools
- Sound straight bevel-edge bench chisel compatible with the guide jawsSearch Amazon UAE ↗
- Compatible side-clamping honing guideSearch Amazon UAE ↗
- 1000-grit waterstoneSearch Amazon UAE ↗
- About 3000-grit waterstone for initial back preparationSearch Amazon UAE ↗
- 8000–10000-grit finishing waterstoneSearch Amazon UAE ↗
- Approved flat lapping plateSearch Amazon UAE ↗
- StraightedgeSearch Amazon UAE ↗
- PencilSearch Amazon UAE ↗
- Angle gauge or the guide’s setting jigSearch Amazon UAE ↗
- Non-slip stone holderSearch Amazon UAE ↗
- Water traySearch Amazon UAE ↗
- Clamp or bench viseSearch Amazon UAE ↗
Materials
- Water as required by each stone maker
- 1 clean lint-free clothSearch Amazon UAE ↗
- A few drops of tool-protection oil, e.g. jojoba oilSearch Amazon UAE ↗
- 1 piece of clean straight-grained scrap woodSearch Amazon UAE ↗
- 1 edge guard sized to the chiselSearch Amazon UAE ↗
Step by step
Photorealistic illustration · Waey
1. Prepare flat, stable stones
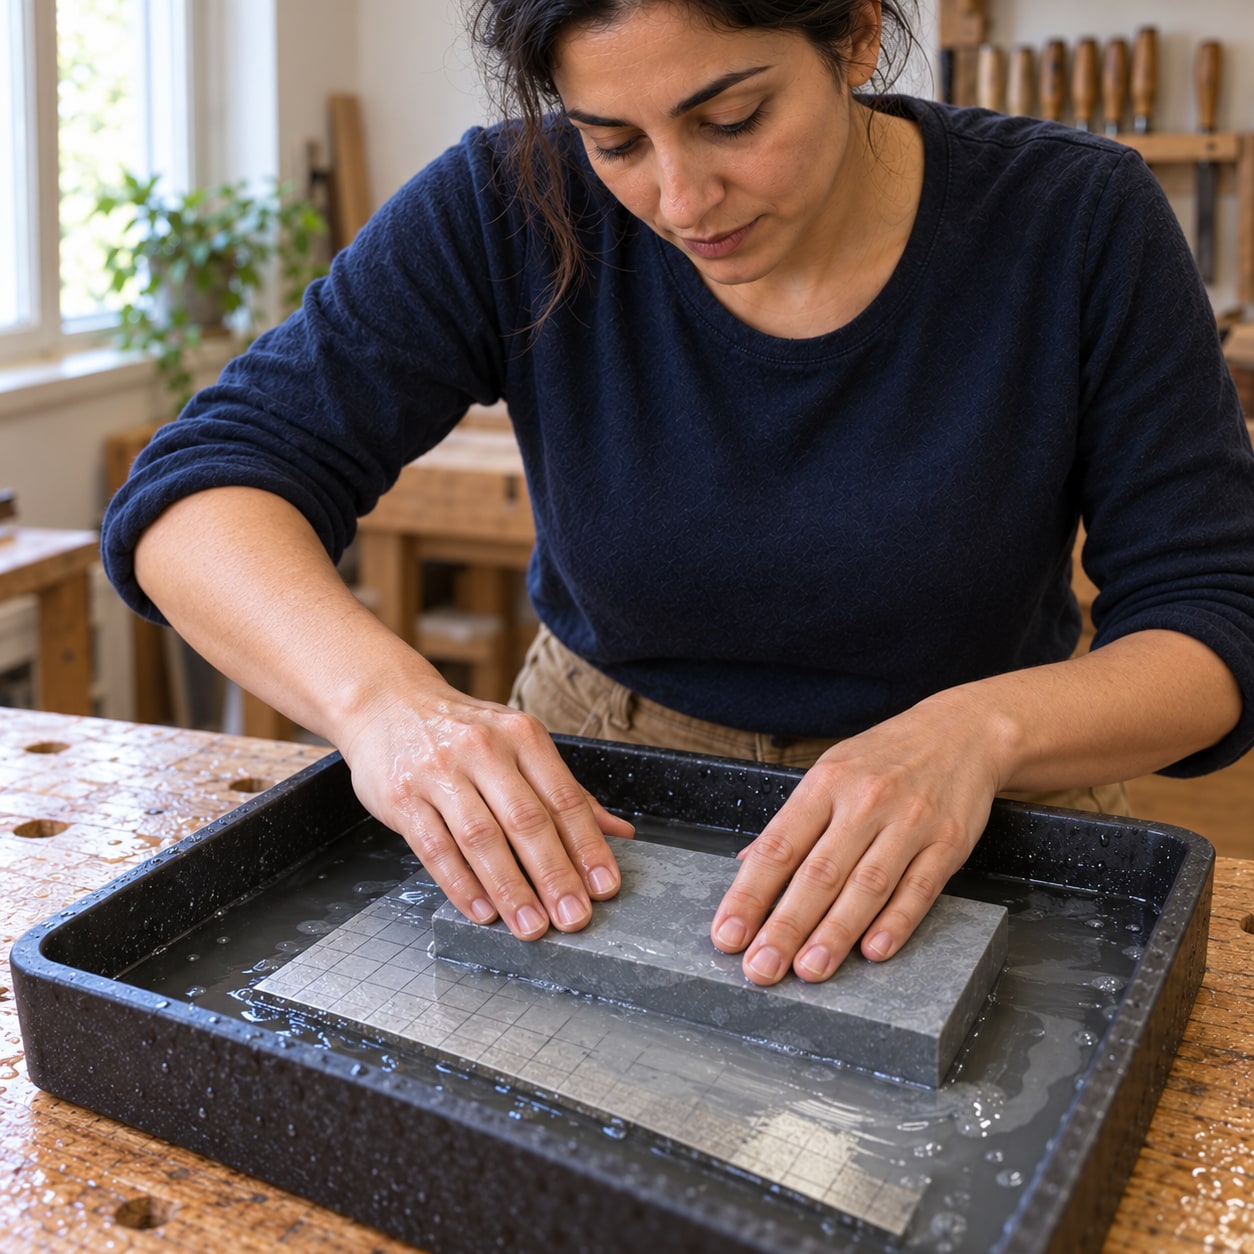
Use waterstones for honing with this guide; the diamond lapping plate is for flattening stones only. Read the stones’ wetting instructions: some need soaking and others only surface water. Draw a light pencil grid over each stone, lap it on the approved flat plate and rinse away the slurry. Check with a straightedge rather than judging by appearance alone. Seat the first stone firmly in a non-slip holder over a tray; a hollow or rocking stone makes a repeatable straight edge difficult.
Photorealistic illustration · Waey
2. Prepare the back without adding a bevel
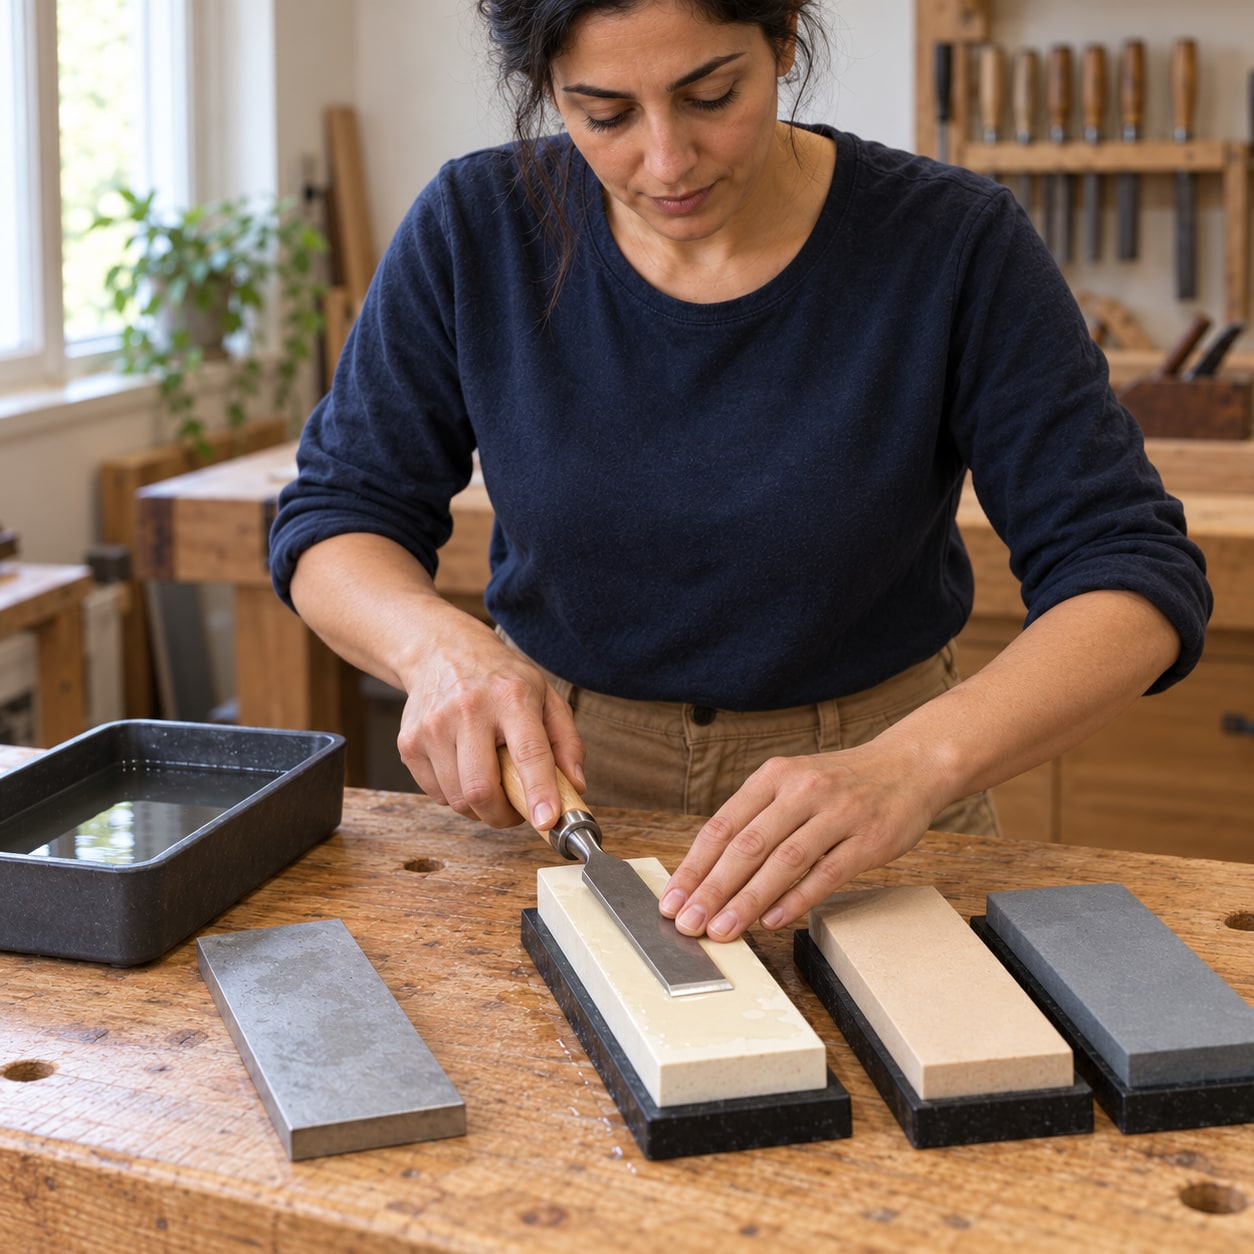
Place the flat back near the cutting edge fully against the wetted stone and work evenly, keeping it flat throughout. A previously prepared back may need only the finishing stone; an unprepared back may need the 1000 and intermediate stones first. Inspect the continuous polished band at the edge before progressing finer. Do not lift the handle to polish only the tip, and do not use the plane-blade ruler trick on a chisel.
Photorealistic illustration · Waey
3. Clamp and set the secondary bevel
Fit the correct jaws and clamp the chisel squarely, bevel down. Set its projection with the guide’s own jig or an angle gauge; projection distances from another guide are not transferable. For the Lie-Nielsen method shown, a sound 25° primary bevel receives a 35° secondary bevel. Confirm your chisel maker accepts that geometry. Try a short stroke on the 1000 stone and inspect the narrow contact band at the very edge before continuing.
Photorealistic illustration · Waey
4. Hone until the edge is continuous
Keep the guide roller and bevel on the stone together, with controlled pressure close behind the cutting edge. Use the stone’s width evenly and replenish water as instructed. Continue until the fresh bevel reaches the whole edge and a fine burr has formed across the back; inspect under strong light without sliding a finger along the edge. Uneven contact means you should check squareness and pressure, not compensate by rocking the handle.
Photorealistic illustration · Waey
5. Polish and remove the burr flat
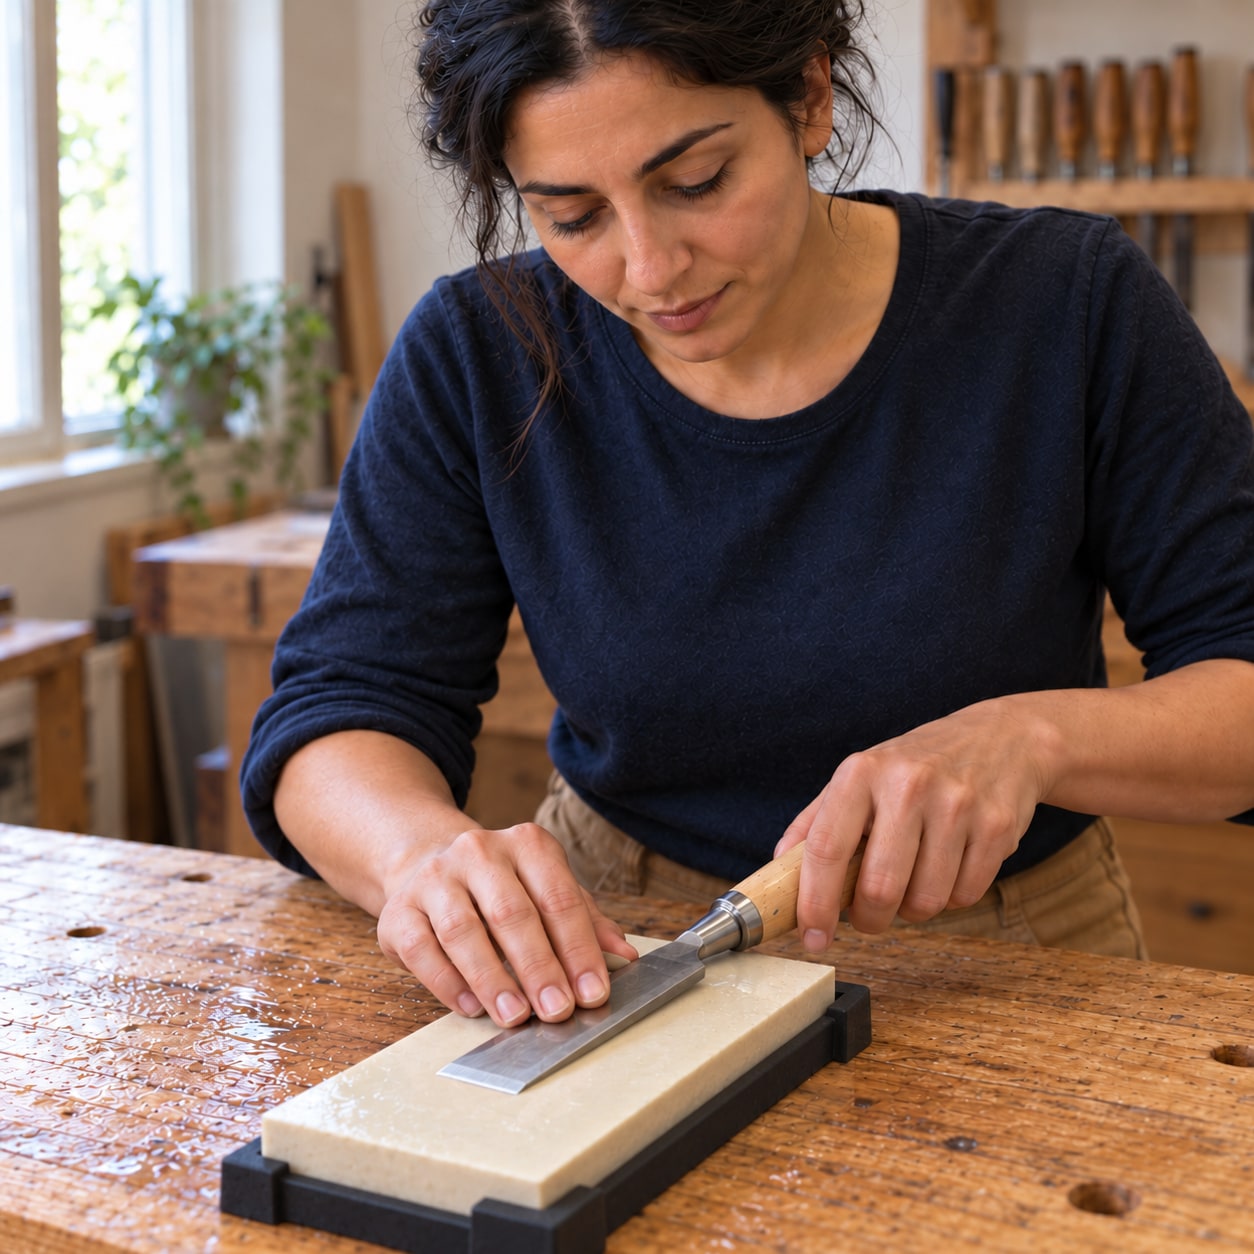
Rinse the blade, roller and hands before moving to the finishing stone so coarse grit cannot scratch it. Keep the same guide setting and polish the small secondary bevel with light pressure. Remove the chisel from the guide and lay its back completely flat on the finishing stone for a few light passes to remove the burr. Inspect both surfaces and the edge in strong light; repeat light finishing passes if a wire edge remains.
Photorealistic illustration · Waey
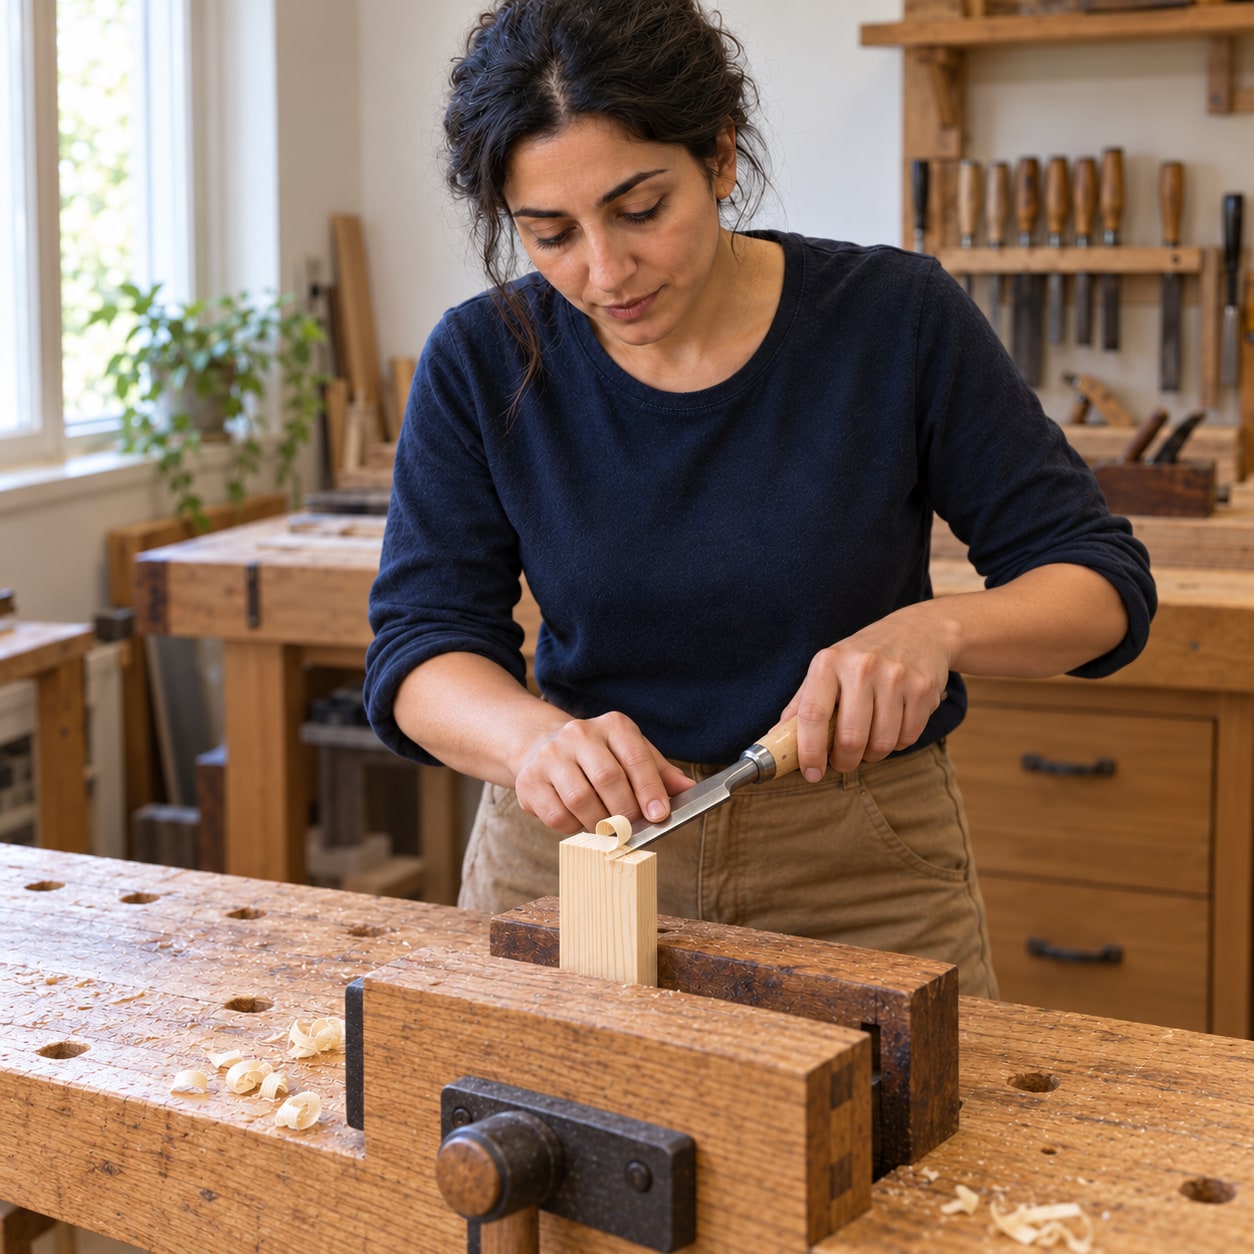
6. Test a controlled cut and protect the edge
Clamp clean scrap wood and pare a thin end-grain shaving, keeping both hands behind the edge and your body out of its path. A sharp edge should cut with controlled hand pressure rather than crushing fibres. If it tears or needs force, inspect for a remaining burr or a dull section and return to the stones. Dry the chisel and guide, apply a thin protective oil film and fit the edge guard before storage.
Video demonstrations
Chisel Sharpening (with Deneb Puchalski)
Lie-Nielsen demonstrates chisel-back preparation and sharpening. Keep the back flat and follow the written route for a sound existing primary bevel.
Lie-Nielsen Toolworks · English
Watch on YouTube ↗Lie-Nielsen Honing Guide (with Tom Lie-Nielsen)
Tom Lie-Nielsen demonstrates guide jaws and chisel clamping. Projection settings belong to the specified guide; plane-iron examples do not change the chisel-back method.
Lie-Nielsen Toolworks · English
Watch on YouTube ↗Final checks
The blade remains secure in its handle; the edge is continuous and the back remains flat. The test cut is clean without heavy force. Flatten and dry the stones as their maker directs, and touch up the edge before it becomes heavily worn.
Sources
Lie-Nielsen — sharpening instructions and setting jig ↗
Original generated instruction illustrations created for Waey. Videos belong to their credited creators.