
Assemble and test a capillary-mat watering station
Set up a matched reservoir tray, raised platform and absorbent mat for a small group of compatible potted plants. Prime the mat, establish compost contact and measure real water use before depending on the station.
What will you learn?
Set up a matched reservoir tray, raised platform and absorbent mat for a small group of compatible potted plants. Prime the mat, establish compost contact and measure real water use before depending on the station.
Tools
- Measuring jugSearch Amazon Australia ↗
- Small watering canSearch Amazon Australia ↗
- Spirit levelSearch Amazon Australia ↗
- Gardening glovesSearch Amazon Australia ↗
- Notebook and pencilSearch Amazon Australia ↗
- Soft cleaning clothSearch Amazon Australia ↗
- Scissors, only if the mat instructions require trimmingSearch Amazon Australia ↗
Materials
- Matched capillary-watering kit with reservoir tray, load-bearing raised platform and specified mat or wickSearch Amazon Australia ↗
- Waterproof catch tray sized for the whole kitSearch Amazon Australia ↗
- Your healthy plants in suitable plastic pots with compatible moisture needs
- Clean water
Step by step
Photorealistic illustration · Waey
1. Choose compatible plants and pots
Group only plants whose care instructions tolerate consistently moist compost, and leave drought-loving plants on their normal watering routine. Inspect each plastic pot’s drainage holes: moist compost must be able to touch the mat without a saucer, decorative outer pot, gravel layer or tall feet creating an air gap. Do not repot a healthy plant merely to force it into this system. If suitable contact is impossible, use another watering method for that pot.
Photorealistic illustration · Waey
2. Check the kit and its safe working position
Use the reservoir and supporting platform designed to work together, rather than balancing a heavy tray on improvised blocks. As a size reference, Garland’s G70 is 57 × 38.5 × 5 cm externally with an 8-litre nominal reservoir; those figures are not a fill instruction for another kit. Choose a level, well-supported place with light suitable for the plants and no strong midday heat. Check the outer tray for cracks and set it within waterproof secondary containment before filling.
Photorealistic illustration · Waey
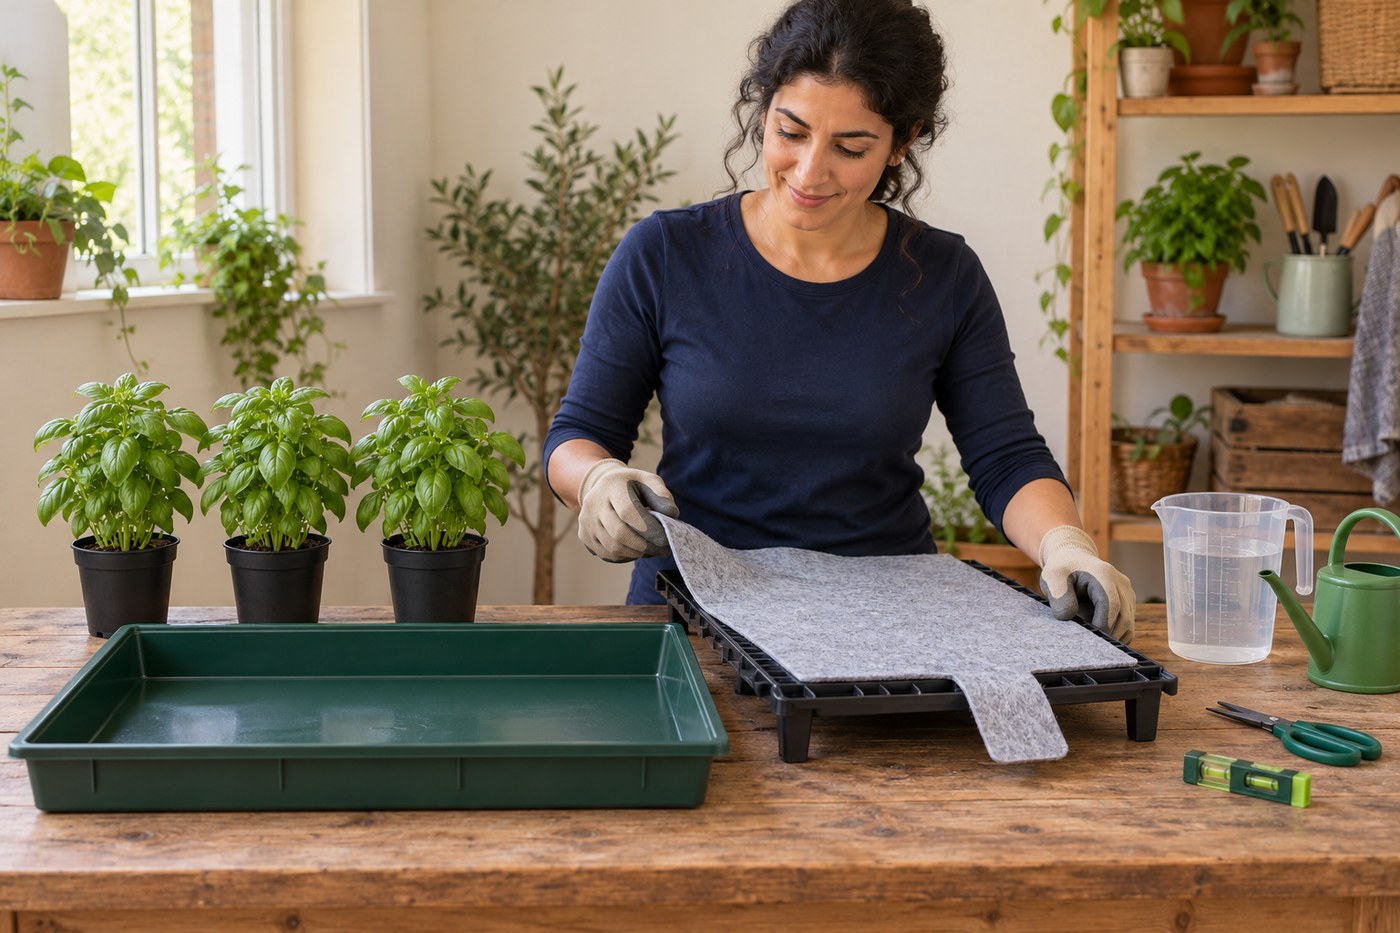
3. Dry-fit the raised support and mat route
Place the platform on its intended feet or supports inside the empty reservoir. It must sit level without rocking, bowing or blocking the filling opening. Lay the supplied mat as its instructions show, with the specified tail or wick reaching into the reservoir. Keep every wet edge inside the waterproof tray so it cannot siphon water onto furniture. Do not copy the mat layout of a different seed kit or let the plant pots stand directly in reservoir water.
Photorealistic illustration · Waey
4. Prime the whole capillary path with clean water
Remove the mat and wet it thoroughly in clean water as its maker directs, then replace it flat on the support without folds beneath the pot positions. Wet the reservoir-reaching tail as well, maintaining continuous absorbent contact between the immersed end and upper mat. A dry break or a poorly overlapped separate wick can stop transfer even when the tank contains water. If the mat has a coated or protected face, keep the specified side upward rather than guessing from its colour.
Photorealistic illustration · Waey
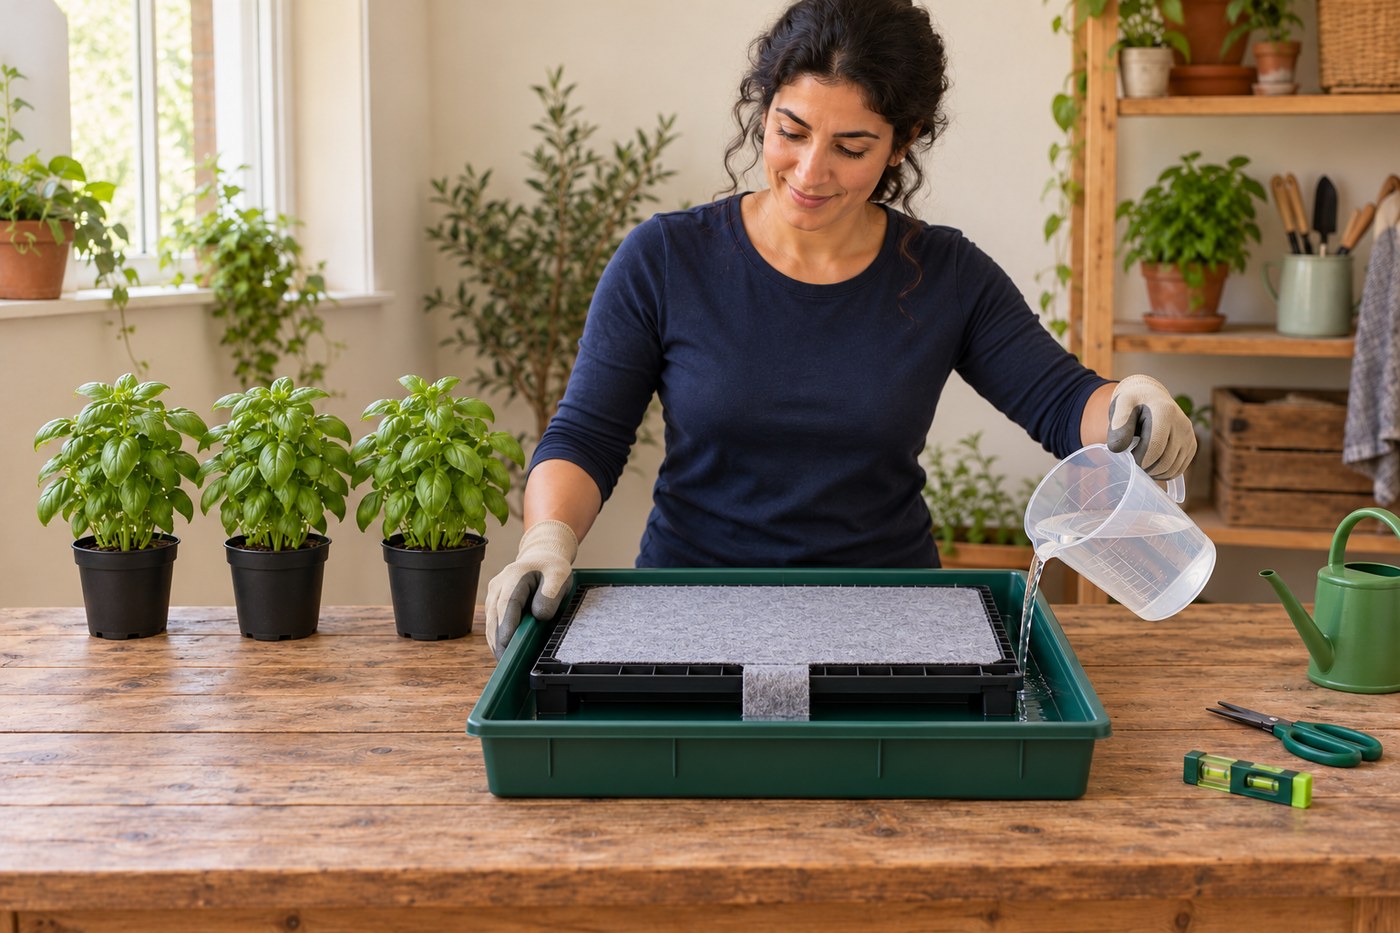
5. Fill to the working limit and confirm wicking
Add measured water through the filling opening to the kit’s stated working level, keeping the pot-supporting surface above free water. Note the starting quantity or level; nominal reservoir capacity does not equal usable water after the wick loses contact. Wait and check that the mat stays evenly damp across its working area without water escaping the outer tray. If a far corner dries while water remains available, correct the wick position, mat contact or platform level before adding plants.
Photorealistic illustration · Waey
6. Water the plants first and establish base contact
Bring each suitable pot to its normal well-watered state and allow surplus water to drain before placing it directly on the damp mat. Press lightly to settle the pot without crushing roots or distorting the platform. Check that compost visible through the drainage holes actually reaches the wet surface; a plastic base touching the mat alone is not enough. Space pots so foliage is not tightly packed, and keep the filling opening accessible for level checks and refilling.
Photorealistic illustration · Waey
7. Run an observed trial before relying on it
Watch the same group for several days in the position and conditions where it will be used. Record reservoir level at the same time daily and check both pot weight and compost moisture, rather than judging only the dry-looking surface. A persistently heavy, saturated pot should leave the system; a drying pot needs its contact and capillary path checked. Estimate refill timing from the observed drawdown, allowing for hotter days, growth, evaporation and water the wick cannot reach.
Photorealistic illustration · Waey
8. Arrange refills and maintain the contact surfaces
Leave a clear refill plan and arrange a person to check the station during an absence, especially before the measured usable reserve is likely to run low. Do not treat an advertised maximum duration as a promise for your plants. Lift pots periodically to check for roots growing into the mat, algae or blocked drainage holes, following the kit’s care directions. If the mat dries out, re-prime it fully. Clean components by their instructions and replace a damaged or ineffective mat before reuse.
Watch the method
Fool proof watering for your seedlings and plants | Scottish garden UK
Shows raised capillary-bed assembly, mat placement and wetting in a greenhouse. The layout differs from this small station. Follow your kit’s instructions and test pot contact, water use and refill timing under supervision; the video title gives no guarantee against overwatering or unattended losses.
Eli and Kate · English auto-caption metadata; spoken audio unconfirmed
Watch on YouTube ↗Final checks
The tray stays level and contained; the wet path remains continuous; compost has direct mat contact; no pot is persistently saturated or drying; and the refill plan uses observed water consumption with human checks. Remove unsuitable plants instead of forcing a universal setting.
Sources
RHS: capillary contact, pot limits and holiday watering risks ↗
Garland: G70 raised-platform capillary tray specifications ↗
BBC Gardeners’ World: reservoir-and-mat setup ↗
University of Florida IFAS: capillary-mat water supply principle ↗
AI-generated representative illustrations by Waey. External video belongs to its credited creator.