
Refinish a wooden stool: choose paint, oil or wax
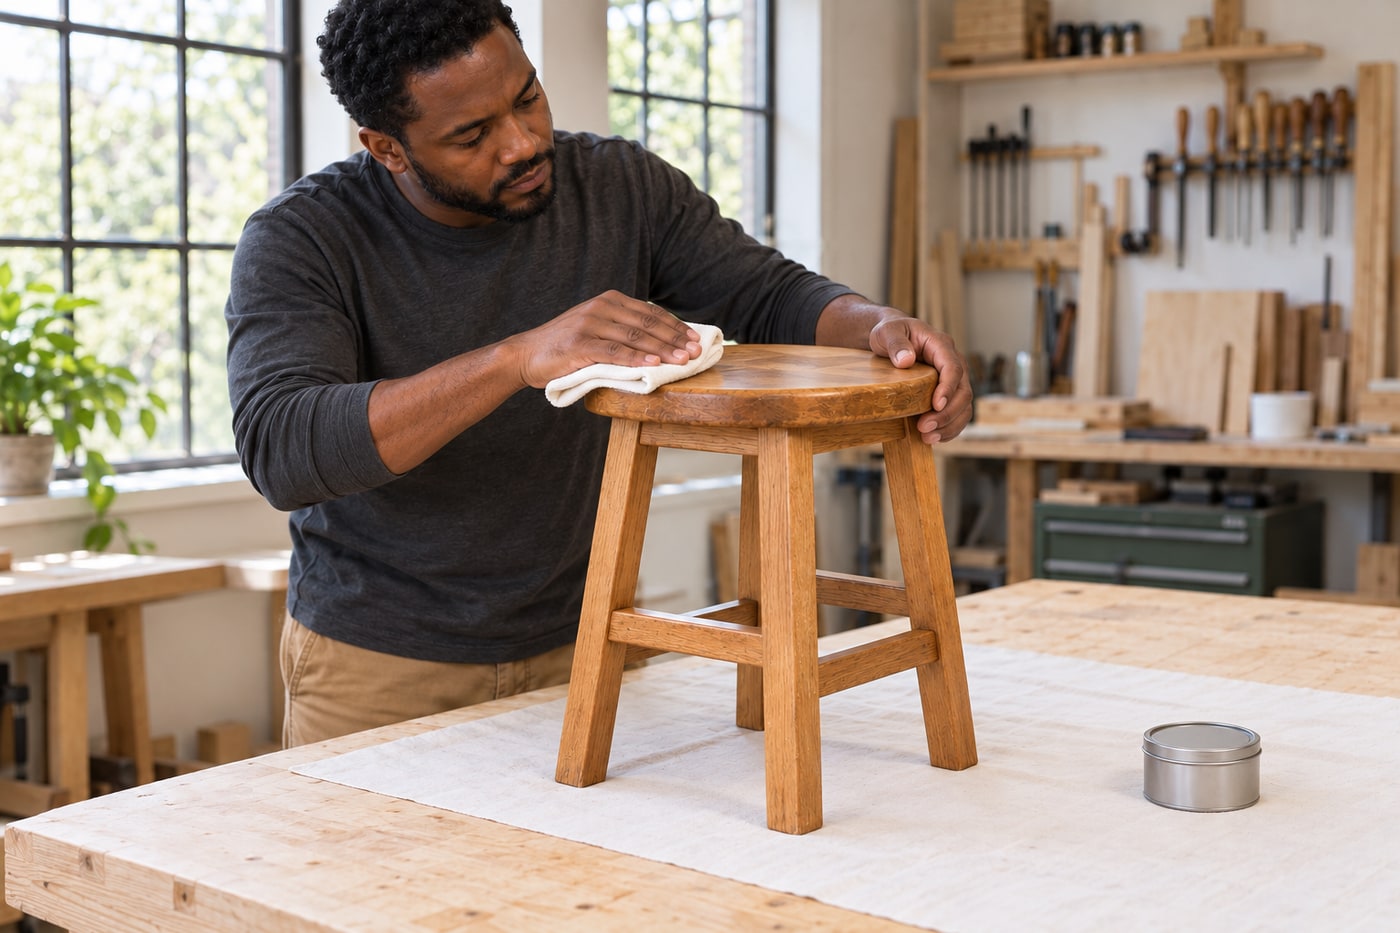
Prepare a sound wooden stool and complete one compatible finish, with separate paint, oil and wax routes and product-directed curing.
What will you learn?
Prepare a sound wooden stool and complete one compatible finish, with separate paint, oil and wax routes and product-directed curing.
Tools
- Stable protected workbench; suitable support for the stoolSearch Amazon Australia ↗
- Sanding block and abrasives specified for the chosen system; suitable dust extractionSearch Amazon Australia ↗
- Eye protection; dust respiratory protection; chemical-resistant gloves as required by product safety sheetsSearch Amazon Australia ↗
- Finish-compatible brushes or small roller; several clean lint-free cotton clothsSearch Amazon Australia ↗
- Suitable applicator and waste-handling equipment specified for the chosen productsSearch Amazon Australia ↗
Materials
- Sound modern solid-wood indoor stool with a known existing coatingSearch Amazon Australia ↗
- Compatible cleaner and wax remover if required; non-structural wood filler only if neededSearch Amazon Australia ↗
- Choose ONE system: furniture paint with specified primer/topcoat, OR a compatible wood finishing oil, OR furniture waxSearch Amazon Australia ↗
- Matching test offcut where available; protective sheet; product-approved cleanup materialsSearch Amazon Australia ↗
Step by step
Photorealistic illustration · Waey
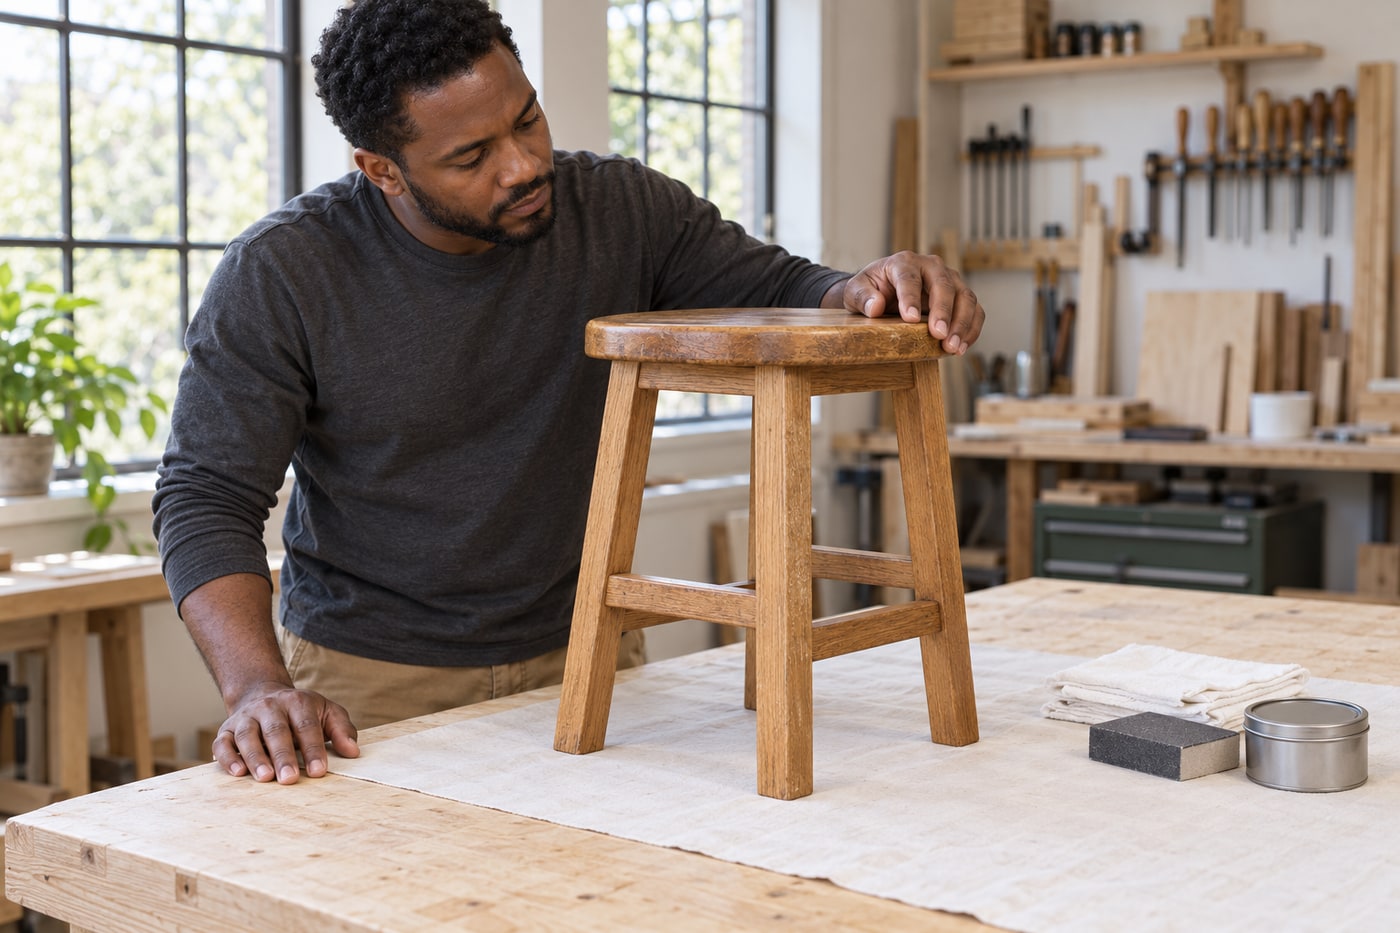
1. Inspect the stool and identify its existing finish
Work on a sound modern solid-wood indoor stool, checking joints, splits and seat fixings before treating the surface. Finishing will not repair a loose joint. Confirm the existing coating from its product history; do not aggressively sand unknown old paint, which may contain hazardous pigments. Protect the bench and plan ventilation, dust collection and safe waste handling before opening products. If the stool is veneered, antique, structurally damaged or has an unidentified coating, obtain the appropriate assessment instead of using this solid-wood method.
Photorealistic illustration · Waey
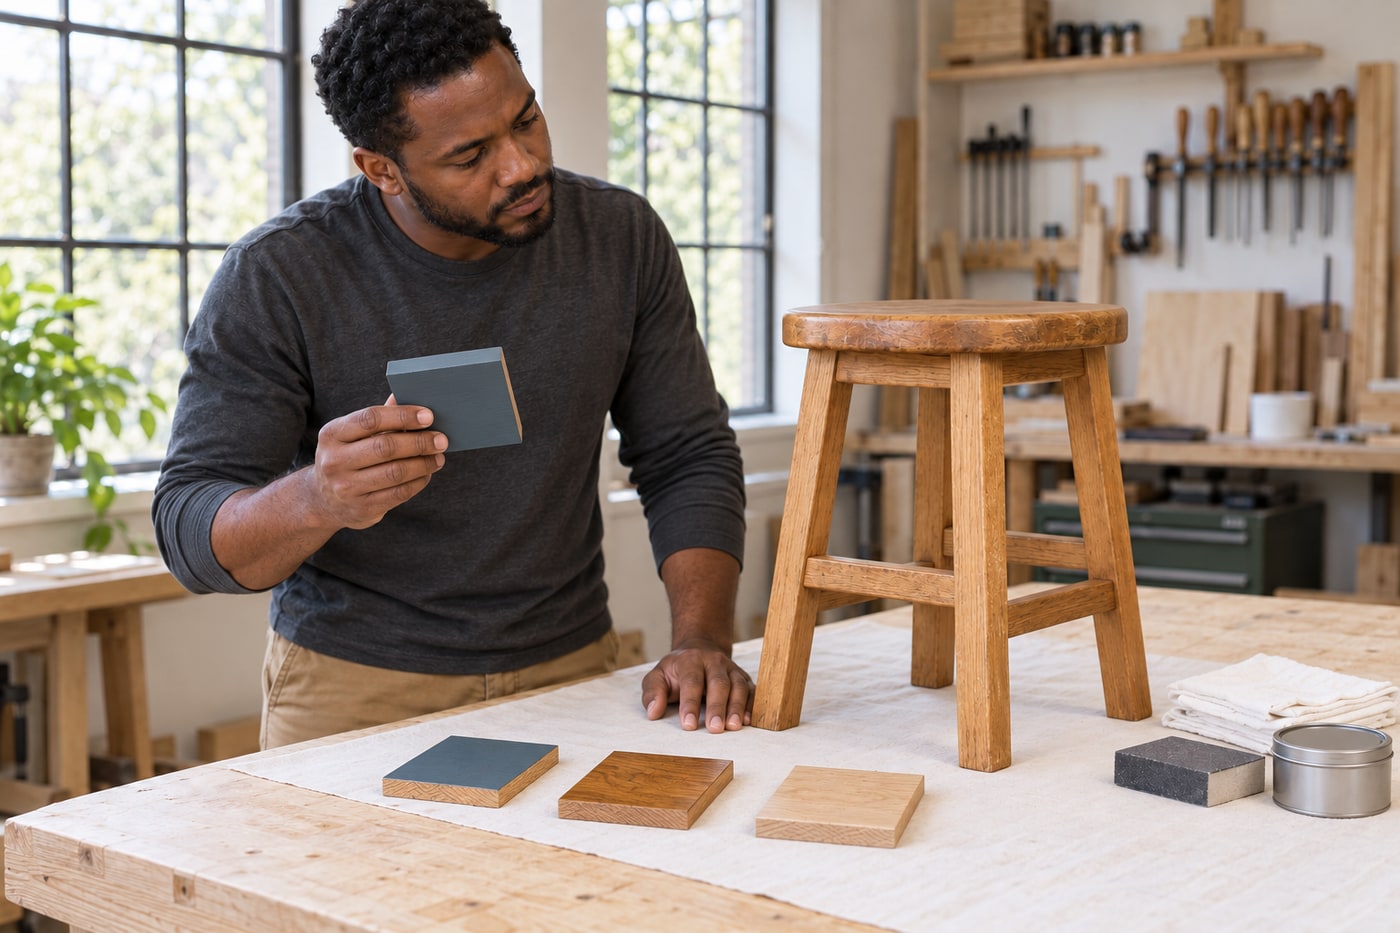
2. Choose one finish system before preparing the wood
For opaque colour, choose furniture paint: water-based versions generally offer easier water cleanup and less odour; solvent/oil-based paints can offer different flow and working time but need their specified cleanup and ventilation. Performance depends on the product, not simply its base. Wood oil keeps the grain visible and needs a compatible absorbent surface. Furniture wax gives a softer maintained sheen and usually less protection from water and heat. Wax is not paint. Choose the paint route in step six, oil in seven, or wax in eight; do not apply all three.
Photorealistic illustration · Waey
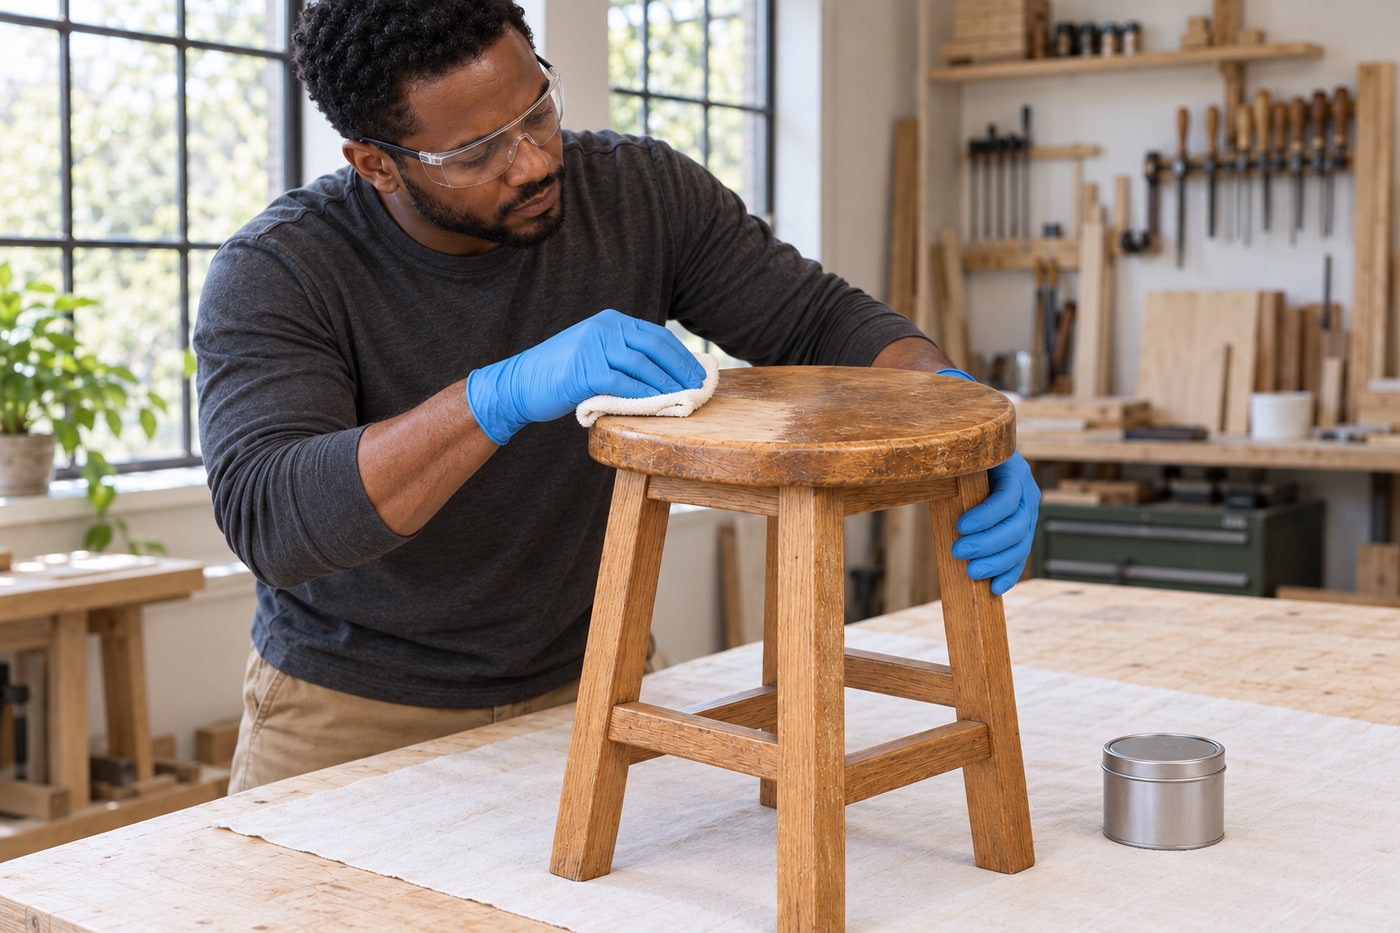
3. Clean the surface and remove incompatible wax
Remove loose dirt first, then clean with a product approved for the known finish. For a waxed stool, remove accumulated or incompatible wax using the selected wax remover’s instructions, chemical-resistant gloves and eye protection specified by its safety sheet. Work in small areas, lifting dissolved residue with fresh cloth surfaces rather than spreading it around. Allow the instructed drying period. Residual wax can prevent paint bonding and stop oil penetrating, so a quick shine or light scuff is not adequate preparation for changing the finish system.
Photorealistic illustration · Waey
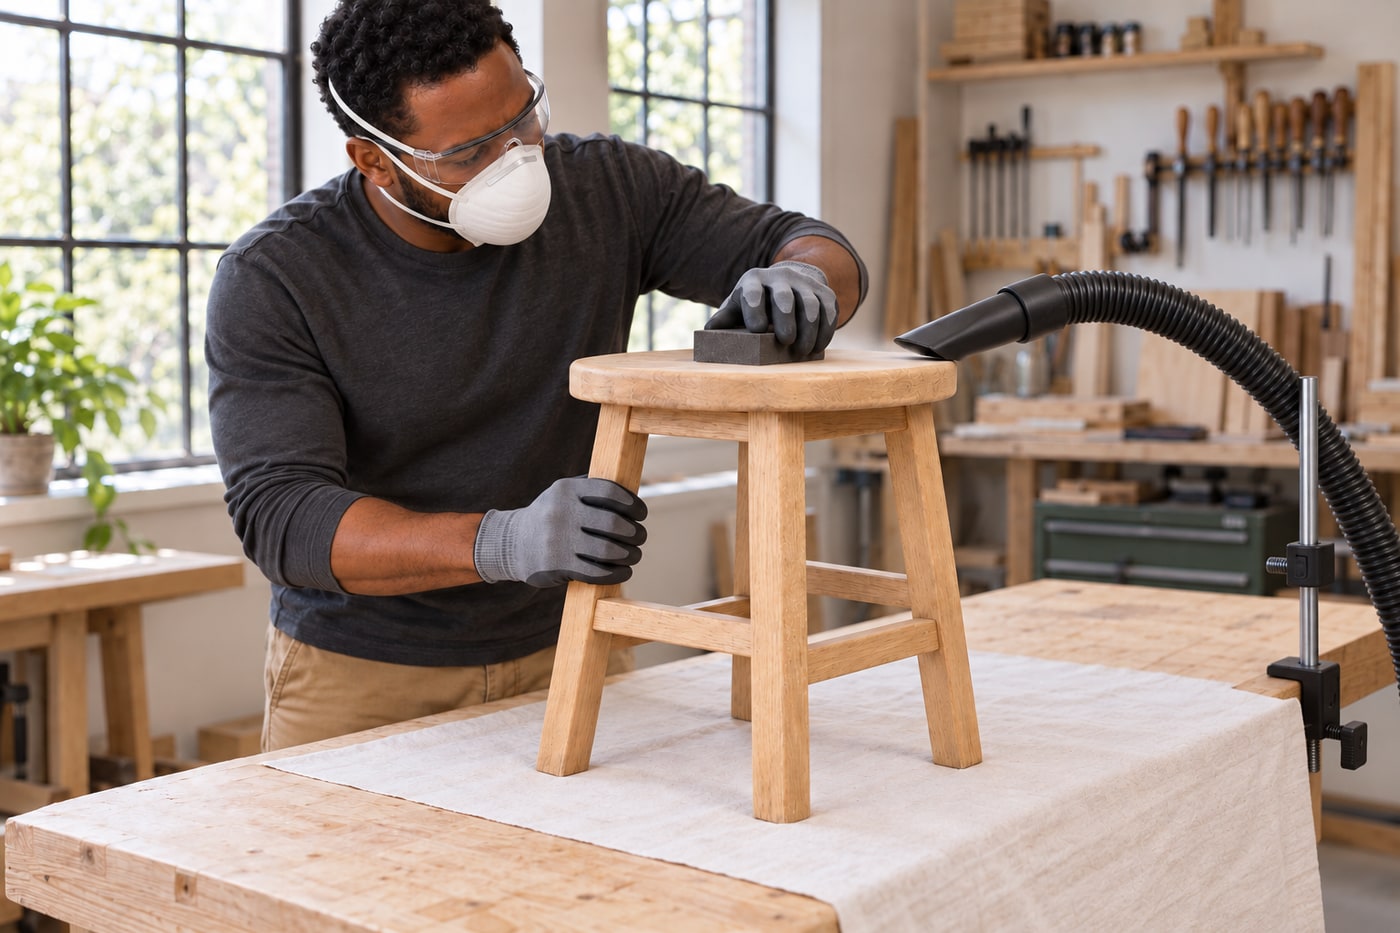
4. Prepare the surface for the selected route
For penetrating oil, the surface must be bare and absorbent as its manufacturer requires; for paint, a sound compatible coating may only need cleaning, controlled deglossing and a specified primer. Do not remove sound material unnecessarily. Use a sanding block with the grain and the abrasive sequence specified for the finish, supporting the stool without crushing edges. Control wood dust with suitable extraction and respiratory protection. Remove dust using the finish maker’s approved method; avoid oily or waxy tack residues under incompatible coatings. Repair only non-structural defects with compatible filler.
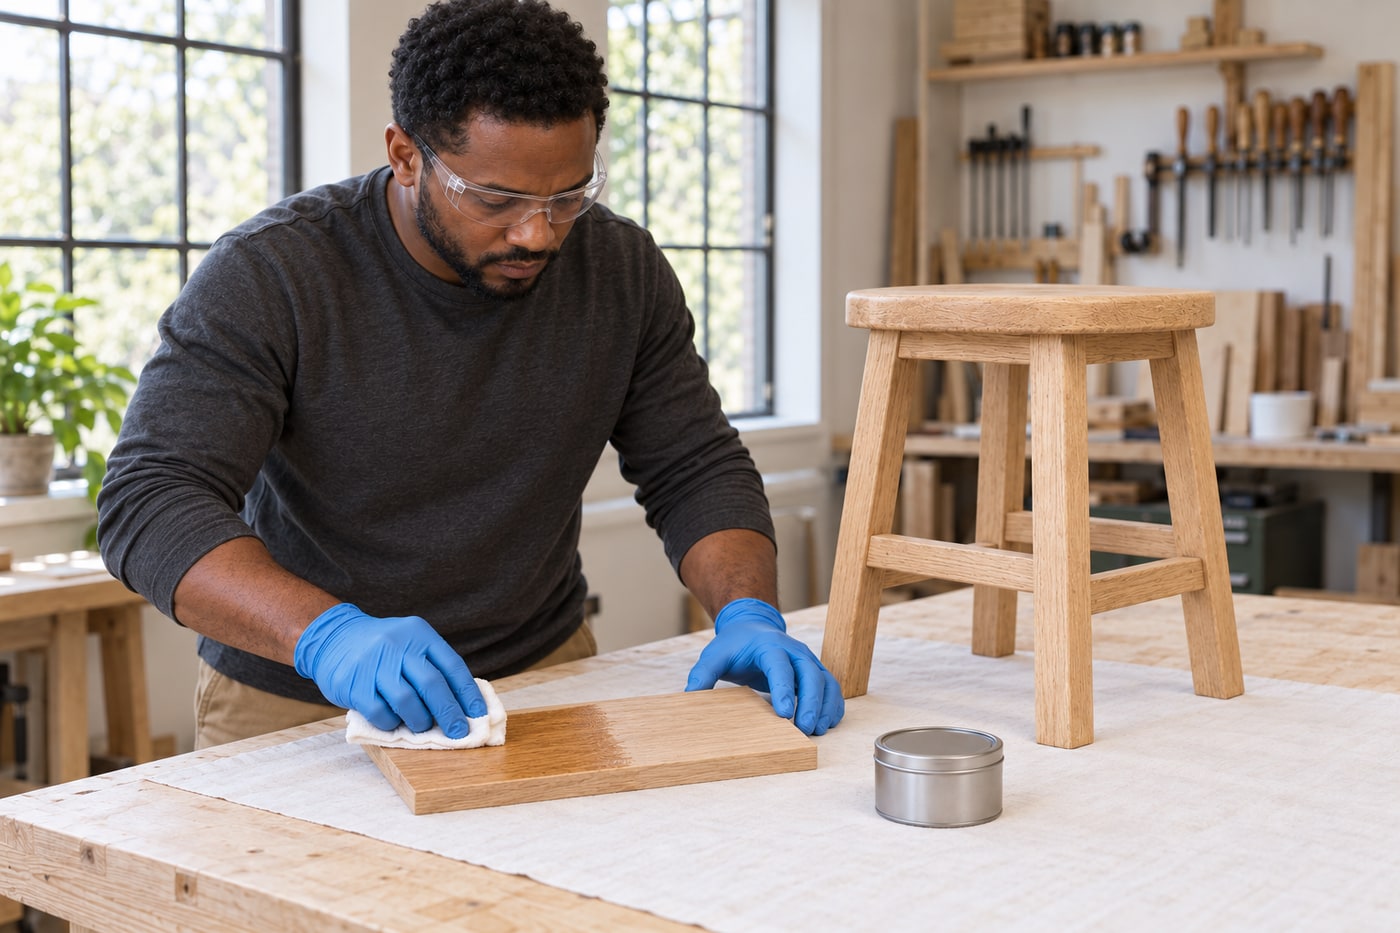
Photorealistic illustration · Waey
5. Test the complete system before coating the stool
Use matching scrap wood or an inconspicuous area to test preparation, colour, sheen and the complete coating sequence. Oil often deepens the wood’s colour; a tin marked clear does not guarantee an unchanged appearance. Let the test reach the instructed assessment stage and check for tackiness, uneven absorption, bleeding or poor adhesion. A successful colour dab alone does not prove long-term compatibility. Record the chosen primer, finish and any permitted topcoat, with their recoat and cure instructions, before committing the visible seat to the same system.
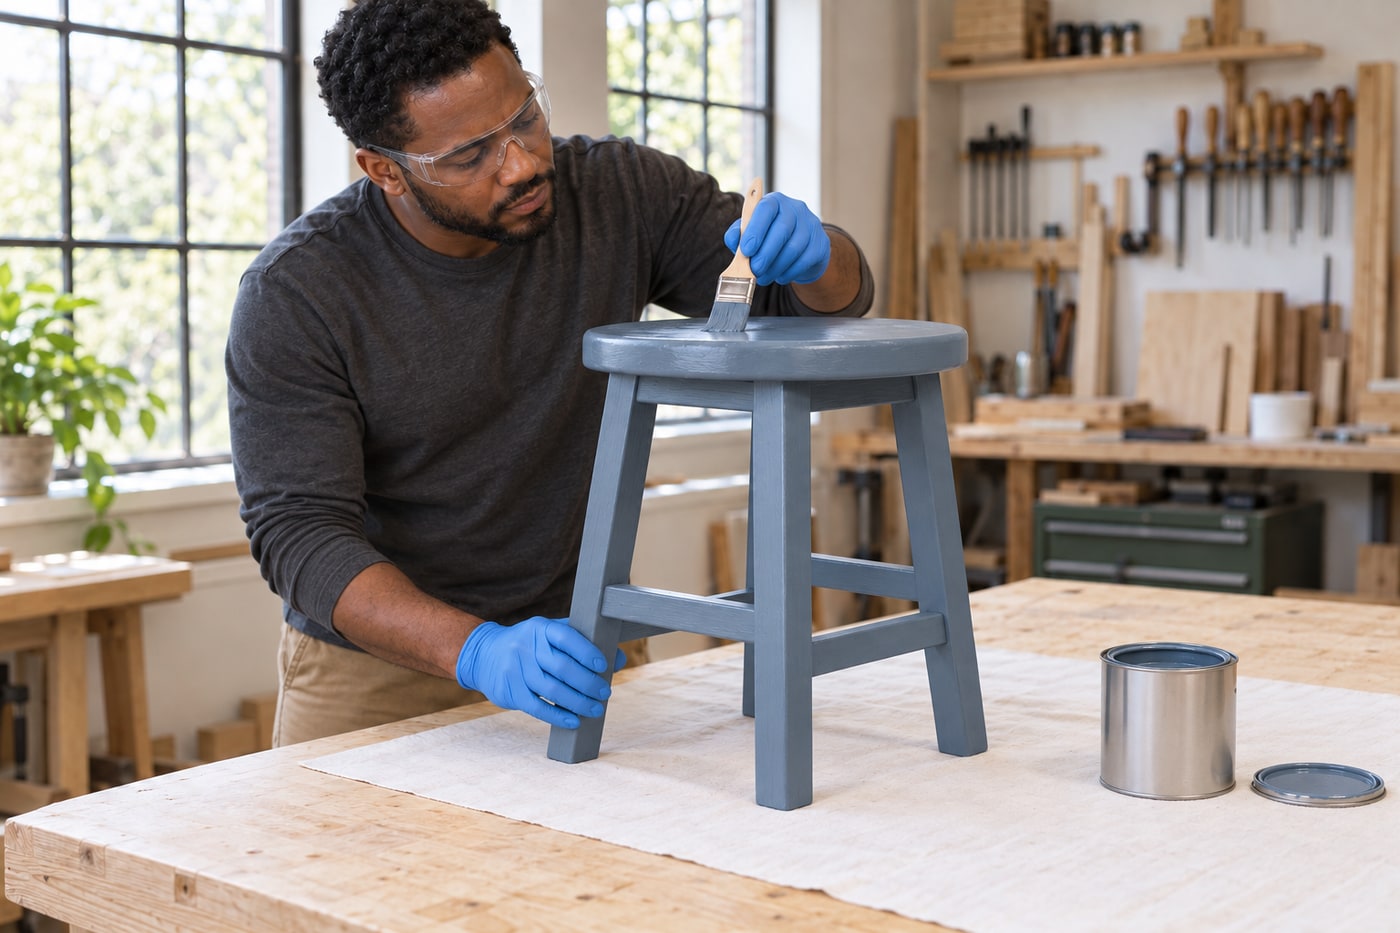
Photorealistic illustration · Waey
6. Paint route: prime where specified and build even coats
Follow this step only for the opaque painted finish. Use the primer required for the prepared wood and any staining or old-coating issue, allowing its specified recoat time. Apply the furniture paint with a suitable brush or small roller in thin even passes, working around the underside and legs before the seat so access does not damage wet work. Watch corners for runs and avoid repeatedly brushing a surface that is starting to set. Follow the product’s coat count, between-coat preparation and drying windows; add a protective topcoat only when that paint system requires and permits it.
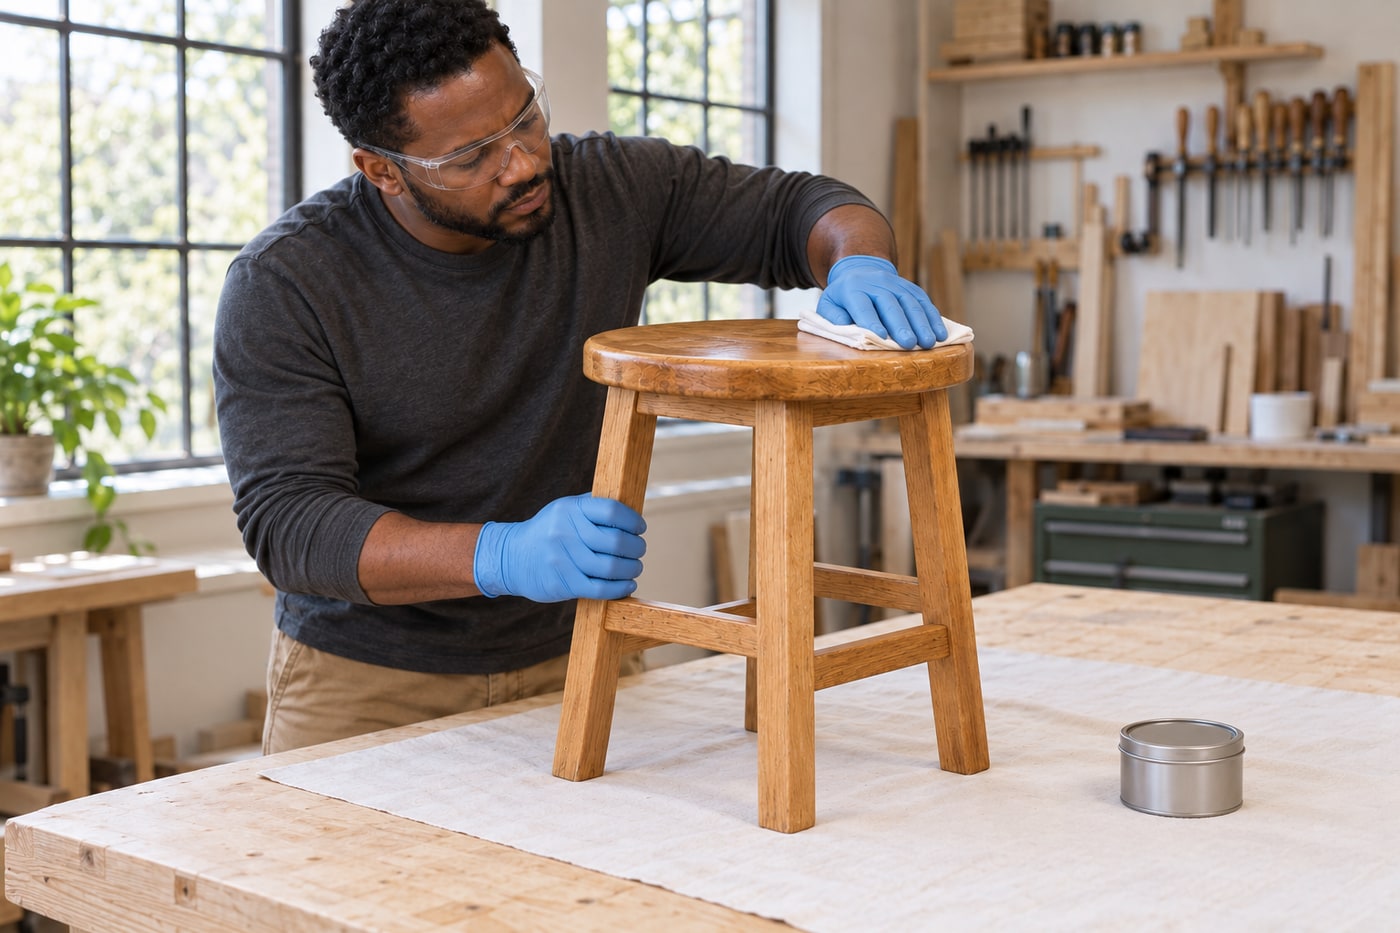
Photorealistic illustration · Waey
7. Oil route: apply evenly and remove the excess
Follow this alternative only on the bare compatible wood required by the chosen oil. Stir or shake as directed, then spread a controlled thin coat along the grain with its specified brush or lint-free cloth. At the manufacturer’s stated penetration interval, wipe off all excess before it turns sticky; do not leave puddles at stretcher joints or beneath the seat. Let each coat dry as instructed and complete the specified sequence, including any permitted between-coat abrasion. Do not copy another oil’s times or automatically add wax. Handle used oily cloths safely as soon as each is put down.
Photorealistic illustration · Waey
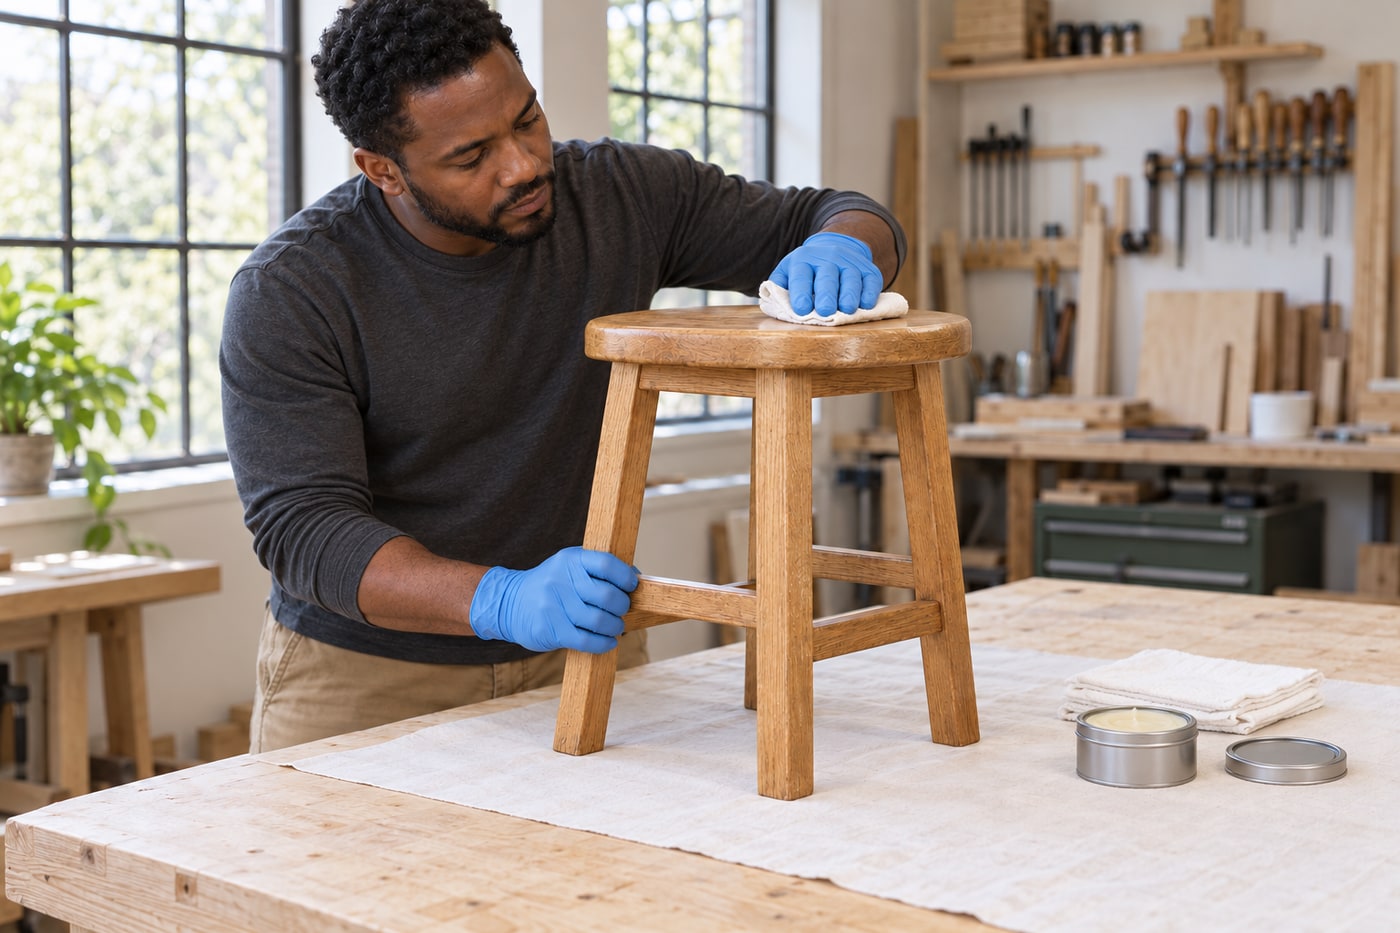
8. Wax route: apply sparingly, let it dry, then buff
Follow this alternative for a compatible dry surface and a wax approved for the intended indoor use. Work a small amount into a thin even coat with the product’s specified soft cloth or applicator, treating edges and legs without packing wax into joints. Wait for that wax’s stated buffing stage, then polish with a separate clean cotton cloth. Repeat only where the product and surface condition call for it; thick layers can remain smeary. Wax may be used over certain cured oils or paints only when both manufacturers approve that particular combination.
Photorealistic illustration · Waey
9. Allow curing, manage waste and check the result
Keep the stool unused until the selected system reaches its stated service or full-cure condition; touch-dry, recoatable and ready for seating are different stages. Check for runs, tackiness, sharp edges and uneven coverage, then follow the finish’s cleaning and maintenance advice. Collect solvent and coating waste as instructed, keeping it out of drains. Drying-oil cloths can self-heat: never leave them bundled or in indoor rubbish. Follow the product’s safe drying/storage instructions away from combustibles, then local disposal rules. Preserve the product details so later repairs use a compatible system.
Video demonstrations
Prepare the wood — Libéron
Shows preparation for bare wood and changing finishes. Do not copy its sanding or stripping on unknown old coatings; first establish material safety and follow the selected products.
LiberonProducts · English
Watch on YouTube ↗Apply and wipe off wood oil — Libéron
Manufacturer demonstrates finishing oil on a wooden table. The grain-visible application and excess-removal method applies to the compatible stool oil route; use your own oil instructions, not universal timings.
LiberonProducts · English
Watch on YouTube ↗Apply furniture wax and buff — Libéron
Manufacturer demonstrates applying furniture wax and buffing. Choose this only for the compatible wax route and the intended room conditions.
LiberonProducts · English
Watch on YouTube ↗Paint furniture with a specified paint-and-wax system — Annie Sloan
Demonstrates Annie Sloan’s specific paint-and-wax system on a cabinet. Its direct-paint and wax requirements are product-specific, not permission to paint over residual wax or add wax to every furniture paint.
Annie Sloan · English
Watch on YouTube ↗Final checks
One compatible system completed; no tack, runs or loose joints; full service/cure instructions met; coating details and maintenance recorded; application waste handled safely.
Sources
Libéron finishing oil preparation/application/fire warning ↗
Rust-Oleum water-based and oil-based paint differences ↗
Northamptonshire Fire and Rescue oil-cloth combustion warning ↗
Libéron paste furniture wax: preparation, application and maintenance ↗
Annie Sloan: product-specific furniture paint and wax method ↗
Photographs are credited beside each image. Generated photorealistic illustrations by Waey; linked videos remain with their creators.