
Lay an Alpha Vinyl Pad floor in a small dry room
Install straight integrated-pad vinyl planks over a verified prepared cement screed, then refit matching skirtings and a same-height doorway profile to existing rails.
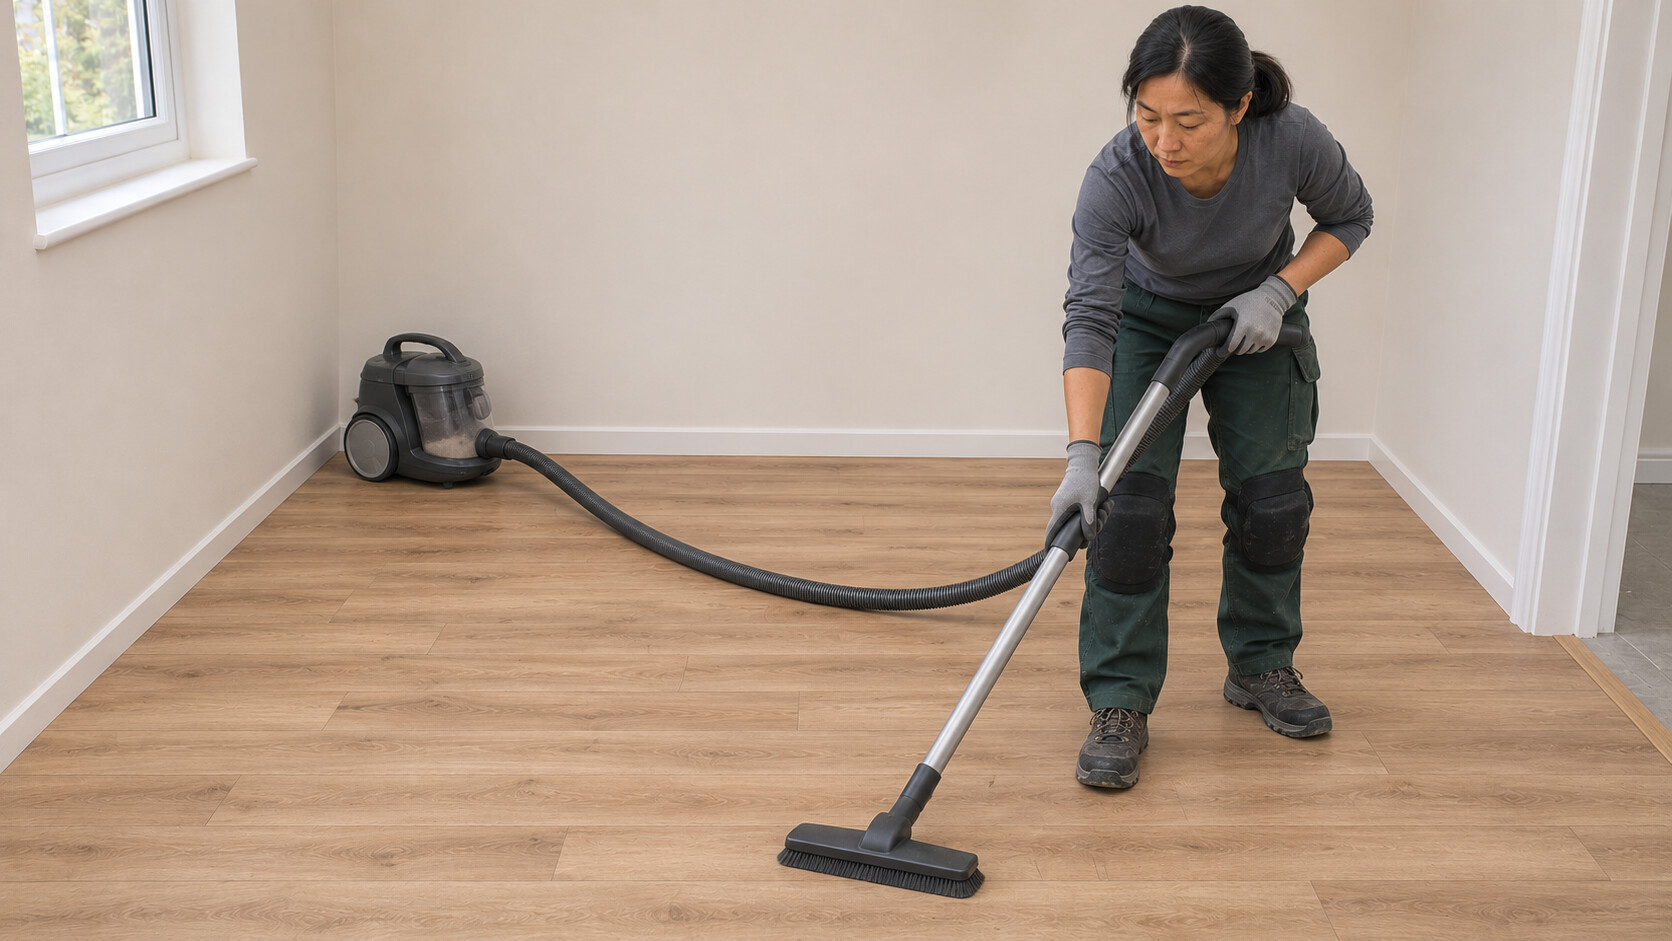
What will you learn?
A small dry rectangular room with standard residential temperatures of 15–35°C and each dimension below 13 m; no underfloor heating/cooling, building movement joints or fixed heavy units. The cement screed is already prepared, permanently dry, stable and clean. Keep a competent moisture test record showing CM below 2.5%; direct-to-earth floors need verified effective damp-proofing. Missing tests, damp-proofing or preparation must be resolved before this project. A surface moisture-meter reading or drying-time estimate alone does not establish compliance. Existing compatible mechanical skirting and doorway rails must already be secure at the correct final floor height.
Tools
- Tape measure and pencilSearch Amazon Australia ↗
- 2 m straightedge, 20 cm straightedge and feeler gaugesSearch Amazon Australia ↗
- Thin line for straightness checksSearch Amazon Australia ↗
- Quick-Step concave vinyl knife and its hand-protecting cutting toolSearch Amazon Australia ↗
- Suitable hand saw with plastic-cutting bladeSearch Amazon Australia ↗
- Stable sacrificial cutting support and clampsSearch Amazon Australia ↗
- Quick-Step compatible installation set: spacers, tapping block and pull barSearch Amazon Australia ↗
- HammerSearch Amazon Australia ↗
- Safety glassesSearch Amazon Australia ↗
- Cut-resistant protective gloves for plank handling and cuttingSearch Amazon Australia ↗
- Well-fitting FFP2 particulate respirator for sawing; ensure an effective face sealSearch Amazon Australia ↗
- Local dust collection and a vacuum suitable for fine cutting debrisSearch Amazon Australia ↗
- Supplied Incizo profile slitterSearch Amazon Australia ↗
- Suitable knee padsSearch Amazon Australia ↗
- Room thermometer and contact thermometer suitable for measuring subfloor temperatureSearch Amazon Australia ↗
- Vacuum cleaner with a soft floor brush for final cleanupSearch Amazon Australia ↗
Materials
- Quick-Step Alpha Vinyl Pad straight planks with integrated padSearch Amazon Australia ↗
- Matching pre-cut Quick-Step QSPSKRPAINT skirtings, left factory whiteSearch Amazon Australia ↗
- Quick-Step QSVINCP Incizo top profile with its supplied slitterSearch Amazon Australia ↗
- Suitable non-staining furniture contact padsSearch Amazon Australia ↗
- Existing secure compatible wall-fixed NETRACK rails at correct final floor height
- Existing secure compatible mechanically fixed Incizo base rail at the same-height doorway
Step by step
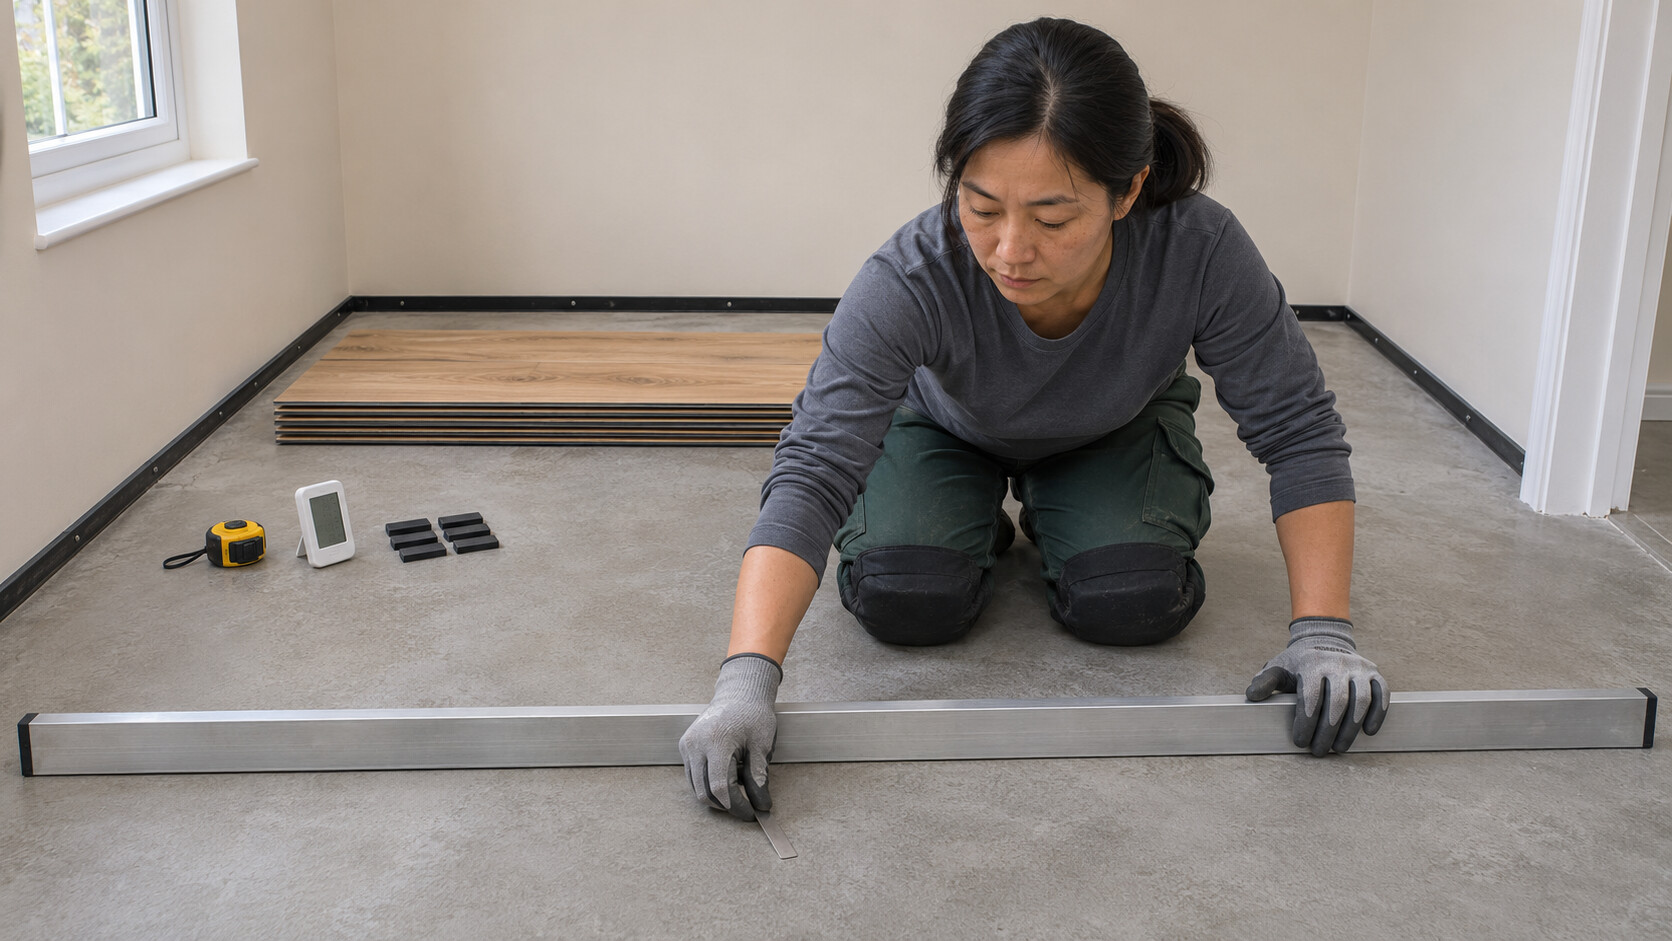
Photorealistic illustration · Waey
1. Verify the room and prepared subfloor before opening the packs
Confirm the room meets the preparation requirements and use straight-plank Alpha Vinyl Pad with integrated underlay. Review the recorded cement-screed moisture test and damp-proofing evidence before opening packs. Check that the existing NETRACK wall rails suit the pre-cut skirtings, and the mechanically fixed Incizo rail suits the same-height doorway and finished floor height. Stop for dampness, unknown old flooring or adhesive, loose rails or missing preparation. Do not drill or cover a defect to proceed.
Photorealistic illustration · Waey
2. Acclimatize and check flatness
Store the packs flat in the installation room for at least 48 hours at 18–30°C. Use the room and contact thermometers to check conditions. Maintain those room and floor conditions before, during and for at least 24 hours after installation; the subfloor must be above 15°C. Check flatness with the straightedges and feeler gauges: deviations over 1 mm in 20 cm or 4 mm in 2 m require correction before laying. Vacuum loose debris and inspect planks in daylight. Do not add separate underlay beneath this integrated-pad product.
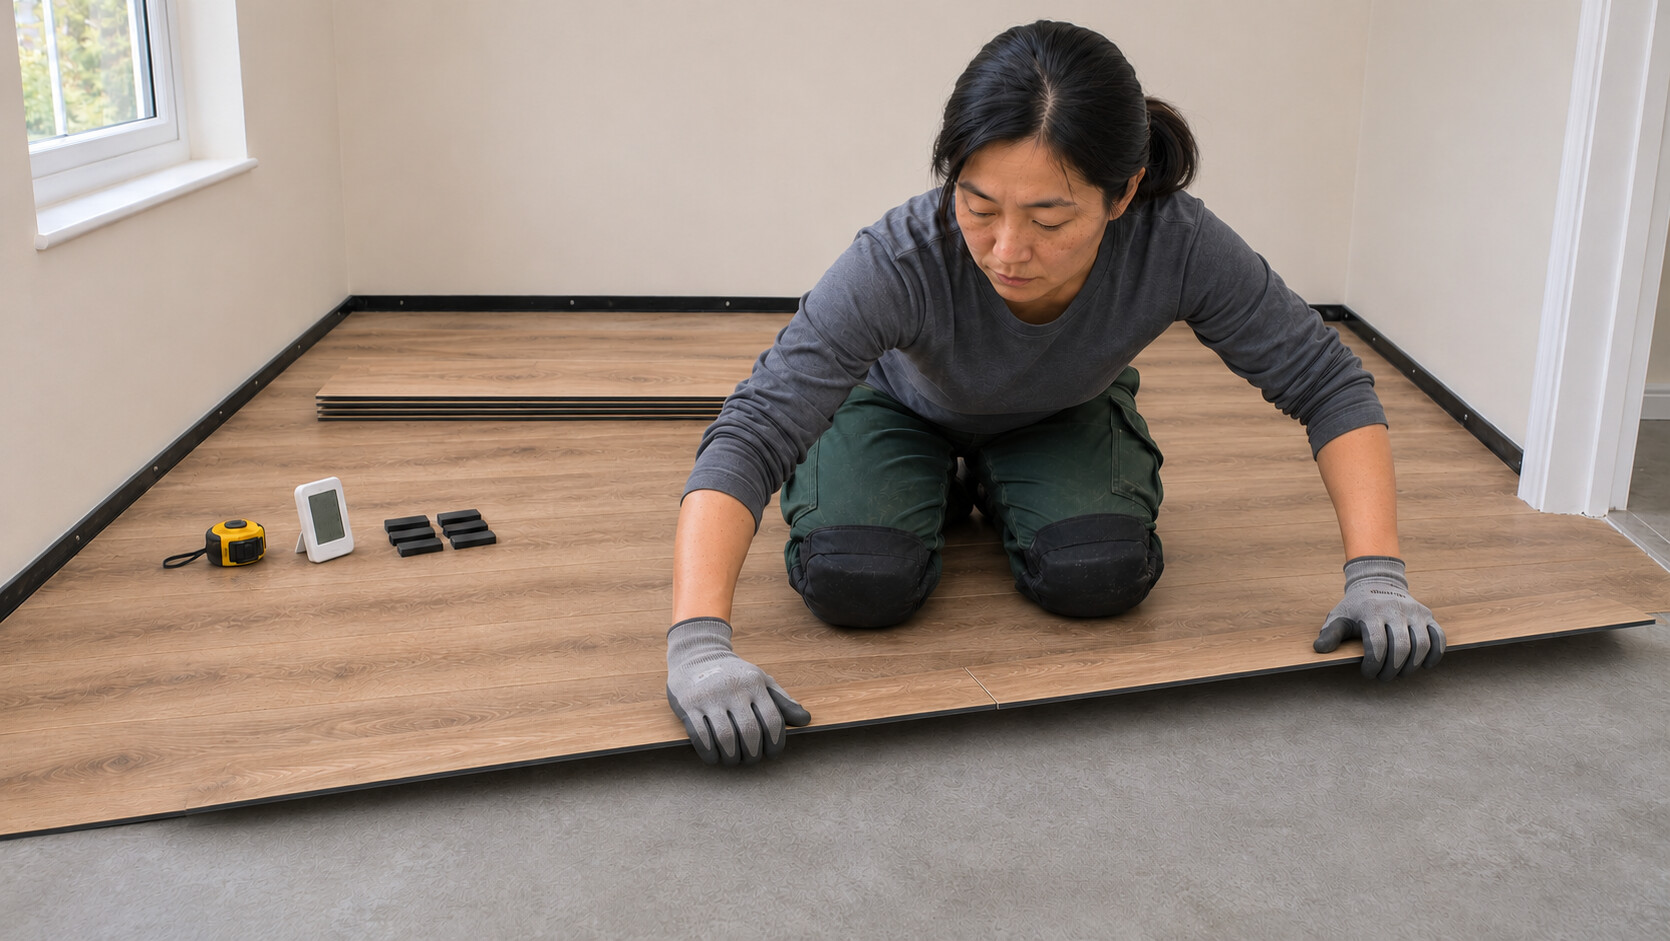
Photorealistic illustration · Waey
3. Balance the layout and preserve movement space
Measure the room and plan the first and last rows before cutting. Leave at least 5 cm width at both long-wall sides and more than 20 cm length at the row ends, while allowing an 8 mm expansion gap around the perimeter and every fixed obstruction. Stagger successive rows’ end joints by at least 30 cm and mix boards from different packs. Avoid repeated stair-step patterns and tiny offcuts. Confirm the doorway finish and existing skirting arrangement will cover the gaps without pinning the floor.
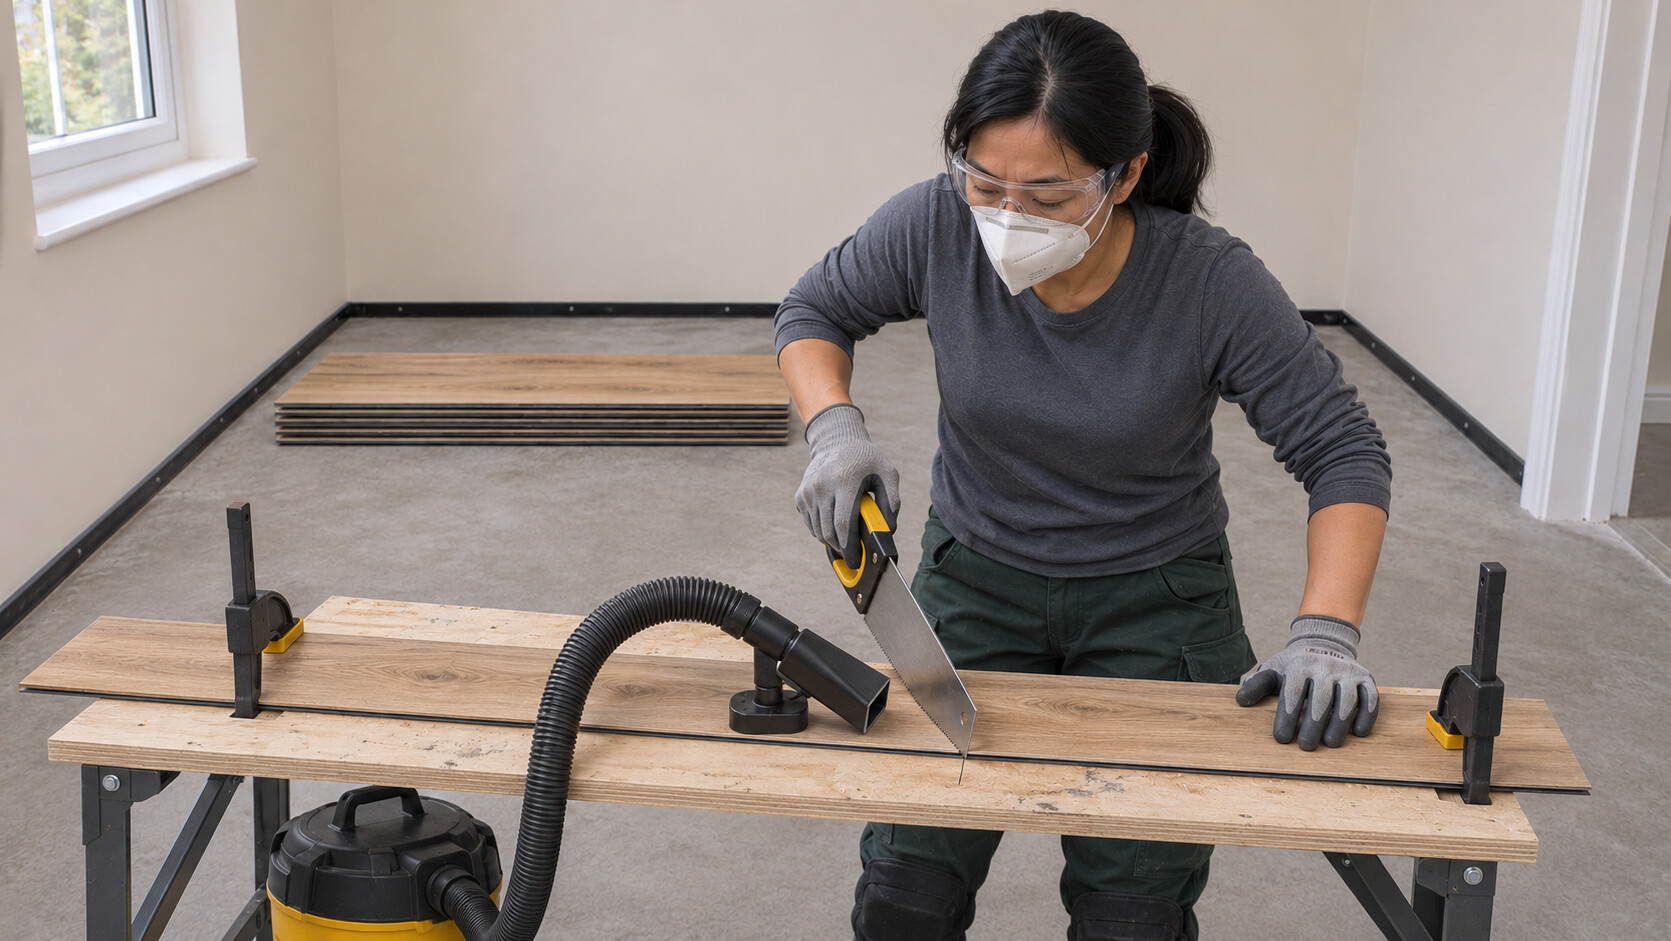
Photorealistic illustration · Waey
4. Make supported cuts without damaging the click edges
Wear cut-resistant gloves and use Quick-Step’s concave knife with its hand-protecting cutting tool on a stable support. For straight shortening cuts, mark the decor face upward, score it and cut the attached pad before snapping with both hands. Do not substitute a standard straight-bladed utility knife or force a difficult cut. Keep the supporting hand outside the blade path and cover the blade before moving the piece. Use the selected plastic-cutting hand saw for other cuts, with the plank clamped, local dust collection, safety glasses and a well-fitting FFP2 mask; test the cleanest face orientation on an offcut.
Photorealistic illustration · Waey
5. Prepare the wall-facing edges and establish three straight rows
Saw off the click profile on every edge that will directly face a wall, including both wall-facing sides of the starting corner plank. Assemble the first three rows away from the wall so the joints are accessible, rather than forcing a crooked first row against uneven plaster. Position the assembled section using the 8 mm spacers. Check its line with a taut thin string and correct any drift now. Recheck straightness as the installation progresses; the wall itself is not a reliable straightedge.
Photorealistic illustration · Waey
6. Join the short side, then engage the long joint
Use Quick-Step’s preferred angle-angle method for the selected Uniclic system. Angle the new plank’s short end into the previous plank, then raise it to about 20–30°; the already joined boards in that row rise with it. Place both hands close to the joint and draw the long side toward you to engage it with the preceding row. Do not confuse this with a different brand’s drop-lock method. After every plank, check both joints for openings or height steps before continuing.
Photorealistic illustration · Waey
7. Continue the stagger and close the final rows carefully
Continue row by row, maintaining the planned stagger and the 8 mm gap at every wall and doorway boundary. Keep your weight on installed planks where practical so the growing floor does not shift. In a confined position use only the compatible Quick-Step tapping block or pull bar and light progressive taps, never hammer the exposed click edge directly. Fit the final row to the measured shape while retaining its movement gap. Stop if a joint will not close; forcing it can conceal a damaged profile.
Photorealistic illustration · Waey
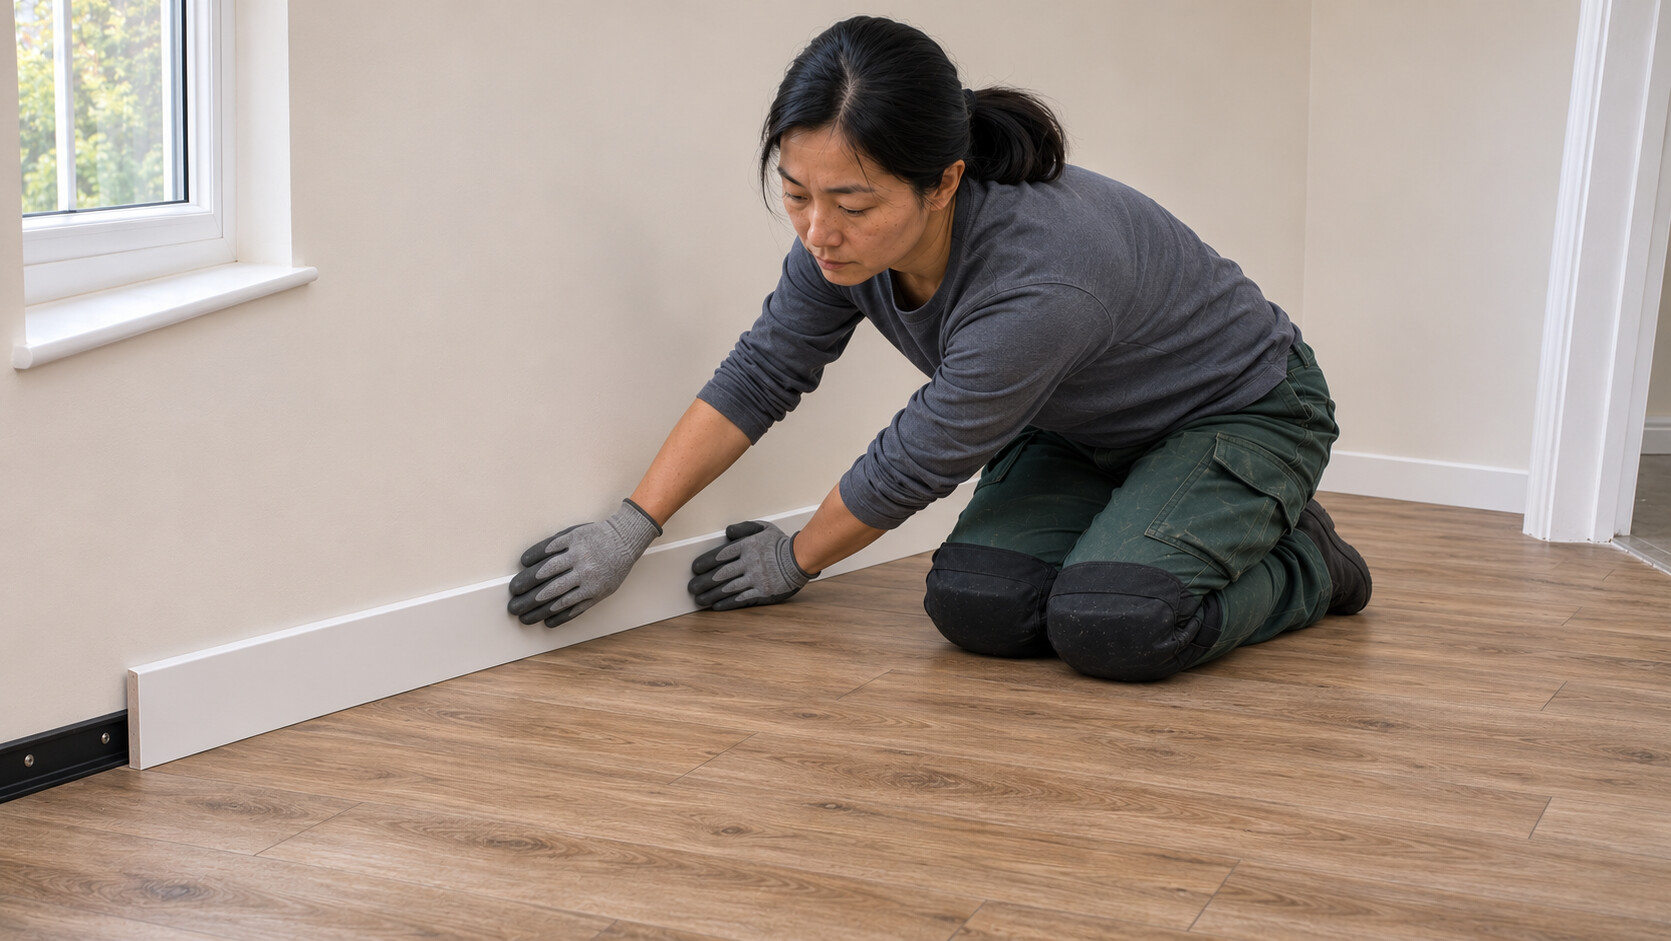
8. Refit the skirting without pinning the floor
Remove every spacer and inspect the perimeter. Check the existing wall-fixed NETRACK rails are secure and positioned for the final floor height. Click the matching pre-cut QSPSKRPAINT skirtings onto those rails, leaving them factory white. They must cover the expansion space while allowing the floor to move beneath them; never fasten them through the planks. Do not fill the gap with ordinary silicone or rigid filler. Stop if the old skirtings or rail positions cannot fit without trapping the new floor.
Photorealistic illustration · Waey
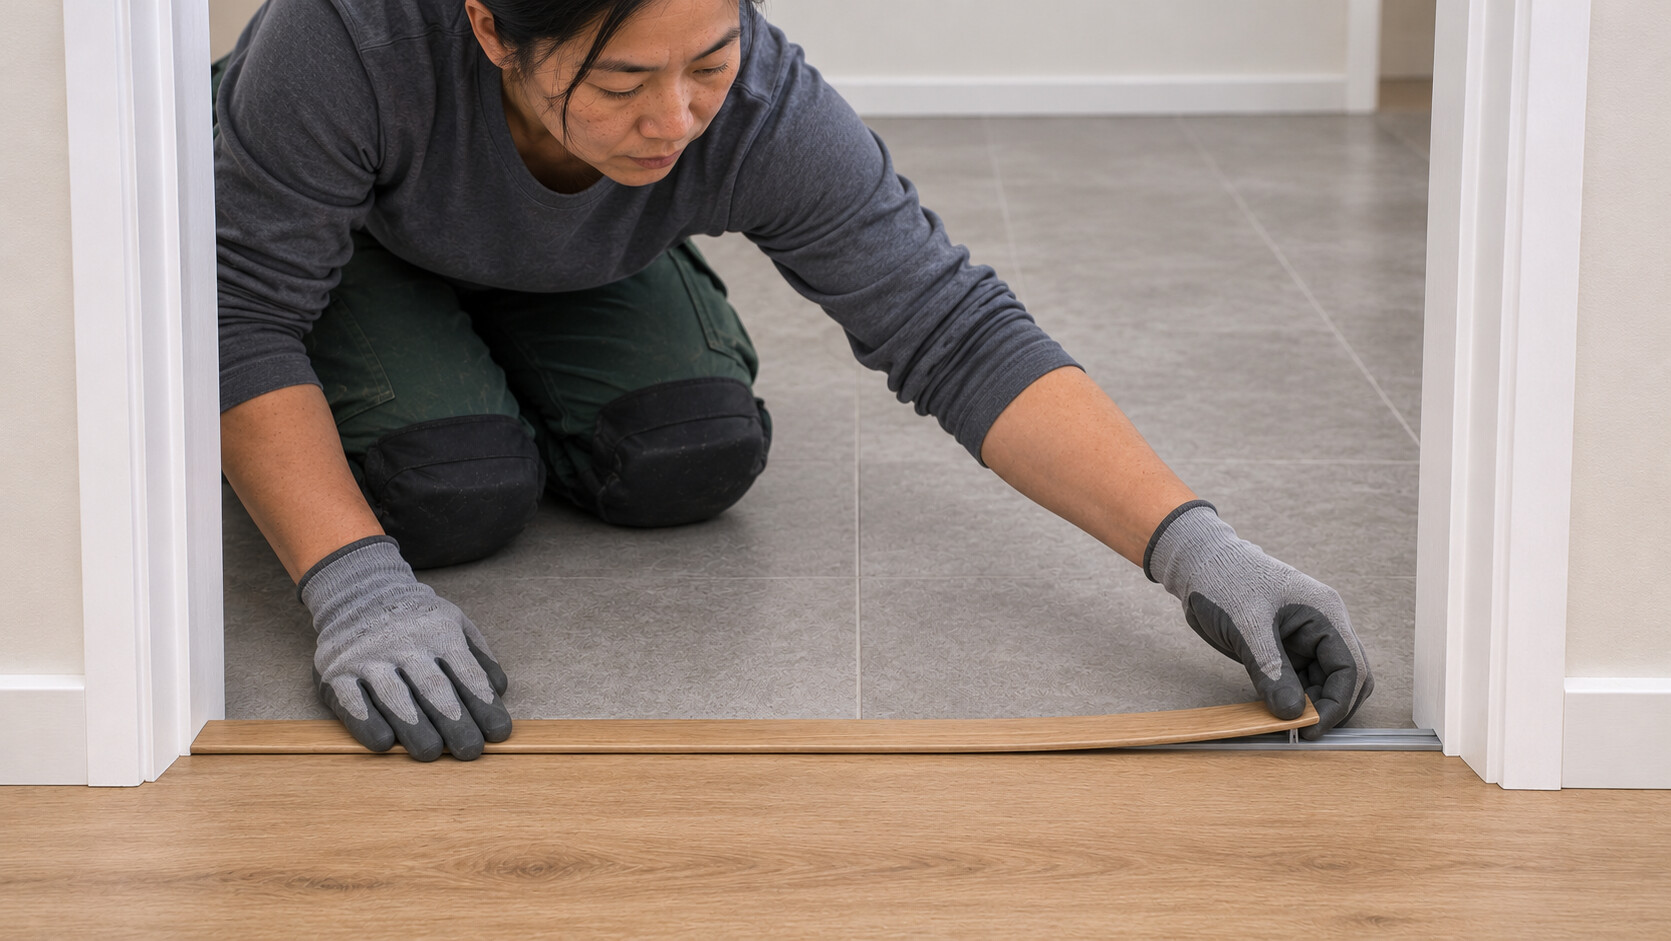
9. Fit the same-height doorway profile and check the finished floor
Saw the QSVINCP top profile to length on a secure support. Wearing gloves, lay it horizontally and use its supplied slitter in the marked grooves to remove strips A and B for the expansion-profile shape; do not cut into the PVC base. Check the existing rail is secure and that the floor retains its 8 mm gap from the raised rail legs. Press the top progressively into the rail from one end. Inspect every joint and the door clearance, then vacuum with a soft brush. Lift furniture when returning it and protect contact points with suitable non-staining pads.
Video demonstrations
How to install Quick-Step Alpha Vinyl with underlay attached
Manufacturer overview for Alpha Vinyl with attached underlay. The reviewed visual sample at 2:23 shows an animated partly laid floor and a wall spacer. This is context, not a physical joint or calibrated-gap test. Follow the current Pad manual for the selected product; do not add separate underlay.
Quick-Step Floors · English title; audio not reviewed
Watch on YouTube ↗How to start laying a Quick-Step Alpha Vinyl floor | Tutorial by Quick-Step
Older manufacturer starting-row tutorial. The reviewed sample at 1:06 shows a gloved installer positioning a plank beside another over separate white underlay. Do not copy that layer beneath the selected integrated-pad product. This sample does not establish a complete joint sequence or a measured 8 mm gap.
Quick-Step Floors · English title; audio not reviewed
Watch on YouTube ↗Final checks
Check every joint, movement gaps before covering them, secure compatible wall/profile rails and unobstructed doorway clearance. Stop for damaged joints or trapped flooring.
Sources
Instruction images generated with OpenAI image generation and individually and sequentially reviewed. They illustrate context; no physical installation tests were performed.