
Install a portable AC exhaust kit in a sliding window
Fit and seal a matching rigid window panel, connect the original exhaust hose and verify safe cooling operation.
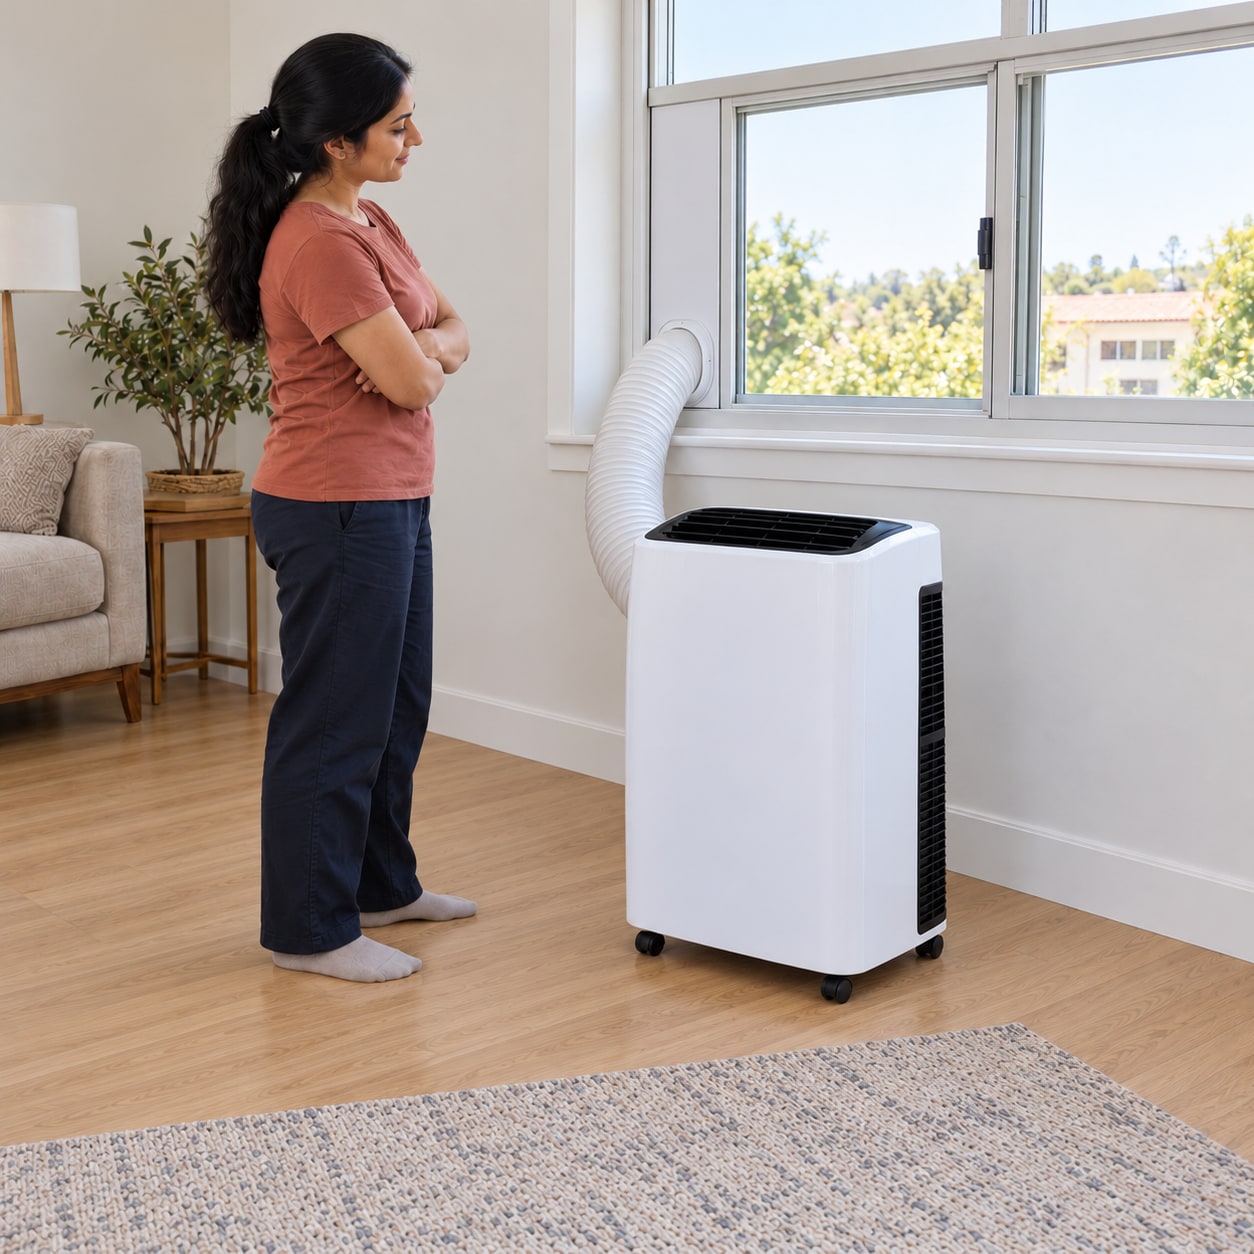
What will you learn?
This installation is for a single-hose portable air conditioner and its manufacturer-supplied rigid panel in a compatible horizontal sliding window. The example uses the Honeywell MN4-style slide-in rear connector and adjustable panel system. Follow your exact regional model manual for dimensions, electrical supply, clearances, room size, transport rest time and drainage. Casement windows, glass cutting, wall penetrations and refrigerant work are outside the task.
Tools
- 1 tape measureSearch Amazon Australia ↗
- 1 screwdriver matching the supplied panel fastenersSearch Amazon Australia ↗
- 1 pair of scissors for approved foam stripsSearch Amazon Australia ↗
- The exact AC installation and operating manual
Materials
- 1 suitable single-hose portable AC with intact original power leadSearch Amazon Australia ↗
- 1 complete matching adjustable rigid window-panel kit with its fasteners and any supplied window restraintSearch Amazon Australia ↗
- 1 original exhaust hose with unit and panel connectorsSearch Amazon Australia ↗
- Manufacturer-approved foam sealing strips, quantity to suit the measured panel edgesSearch Amazon Australia ↗
- 1 clean cloth for preparing the frameSearch Amazon Australia ↗
Step by step
Photorealistic illustration · Waey
1. Choose a safe window and power location
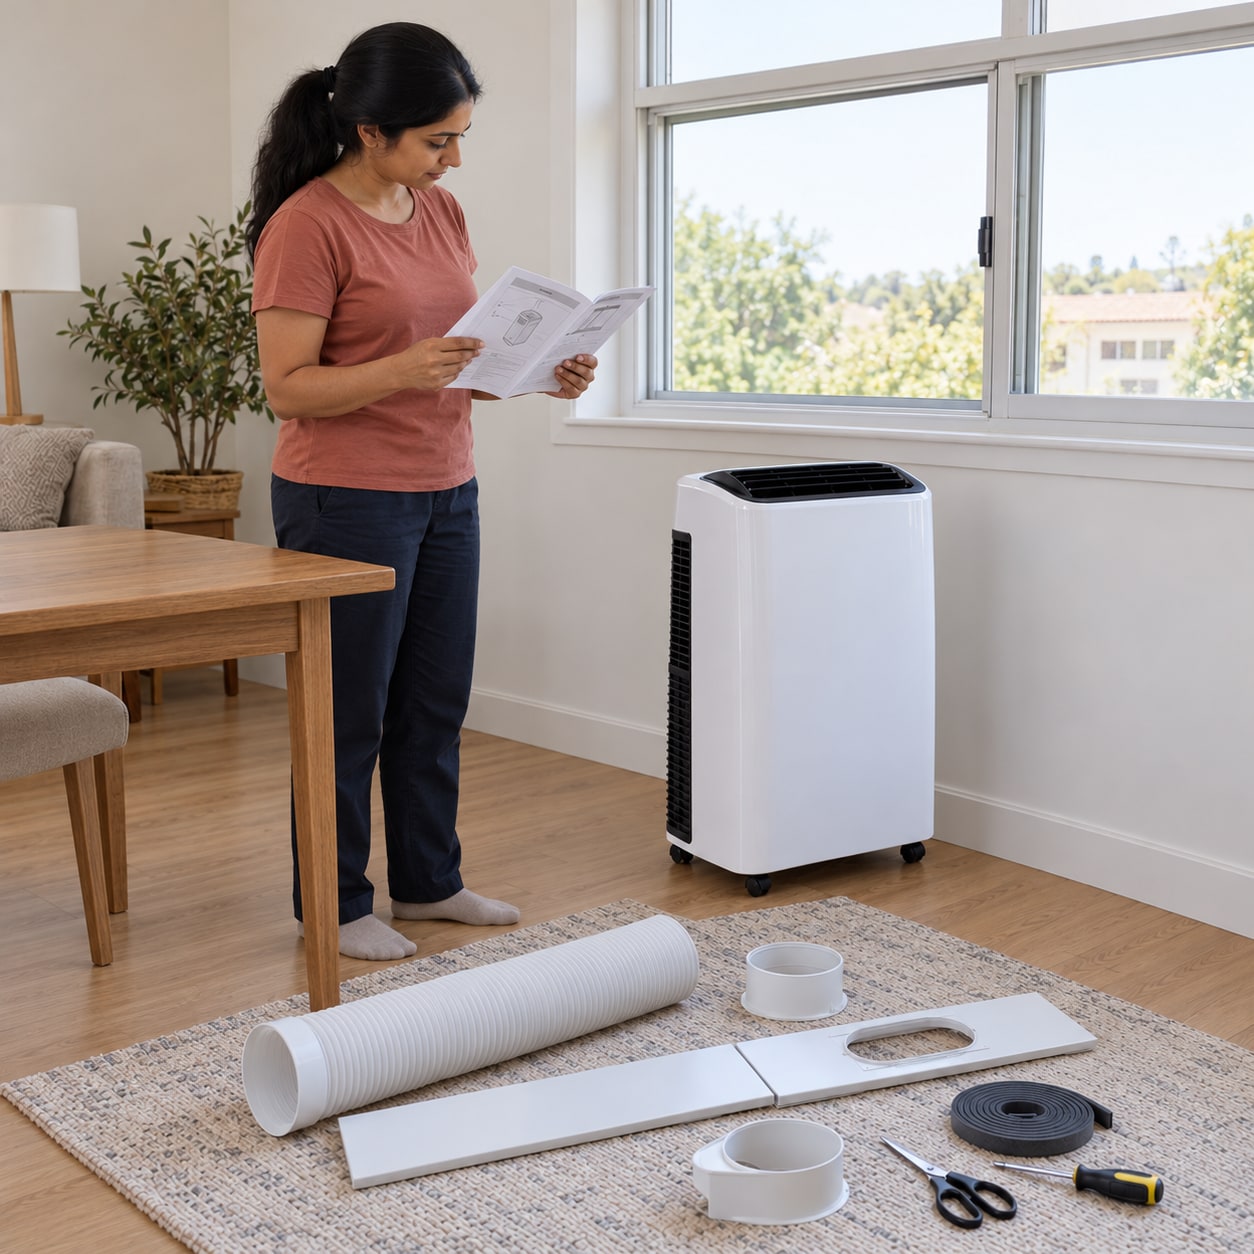
Read the rating label and regional manual before positioning the appliance. Confirm the supply, earthing, room-size requirement and available outlet are suitable; a matching plug shape alone proves none of these. Choose a supported sliding window near enough for the original hose to reach without stretching or blocking an escape route. The cited MN4 manual requires at least 80 cm behind the unit and 50 cm above, in front and on either side. Keep the unit on a level floor with every clearance specified in its manual, and complete its required upright rest after transport before powering it.
Photorealistic illustration · Waey
2. Dry-fit the panel before attaching seals
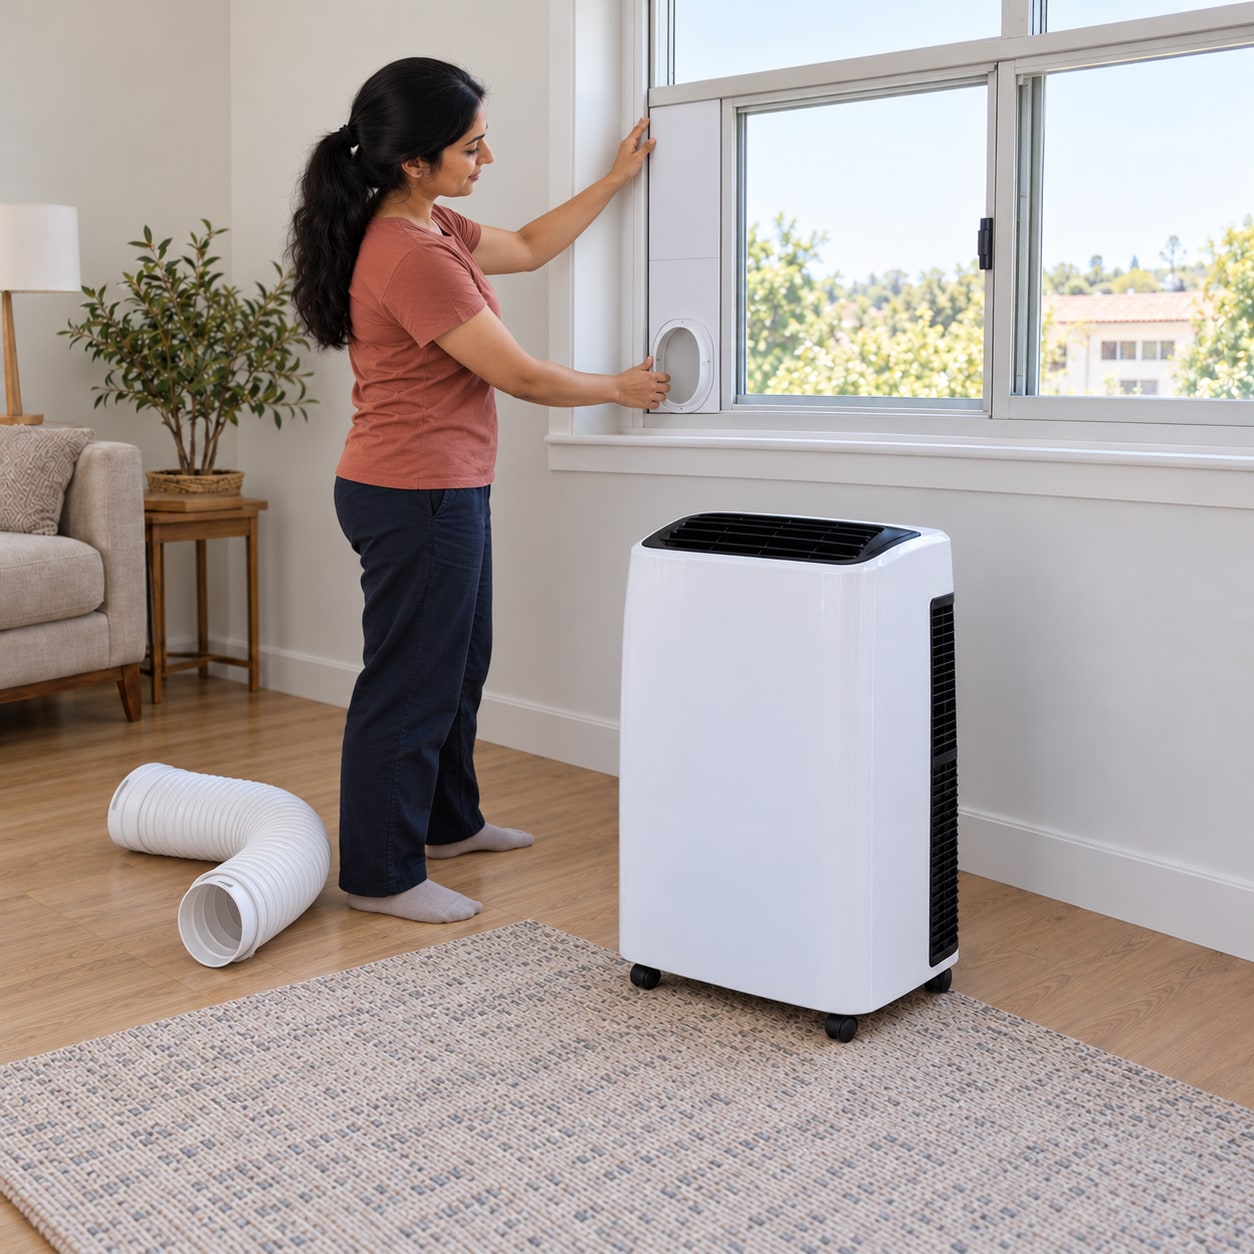
Measure the clear height of the horizontal slider opening and compare it with the supplied panel’s adjustment range. Extend the panel sections upright to fill the opening, checking that the hose adapter will face the room and clear the sash. Secure the adjustment with the supplied knobs or pins as shown in the manual. If the opening is outside the kit’s range, obtain the approved kit; do not fill a structural gap with loose cardboard or force the window against the adapter.
Photorealistic illustration · Waey
3. Prepare and seal the panel edges
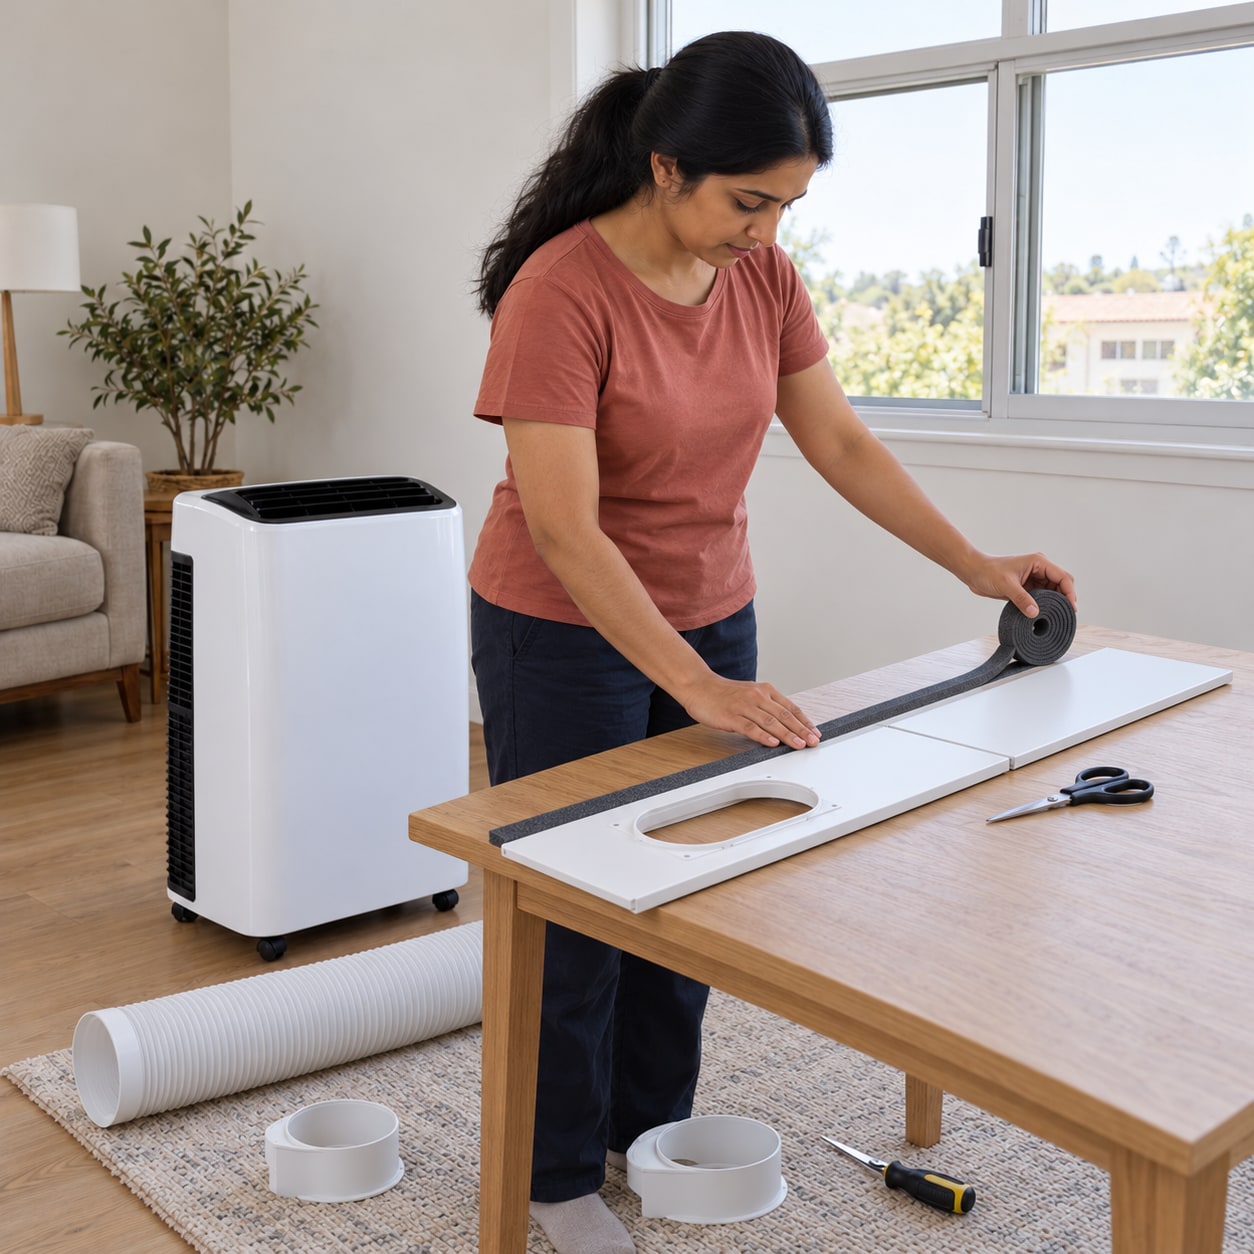
Remove the trial-fitted panel while the sash is safely supported. Clean and dry only the contact surfaces where the manual calls for sealing strips, then cut and apply the approved foam to those edges. Leave drainage channels, operating hardware and any required ventilation paths clear. Replace the panel and close the sliding sash gently against it. Inspect the full perimeter from inside: a folded seal or open corner will allow hot outside air back into the room.
Photorealistic illustration · Waey
4. Secure the window and panel mechanically
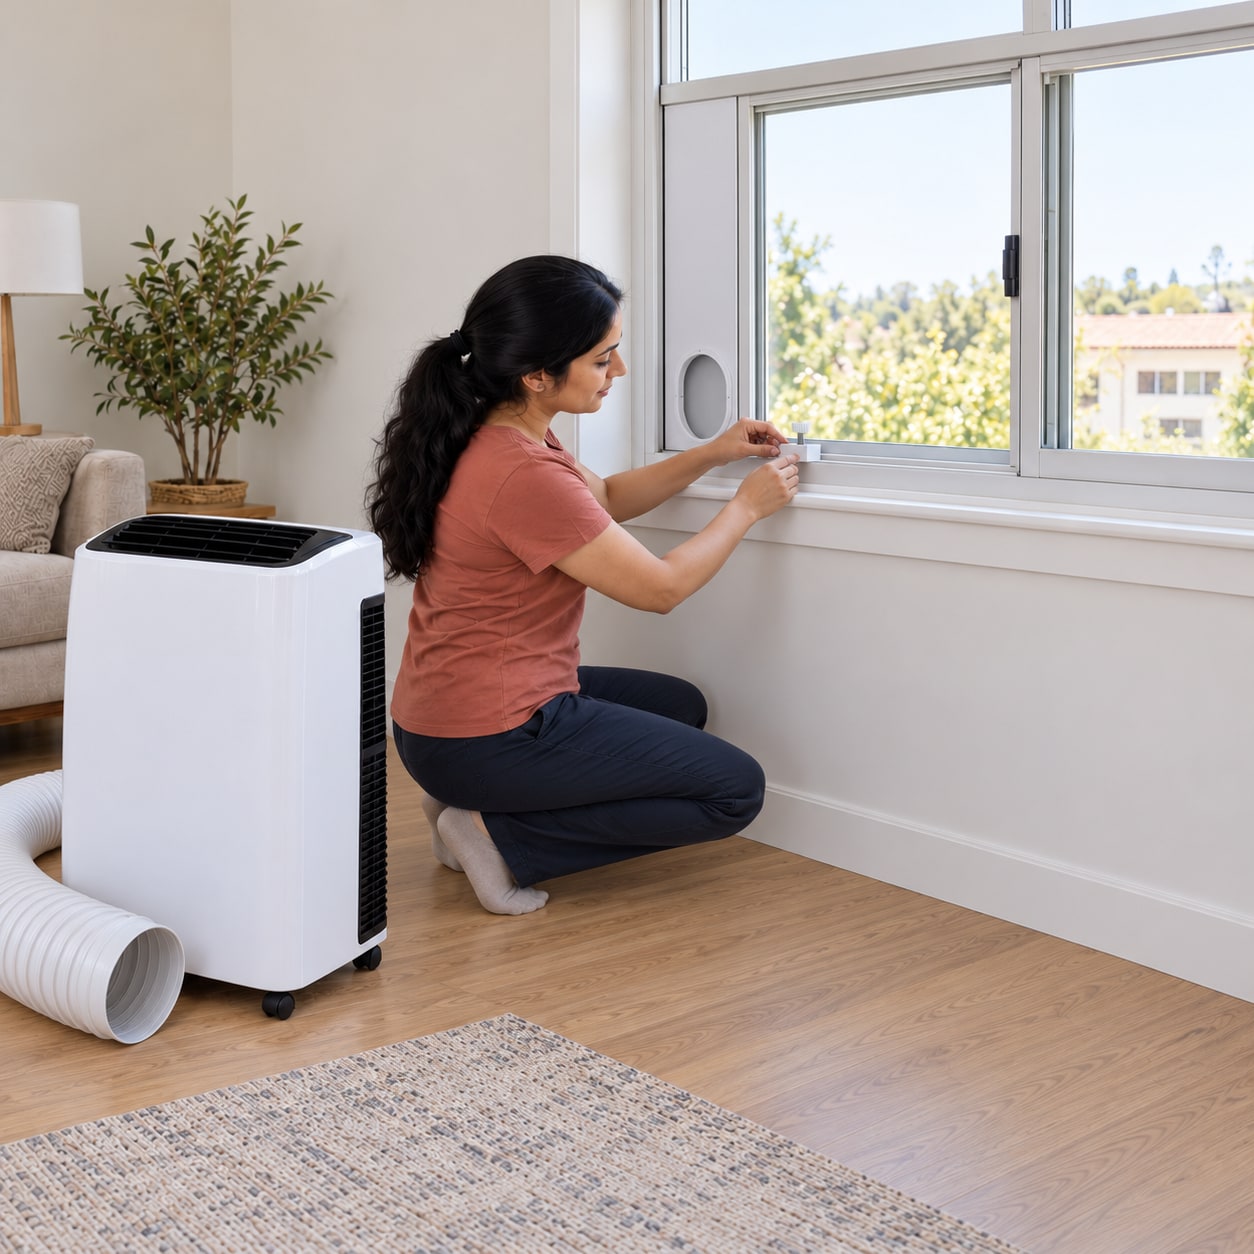
Install the supplied window restraint or securing hardware exactly as the kit instructs so the sash cannot slide away from the panel. Confirm the panel is retained by the frame, not simply hanging from the exhaust hose or held only by tape. Gently check it from inside without leaning out. If the manual requires fixings that your window cannot accept, stop and obtain an approved solution; do not improvise holes in glass or a weakened frame.
Photorealistic illustration · Waey
5. Connect the original hose without strain
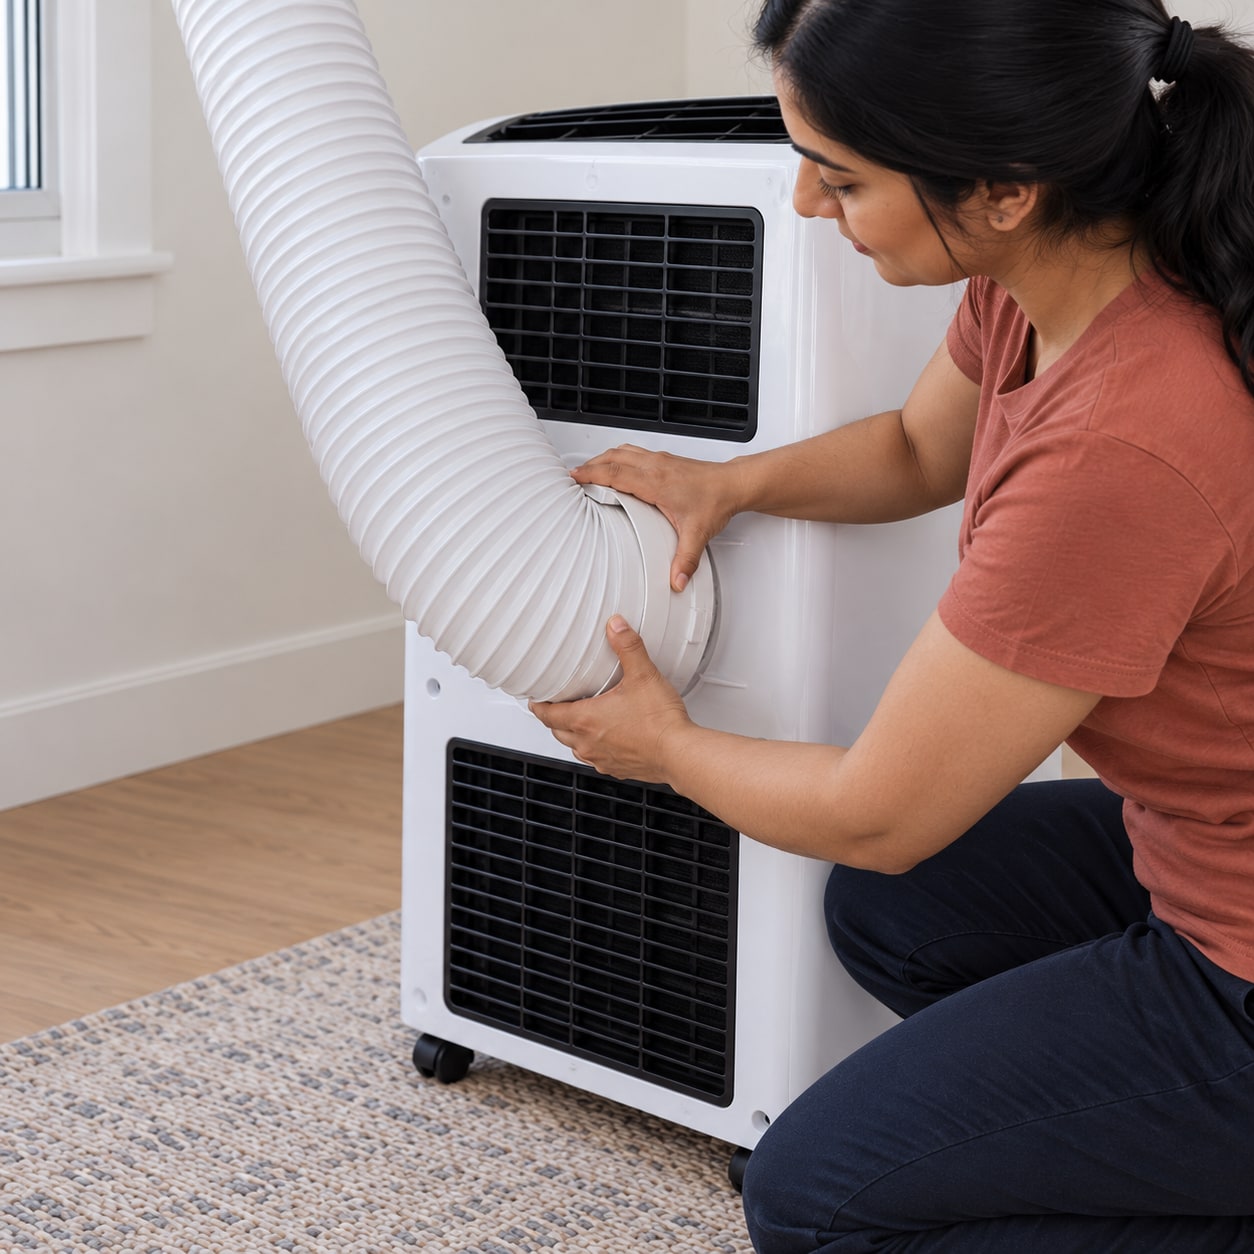
With the AC unplugged, fit the original connector to its rear exhaust outlet in the specified direction; the MN4 example slides down into place. Seat the hose’s window adapter fully in the panel port; the cited MN4 adapter slides in and turns clockwise to lock. Position the unit so the hose has the shortest practical route with gentle bends and no crushing, tight coil or pull on the panel. Do not add a second hose section or substitute dryer ducting, and keep the outdoor outlet unobstructed.
Photorealistic illustration · Waey
6. Check drainage and prepare the first run
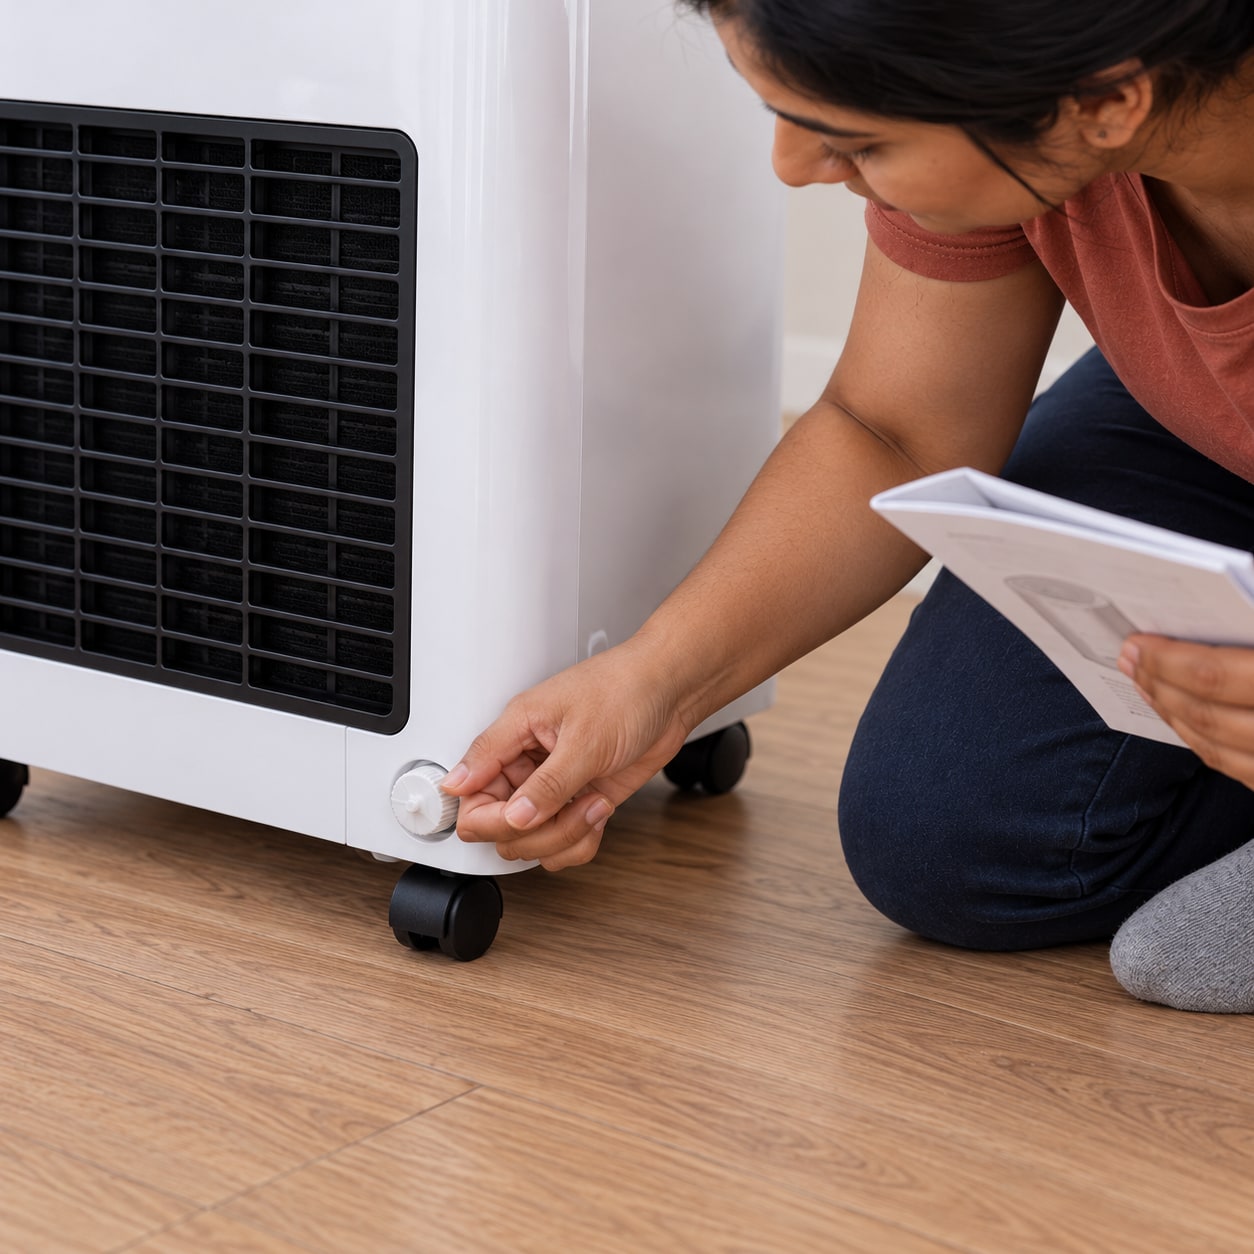
Read the drainage instructions for the cooling mode you will use: automatic evaporation does not guarantee that the tank never needs draining in humid weather. Check the required drain caps are seated, or fit only the continuous-drain arrangement specified for that model and mode. Make sure filters are installed and intakes clear. Close other room windows and doors as appropriate, keep curtains away from the unit and route the power lead where it cannot be pinched or tripped over.
Photorealistic illustration · Waey
7. Commission the installation and recheck seals
After the required rest period and with dry hands, connect directly to the suitable outlet and start cooling as the manual describes. Allow its normal start delay rather than repeatedly cycling power. Check for room-side cool airflow, secure hose connections and no condensate leaks. Do not reach outside or put fingers in vents to check exhaust. Stop for hot-plug smells, abnormal noise, errors or leaks. After the first run, switch off and inspect the panel and seals again for movement.
Video demonstrations
Honeywell Contempo Series Portable AC Installation Guide
JMATEK shows a Contempo hose and window-kit installation. Its model and vertical-sash example differ; follow your matched kit for the upright panel in a horizontal slider.
JMATEK Group · English title; visual installation guide, no captions supplied
Watch on YouTube ↗Honeywell Portable Air Conditioner Easy Installation
Global Industrial shows Honeywell hose components and rear connection. Use the original kit and matched regional manual for fit, clearance, drainage and electrical supply.
Global Industrial · English
Watch on YouTube ↗Final checks
The panel cannot shift, the sash restraint is secure, seals have no gaps and the original hose is not strained. Cooling works without errors, leaks or overheating. Recheck the installation after moving the unit or opening the window. Keep the filters and drainage maintained at the model’s stated intervals; unplug before maintenance.
Sources
Honeywell — MN4 series installation and operating manual ↗
Original generated instruction illustrations created for Waey. Videos belong to their credited creators.