
Measure a practice bushing with a digital caliper
Check a matched ABS caliper, measure a removed bushing’s outside, bore and length, and record repeat readings without claiming calibration.
What will you learn?
Check a matched ABS caliper, measure a removed bushing’s outside, bore and length, and record repeat readings without claiming calibration.
Tools
- Mitutoyo500-196-30 standard-jaw ABS caliper with working fitted batterySearch Amazon Australia ↗
- Clean soft dry clothSearch Amazon Australia ↗
- NotebookSearch Amazon Australia ↗
- PencilSearch Amazon Australia ↗
Materials
- Removed smooth rigid noncritical practice bushing with a round bore and flat parallel ends
Step by step
Photorealistic illustration · Waey
1. Choose a safe practice part and match the caliper
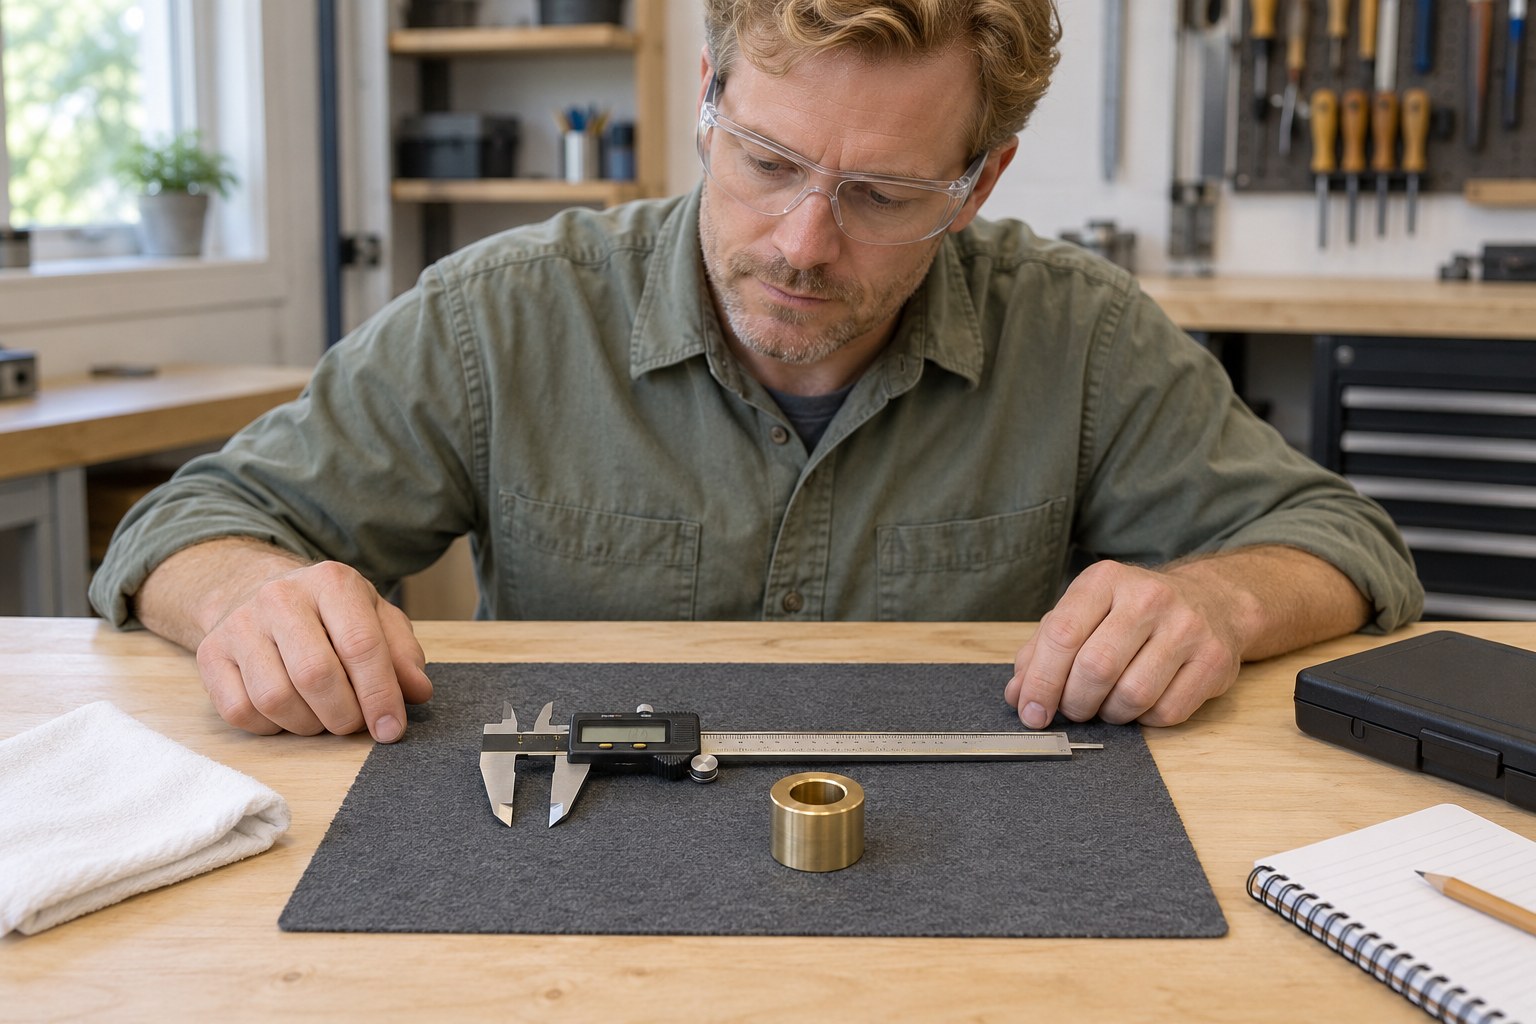
Use a removed, smooth, rigid practice bushing with a round through-bore and accessible parallel end faces. This guide follows the standard-jaw Mitutoyo 500-196-30, not a nib-jaw or constant-force variant. Check that the part fits its range and that the jaws, beam and fitted battery cover are undamaged. Keep away from moving machinery, energized equipment and sharp scrap. These readings describe a practice part; they do not approve a safety-critical replacement.
Photorealistic illustration · Waey
2. Clean the contacts and inspect slider movement
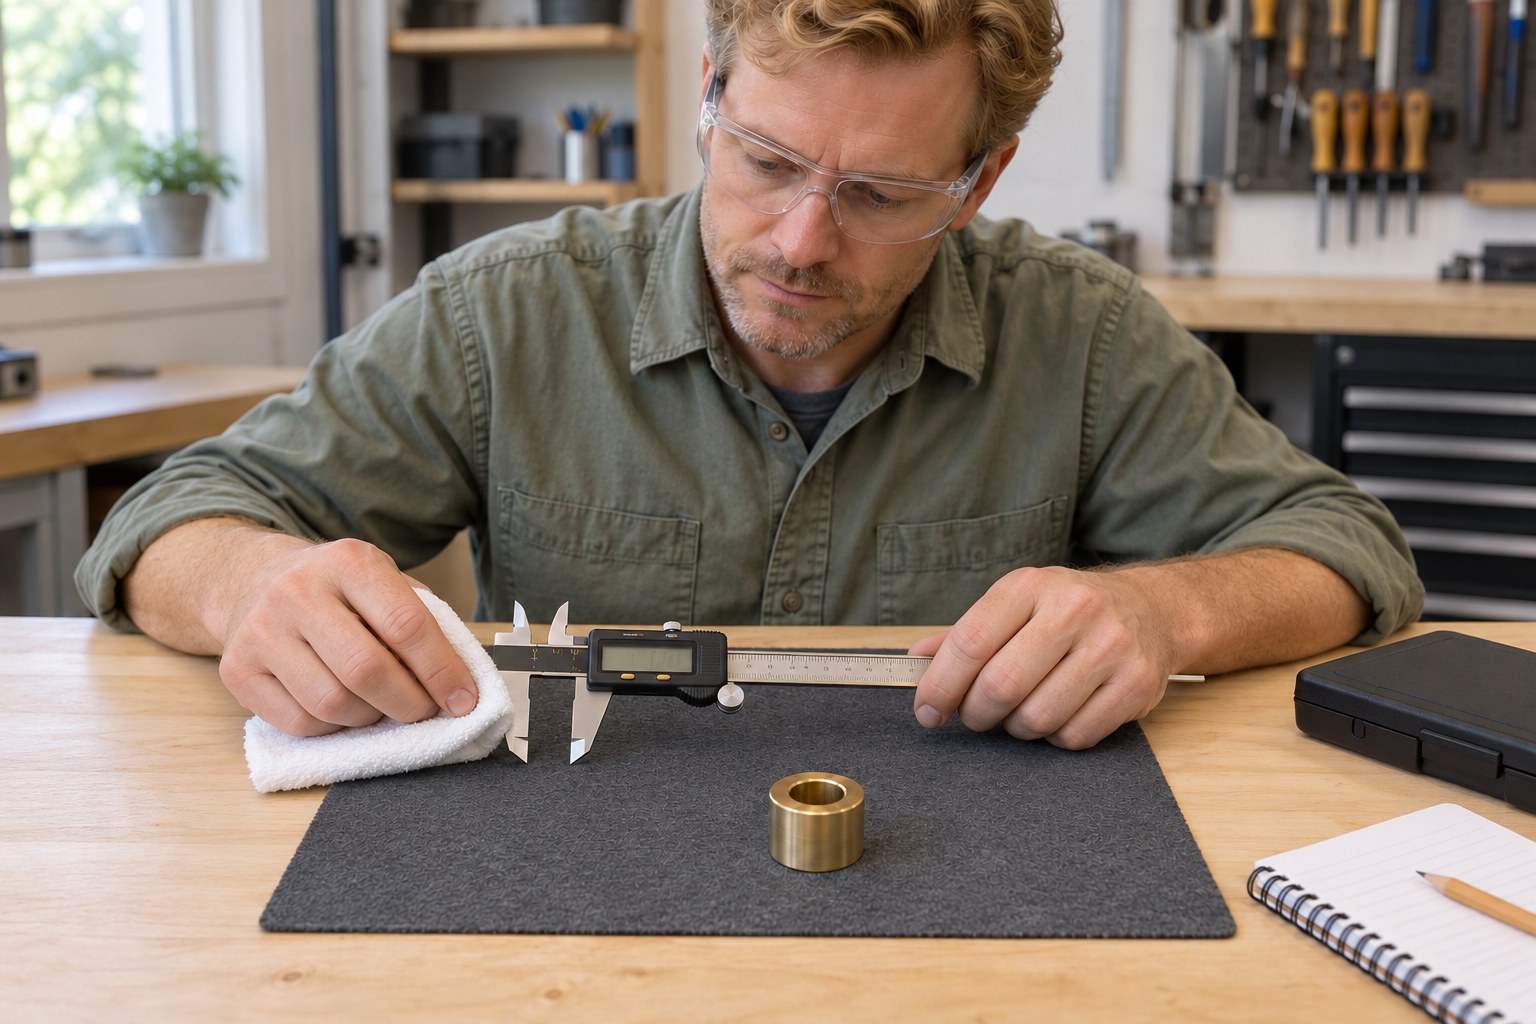
Wipe the bushing and the caliper’s outside and inside measuring faces with a clean soft dry cloth. Remove visible dust without scraping the scale or jaw edges. Move the slider gently through the range needed and check for smooth travel, looseness or sticking. Inspect the closed outside jaws against light for uneven gaps or bent tips. Stop for damage or poor movement; do not compensate by squeezing harder or adjusting internal screws.
Photorealistic illustration · Waey
3. Confirm millimetres, absolute mode and the origin
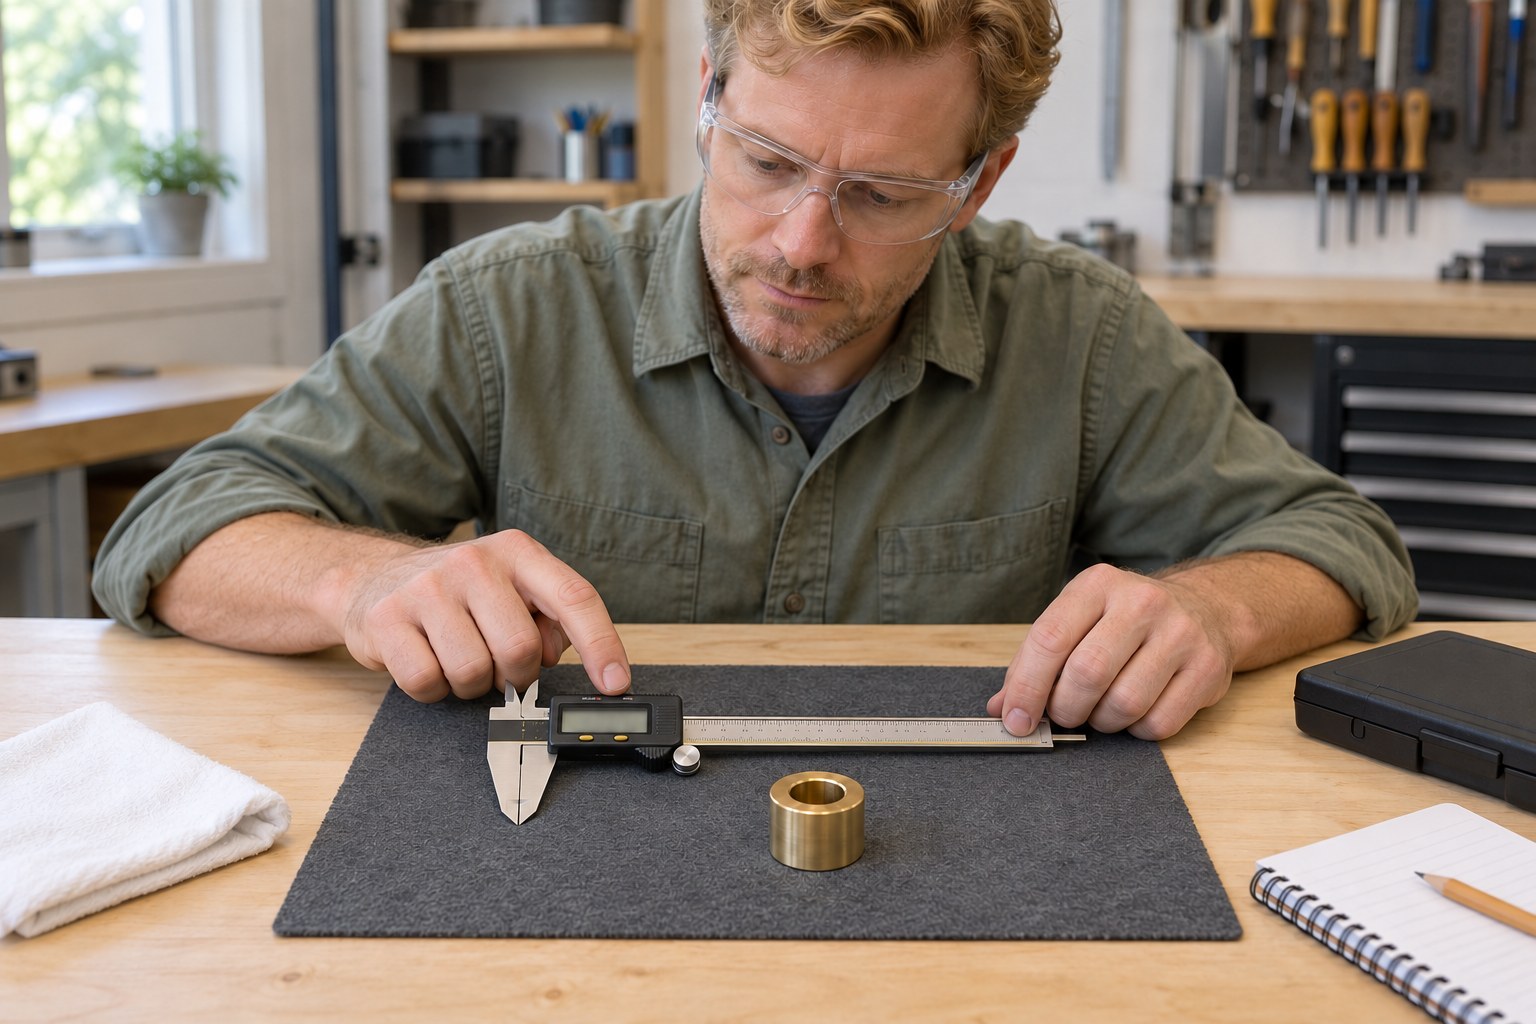
Switch on and select millimetres with in/mm. If INC is displayed, hold ZERO/ABS for at least two seconds to return to absolute measurement. Gently close the clean outside measuring faces and check zero. When the origin needs setting, keep them closed and hold ORIGIN for at least one second until 0.00 appears. Reopen and close to check repeatability. A short ZERO/ABS press creates an incremental zero; it is not the same operation.
Photorealistic illustration · Waey
4. Measure the outside diameter across the cylinder
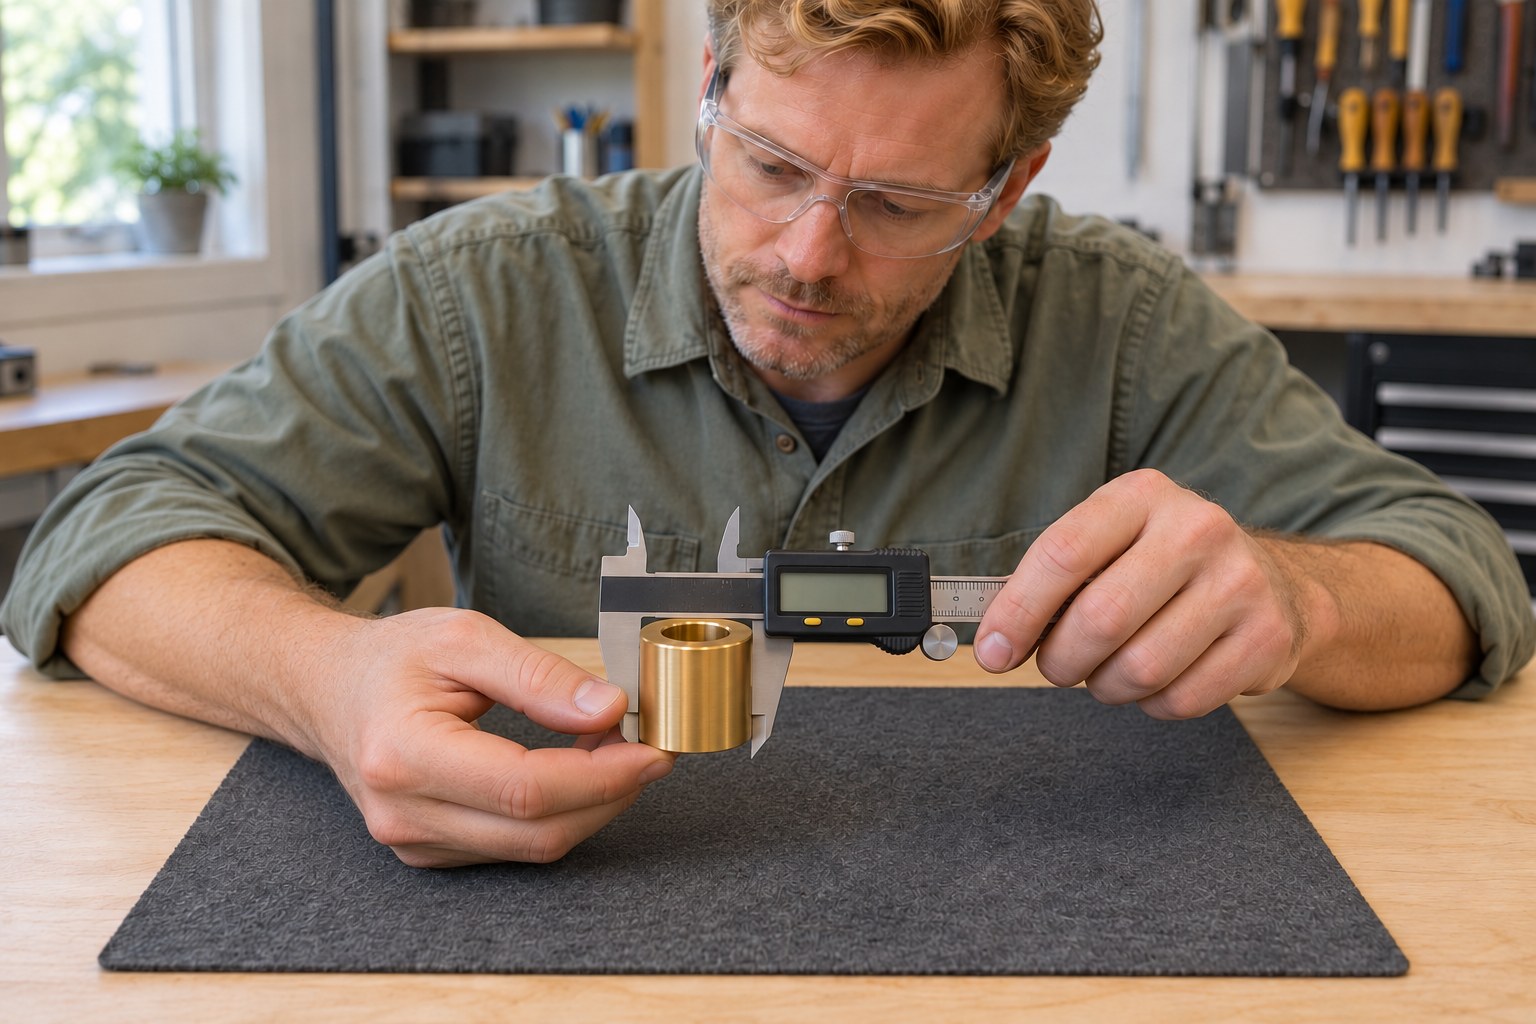
Hold the bushing by an end and place its cylindrical outside between the broad lower jaws, reasonably close to the beam rather than their extreme tips. Keep the measuring line across the diameter and square to the cylinder’s axis. Bring both faces into light, even contact without tilting or compressing the part. Read while contact remains steady and record the value with mm and its location. The thumb roller feeds the slider; it does not guarantee a constant measuring force.
Photorealistic illustration · Waey
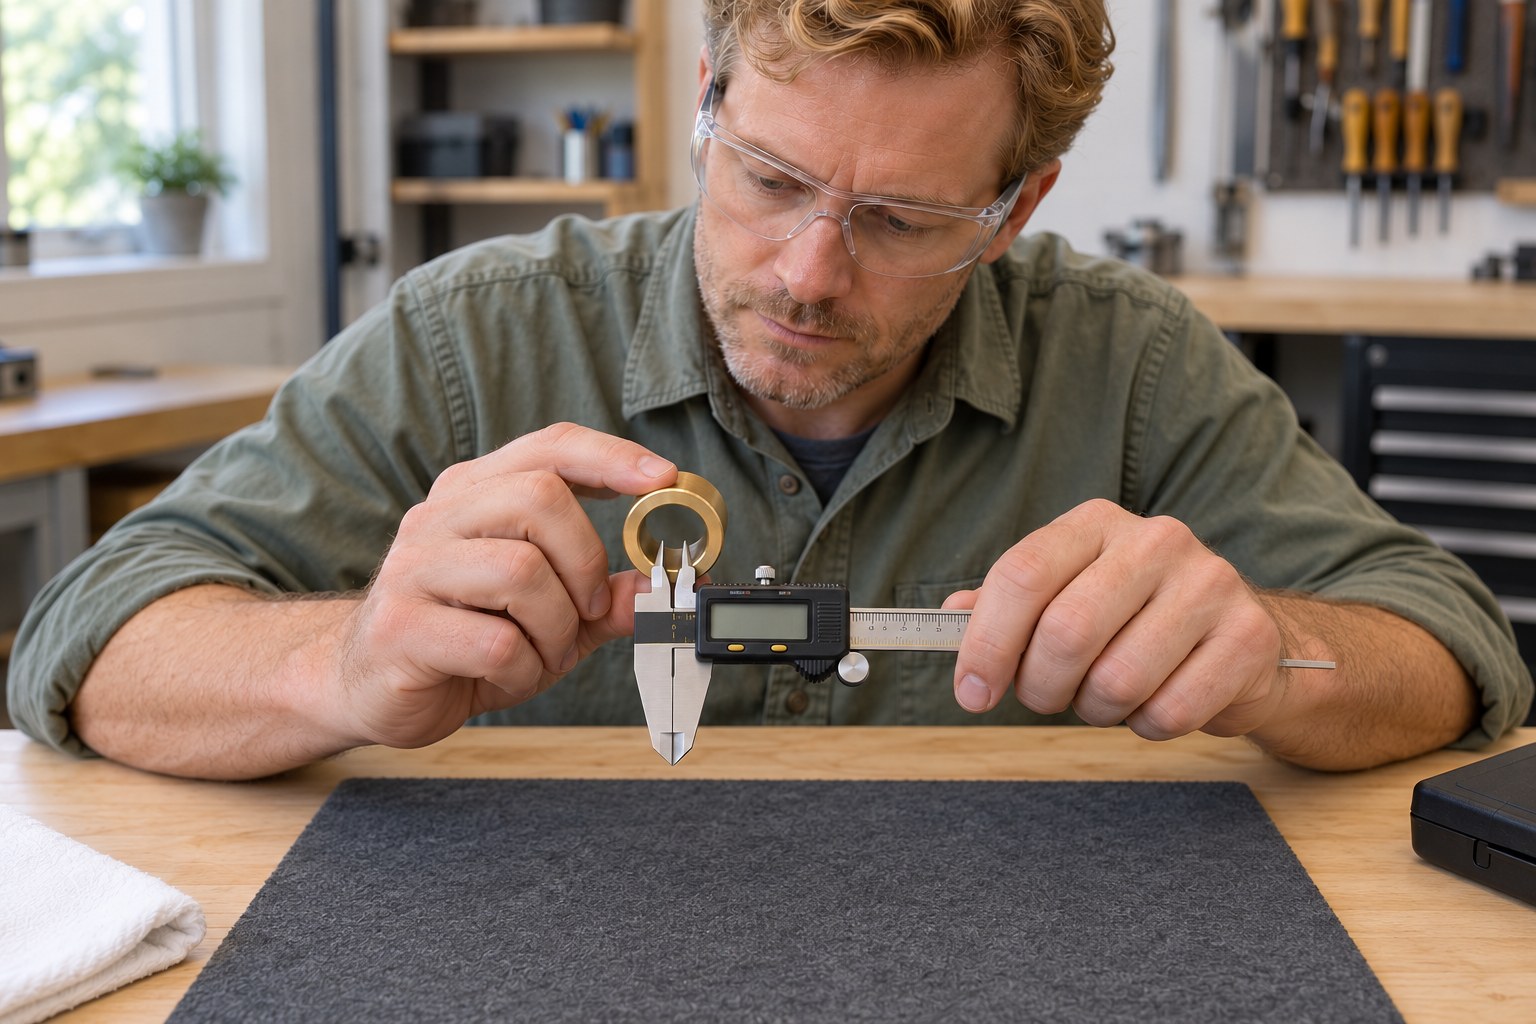
5. Measure the bore with the smaller inside jaws
Close the smaller upper jaws enough to enter the clean through-bore, then open them gently against opposite inside walls. Insert sufficiently beyond the edge chamfer while keeping the caliper square to the bore axis. Move the contact line gently across the opening to find the largest stable span through its centre, without forcing the jaws or tilting along the bore. Record the inside reading separately. Do not apply the compensation rule for special nib jaws to this standard-jaw model.
Photorealistic illustration · Waey
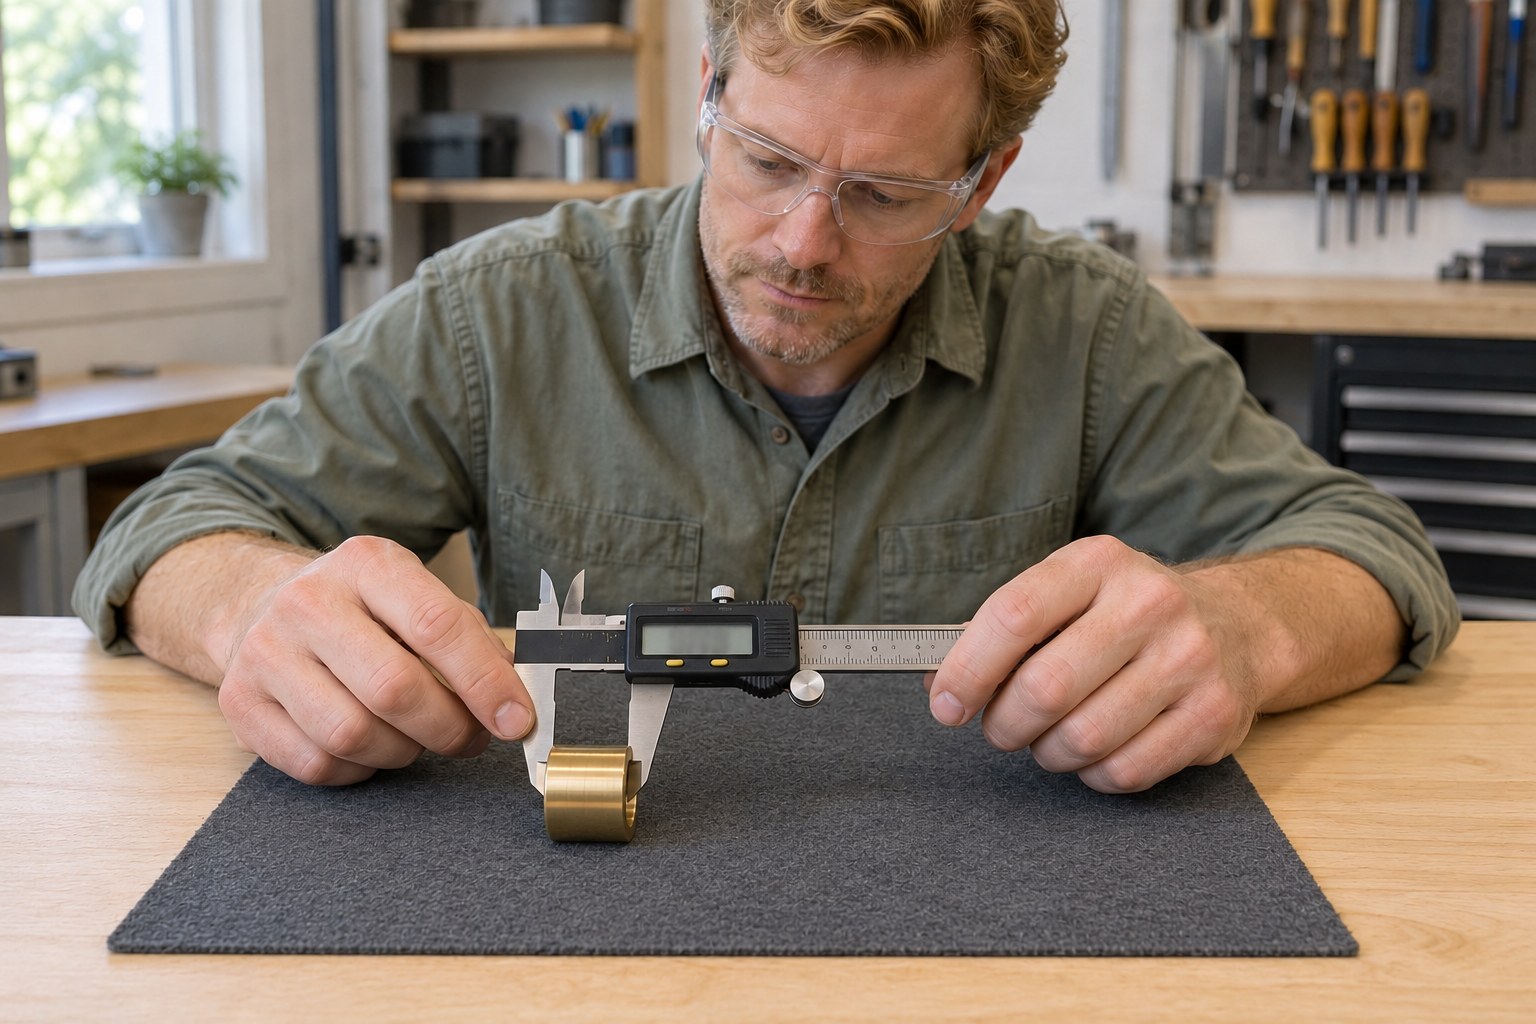
6. Measure the length between the flat end faces
Turn the bushing so the broad outside measuring faces contact its two flat ends. Keep the caliper’s measuring direction parallel to the bushing axis, with both contacts on sound flat areas rather than chamfers, dirt or burrs. Close gently and read with both faces seated squarely. Record this as length, not diameter or bore depth. Do not use the projecting depth bar as a support, marking tool or substitute for this accessible end-to-end measurement.
Photorealistic illustration · Waey
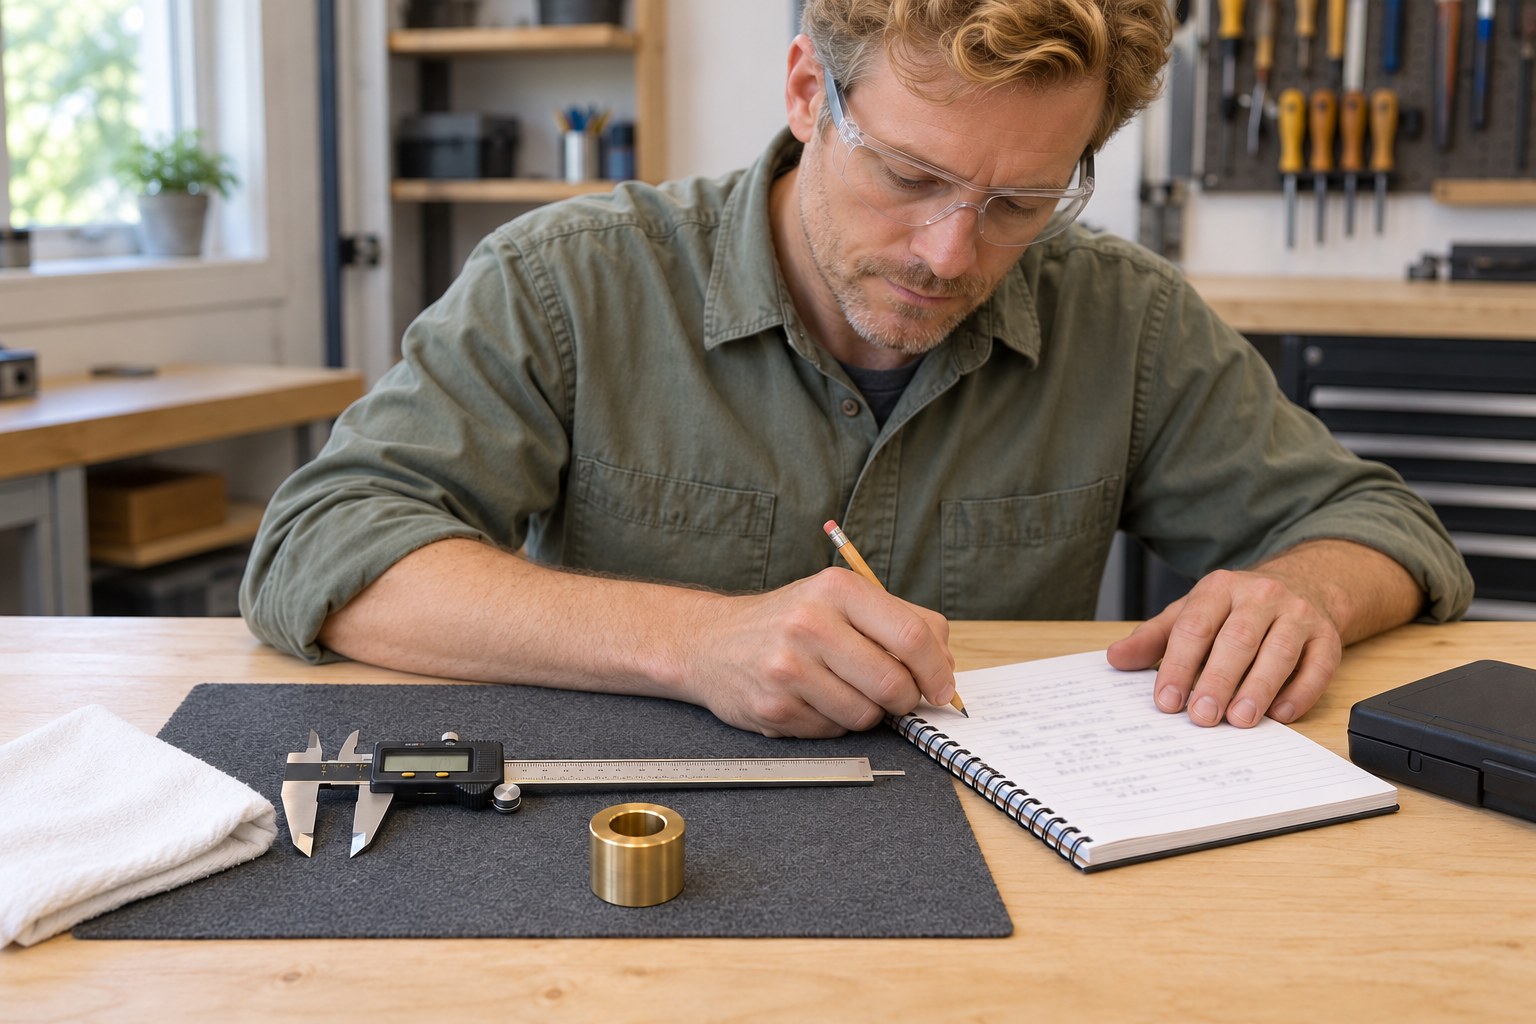
7. Repeat each dimension and report the observations
Release contact fully and repeat the outside diameter, bore and length measurements at least twice. For diameters, include another accessible orientation and note where each reading was taken. Keep units and jaw types consistent. If results vary unexpectedly, clean again and check alignment, contact force and the zero before trusting them. Record the observed readings rather than inventing a nominal size. Small repeat differences do not certify roundness, fit, tolerance compliance or instrument calibration.
Photorealistic illustration · Waey
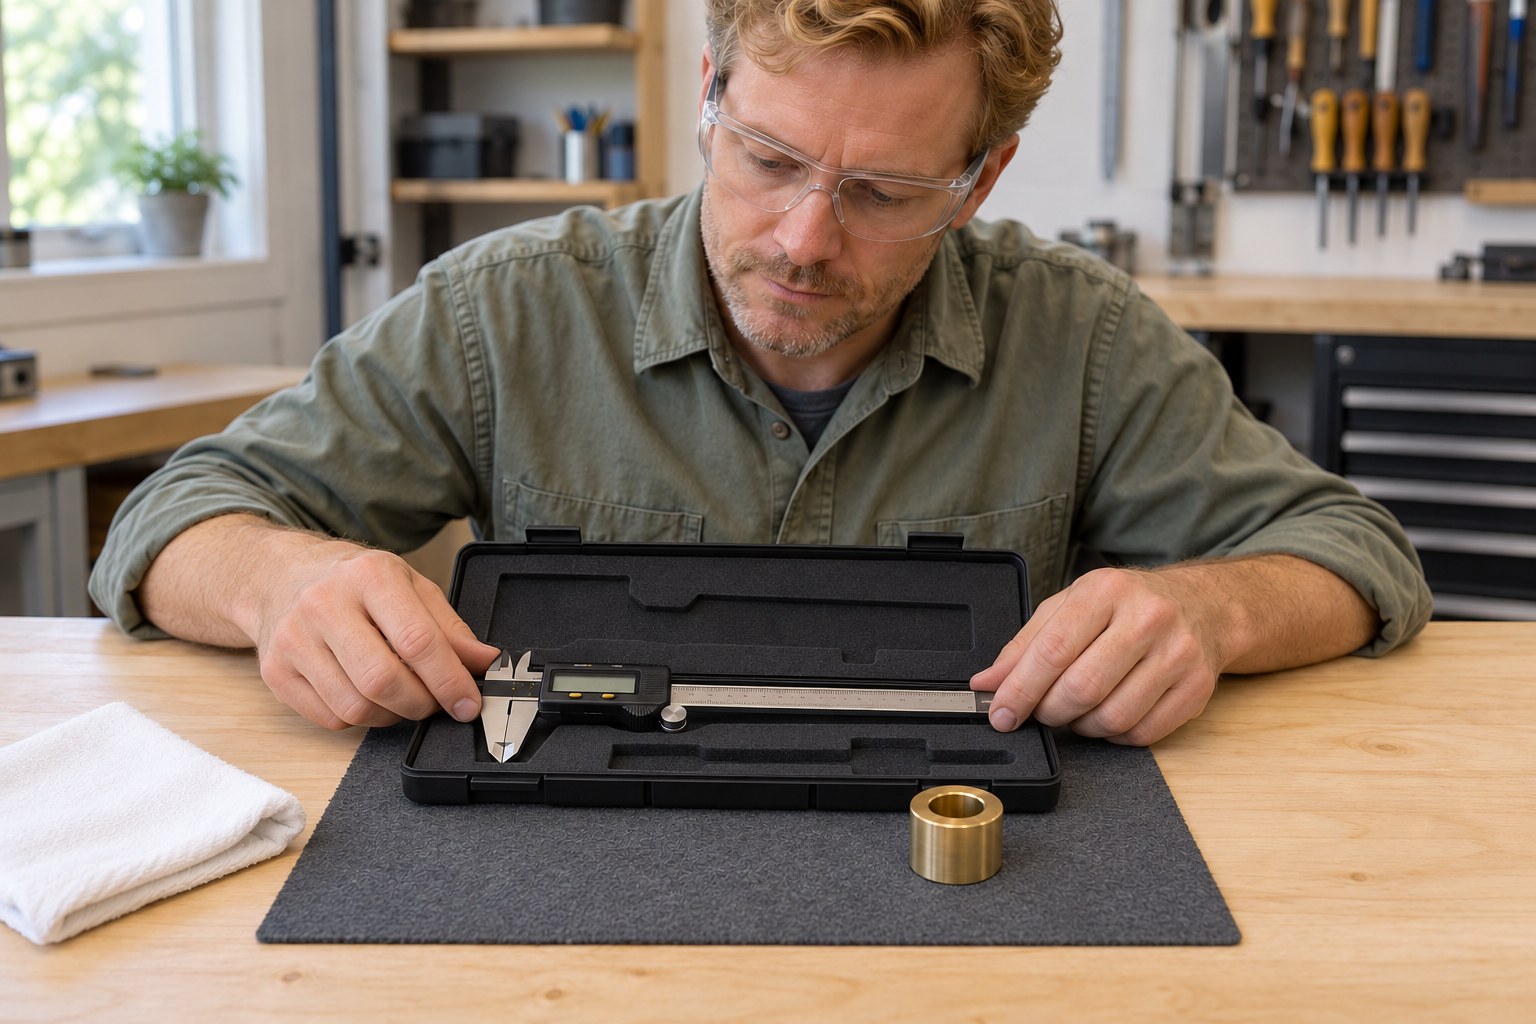
8. Check zero again and store the tool safely
After removing the bushing, close the cleaned outside jaws gently and confirm that zero returns. An unexplained shift means the preceding measurements need investigation and repetition, not silent correction. Wipe the contacts and beam, switch off and put the caliper in its protective case without forcing the slider or leaving the depth bar exposed. Keep the sharp jaws and battery away from children. Follow the matched manual for long-term storage or battery service; neither is part of this measuring exercise.
Video demonstrations
How To Use A Mitutoyo Digital Caliper
Mitutoyo demonstrates digital-caliper handling and measuring a cylindrical part. Use the matched manual for controls and jaw alignment.
Mitutoyo America Corporation · English captions available; full narration not independently assessed
Watch on YouTube ↗[측정가이드] 디지털 캘리퍼스의 측정방법
Mitutoyo Korea shows outside-jaw measurement. Its later origin-setting example changes the reference and is separate from this absolute measurement exercise.
Mitutoyo Korea · Korean and English automatic caption tracks; narration not independently assessed
Watch on YouTube ↗Final checks
Both units and ABS mode checked; zero returns before and after measurement; outside, inside and length readings labeled and repeated. Stable readings alone do not establish accuracy or calibration.
Where to find supplies
Use a suitable calibrated instrument and a qualified measurement procedure for tight tolerances or critical fit. A zero check is a functional check, not calibration. Stop for damaged jaws, unstable readings or low battery; follow matched service instructions separately.
Sources
Mitutoyo — ABS Digimatic Caliper user manual 99MAD027A, manufacturer-authored distributor copy ↗
Original generated illustrations individually reviewed. Manufacturer PDFs and diagrams are private technical references only and never image-generation inputs. Display digits and illustrative geometry do not certify dimensions; read the real instrument. Videos remain with credited creators.