
Set up and mount a Hue Dimmer Switch V2 with an existing Bridge
Pair a battery-powered Hue V2 remote with an existing Bridge, assign a Hue lamp and verify power, dimming and scene control before adhesive mounting.
What will you learn?
Pair a battery-powered Hue V2 remote with an existing Bridge, assign a Hue lamp and verify power, dimming and scene control before adhesive mounting.
Tools
- Phone with current Hue app and access to existing Bridge
- Soft cloth suitable for the mounting surfaceSearch Amazon Australia ↗
Materials
- Matched Hue Dimmer Switch V2 with secured supplied batterySearch Amazon Australia ↗
- Supplied magnetic wall plateSearch Amazon Australia ↗
- Supplied adhesive stripsSearch Amazon Australia ↗
- Existing configured Hue Bridge
- Existing compatible working Hue lamp
Step by step
Photorealistic illustration · Waey
1. Match the current remote and working Hue system
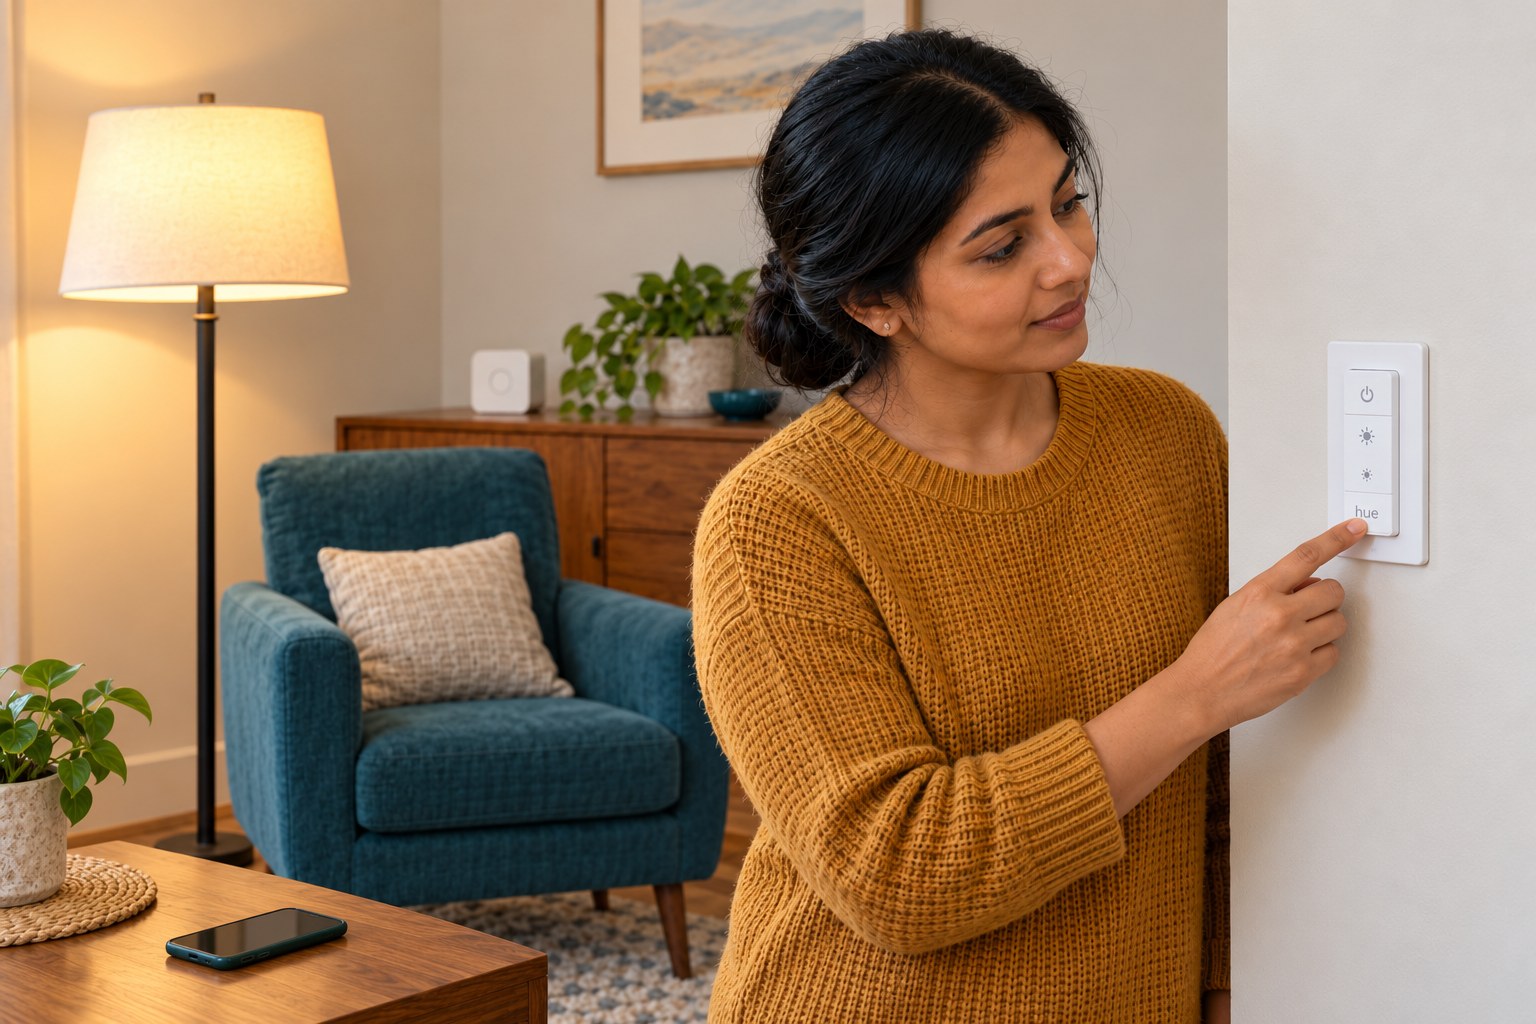
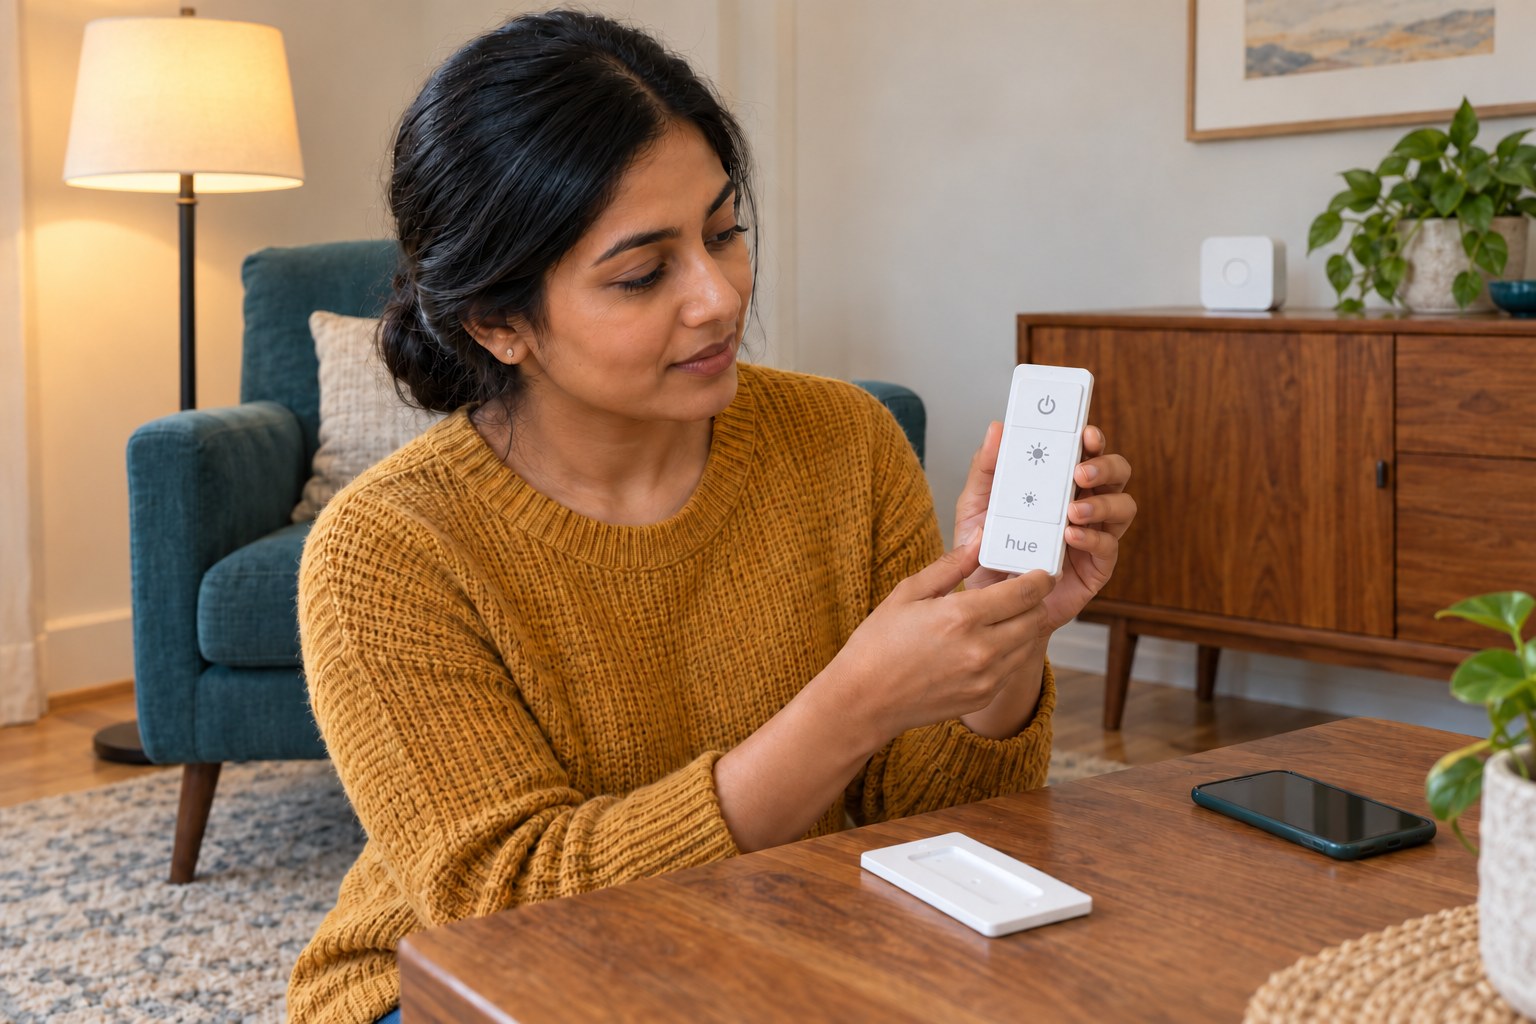
Check that the remote has a combined power button at the top, a central brightness rocker with brighter and dimmer press points and a Hue button at the bottom. This guide uses the current V2 design with an already configured Hue Bridge and one Hue lamp that responds in the app. Confirm those prerequisites before changing anything. A Tapo bulb or an ordinary dimmable bulb is not the Hue lamp required for this setup.
Photorealistic illustration · Waey
2. Choose an indoor location and test reach
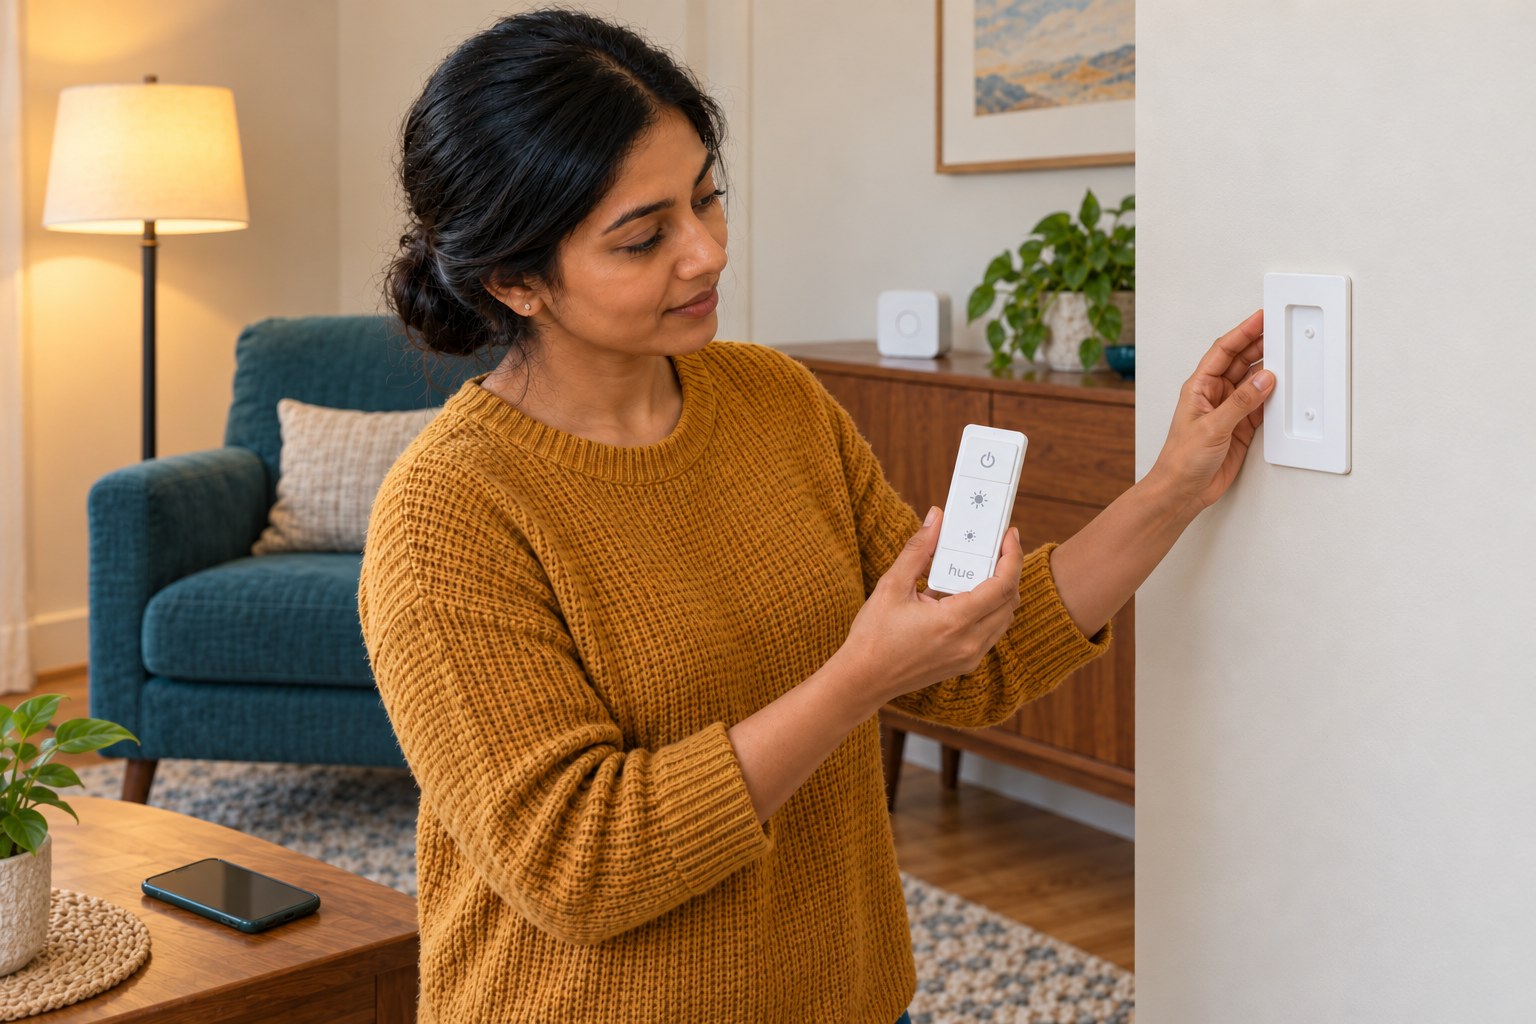
Keep the remote detached while choosing a convenient indoor position within reach of the intended user. Keep the existing electrical switch and plug accessible; this remote does not isolate the lamp for maintenance. Select a flat, sound mounting surface compatible with the supplied adhesive. Avoid damp areas, loose paint, delicate wallpaper and hot surfaces. If the mounting instructions do not suit the surface, use the remote handheld instead.
Photorealistic illustration · Waey
3. Activate the supplied battery without opening the case
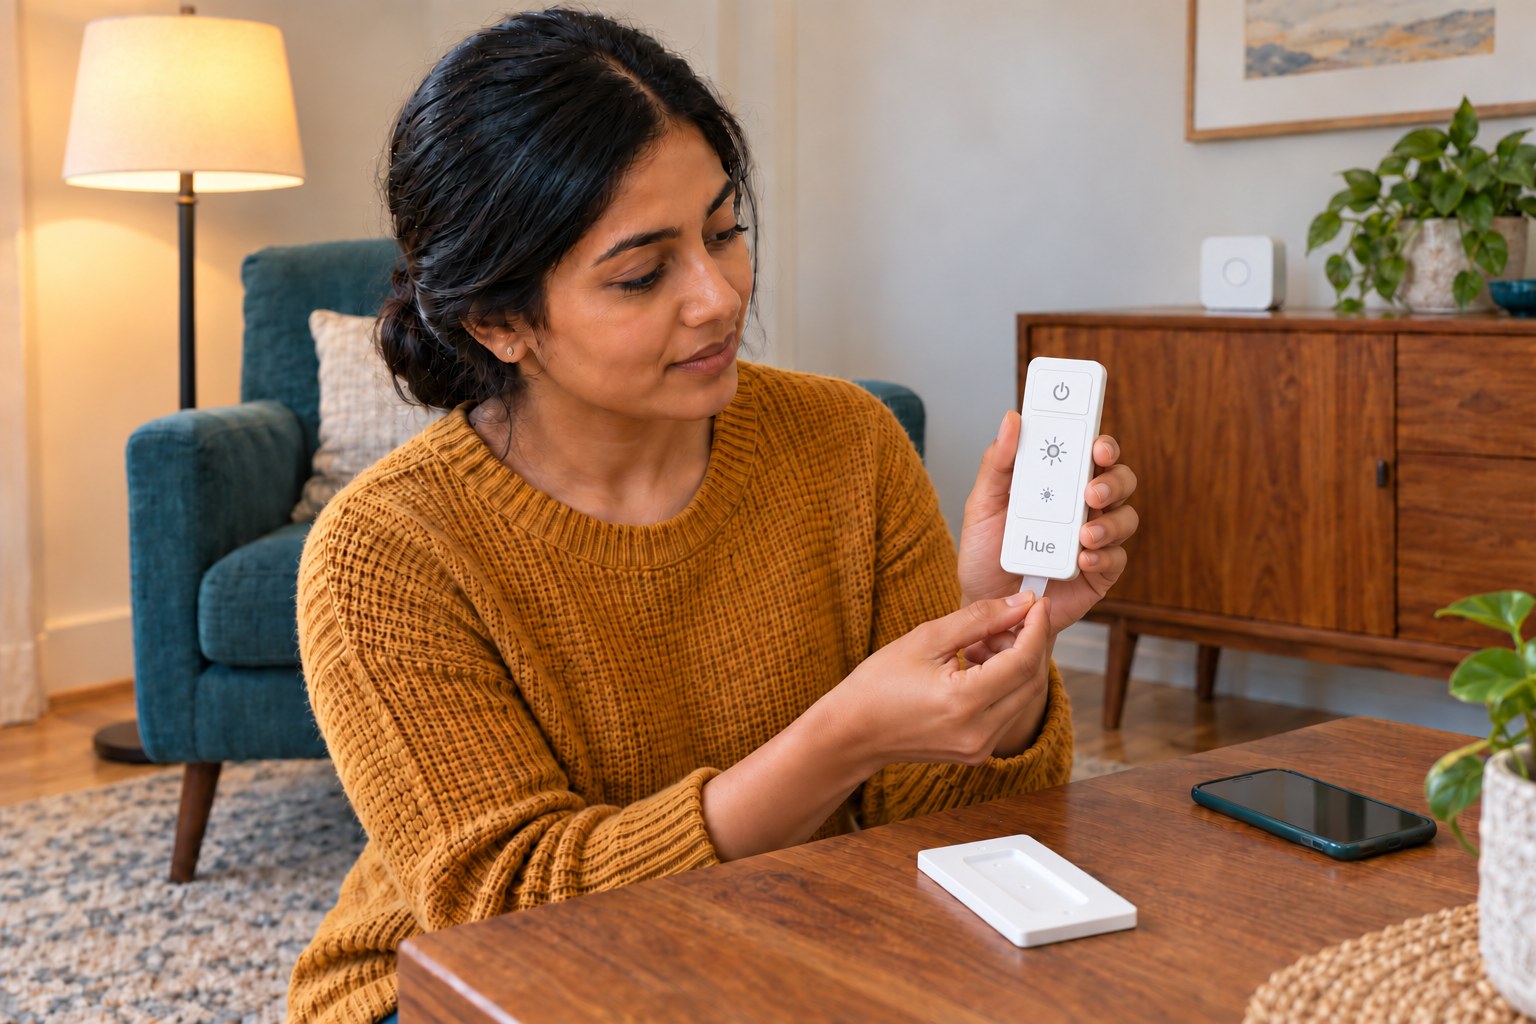
Inspect the new remote and wall plate for damage, then remove the battery isolation tab as directed in its supplied instructions. Keep the fitted battery cover secured and dispose of the tab promptly. Do not pry open the electronics or remove the coin cell for this installation. Keep the remote and any loose small parts away from children; stop if the cover or housing cannot close securely.
Photorealistic illustration · Waey
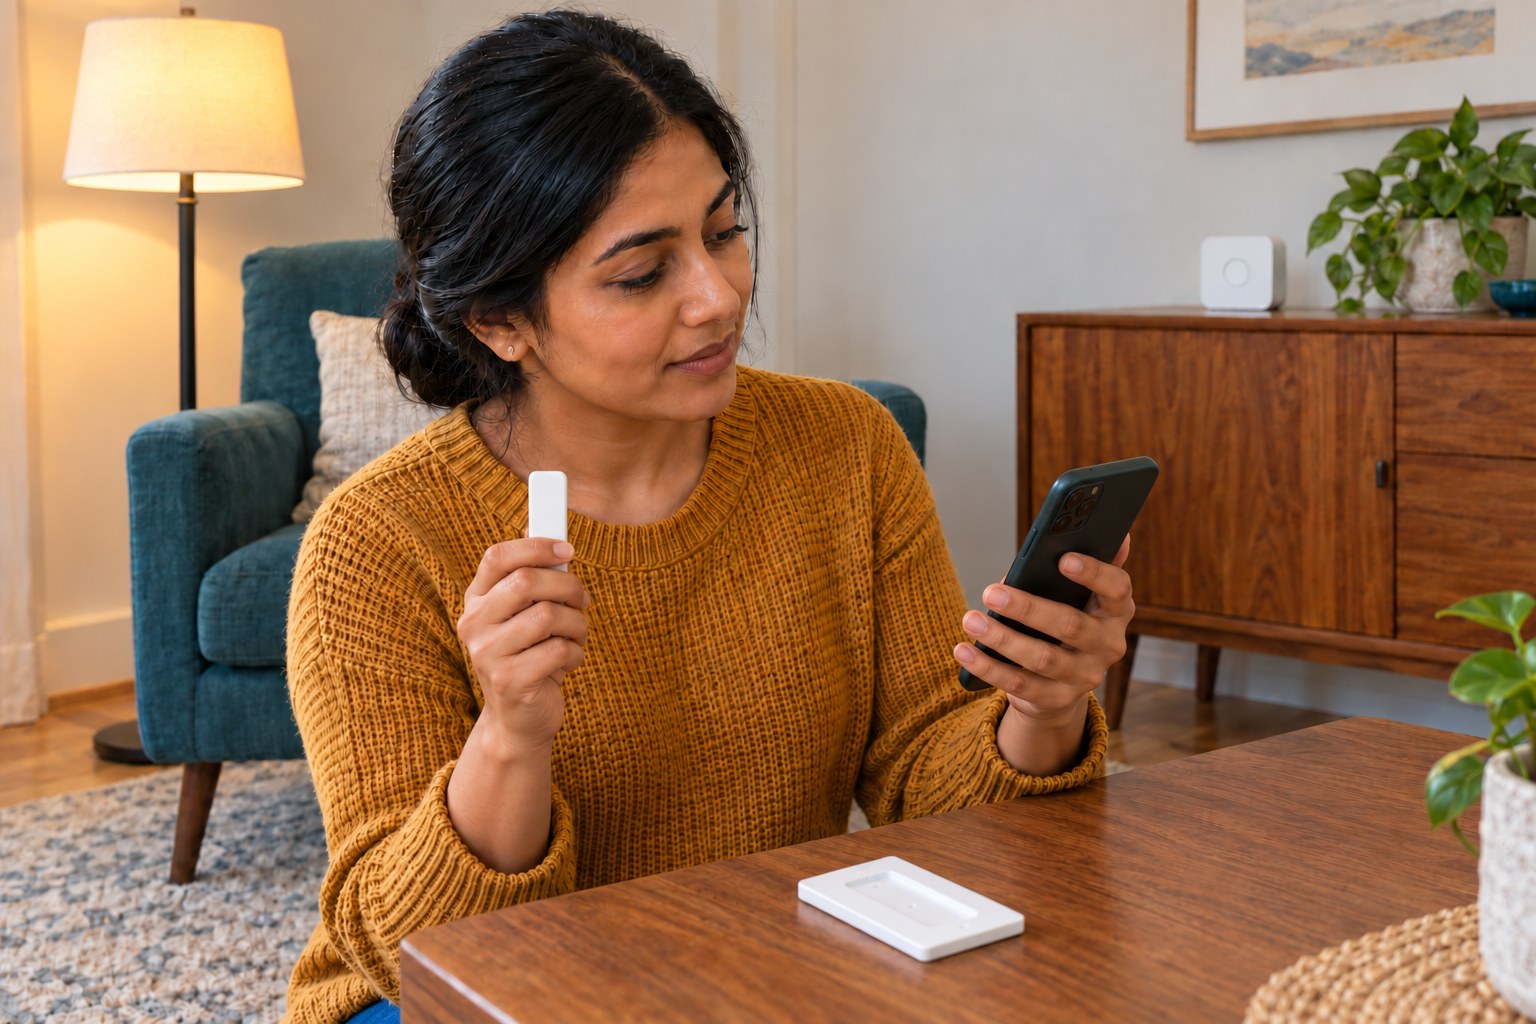
4. Add the remote through the current Hue app
With the existing Bridge connected in the Hue app, open Home, tap the three-dot menu and choose Add devices. The manufacturer also lists Settings, Devices and the plus button as an alternative entry point. Choose the intended Room and scan the remote’s QR code. If it has no QR code, use the app’s No QR code route and follow its search or serial-number instructions. Keep codes and account details private.
Photorealistic illustration · Waey
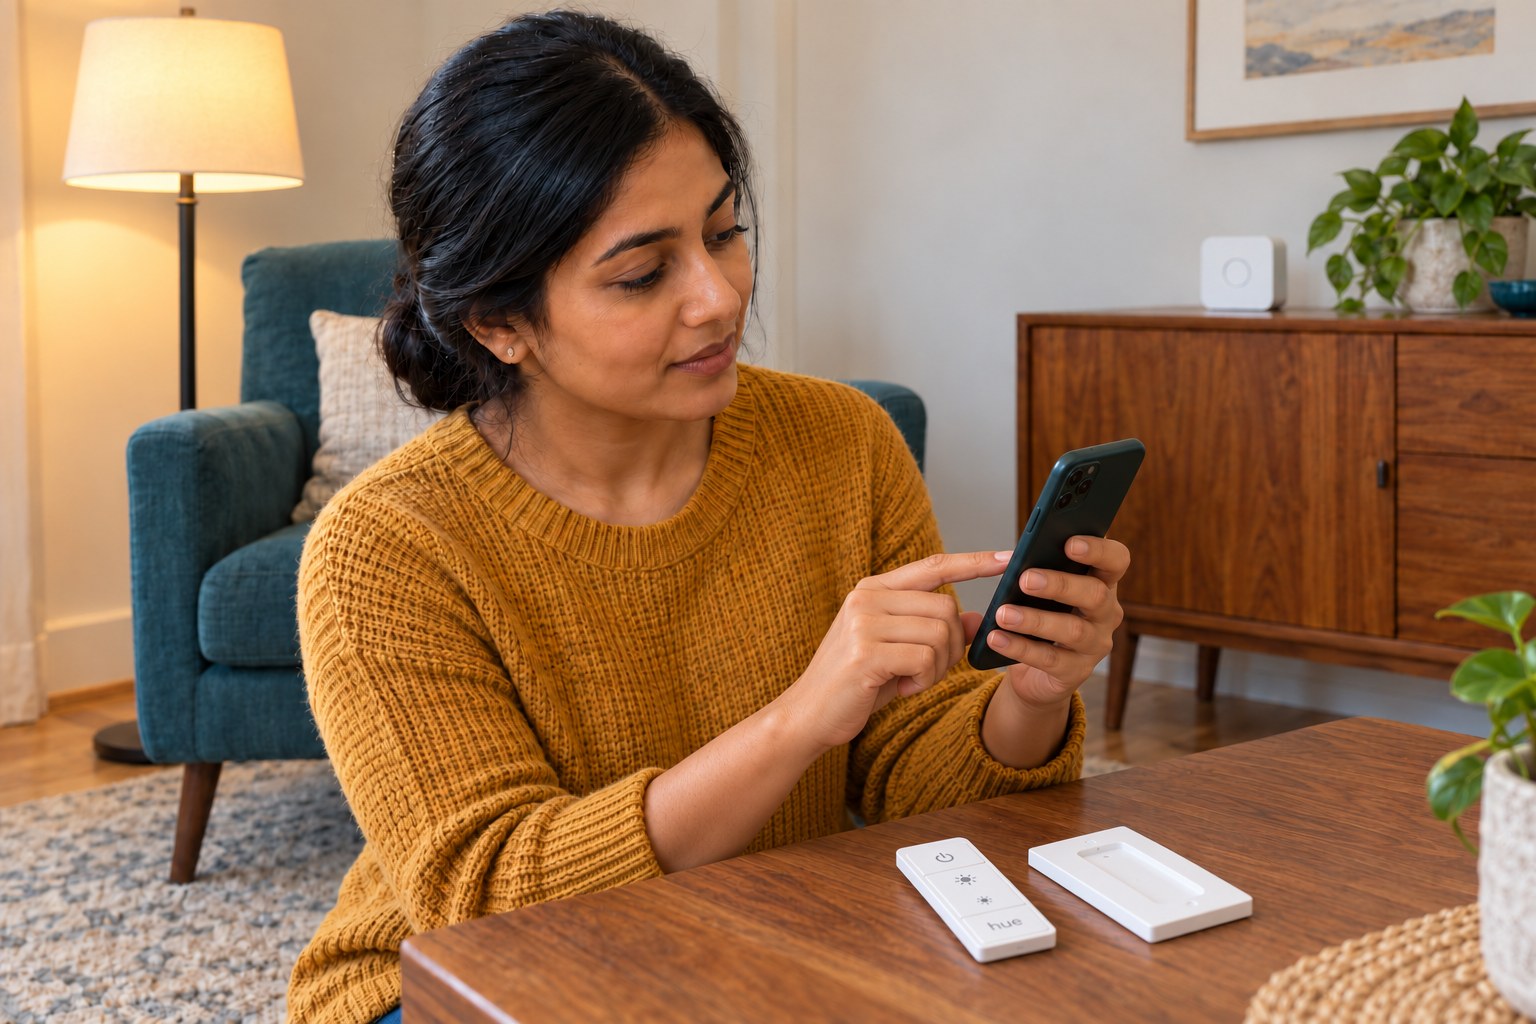
5. Assign one lamp and check the button actions
Follow the app prompts to finish adding the remote and select the existing Hue lamp or its intended Room. Begin with a simple configuration for power, brighter, dimmer and a clearly identified Hue-button scene action. Read the saved button behavior rather than assuming a press always means the same thing. If other rooms or automations were selected accidentally, correct the assignment before testing so nearby users are not surprised.
Photorealistic illustration · Waey
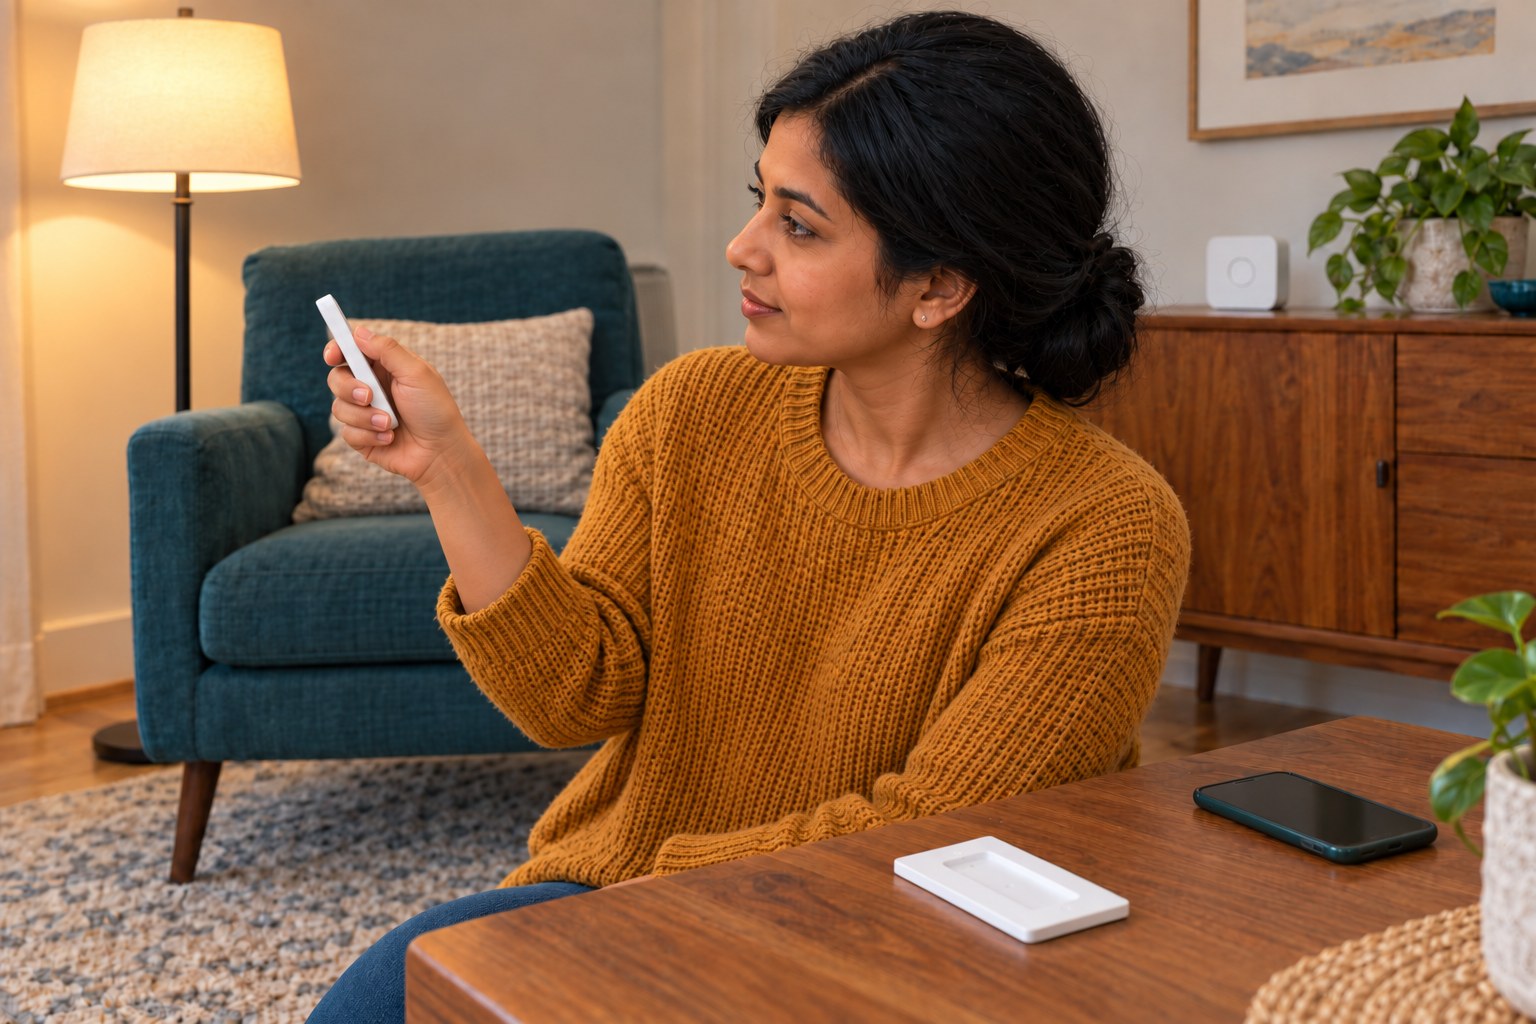
6. Test power, dimming and the chosen scene before mounting
From the intended location, operate the handheld remote while watching the assigned lamp. Check the configured power action, then a brighter and dimmer response, and finally the chosen scene action. Confirm that only the intended light or Room responds. Test with the phone screen locked as well, so the observation comes from the remote’s control rather than a phone tap. Resolve missed commands before attaching the wall plate.
Photorealistic illustration · Waey
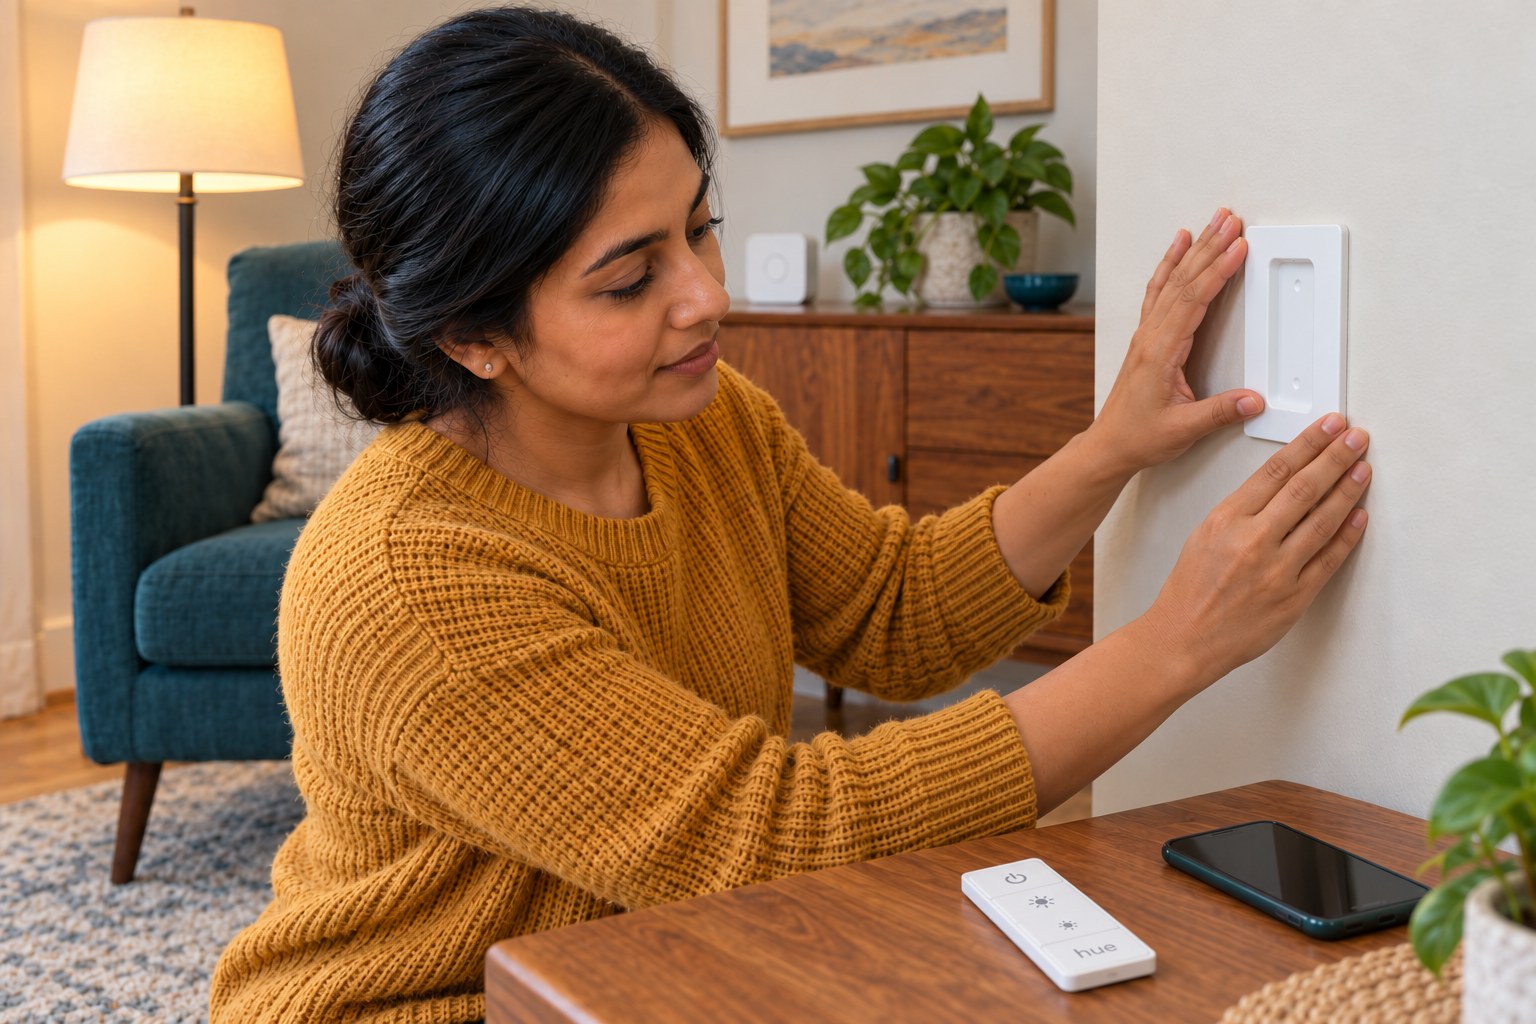
7. Attach the plate and dock the remote
Clean and dry the chosen compatible surface using the mounting instructions. Check the plate’s orientation, remove the supplied adhesive liners and press the plate into place as directed. Follow any stated pressure or waiting time; do not invent a different adhesive recipe. Dock the remote magnetically and check that it is supported securely, then remove and replace it gently. Do not screw into or open an existing electrical switch box.
Photorealistic illustration · Waey
8. Repeat the checks and explain safe everyday use
Repeat the same power, dimming and scene checks with the remote docked. Confirm the saved assignment in the app and leave the lamp at a comfortable final setting. Explain that the remote controls light output while the lamp still has electrical power; unplug or isolate the lamp correctly before any physical maintenance. For later failures, first check app control, lamp power and the matched remote’s battery indication rather than resetting every device.
Video demonstrations
Philips Hue Dimmer Switch V2 | Unboxing Setup for Beginners plus Comparison with V1
Geek Street shows the V2 remote and Bridge setup. Use the Bridge section and current Hue instructions; direct pairing is a separate route.
Geek Street · English automatic captions; narration not independently assessed
Watch on YouTube ↗How to Set Up and Configure a Hue Dimmer Switch with a Hue Bridge [2023 Tutorial] | Smart Home
This companion shows older Hue app configuration and a V1 remote. Its button layout and scene mapping differ from the V2 used here.
HomeTechSupply · English automatic captions; narration not independently assessed
Watch on YouTube ↗Final checks
The saved assignment selects the intended Hue lamp or Room. Handheld and docked power, brighter, dimmer and scene actions all produce the intended response, including with the phone locked. The plate is secure, existing electrical controls remain accessible and the battery compartment stays closed.
Where to find supplies
Use the remote handheld if the surface is unsuitable for adhesive. A direct-to-bulb route has different instructions and does not provide the Bridge/app customization used here. For app or connection problems, use current manufacturer support; do not factory-reset an existing working lighting system as a first step.
Software & apps
Philips Hue
Sources
Philips Hue — current dimmer setup with an existing Bridge ↗
Original generated instruction illustrations created for Waey. Videos belong to their credited creators.