
Set up a C100 V4.20 tabletop camera and test privacy and alerts
Set up a matched C100 V4.20 on a table, connect it to Wi-Fi, check live view and Privacy Mode, then test motion alerts.
What will you learn?
Set up a matched C100 V4.20 on a table, connect it to Wi-Fi, check live view and Privacy Mode, then test motion alerts.
Tools
- Phone with the official Tapo app
- Access to your own TP-Link ID and2.4GHz WiFi
Materials
- Matched C100V4.20 and its original regional power adapter/cableSearch Amazon Australia ↗
- Stable indoor table or shelf
Step by step
Photorealistic illustration · Waey
1. Match the camera and prepare your account
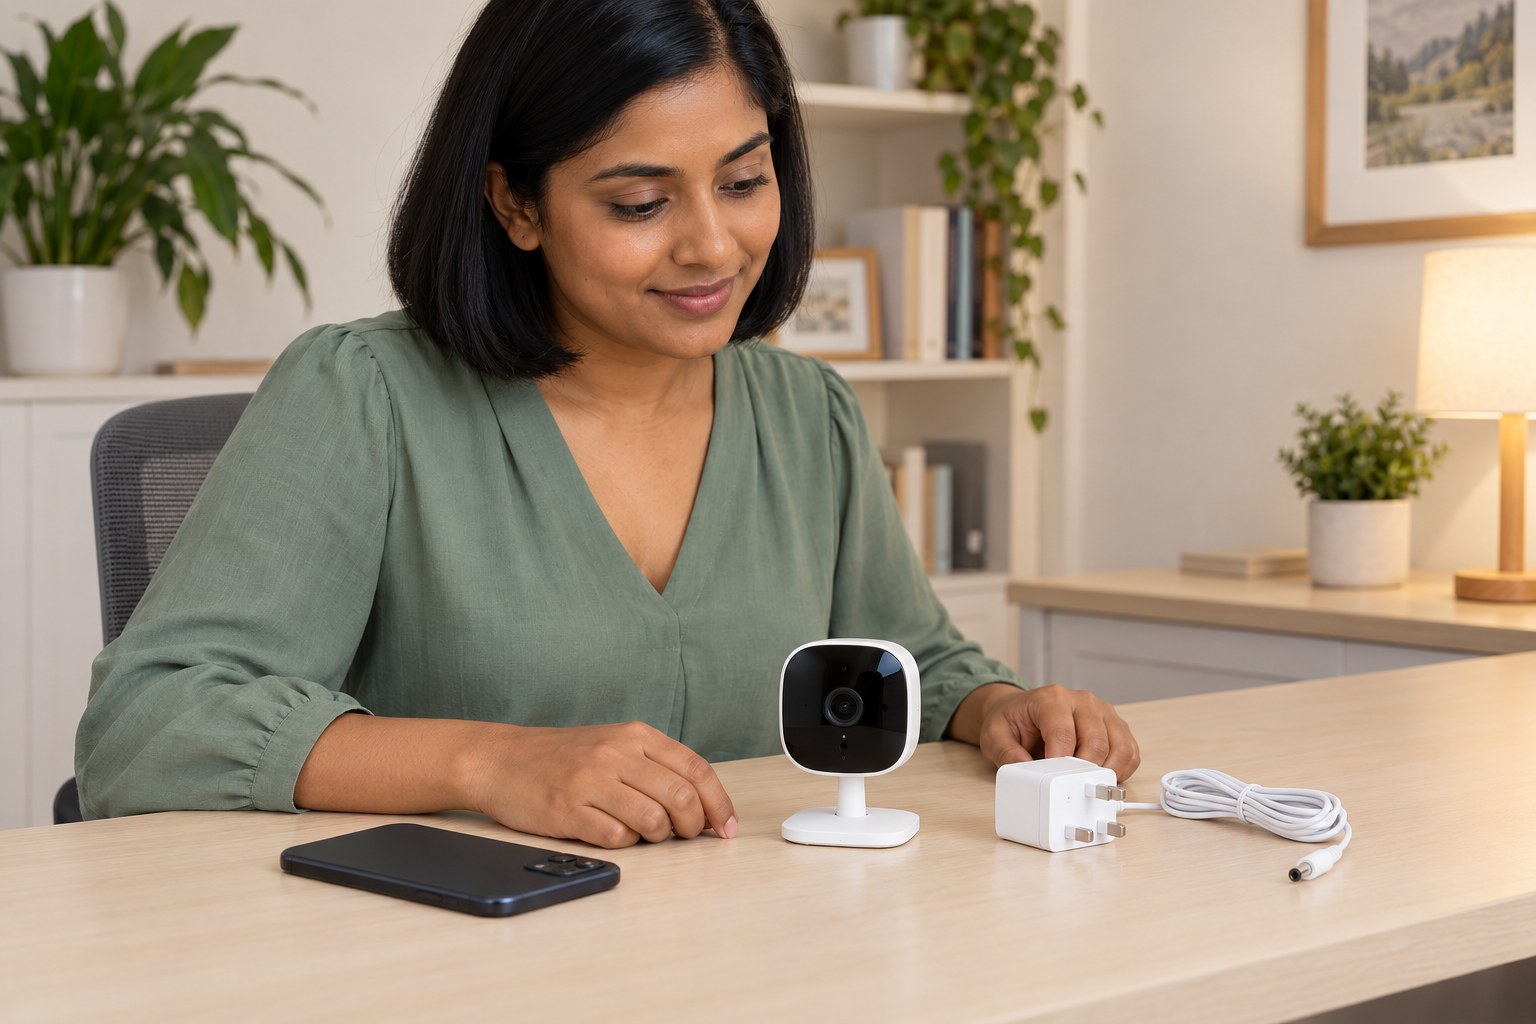
Check the bottom label for Tapo C100 hardware V4.20 and use its matching regional guide and original supplied power adapter. Inspect the case and cable for damage. Install the official Tapo app from your phone’s app store and sign in with your own TP-Link ID, or create one. Have your private 2.4 GHz home Wi-Fi name and password ready. Keep account and Wi-Fi credentials off shared screenshots.
Photorealistic illustration · Waey
2. Power up on a safe temporary surface
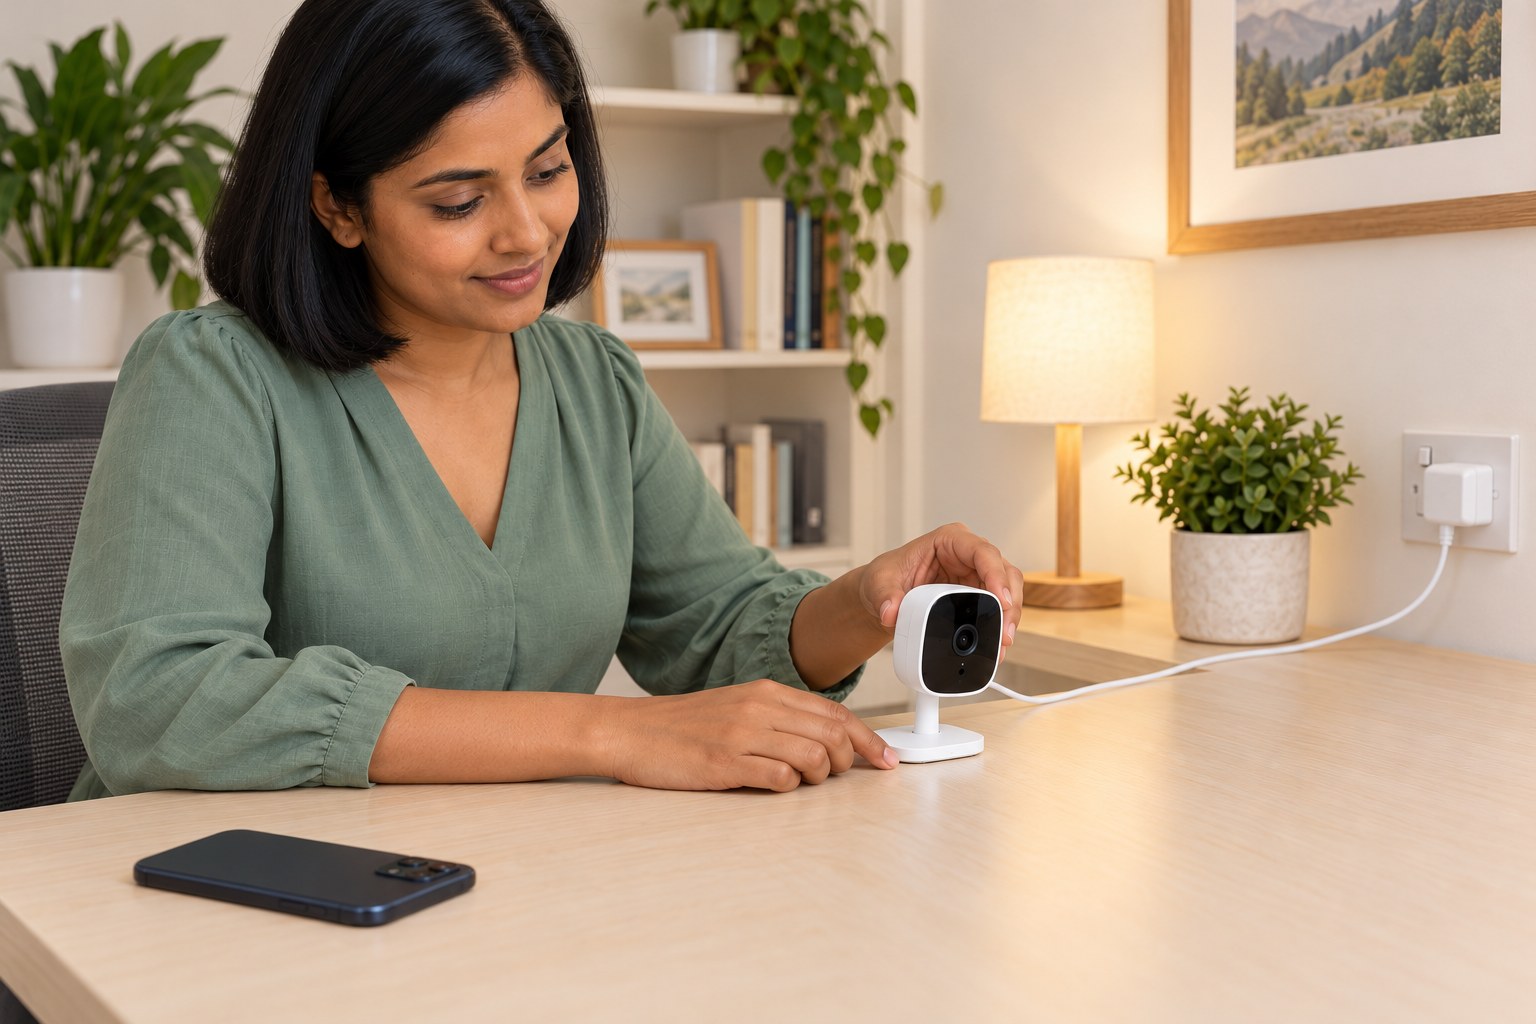
Set the camera upright on a dry stable table near the router, away from edges, heat, water and children’s reach. Connect the supplied power cord to its DC port, then connect the intact original adapter to a suitable accessible outlet. Wait for the system LED to blink red and green, which means ready for setup. Do not use an improvised supply or insert anything into the microphone opening.
Photorealistic illustration · Waey
3. Select C100 and join its setup network
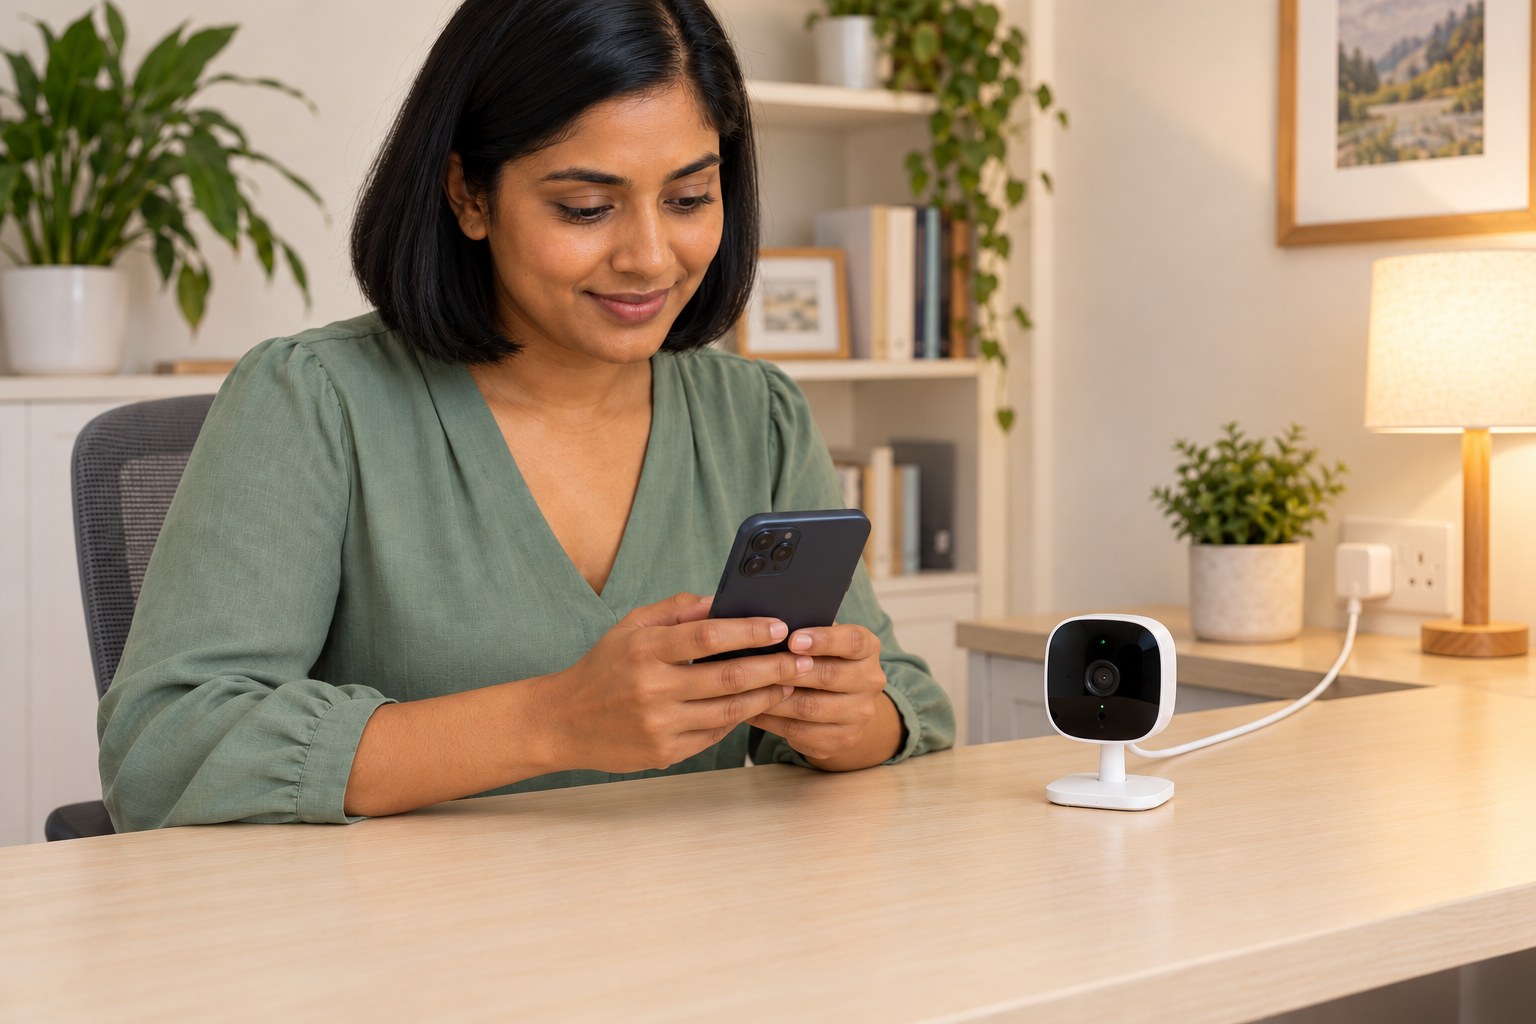
In Tapo, tap +, choose Add Device and select the matching C100 camera. Follow the Wi-Fi setup prompts with the phone close to the camera. If asked, connect the phone to the temporary Tapo_Cam_XXXX network, then return to Tapo; a no-internet message at this stage can be normal. Grant only the permissions needed for this setup. Do not select a different model or treat a Bluetooth prompt for another camera as a C100 requirement.
Photorealistic illustration · Waey
4. Connect the camera to your home Wi-Fi
When the app finds the camera, select your own 2.4 GHz home network and enter its password carefully. Keep the camera powered while pairing finishes. On this model, slow red blinking indicates connecting, solid amber indicates Wi-Fi connection, and solid green indicates cloud connection. Check the app’s completion message as well. If setup fails, recheck the network and password; reset only your own camera, understanding that resetting removes its existing configuration.
Photorealistic illustration · Waey
5. Name it, update it and open live view
Give the camera a clear room name and finish the app wizard. For this live-view guide, skip optional cloud trials and storage setup; a memory card or subscription is not being configured. Install any offered firmware update through Tapo while keeping power and Wi-Fi stable. Do not unplug during the update. Open the camera tile afterwards and check that live view loads and responds, rather than relying on the LED alone.
Photorealistic illustration · Waey
6. Position it and check the field of view
Move the camera to a stable indoor table or shelf with a good Wi-Fi signal, using the app to confirm live view still works. Adjust the head gently while keeping the base flat and the cable slack, secure and out of walkways. Aim at the area you intend to monitor, with household members informed. Avoid private spaces, neighbouring property and window glare. This model is adjusted by hand; do not force it like a motorized pan-and-tilt camera.
Photorealistic illustration · Waey
7. Test Privacy Mode before normal use
From the camera’s Live View page or Device Settings, enable Privacy Mode and confirm the live stream is disabled. TP-Link states that this mode stops video and audio streaming and recording. Turn it off and confirm live view returns before testing detection. Menu positions can vary with the app version. C100 has no physical privacy shield to close; do not cover its lens and assume that this also stops its microphone.
Photorealistic illustration · Waey
8. Enable alerts and perform a walk test
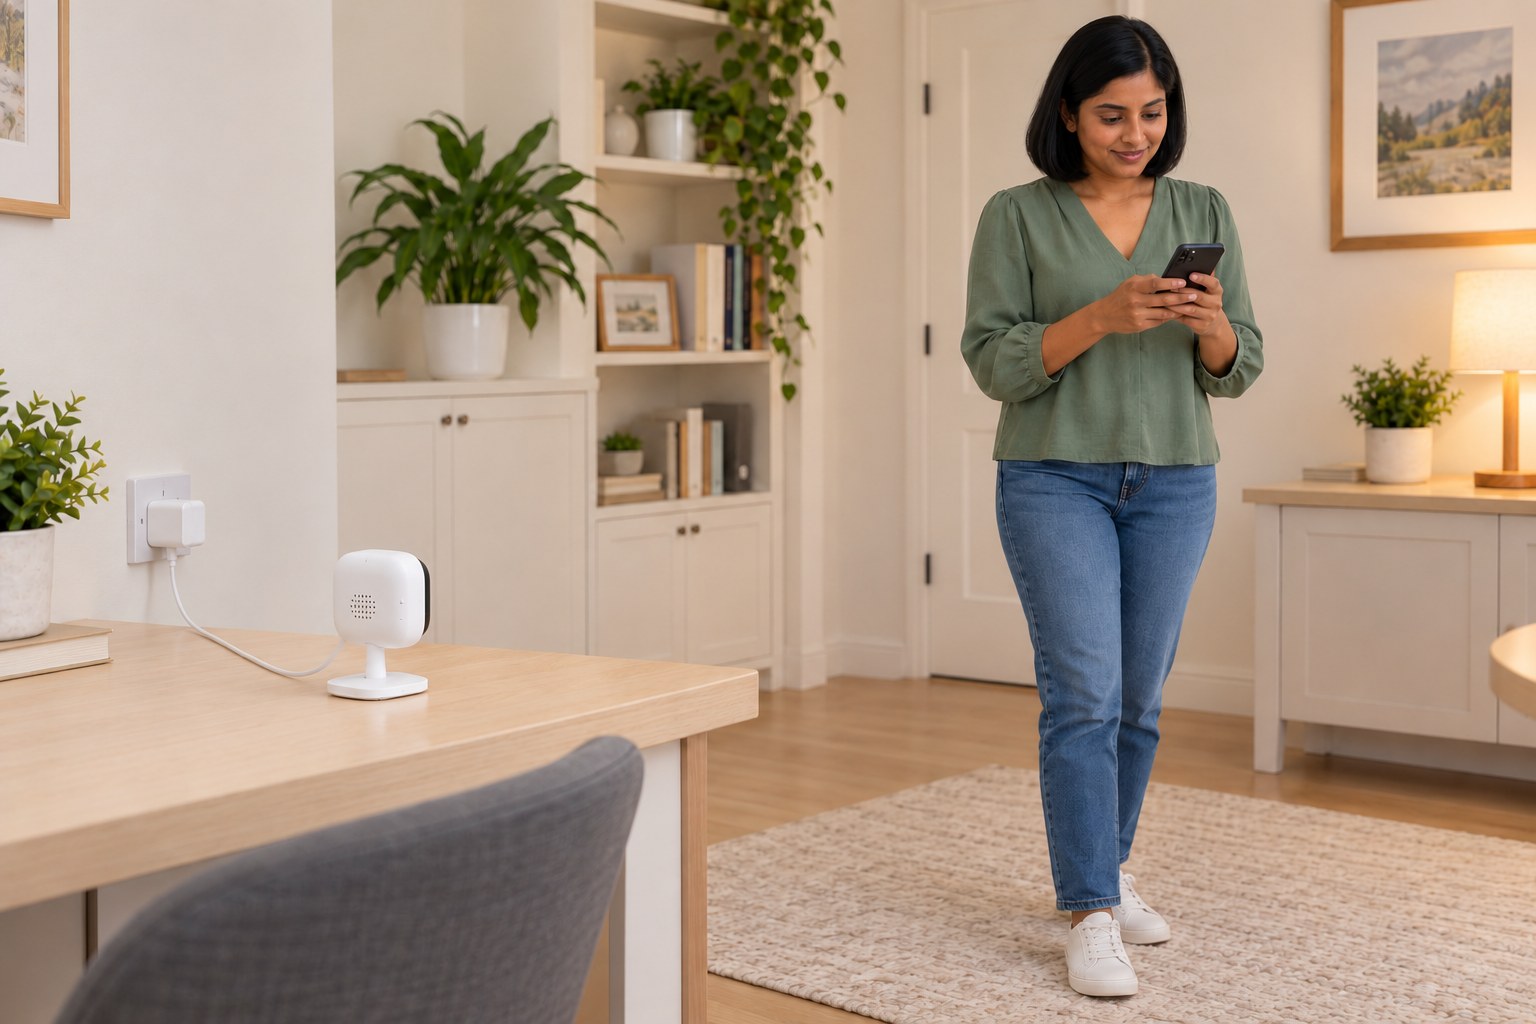
Enable the required motion detection in the camera’s settings and enable its Activity Notifications. Also check Me or your profile > Notifications > Device Notifications > Management, plus the phone’s Tapo notification permission and any quiet schedule. With Privacy Mode off, walk through the intended area and check that the expected alert arrives. Adjust the detection area or sensitivity if needed, then repeat. Leave the camera in the privacy and alert state you actually want.
Video demonstrations
How to Setup Tapo C100 camera - STEP-by-STEP
Best Security Devices shows the C100 temporary setup network and app connection. Use the matchedV4.20 instructions for your hardware and current menus.
Best Security Devices · English automatic and EnglishUS caption tracks listed; speech not fully assessed
Watch on YouTube ↗How To Set Up Tapo C100 Wifi Camera
One Hour Smart Home shows optional cloud and local-storage choices. This guide configures live view; storage and subscriptions are separate choices.
One Hour Smart Home · English automatic captions listed; speech not fully assessed
Watch on YouTube ↗Final checks
Live view responds from final location; cable safe; PrivacyMode disables and restores stream; expected motion alert arrives; final privacy/alert state chosen intentionally.
Where to find supplies
Other hardware versions need their own regional manual. This guide commissions live view and alerts, without SD formatting, cloud purchase, NVR or router port forwarding. Reset only your own camera if required; matched manual specifies at least5seconds powered until red blink and existing configuration is removed.
Software & apps
Official Tapo app for iOS/Android; TP-Link ID. App labels may vary by version.
Sources
Matched UK C100V4.20 support and user guide ↗
Matched V4.20 QuickStart7100001733 REV3.0.0 ↗
Original generated instruction illustrations created for Waey. Videos belong to their credited creators.