
Shape and air-dry a decorative pinch dish
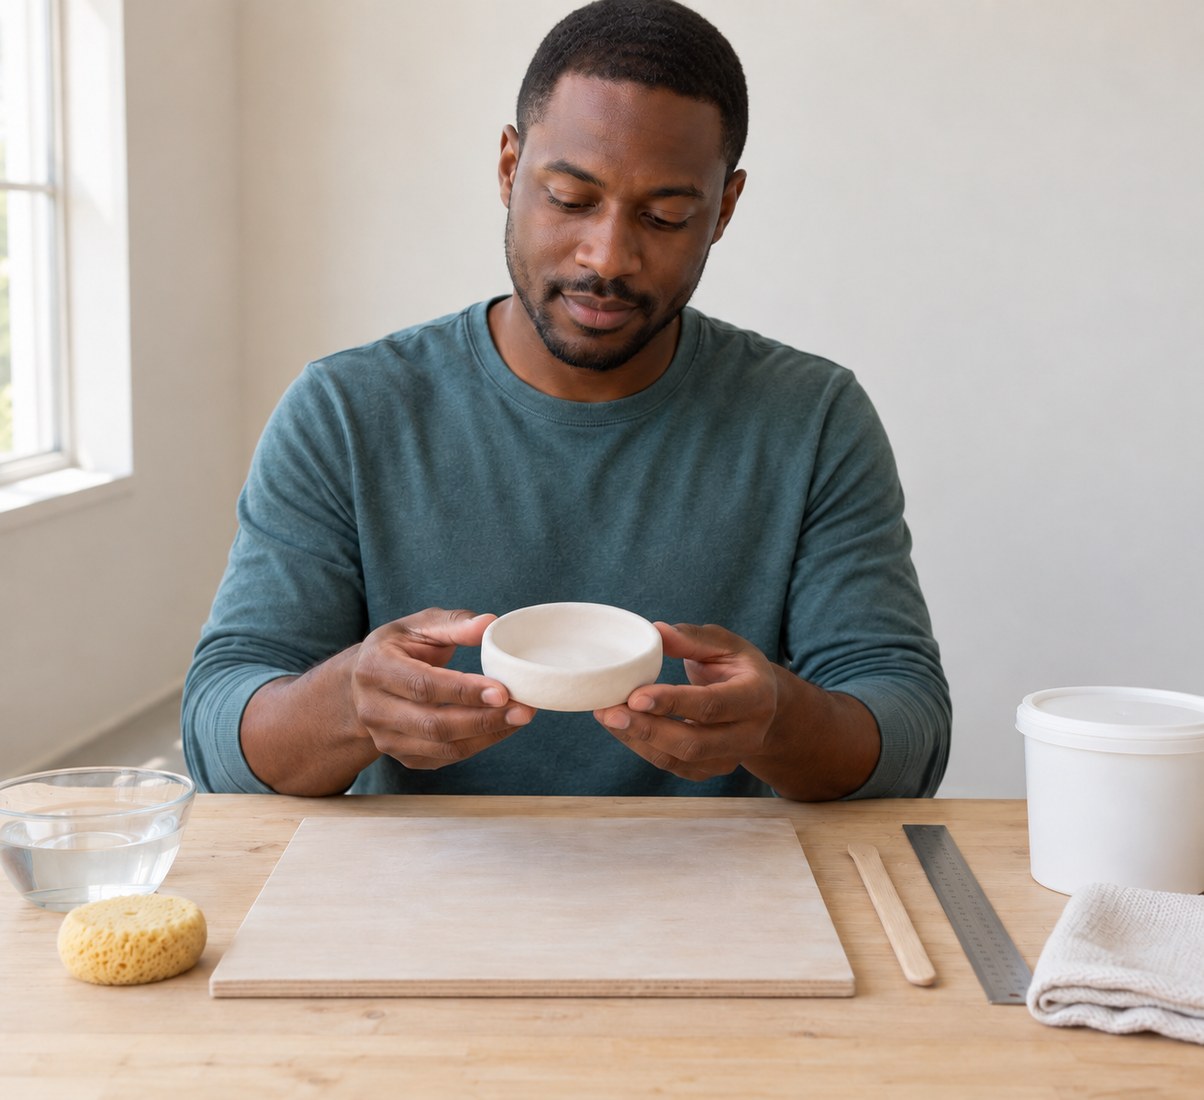
Use thumb pressure and gradual rotation to form a small one-piece dish, smooth its rim and let it dry evenly. The finished piece is for dry indoor decoration only, not food, water or heat.
What will you learn?
Use thumb pressure and gradual rotation to form a small one-piece dish, smooth its rim and let it dry evenly. The finished piece is for dry indoor decoration only, not food, water or heat.
Tools
- Wipe-clean craft boardSearch Amazon Australia ↗
- Small spongeSearch Amazon Australia ↗
- Shallow water cupSearch Amazon Australia ↗
- Blunt modelling toolSearch Amazon Australia ↗
- RulerSearch Amazon Australia ↗
- Clean damp clothSearch Amazon Australia ↗
- Dedicated paintbrush if using the optional craft paintSearch Amazon Australia ↗
Materials
- White Crayola Air-Dry Clay, enough for a ball about 6cm acrossSearch Amazon Australia ↗
- Resealable clay containerSearch Amazon Australia ↗
- Optional compatible water-based acrylic craft paint, tested on a spare dry sampleSearch Amazon Australia ↗
Step by step
Photorealistic illustration · Waey
1. Prepare a clean small-scale project
Cover a stable table with a wipe-clean craft board and keep the water cup shallow to avoid soaking the work. Read the clay packet before opening it and choose a place where the dish can remain undisturbed while drying. This example aims for a shallow dish roughly 9–10 cm across and about 3 cm high, but the final size depends on the amount of clay and its shrinkage. Do not form it around a rigid bowl.
Photorealistic illustration · Waey
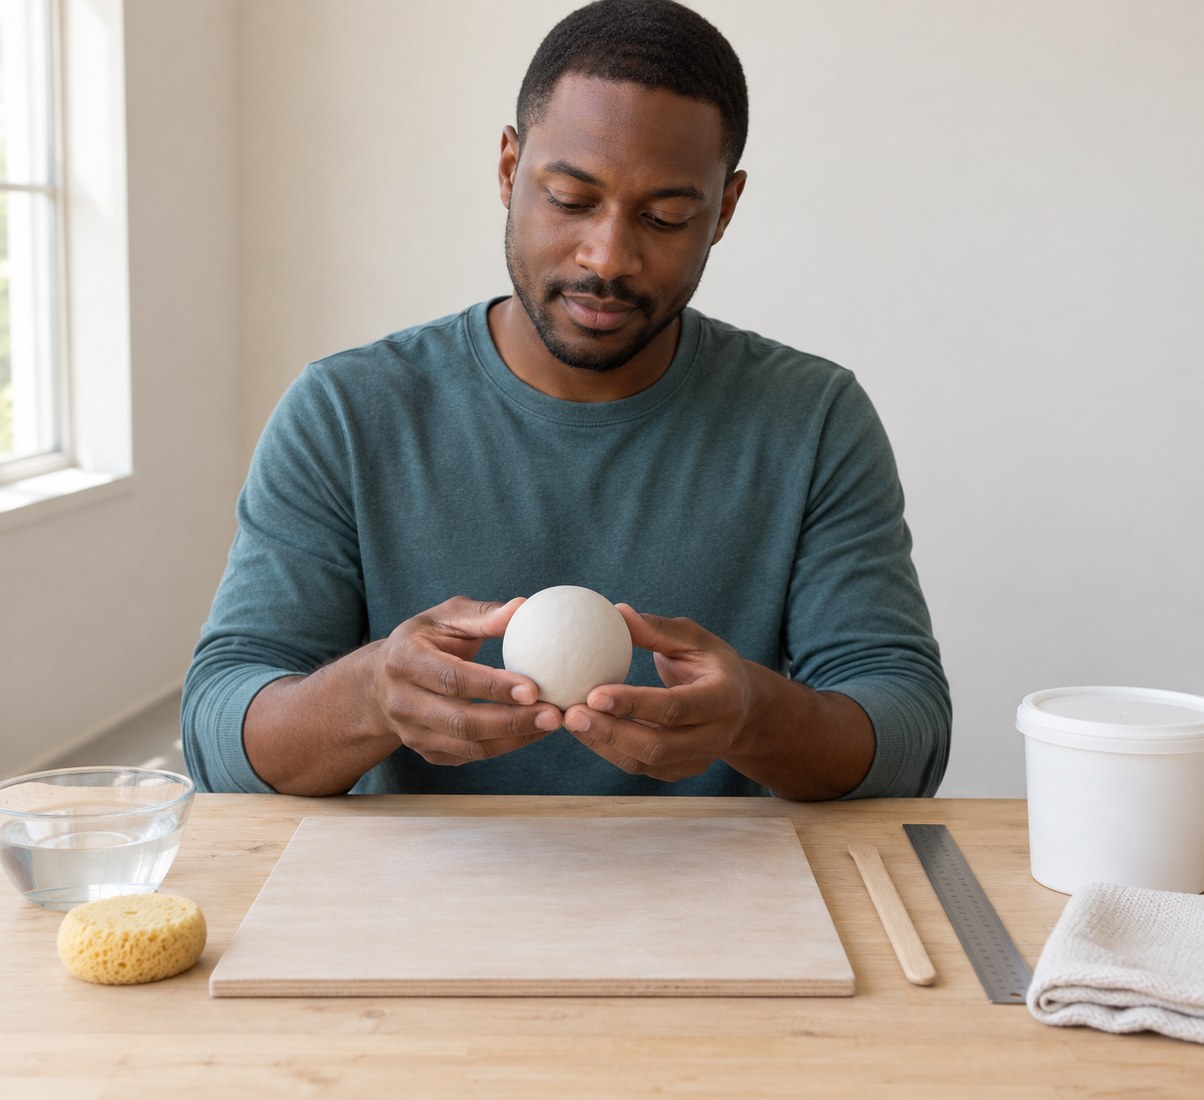
2. Condition the clay with very little water
Take enough clay for a smooth ball about 6 cm across and immediately reseal the unused portion. Knead gently until the surface is workable and free of obvious cracks. If it feels dry, dampen your fingertips and work that small moisture into the clay rather than pouring water onto it. Clay that becomes floppy or sticky needs time to lose excess moisture before shaping; adding more water makes later cracking more likely.
Photorealistic illustration · Waey
3. Press a central well without piercing the base
Support the ball in one palm and push the other thumb into its centre in small controlled movements. Keep a substantial base rather than pushing straight through. For the cited Crayola clay, preserve at least 6.5 mm thickness throughout; a base closer to 7–8 mm gives a beginner some margin. Check depth from the side and stop to reshape while the clay is soft if the bottom becomes visibly thin.
Photorealistic illustration · Waey
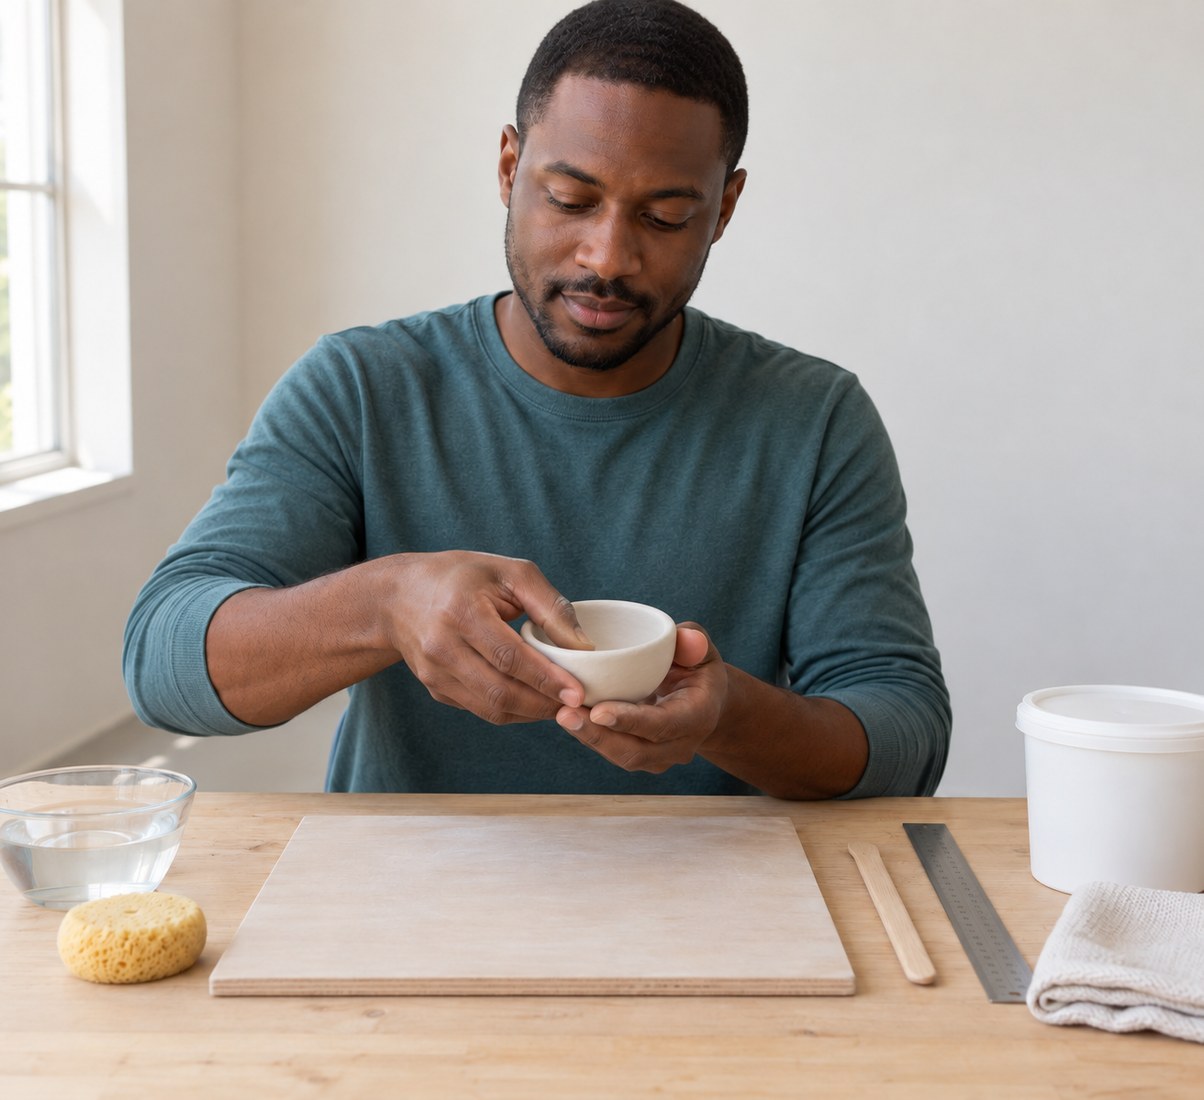
4. Pinch and rotate to build even walls
Place the thumb inside and opposing fingers outside, then pinch a small area gently and rotate the dish before the next pinch. Work around the lower wall first and gradually rise toward the rim so one section does not become much thinner than another. Aim for walls about 7 mm thick, never below the packet’s minimum. Keep the opening shallow and broad; pulling upward by the rim can tear it away from the base.
Photorealistic illustration · Waey
5. Smooth the rim and establish a stable foot
Set the dish on the board and check that it rests without rocking. Lightly smooth the base and level an uneven rim with damp fingertips or a barely damp sponge, preserving the wall thickness. Blend tiny surface cracks while the clay is still workable instead of flooding them with water. If a wall splits deeply or the base is pierced, compress the clay back into a ball and restart rather than hiding the structural flaw under decoration.
Photorealistic illustration · Waey
6. Dry evenly and wait for the whole piece
Leave the dish on a suitable drying board at room temperature away from direct sun, radiators and strong draughts. Crayola gives approximately 24 hours to touch-dry and 72 hours to dry fully, with size and conditions affecting the time; the packet’s longer instruction wins. Do not use an oven, microwave or kiln to hurry this product. When firm enough to handle without distortion, follow the maker’s advice for exposing the underside and allow longer if any part remains damp.
Photorealistic illustration · Waey
7. Inspect, optionally decorate and keep it dry
Inspect the fully dry dish for deep cracks, a rocking base or crumbling edges before display. Leave it plain or test compatible water-based craft paint on a spare dried sample, then apply light coats and let each dry as labelled. Paint or an optional tested sealant does not make air-dry clay waterproof or food safe. Use only as a dry indoor ornament or for a few light dry trinkets, and wipe tools and surfaces damp before residues harden.
Video demonstrations
Clay Pinch Pot Tutorial for Beginners and Elementary Art Students #airdryclay #airdryclayart #form
Related thumb-well and pinch-forming demonstration. Follow the selected Crayola clay’s thickness, drying and use limits above.
unschooled_art · Automatic caption metadata only; spoken language unconfirmed
Watch on YouTube ↗Clay Pinch Pots with Olivia Hardman 🌈
Hand-forming and smoothing in a DAS clay workshop. The clay and project differ; follow the Crayola instructions above.
Virtual Village Hall by Royal Voluntary Service · Automatic caption metadata only; spoken language unconfirmed
Watch on YouTube ↗Final checks
Even walls at or above the maker’s minimum, no pierced base or deep cracks, stable footing and full drying before paint. Keep the finished piece indoors, dry, away from food and heat; do not use sealing as a safety conversion.
Sources
PBS: pinch-pot forming basics ↗
Crayola: minimum thickness, added water and cracking ↗
Crayola: sealed clay is not waterproof ↗
V&A: pinch-pot hand technique ↗
US CPSC — Art and Craft Safety Guide: hygiene and clay/dust precautions ↗
Crayola — Keep modelling compounds away from ovens, microwaves, kilns and flames ↗
Original generated instruction illustrations created for Waey. Videos belong to their credited creators.