
Assemble a US TERTIAL clamp-mounted desk lamp
Clamp the matched US TERTIAL to a suitable desk, fit its arm, springs, shade and E26 LED, then check safe movement and operation.
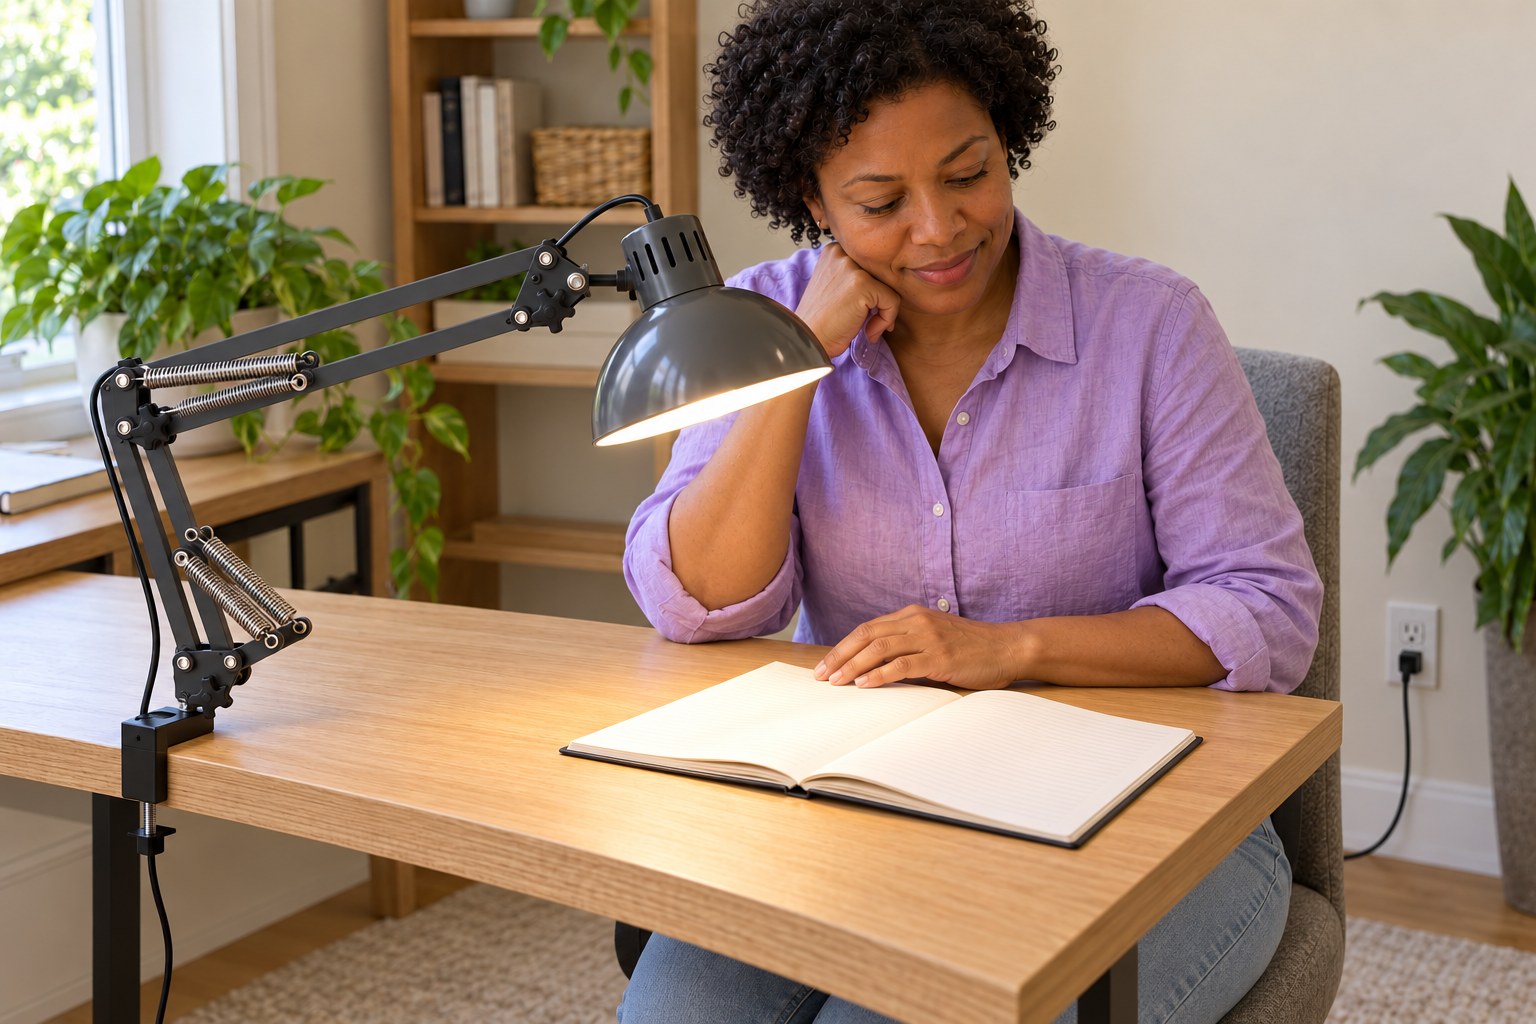
What will you learn?
Clamp the matched US TERTIAL to a suitable desk, fit its arm, springs, shade and E26 LED, then check safe movement and operation.
Tools
- Ruler for desk-edge thickness and clearanceSearch Amazon Canada ↗
- Clean soft cloth to protect loose parts while preparingSearch Amazon Canada ↗
Materials
- US TERTIAL20355434 with matching AA-2202950-4 manual, supplied base/clamp, arm, two loose upper springs and shadeSearch Amazon Canada ↗
- Compatible E26 opal globe LED within the lamp’s13W actual-power limitSearch Amazon Canada ↗
- Sound stable desk edge fitting the supplied clamp
Step by step
Photorealistic illustration · Waey
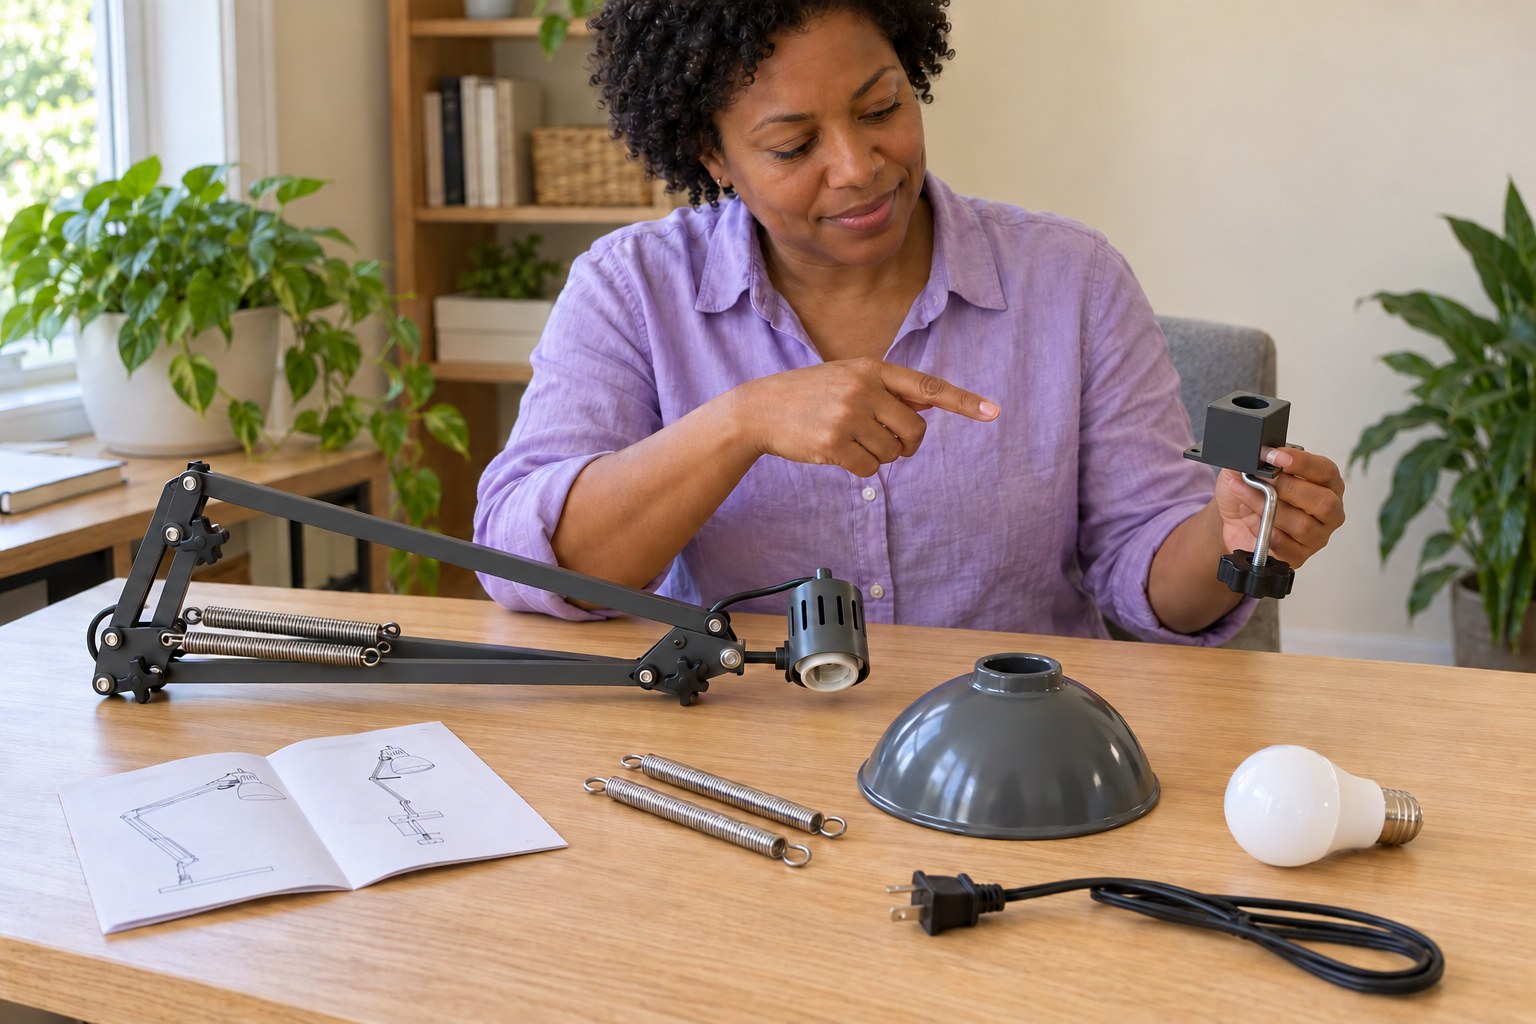
1. Match the US lamp and check all parts
Use the US TERTIAL 203.554.34 with matching AA-2202950-4 instructions and a readable electrical label. Check that its voltage and plug suit your supply; do not adapt an overseas version. Inspect the cable, plug, arm, clamp, shade and supplied springs for damage. Keep the plug disconnected throughout assembly. Identify the two loose upper-arm springs and the spring attachment points in the manual before unfolding the arm. Stop for missing parts or damaged insulation.
Photorealistic illustration · Waey
2. Secure the clamp on a suitable desk edge
Choose a dry, stable desk with a sound solid edge that fits the clamp; the US product lists a maximum opening of 2¼ inches, about 57 mm. Avoid glass, a bevelled edge, loose panels or a hollow surface that the clamp could crush. Place the base flat on the upper surface with its stem socket upright. Fit the supplied clamp underneath and tighten its hand grip until secure without damaging the desk. Leave clearance for the arm and cable.
Photorealistic illustration · Waey
3. Support the arm and lower its stem into the base
Support the articulated arm with both hands while keeping fingers clear of the joints and springs. Lower its bottom stem into the upright socket of the secured base, following the clamp branch on manual pages 4–5. Keep the cable outside the clamp and free from sharp edges. Do not add an improvised screw, glue or packing to force a fit. If the stem does not seat normally or the base shifts, stop and resolve the mismatch before continuing.
Photorealistic illustration · Waey
4. Attach the two supplied upper-arm springs
Keep the arm supported so it cannot swing suddenly. Follow page 8: attach each supplied upper-arm spring between the elbow attachment and its corresponding point farther along the upper arm, one on each side. Guide each hooked end onto its intended point without directing it toward your face. Confirm that both ends of both springs are fully engaged. Leave the existing lower springs in place. Stop if a spring needs excessive force or an attachment point is damaged; do not stretch or substitute springs.
Photorealistic illustration · Waey
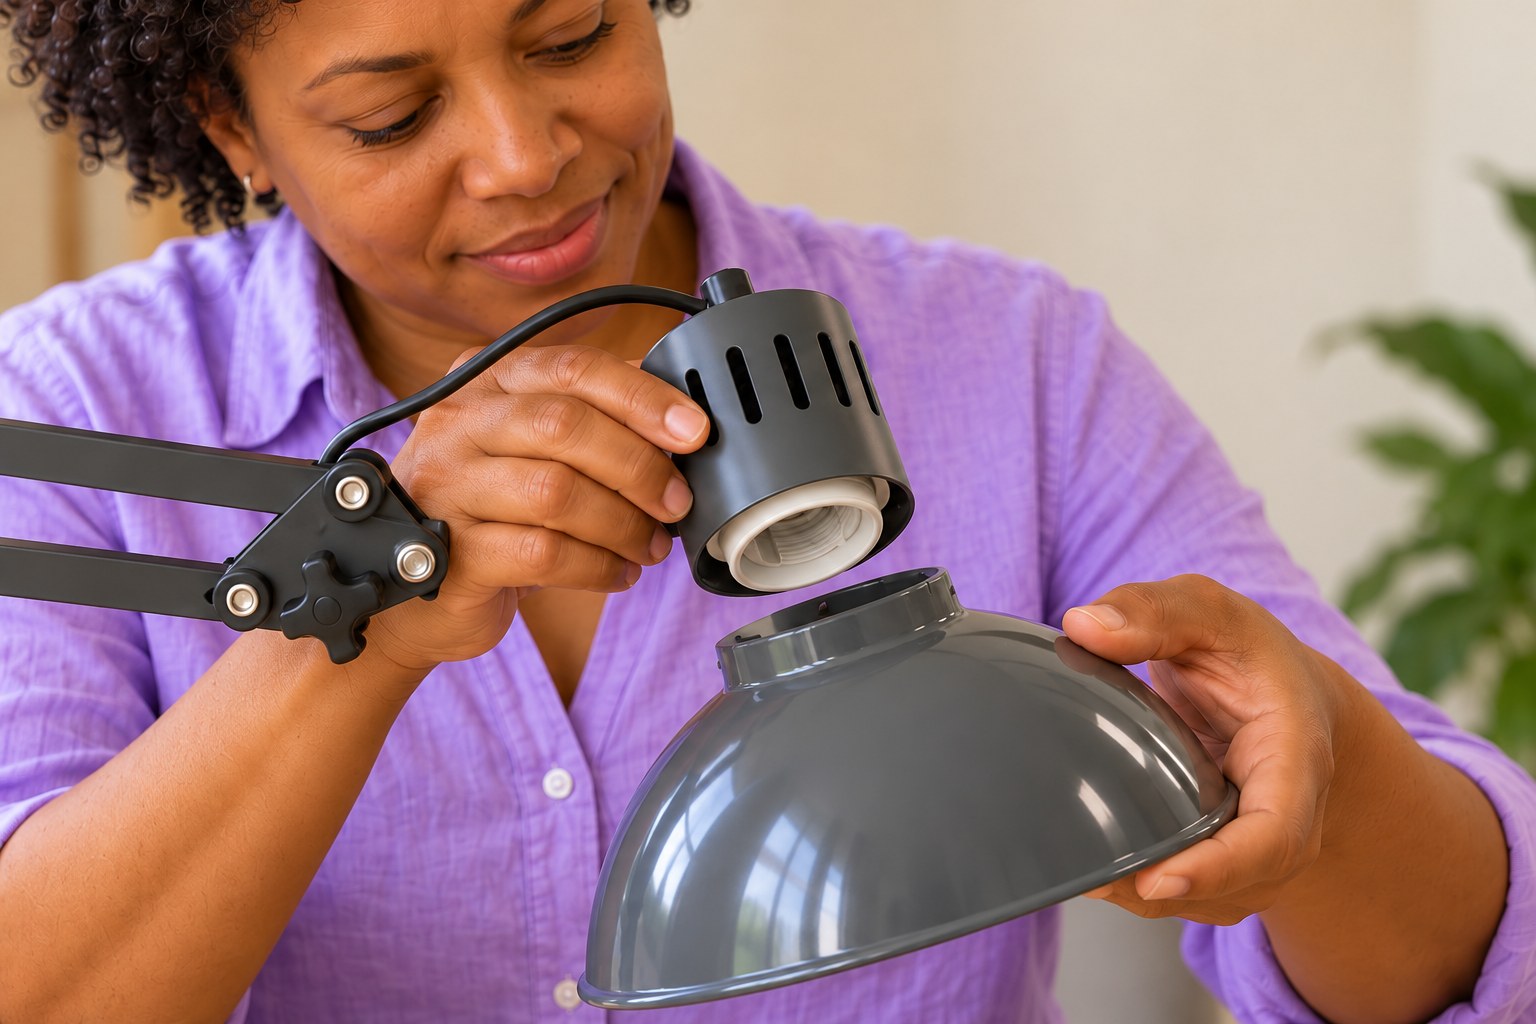
5. Lock the shade onto the lamp holder
With the lamp still unplugged, support the head and line up the shade’s bayonet openings with the matching holder features shown on page 9. Push the shade upward into place, then turn it in the direction illustrated until retained. Check that it sits evenly and cannot drop off during normal positioning. Do not bend the tabs or remove the electrical holder to make it fit. Keep the cable loop free and stop for a cracked holder or loose electrical parts.
Photorealistic illustration · Waey
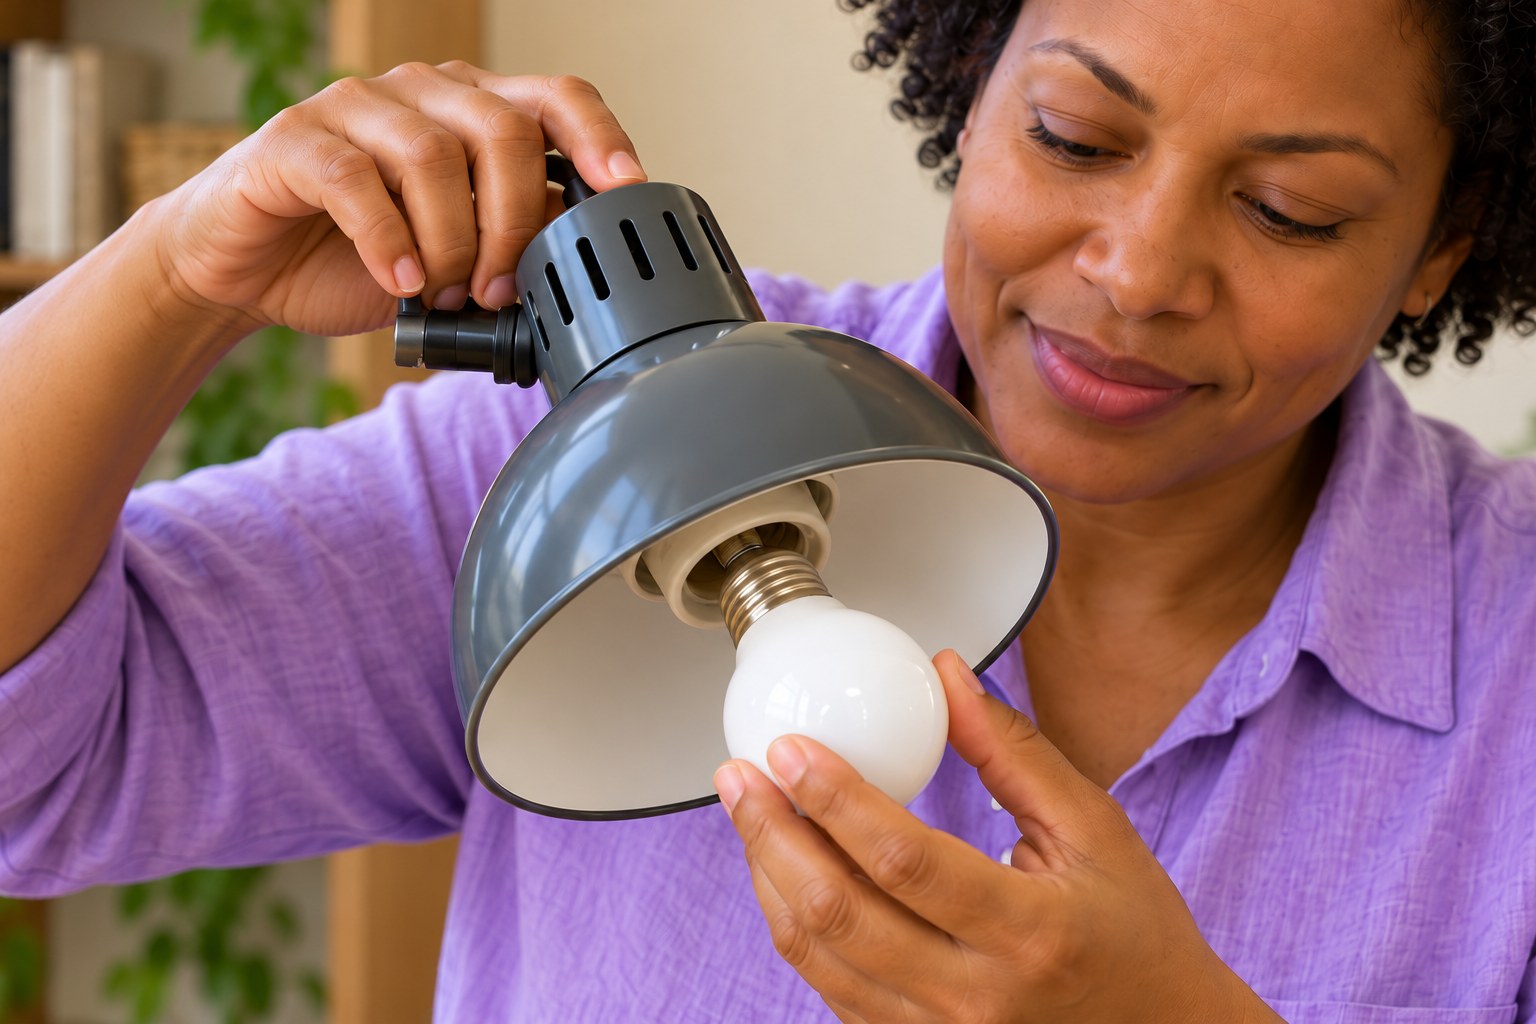
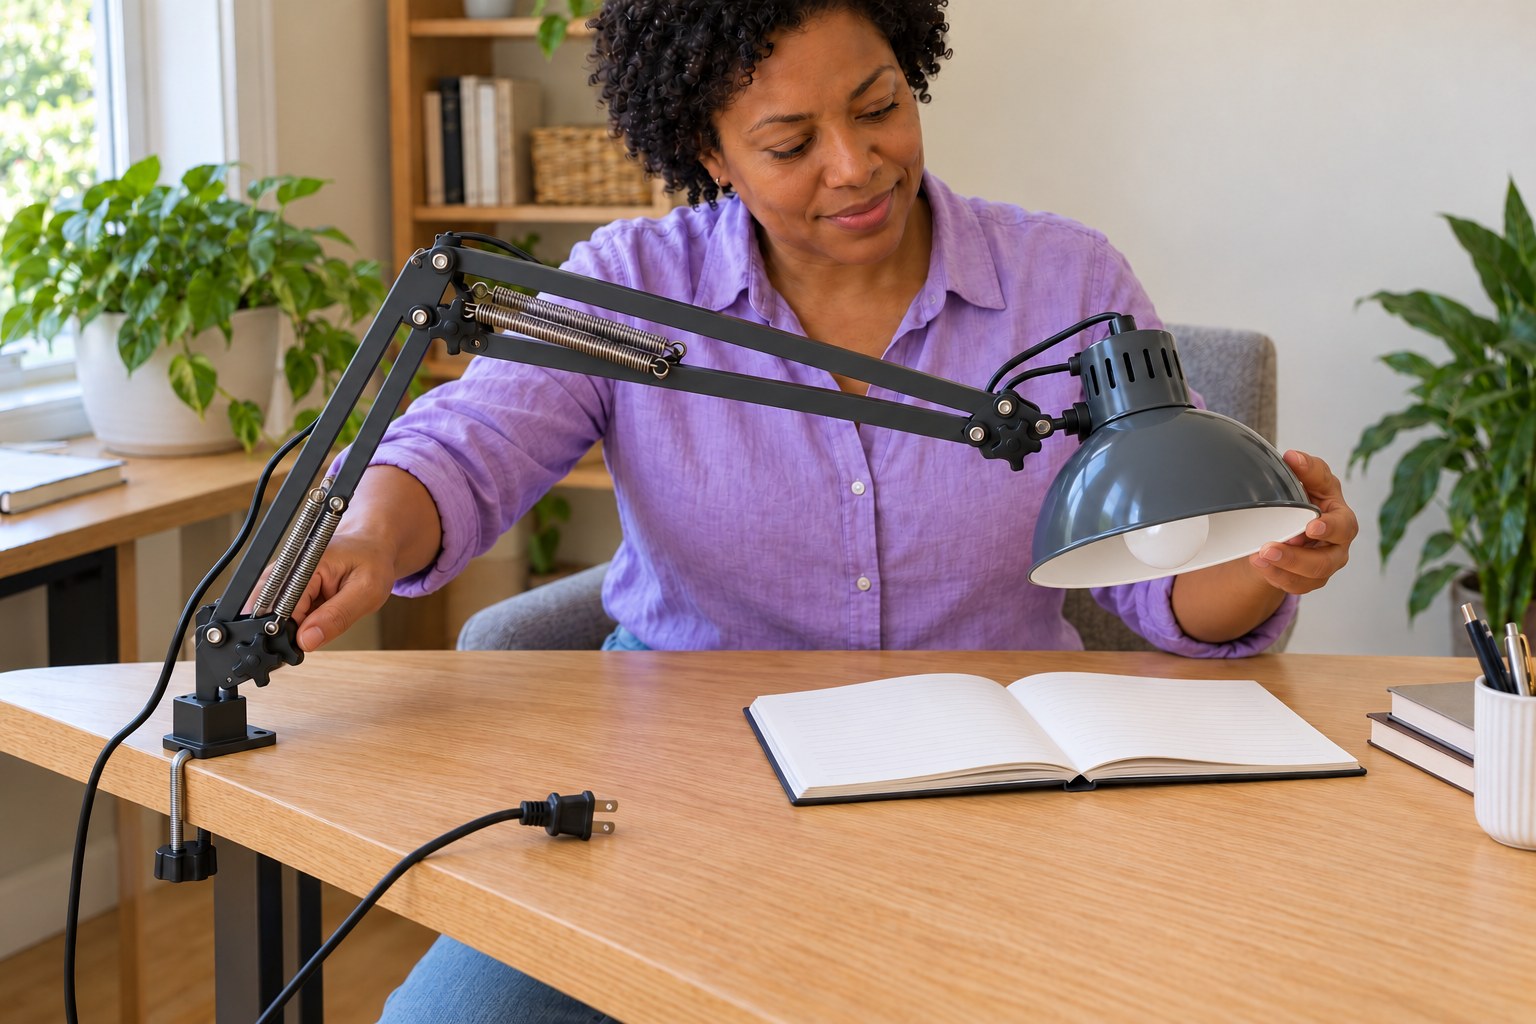
6. Install a compatible E26 LED bulb
Check the actual lamp label and use a compatible E26 LED globe bulb with an opal diffuser, as recommended for the US product. Its actual electrical wattage must not exceed the marked limit of 13 W; a brightness-equivalent wattage is not that limit. With the plug disconnected and the holder cool, screw the bulb in gently by its body until seated. Do not force a different base, overtighten, touch socket contacts or use a bulb that prevents safe shade clearance.
Photorealistic illustration · Waey
7. Position the arm and check its stability
Support the head while moving the arm slowly within its comfortable range. Adjust the joint hand knobs shown on page 10 only as needed to hold the chosen position; do not overtighten or dismantle a joint. Aim the shade toward the task area, keeping it clear of paper, curtains and other objects. Check that the base stays flat, the clamp stays secure and the cable has slack through the movement. Keep fingers away from closing joints and stop if the arm drops or springs disengage.
Photorealistic illustration · Waey
8. Connect safely and test the assembled lamp
Set the switch to Off, then connect the intact polarized plug fully to a suitable outlet, matching its wide blade to the wide slot. If it will not seat correctly, stop; never alter the plug or defeat its safety feature. Operate the switch and check steady light, secure shade and stable arm without touching a hot bulb. Switch off and unplug before changing the bulb or correcting the assembly. Stop for flicker, unusual heat, smell, cable damage or movement of the clamp.
Video demonstrations
Tertial - Ikea (how to setup)
This TERTIAL demonstration shows spring fitting and the desk clamp. Follow the matching US manual for the supplied parts and electrical rating.
Dost Bakış · English and Turkish captions listed; spoken language unverified
Watch on YouTube ↗IKEA Work lamp TERTIAL | IKEA Unboxing | Classic Steel Design | Adjustable Work Lamp
TheBigRun shows TERTIAL upper-spring and table-mount steps. Check your exact lamp, bulb base and clamp fit before following the example.
TheBigRun · Unverified; no captions listed in metadata
Watch on YouTube ↗Final checks
Clamp secure without desk damage; stem seated; both upper springs fully engaged; shade retained; correct bulb; arm holds position; cable free; plug fully inserted; switch works without abnormal heat or smell.
Where to find supplies
Other TERTIAL markets or revisions need their own electrical label and assembly manual. This guide uses the desk-clamp branch. Do not substitute E27 guidance, wall fixings, added springs, adhesives or modified plugs.
Sources
IKEA US TERTIAL20355434 product, E26/max13W and clamp range ↗
Original generated instruction illustrations created for Waey. Videos belong to their credited creators.