
Repair a dripping kitchen mixer with the correct 1225 cartridge
Identify the older clip-retained assembly, isolate both supplies, renew the matched cartridge and verify retention, temperature, flow and leak-free shutoff.
What will you learn?
Identify the older clip-retained assembly, isolate both supplies, renew the matched cartridge and verify retention, temperature, flow and leak-free shutoff.
Tools
- Correct 7/64-inch hex key and Phillips screwdriver for the selected flat-cap handleSearch Amazon Canada ↗
- Small flat screwdriver, suitable pliers/adjustable wrench used only on approved flats, and supplied 1225 twisting toolSearch Amazon Canada ↗
- Clean nylon brush, parts tray, drain protection, towels and clean paper towelsSearch Amazon Canada ↗
- Large suitable bowl and competent second person for controlled flushing; eye protection and suitable clean glovesSearch Amazon Canada ↗
Materials
- Verified compatible genuine 1225 cartridge with supplied installation instructions/toolSearch Amazon Canada ↗
- Sound correct 1883 copper clip; replace if damaged, never substitute an improvised wireSearch Amazon Canada ↗
- Exact matched handle connector/stop/bearing/D washer service pieces only if defective or missingSearch Amazon Canada ↗
- Correct aerator seal/3919-compatible flow-rated aerator only if service requires replacementSearch Amazon Canada ↗
Step by step
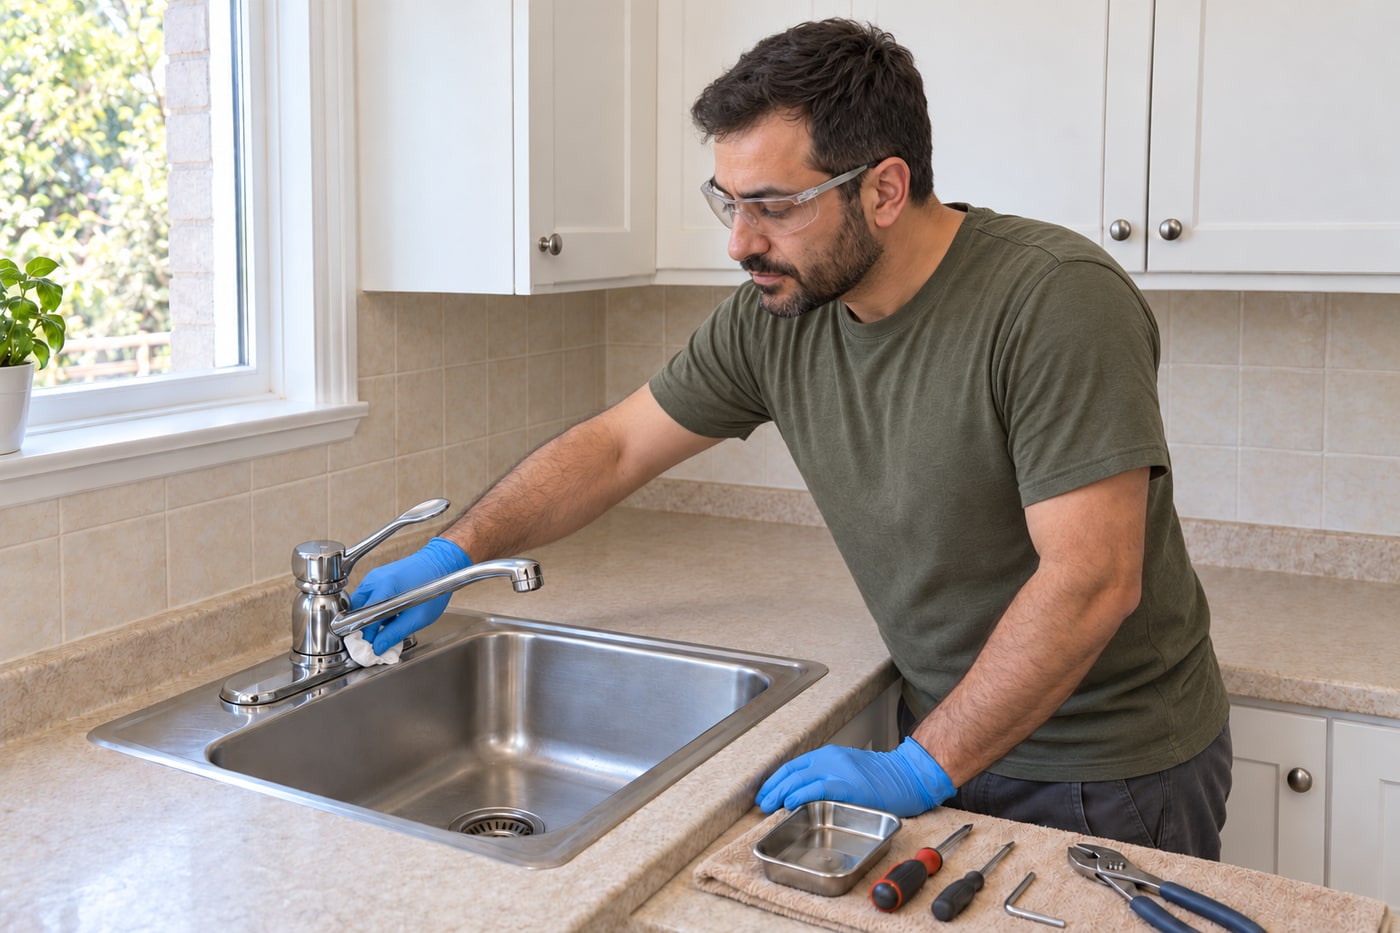
Photorealistic illustration · Waey
1. Identify the exact older faucet and its handle mechanism
Find the faucet’s model and version from its documents or manufacturer identification before ordering parts. The example is an older Moen Chateau 7425 kitchen mixer without a side spray, using a 1225 cartridge,1883 retaining clip and flat-cap AdapterA handle mechanism. The same model family also includes later 1255 assemblies with different nuts and screws. Compare the actual parts diagram, not just the chrome silhouette or model number. This guide excludes those later versions, pullout faucets, shower valves and unknown assemblies. Stop if the installed mechanism does not match the selected instructions.
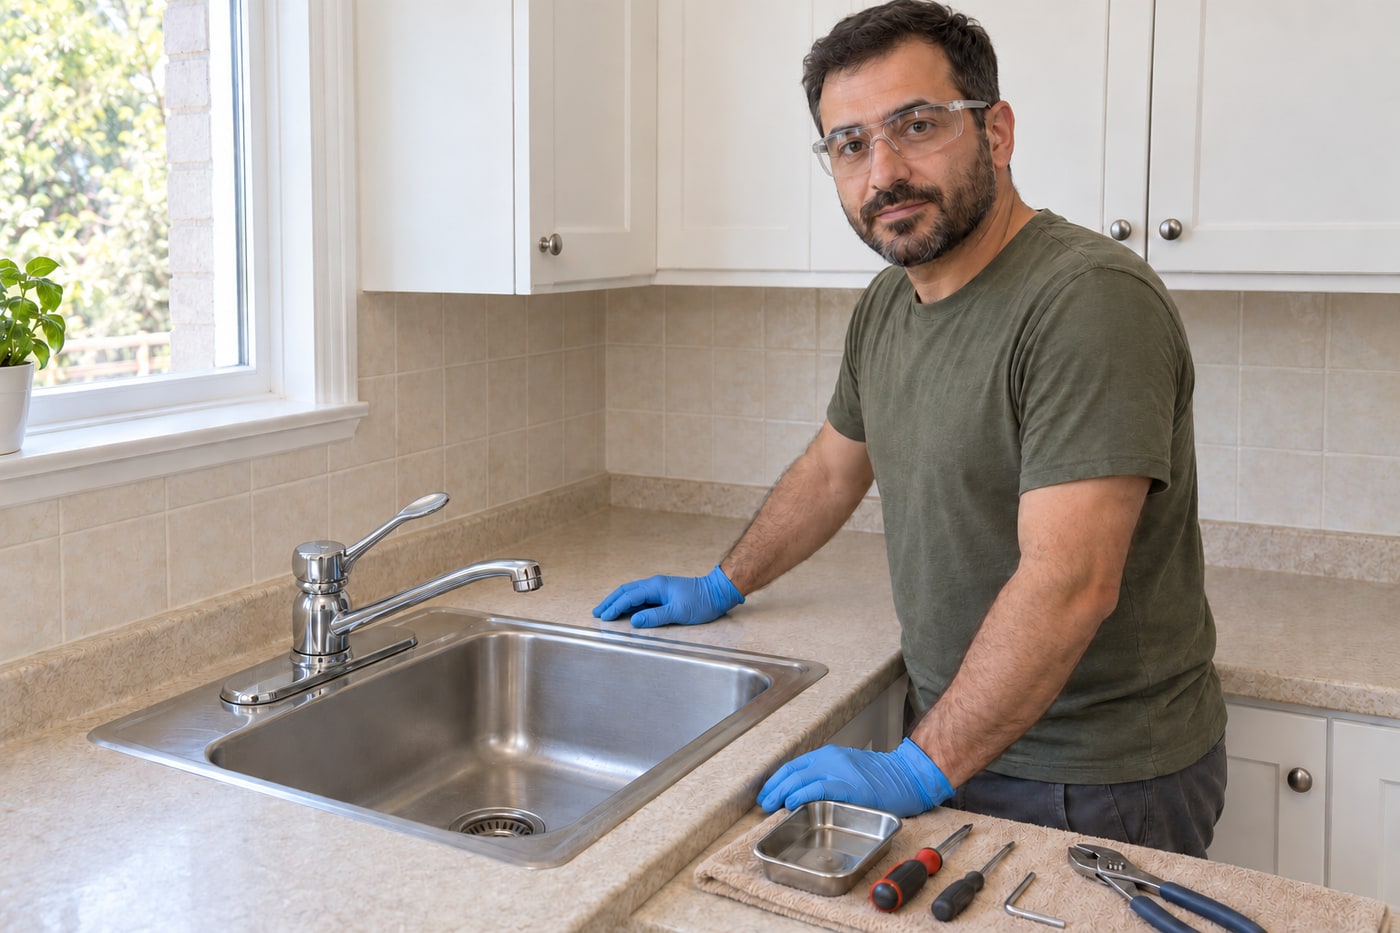
Photorealistic illustration · Waey
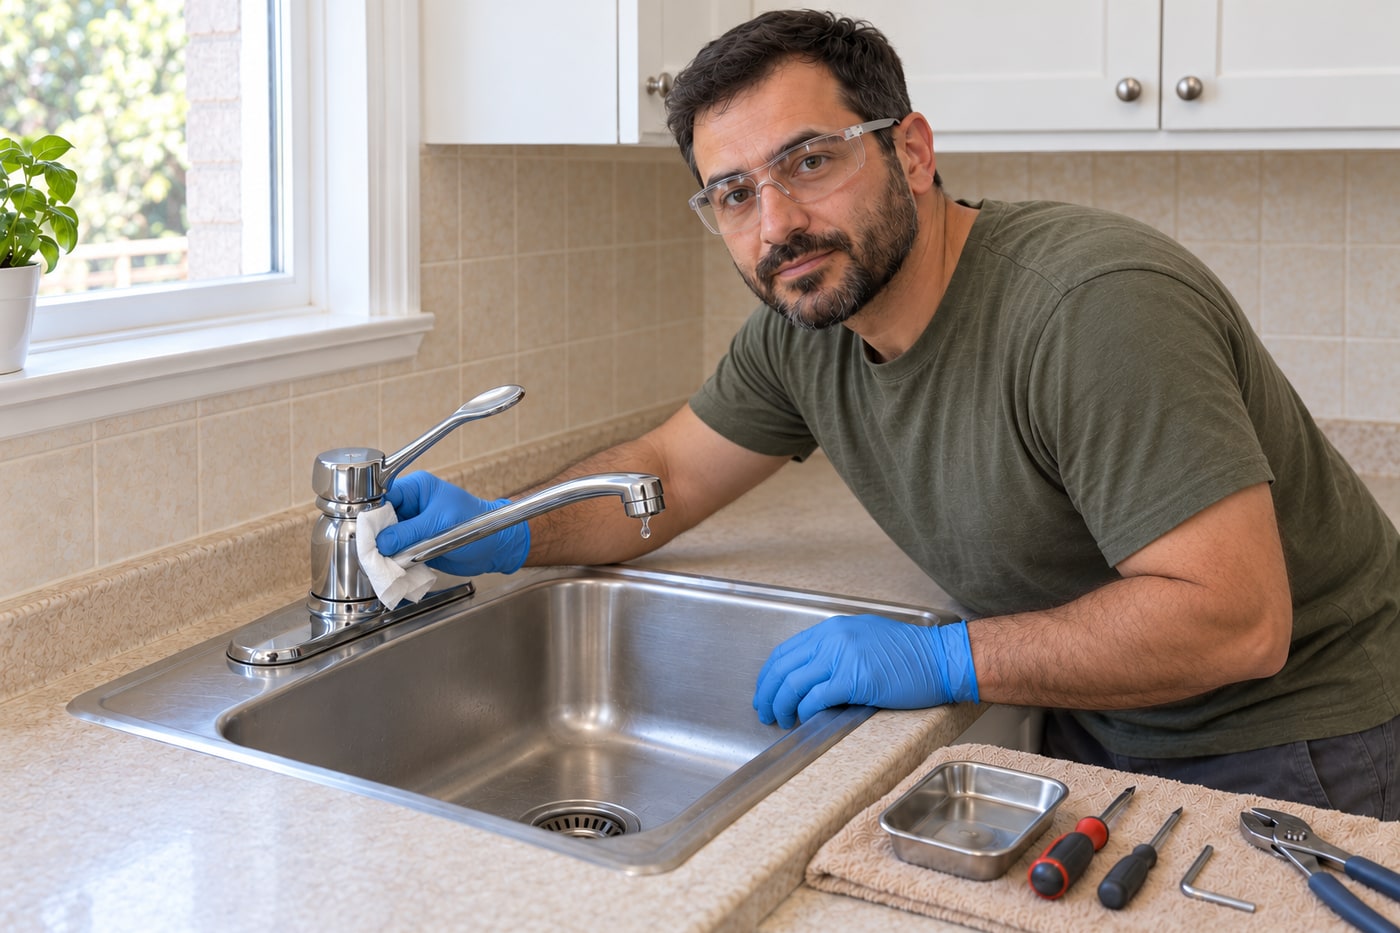
2. Separate a shutoff fault from an aerator or spout-seal problem
Observe the faucet before dismantling. A spout that continues dripping after the handle has closed and residual water has drained can indicate the matched cartridge needs replacement. Leakage around the swivel spout hub points toward its separate seals; a distorted or weak stream can be an aerator obstruction. Moen’s older family sheet distinguishes these faults. Dry the faucet and inspect the cabinet so an unrelated supply leak is not missed. Replace only parts implicated by diagnosis; a new cartridge does not repair a cracked body, loose supply connection or blocked screen.
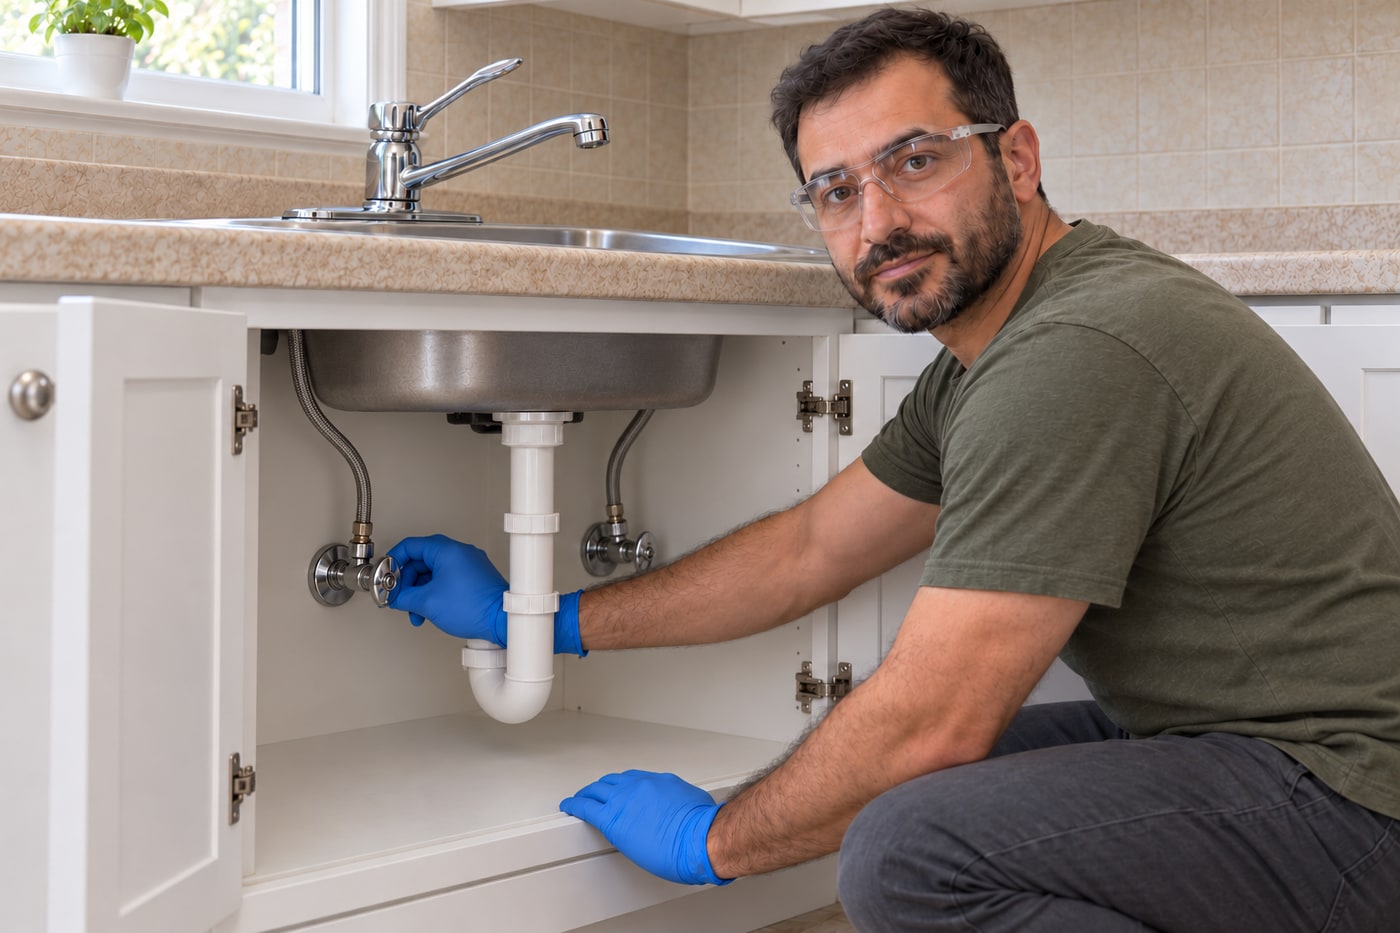
Photorealistic illustration · Waey
3. Isolate both supplies and prove that the faucet is depressurized
Check that both accessible shutoffs are sound and can be operated without force. Before work, assess the water temperature and arrange safe control of any later flushing; gloves do not make scalding water safe. Close hot and cold supplies, then open the handle through both temperature positions to relieve pressure. Flow must stop, not merely slow to a persistent trickle. Stop for a leaking or seized shutoff, continuing pressure or unknown supply arrangement. Keep the cabinet dry and protect the drain so small screws and washers cannot disappear into it.
Photorealistic illustration · Waey
4. Remove the flat cap, handle and decorative dome carefully
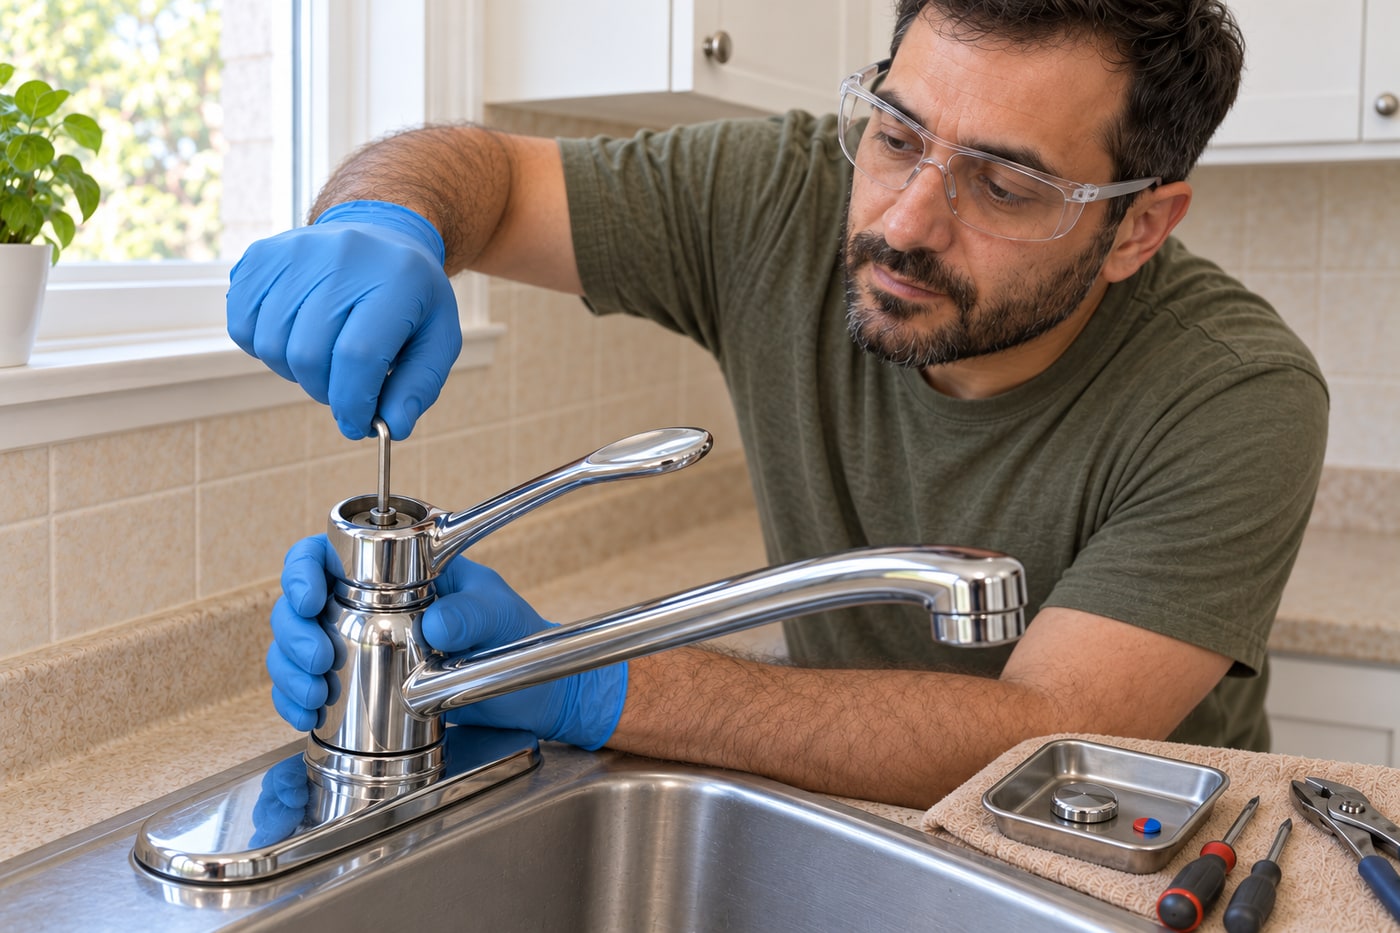
For the verified AdapterA arrangement, gently release the flat cap and temperature indicator without gouging the finish. Use the correct 7/64-inch hex key to remove its handle screw completely, then lift the handle off. Keep the indicator and screw in a shallow parts tray. Pull the decorative dome upward gently; do not grip its chrome surface with bare serrated pliers. The newer 1255 diagram uses a different 3/32-inch screw and is not a substitute. Record the orientation of the exposed mechanism before removing further pieces.
Bronzaclose · CC0 1.0 · Resized and orientation normalized; no AI adaptation. Separate generic bit/recess detail, not a Moen fastener or assembly photograph.
5. Dismantle the adapter without losing its orientation
With supplies still isolated, unthread the black plastic pivot retainer counterclockwise. Remove the central Phillips cartridge screw and lift off the metal adapter with its black plastic connector. Keep these pieces together and note which side faced the sink front. Inspect for a cracked connector or broken adapter; replace a damaged component with its matched service part instead of tightening it harder. The adapter screw and pivot retainer are handle components. Neither replaces the separate copper clip that retains the cartridge against supply pressure.
Photorealistic illustration · Waey
6. Retain the stop, bearing washer and D-shaped washer in order
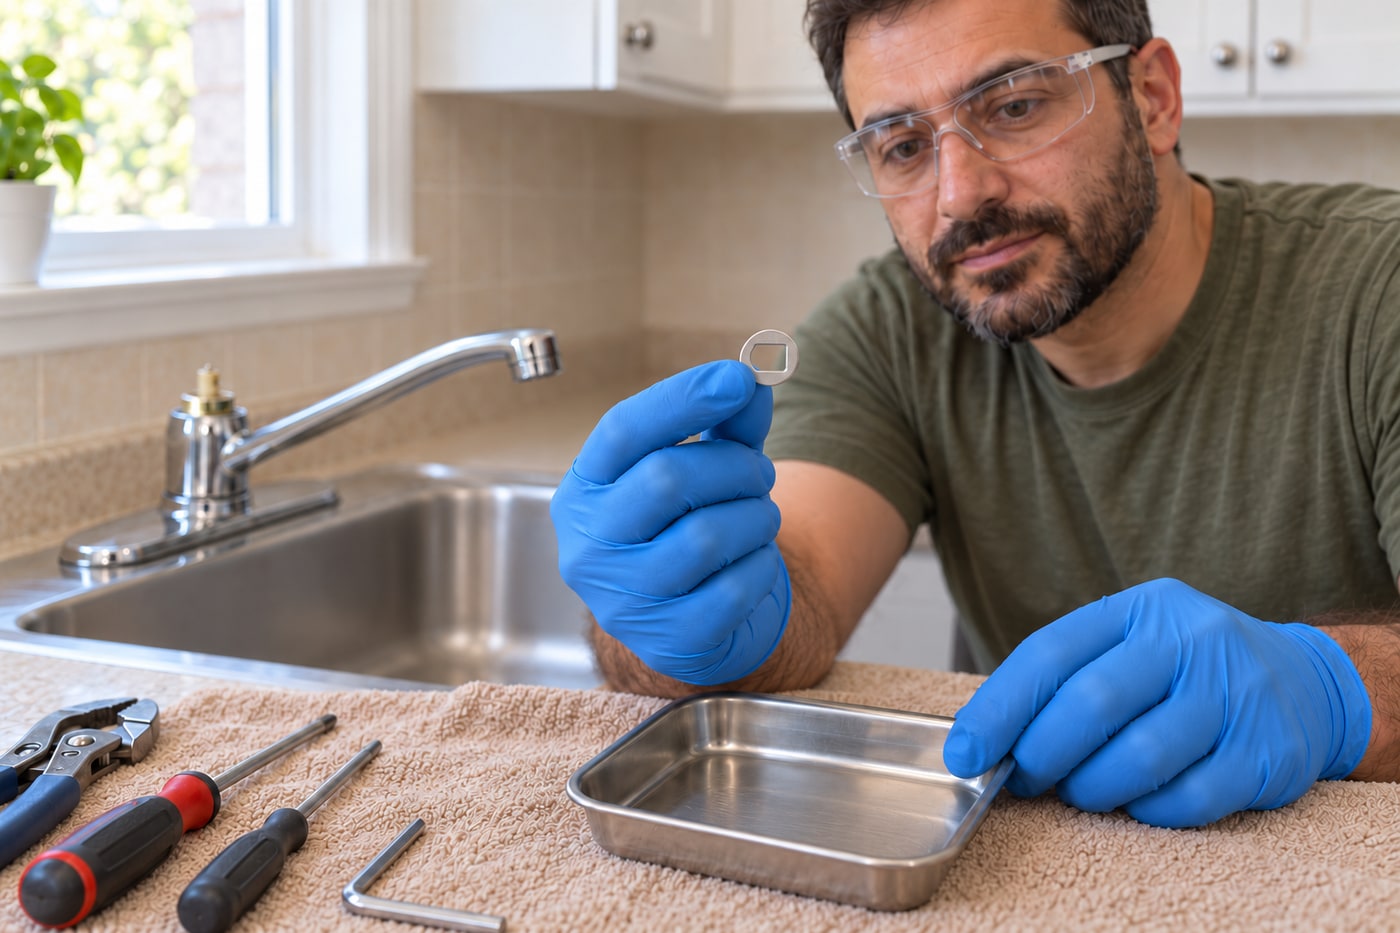
Lift off the white or grey pivot stop, recording its colour and raised-edge orientation. Grip only the two flats of the retainer nut with an appropriate tool, protecting its external threads. Remove it without twisting the faucet mounting or pulling off the spout. In this standard-spout example, the white bearing washer fits a groove underneath the nut; retain it and the small D-shaped washer on the cartridge stem. Other mechanisms use a split bearing and wavy washer. If those appear unexpectedly, stop and obtain their matching instructions rather than combining the two assemblies.
Photorealistic illustration · Waey
7. Withdraw the cartridge clip only with both supplies off
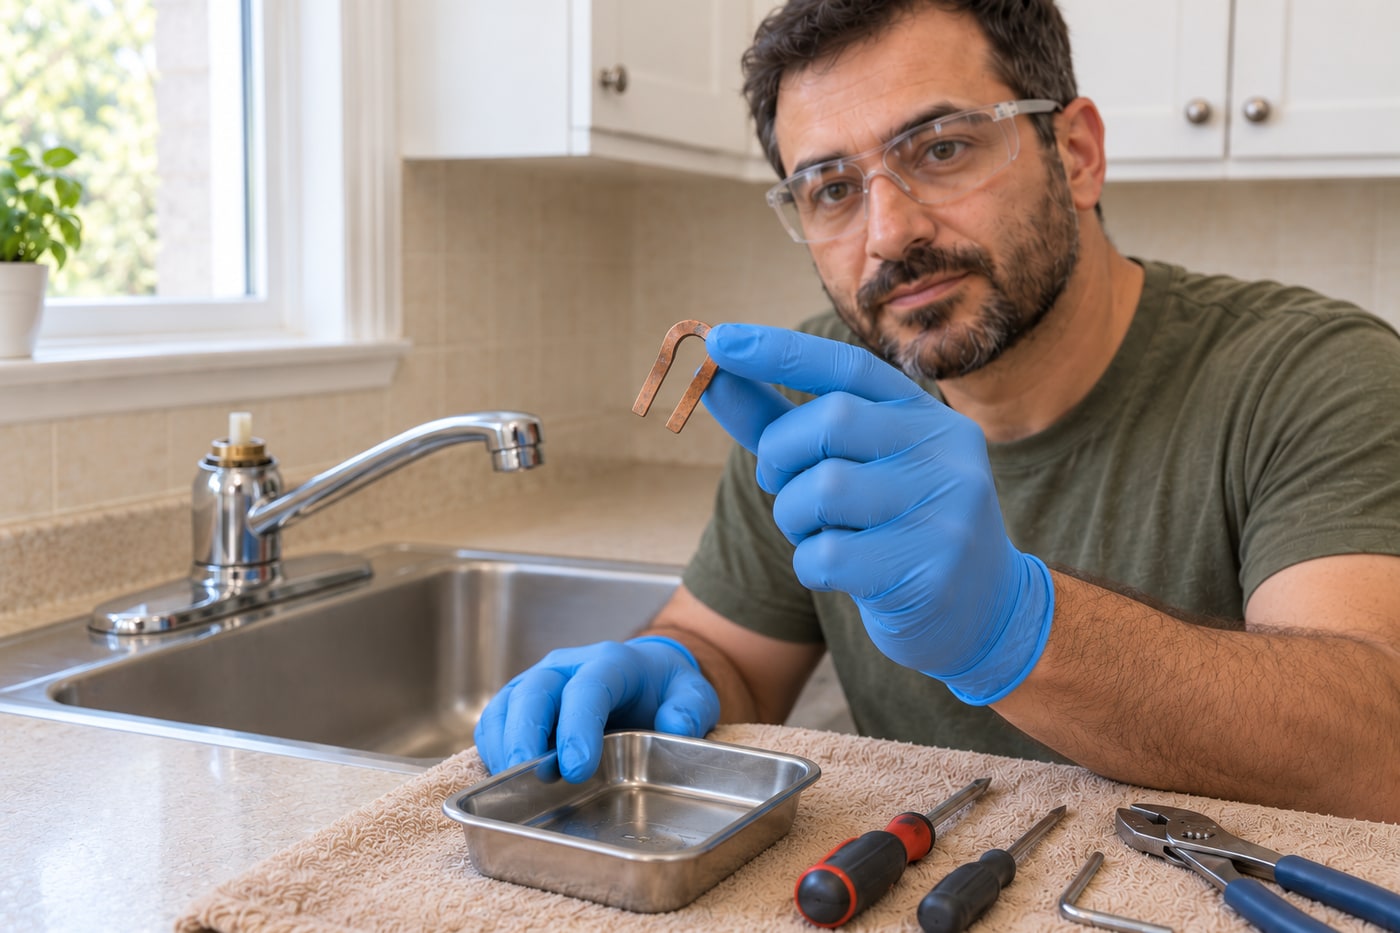
Locate the 1883 copper retaining clip in the brass valve-body slots. Use the appropriate small flat screwdriver to ease it out and place it securely in the tray. It may be installed from the front or back; inspect the actual arrangement rather than probing blindly. Confirm both supplies remain closed before touching it. A missing, bent or partly seated clip cannot safely retain the replacement cartridge. If the clip or its slots are damaged, keep the faucet isolated until the correct repair is completed.
Photorealistic illustration · Waey
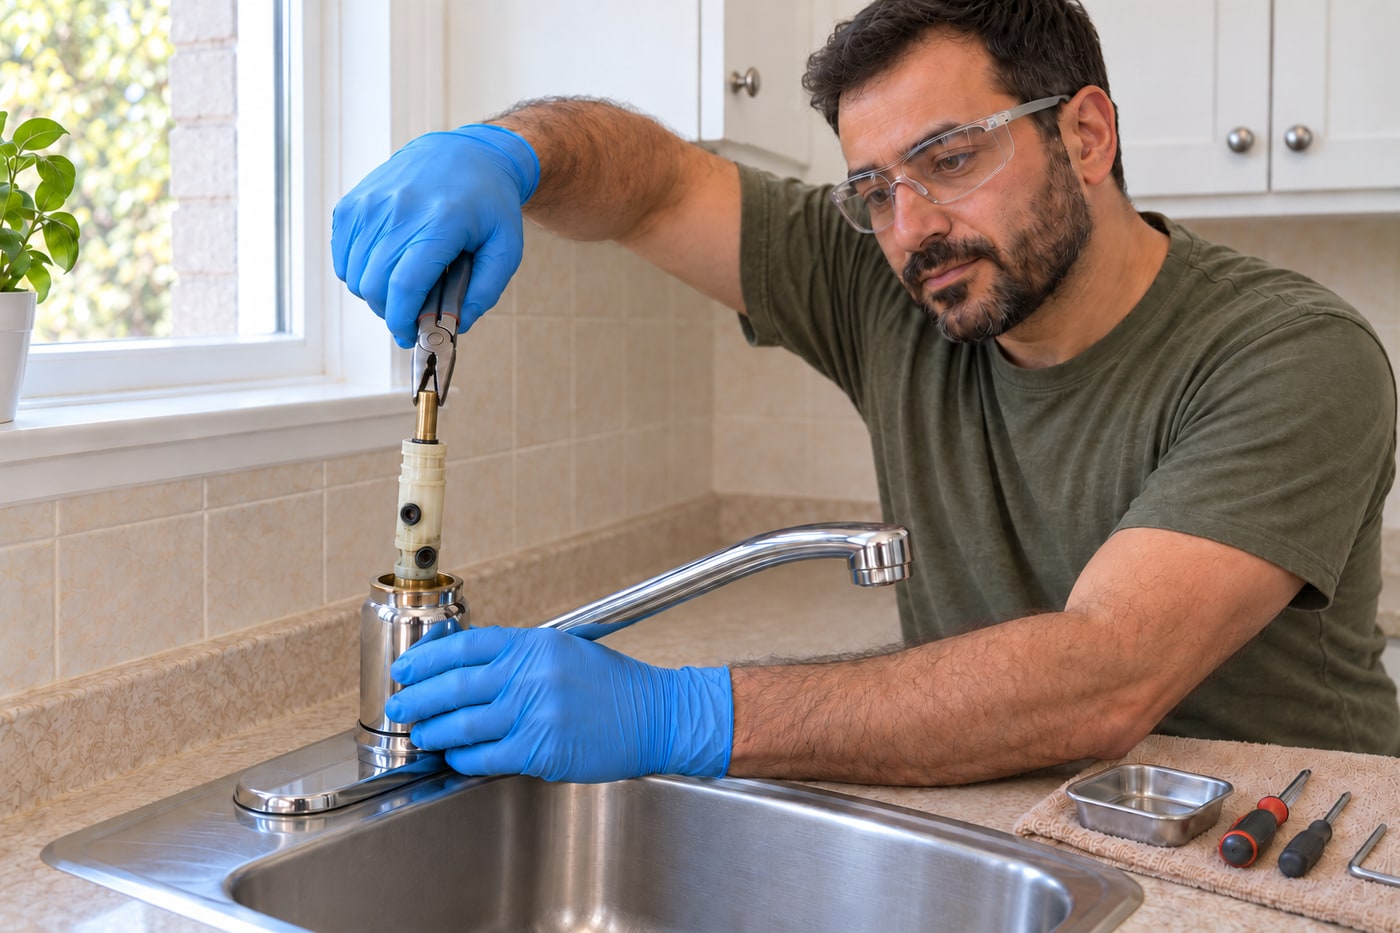
8. Loosen and extract the old cartridge without levering the body
Fit the plastic twisting tool supplied with the 1225 kit over the cartridge’s locating features. Following Moen’s procedure, turn the cartridge about a quarter turn in either direction to loosen its seals. Remove the tool, lift the cartridge stem fully, grip the stem with suitable pliers and pull straight upward. Support the fixture and avoid side loading the thin brass body or using the spout as a lever. If controlled effort will not release it, stop for a compatible removal tool or professional help. Do not force a seized cartridge until the mounting or pipework moves.
Photorealistic illustration · Waey
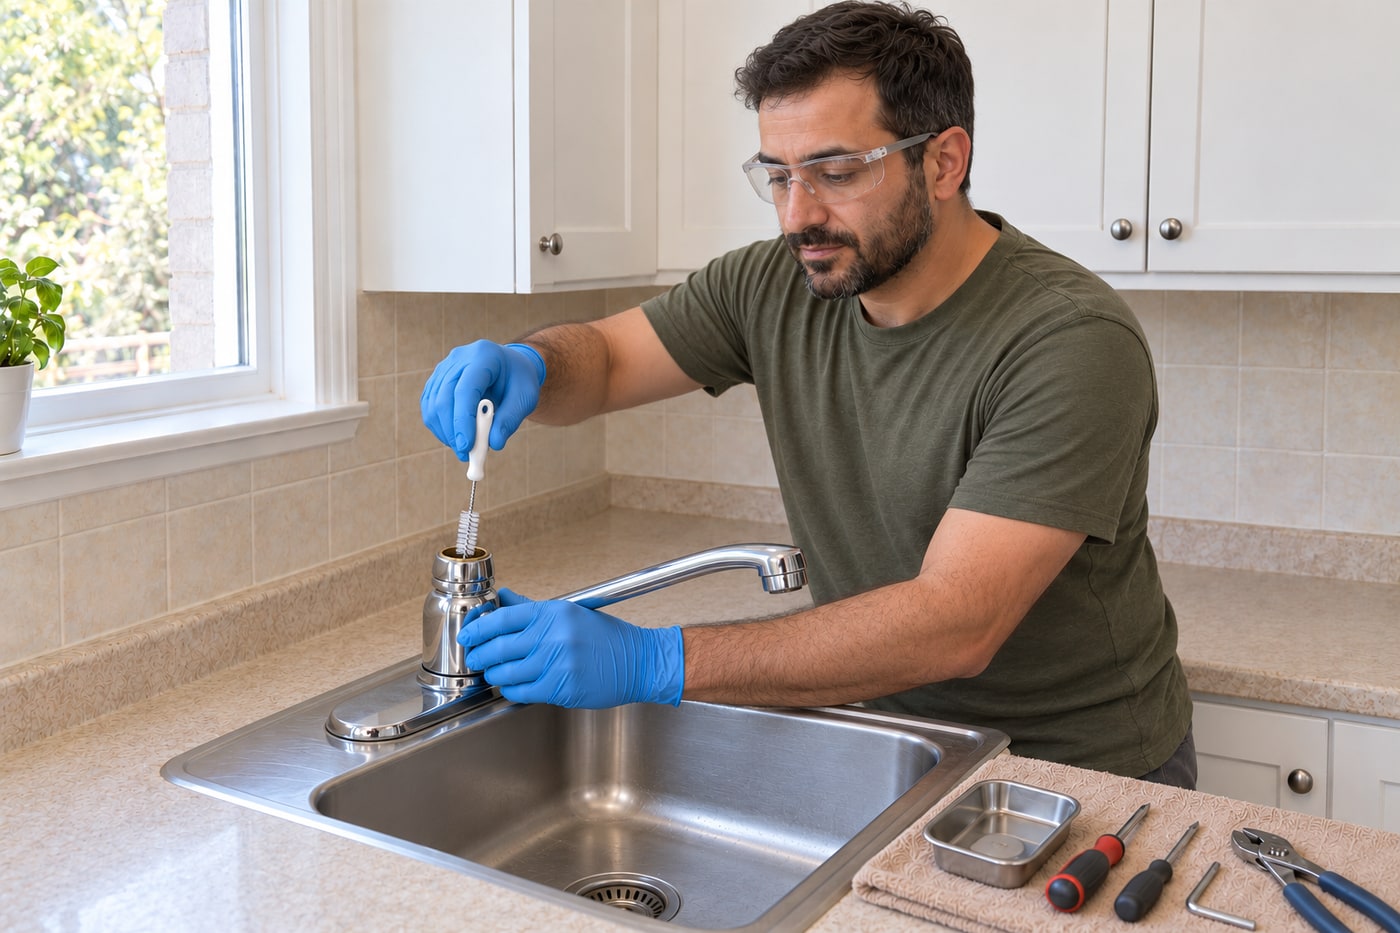
9. Inspect and clean the empty valve body gently
Compare the removed cartridge with the verified replacement before insertion. Inspect the empty body for loose fragments, damaged locating slots or obvious scoring. Use a clean nylon-bristle brush to loosen deposits from its inside walls, as Moen directs; do not sand the bore, scrape it with metal or add an unverified chemical cleaner. Keep tools and debris out of the open waterway. This repair leaves the spout and its separate seals installed. Damage to the body, persistent fragments or a loose fixture needs a different repair before a new cartridge can be relied on.
Photorealistic illustration · Waey
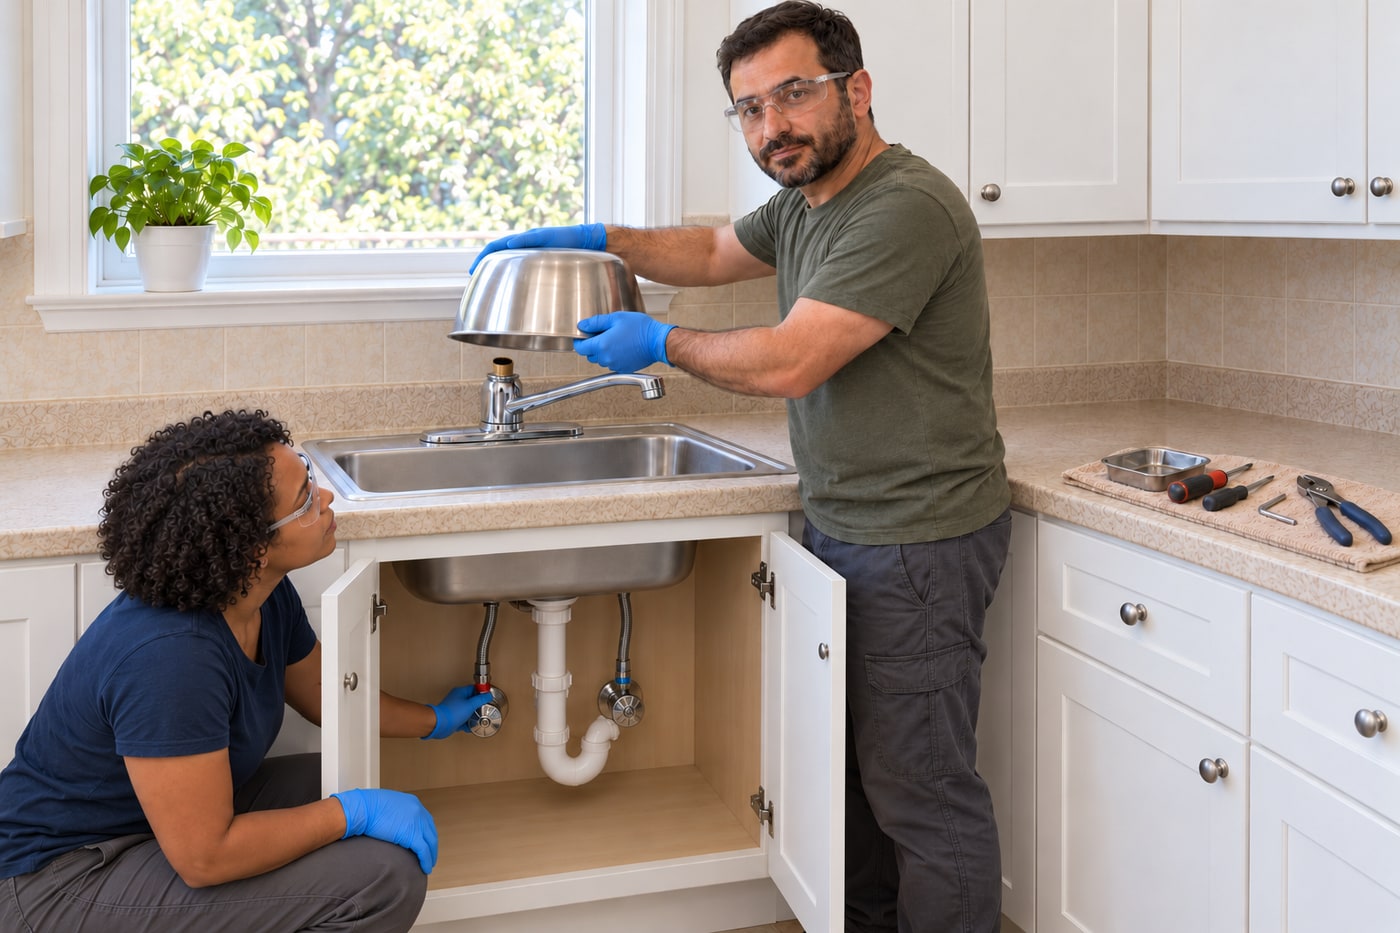
10. Perform the manufacturer’s controlled flush with competent assistance
With the cartridge completely removed, Moen’s separate open-body flush can discharge water forcefully. Secure all loose parts away and remove drain protection so the sink drains freely. Protect the base with a towel and have one person hold a large inverted bowl over the opening to redirect water into the sink, without creating a sealed pressure vessel. A second person opens one supply only slightly, then closes it; repeat separately for the other supply only when temperature and containment are safe. Wear eye protection and keep hands out of the jet. Stop if flow or hot water cannot be controlled. Re-isolate both supplies and remove remaining water with a clean rolled paper towel before installation.
Photorealistic illustration · Waey
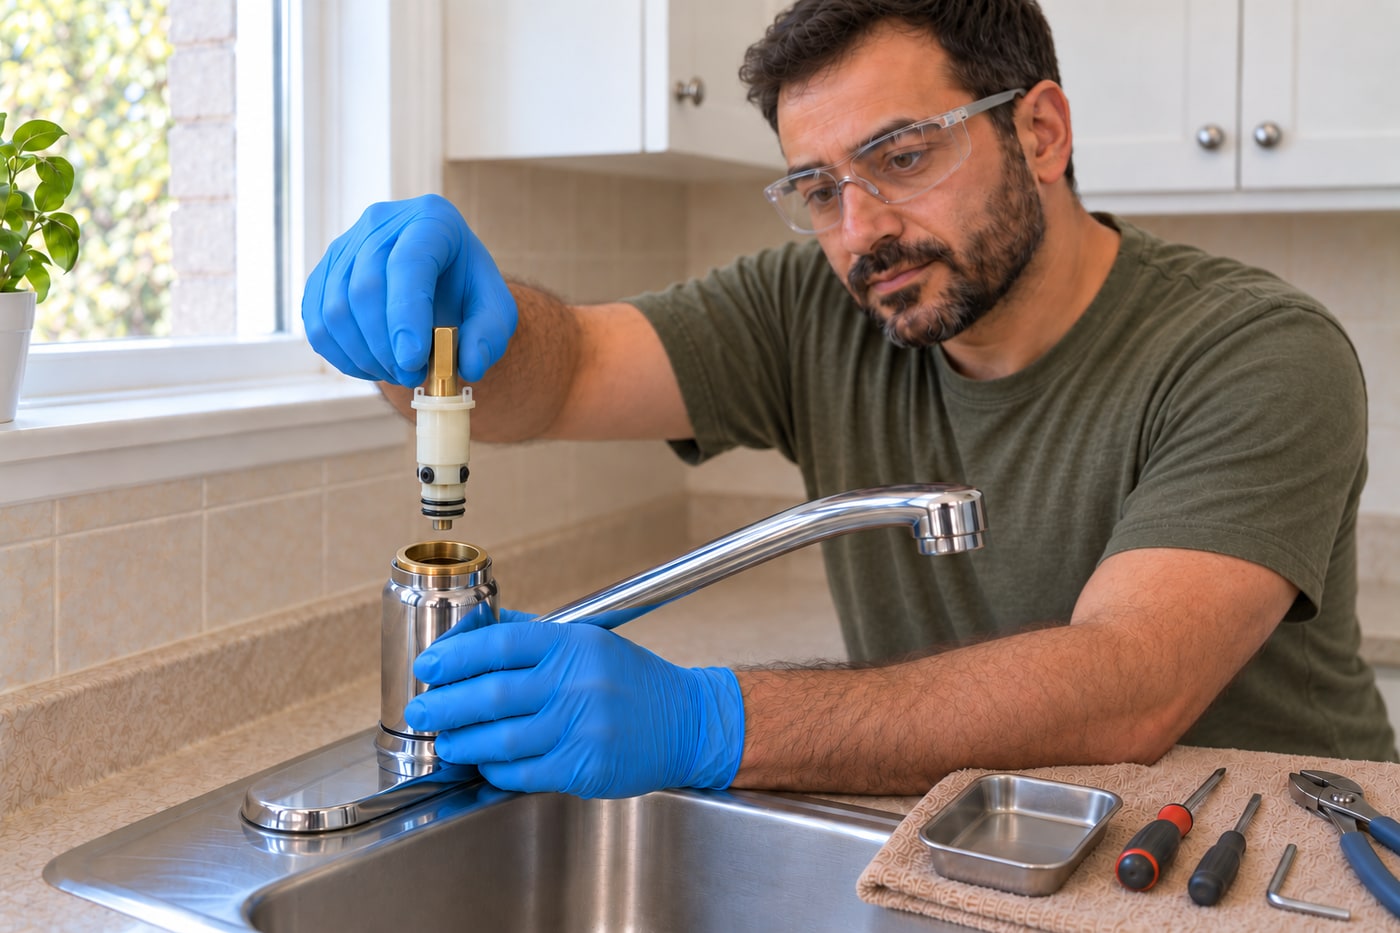
11. Seat the new cartridge and positively retain it with the clip
Use the exact compatible 1225 replacement and its supplied instructions. Do not add petroleum grease or arbitrary sealant; preserve the supplied seal condition and use additional lubricant only when that actual kit directs it. Slide the cartridge into the brass body with its clear locating tabs centred in the corresponding cutouts. Moen’s twisting tool can help press it fully home: the tabs must sit flush. Slide the copper clip completely into its proper path without force. If it will not seat, correct depth and alignment. Once a cartridge is fitted, never restore either supply while its clip is missing, damaged or not fully engaged.
Photorealistic illustration · Waey
12. Restore the matched bearing, nut, D washer and pivot stop
For the chosen white-bearing arrangement, seat the washer’s protruding lip in the groove underneath its retainer nut. Refit the nut squarely. The current matching Adapter guide specifies hand tightening followed by an additional quarter turn using its two flats; follow the actual service-kit instructions and do not import a different nut’s torque or the older sheet’s distance-based wording. Pull the cartridge stem up and set its small notch toward the sink front. Replace the D washer and the same-colour pivot stop with its raised edge uppermost toward the front.
Bronzaclose · CC0 1.0 · Resized and orientation normalized; no AI adaptation. Separate generic bit/recess detail, not a Moen fastener or assembly photograph.
13. Reconnect the adapter and secure its centre screw
Inspect the adapter connector before fitting. For this mechanism, its smaller hole faces upward and its larger hole downward on the metal adapter’s lower bar. Place the assembly over the stem with the tall side of the adapter toward the faucet front. Hold it steady while installing the central Phillips screw securely according to the matched guide; supplied thread treatment can create resistance. Do not add unapproved threadlocker or substitute a random screw. A missing D washer, cracked connector or loose centre screw can leave the handle unreliable even when the cartridge itself seals.
Photorealistic illustration · Waey
14. Refit the pivot retainer, dome and flat-cap handle
Thread the black plastic pivot retainer on straight while holding the adapter in position. Stop and realign it if the threads resist instead of forcing plastic across damaged threads. Align the dome’s notches with the retainer tabs and press it into place. For the selected flat-cap handle, align its inside with the adapter at the front, refit the handle and secure the correct hex screw. Replace the temperature indicator and cap in their proper positions. Move the handle gently with the supplies still off, checking for binding or a handle that does not stay where placed.
Photorealistic illustration · Waey
15. Restore water slowly and check for external leaks
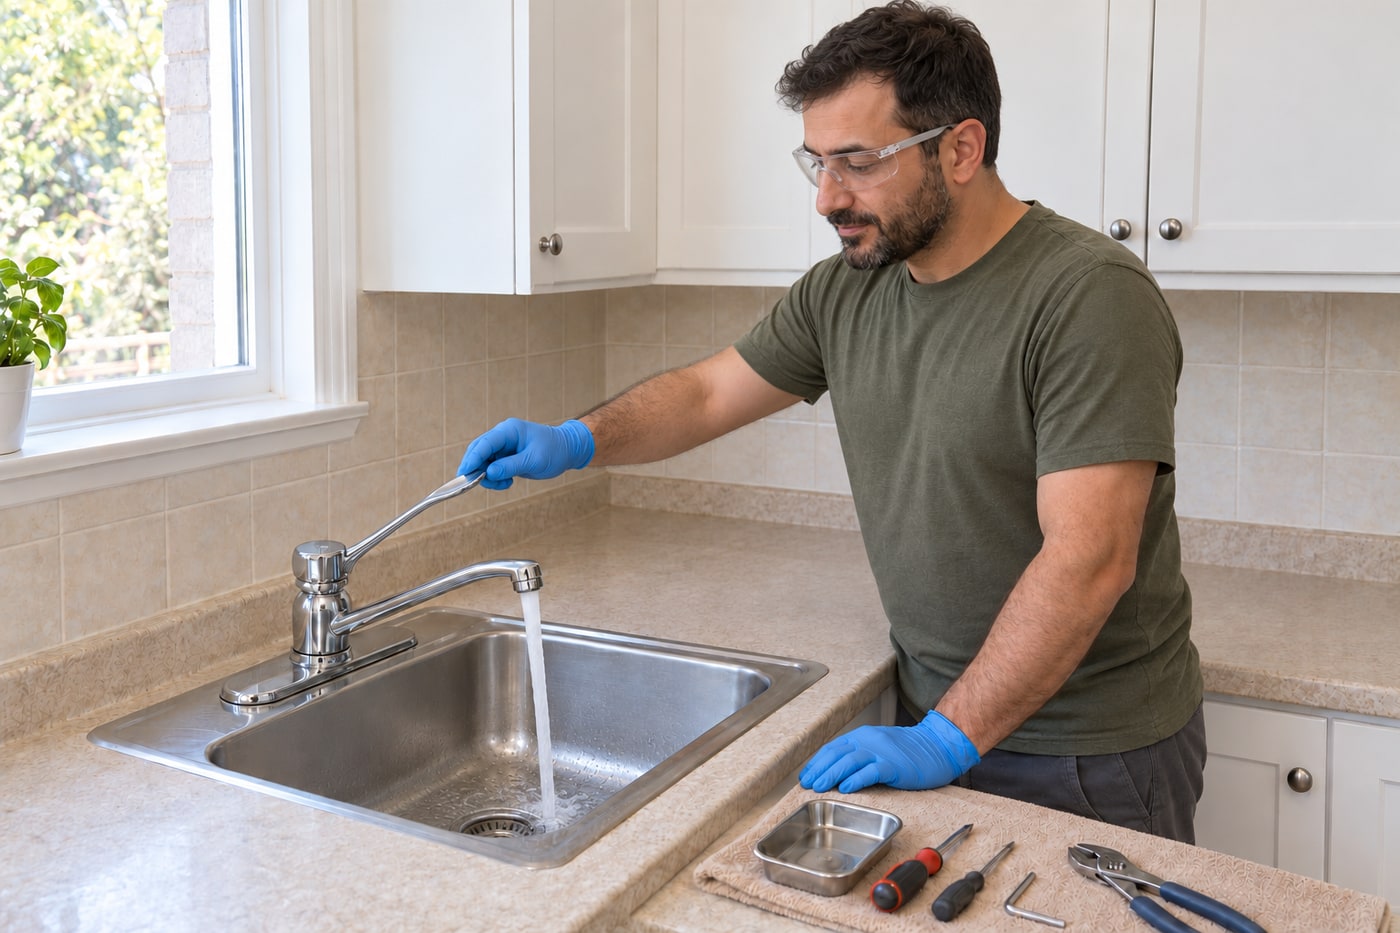
Confirm the cartridge clip is fully seated, the handle is assembled and the sink can drain before restoring water. Set the handle to off and reopen the sound shutoffs slowly to their proper operating positions. Watch the faucet body, base and cabinet while checking for fresh moisture with dry tissue. Open the handle carefully and examine again during flow. If water escapes from a joint or the body, close both supplies and depressurize before investigating. Do not tighten an unidentified live connection harder or treat a leaking spout hub as a cartridge-setting problem.
Photorealistic illustration · Waey
16. Verify hot, cold and volume control before finishing
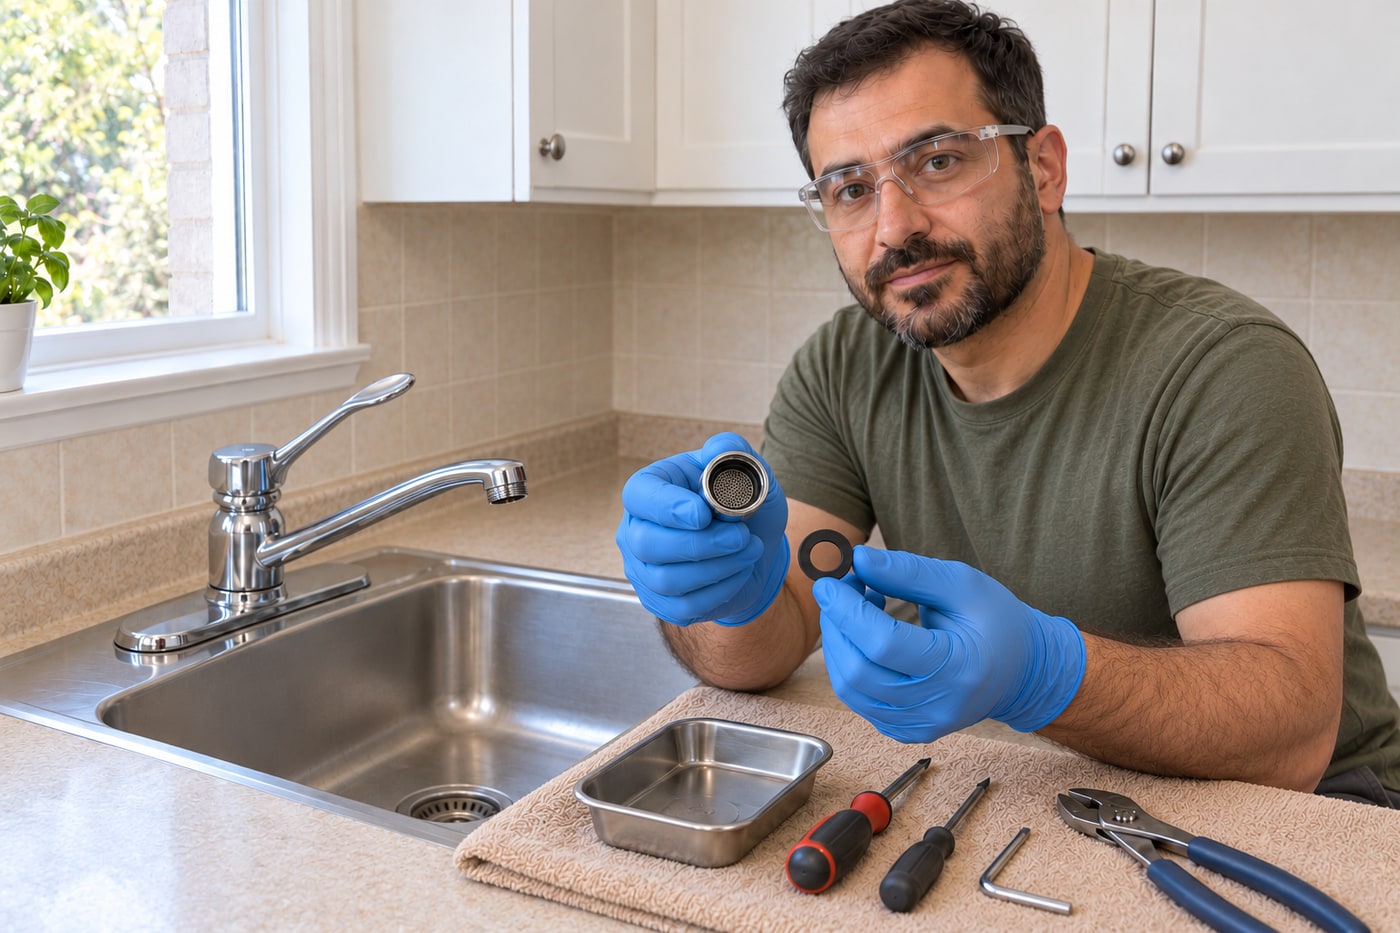
Test the cold side first, then carefully introduce warm water without exposing skin to a scalding stream. Confirm the actual hot and cold directions and that volume changes smoothly. For a verified 1225 with reversed temperature direction, Moen specifies rotating the cartridge stem 180 degrees; isolate and depressurize, remove the necessary handle components and follow that correction procedure. Do not rotate the retained cartridge body arbitrarily or swap supply connections as a shortcut. Reassemble and repeat the check. Stop for uncontrolled temperature, binding, self-closing or unreliable shutoff rather than accepting a merely improved handle.
Photorealistic illustration · Waey
17. Service the matched aerator as part of commissioning
If flow remains distorted, inspect the correct removable 3919-style aerator for this older faucet. Protect the drain and finish, support the spout and use the actual aerator’s removal method; do not force a seized shell with bare pliers. Keep the housing, screen and seal order recorded. Rinse loose debris and replace damaged components with the compatible flow-rated part, preserving any regulator. Do not poke screens larger, substitute a swivel fitting or assume every finish tolerates acid soaking. Refit squarely with its correct seal and check for leakage around the housing.
Photorealistic illustration · Waey
18. Check shutoff again and retain the repair details
Run several complete open-and-close cycles, then let residual spout water drain and confirm that dripping does not continue. Recheck the dry base and cabinet after normal use, including movement of the swivel spout. Clean the chrome with a soft damp cloth rather than abrasive pads or unapproved chemicals. Keep the model/version, cartridge and clip part numbers with the service instructions. A recurring drip, new hub leak or deteriorating shutoff deserves renewed diagnosis. Leave an unresolved leak isolated and arrange the appropriate repair instead of hiding it with repeated handle tightening.
Video demonstrations
Moen 1225 Replacement
Supplier demonstration of 1225 replacement; verify the actual handle assembly and current Moen guide.
Park Supply of America · English
Watch on YouTube ↗Moen Kitchen Faucet 1225 Cartridge Repair or Replacement
Original repair on a Monticello 7730, a different spout/handle model using 1225; do not transfer its complete dismantling sequence.
David Trebacz · English
Watch on YouTube ↗DIY: Moen Faucet Cartridge Replacement and Disassembly
Original flat-cap/adapter repair description with an additional broken connector. Useful assembly comparison; replace only actually damaged matched parts.
4 DIYers · English
Watch on YouTube ↗Final checks
Correct cartridge/fully seated clip, matched retained washers/stop/adapter, smooth hot/cold/volume control, no continuing spout drip or external moisture after repeated use; compatible aerator and retained flow regulator.
Sources
Moen 1225 kitchen cartridge and clip seating ↗
Moen 1200/1225 retaining clip safeguard ↗
Moen AdapterA handle assembly ↗
Moen controlled valve-body cleaning/flushing ↗
Moen 7430 family illustrated parts: select older 1225 version, page 6 ↗
Moen INS111A family diagnosis and handle/spout distinctions ↗
Thirteen original AI-generated photographic illustrations and one real Bronzaclose CC0 photograph, reused at appropriate reverse stages across eighteen steps. The real bit/recess detail depicts a different generic fastener, not the actual faucet assembly. Manufacturer documents were private technical references only; videos belong to their attributed creators.