
Clean a matched top-access shower-trap dip tube
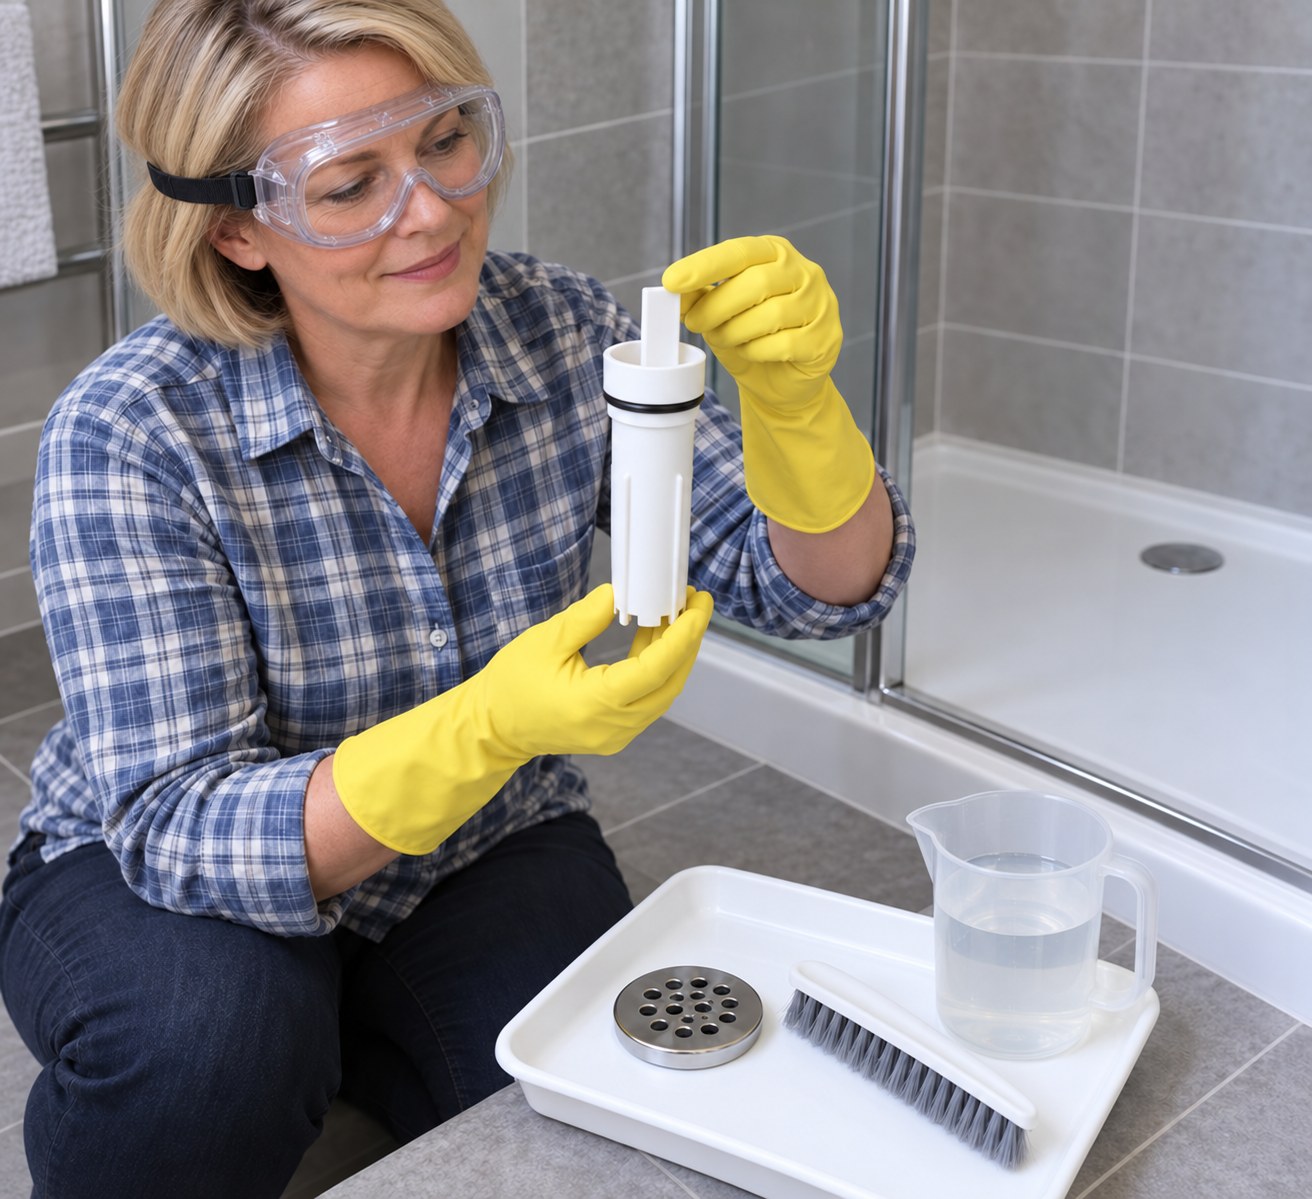
Remove hair and residue from an owner-removable shower-trap insert without disturbing the fixed waste or hidden pipework. Inspect the small sealing ring, refit the matching parts and check drainage with the complete trap assembled.
What will you learn?
Remove hair and residue from an owner-removable shower-trap insert without disturbing the fixed waste or hidden pipework. Inspect the small sealing ring, refit the matching parts and check drainage with the complete trap assembled.
Tools
- Waterproof glovesSearch Amazon Canada ↗
- Splash eye protectionSearch Amazon Canada ↗
- Soft brushSearch Amazon Canada ↗
- Small jugSearch Amazon Canada ↗
- Absorbent clothsSearch Amazon Canada ↗
- Shallow parts traySearch Amazon Canada ↗
- Small rinse basinSearch Amazon Canada ↗
Materials
- Clean cool-to-lukewarm water
- Existing matching removable grid, dip tube and sound O-ring
- Waste bag for removed hairSearch Amazon Canada ↗
- Exact manufacturer-approved replacement seal, only if required before reuseSearch Amazon Canada ↗
Step by step
Photorealistic illustration · Waey
1. Match the trap before removing parts
Find the installed trap’s product information and its owner-maintenance instructions. The worked reference is McAlpine’s STW4-R family with the L-STWR removable grid and twist-out dip tube; a 90mm cup, non-return valve or wetroom gully is a different assembly. Identify the removable cover as item 1 and dip tube as item 2 on the matching diagram. The fixed threaded waste is item 3 and stays sealed to the tray throughout.
Photorealistic illustration · Waey
2. Set up cool, clear working conditions
Turn the shower off, allow hot surfaces and water to cool and tell others not to operate it. Put the parts tray and waste bag within reach and keep a dry standing or kneeling area outside the wet tray. Check for a history of drain-cleaner use before handling trapped water. If chemical residue may remain, stop rather than touching, flushing or mixing it with another product.
Photorealistic illustration · Waey
3. Lift the owner-removable cover only
Remove the decorative grid or cover by the method specified for the identified model and set it in the parts tray. Do not lever against the shower tray, undo fixing screws or turn the fixed waste surround to obtain access. Photograph the original arrangement for your own reference if needed. If the apparent cover will not release gently or the whole fitting moves with it, stop and get the model checked.
Photorealistic illustration · Waey
4. Release the matching dip tube gently
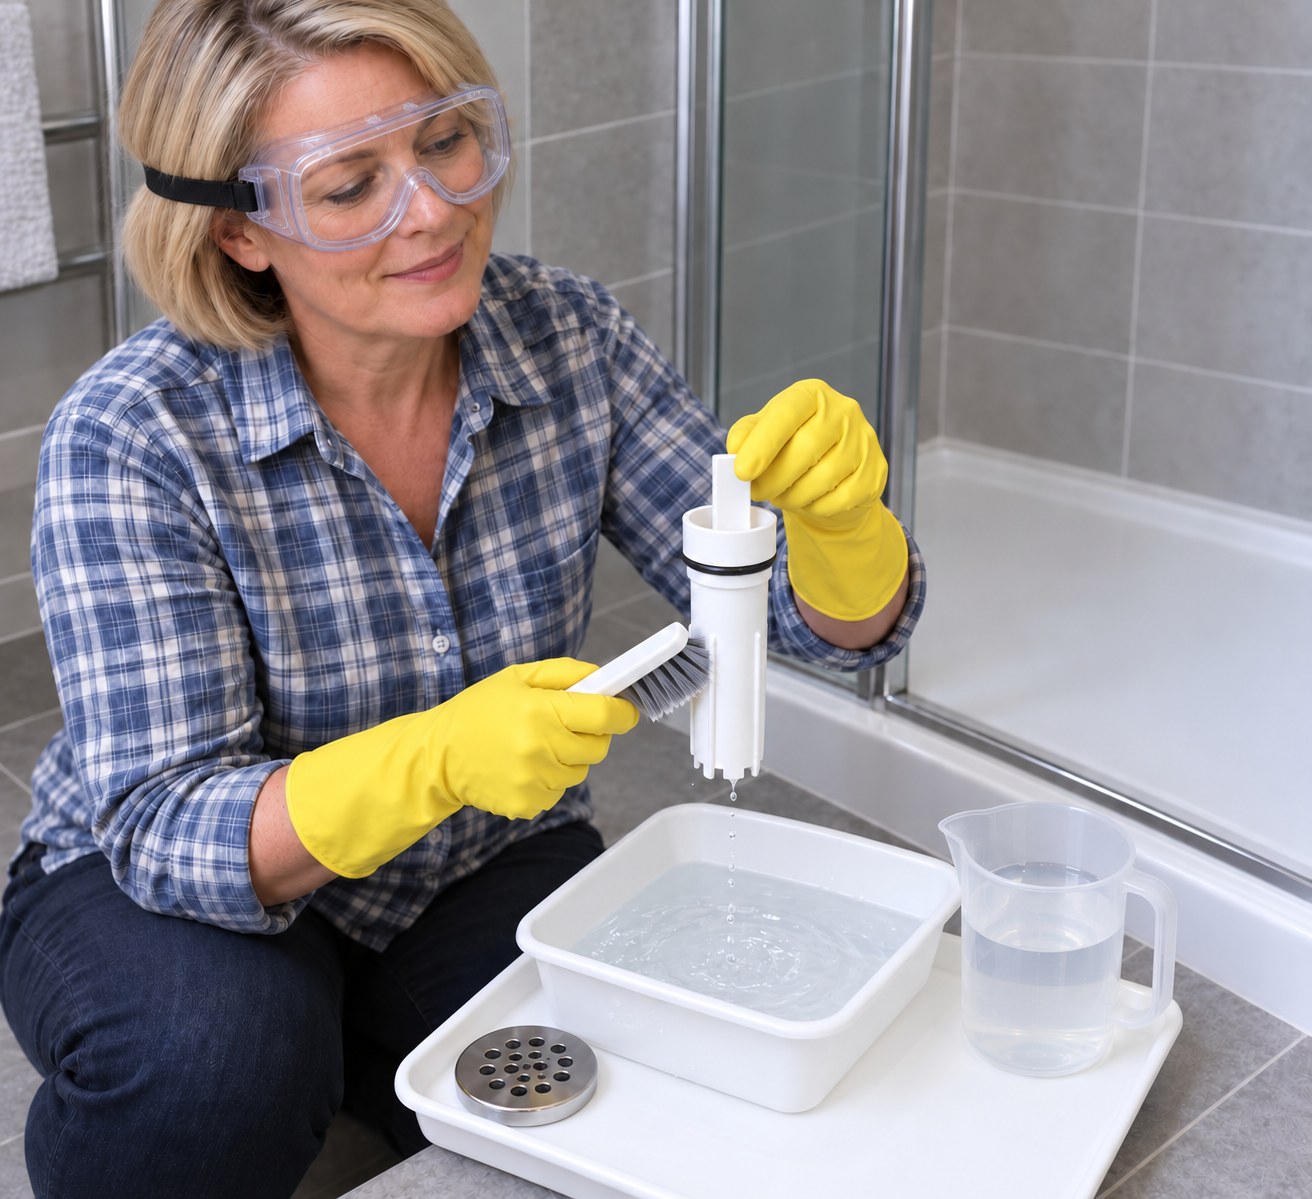
For the L-STWR reference, hold the insert’s intended plastic grip, turn the dip tube anticlockwise and pull it upward as the manufacturer directs. Keep the fixed surround still and use hand force only, without pliers or a screwdriver. Note the O-ring’s groove and the tube’s seating position before moving them out of view. Lay the complete insert in the parts tray; do not drop hair or a loose ring into the waste.
Photorealistic illustration · Waey
5. Remove debris and inspect the small seal
Put accessible hair and debris into the waste bag rather than washing it farther down the drain. Rinse the removable insert and cover with clean cool-to-lukewarm water and a soft brush. Leave a sound O-ring in its groove and avoid stretching, twisting or scraping it. If it is split, flattened, missing or cannot sit correctly, obtain the approved matching replacement before using the shower; do not substitute sealant or a similar-looking loose washer.
Photorealistic illustration · Waey
6. Flush the accessible body without forcing a blockage
With the removable debris collected, pour a small controlled amount of clean water into the accessible trap body as the matching maintenance sheet instructs. Watch whether it drains away before adding more, keeping the water below the tray’s spill level. Do not push a brush, wire or drain rod into hidden pipework. If water backs up, drains remain blocked or there is evidence of a leak, stop and arrange drainage repair rather than flooding the tray.
Photorealistic illustration · Waey
7. Refit the tube and cover in their proper seats
Check that the O-ring is clean, undistorted and in its correct groove, then refit the dip tube using the matching instructions and its original seating arrangement. Do not force a tilted insert, trap debris under its seal or use the cover to drive it into place. Refit the matching grid or decorative cover afterward. Keep every water-seal component installed; leaving the tube out to improve apparent flow defeats the complete trap assembly.
Photorealistic illustration · Waey
8. Test with all parts fitted and know when to stop
Run cool water gently, then increase toward normal shower flow while watching the tray drain with the cover and tube fitted. Stop for rising water, visible leakage or movement at the fixed waste; inspect only safely accessible areas without removing panels or disturbing seals. A test from above cannot prove a concealed joint watertight. If flow improves only when the cover or tube is removed, or smells persist after correct refitting, have a plumber check the installation instead of operating it incomplete. Dry the work area and wash hands.
Watch the method
Cleaning and maintenance of Impey drains
Shows removable drain components in Impey assemblies. These differ from the McAlpine STW4-R reference here. Follow the matching McAlpine maintenance diagram for removal and refitting; do not copy other drain-family disassembly or remove water-seal parts to improve flow.
Impey Showers · English (caption metadata)
Watch on YouTube ↗Final checks
Fixed waste and tray seal remain untouched; the correct O-ring and dip tube are sound and seated; grid/cover is refitted; water drains with the full assembly installed; no visible leak, rising water or persistent odour is accepted as normal.
Sources
McAlpine — L-STWR top-access maintenance instructions ↗
McAlpine —50mm seal resealing shower-trap family, STW4-R ↗
AI-generated representative photographic illustrations by Waey, using only Waey-generated image references. Manufacturer diagrams/part photograph were private research, not public images or generator inputs. External video belongs to its credited creator.