
Organize a dry-food cupboard for easy stock rotation
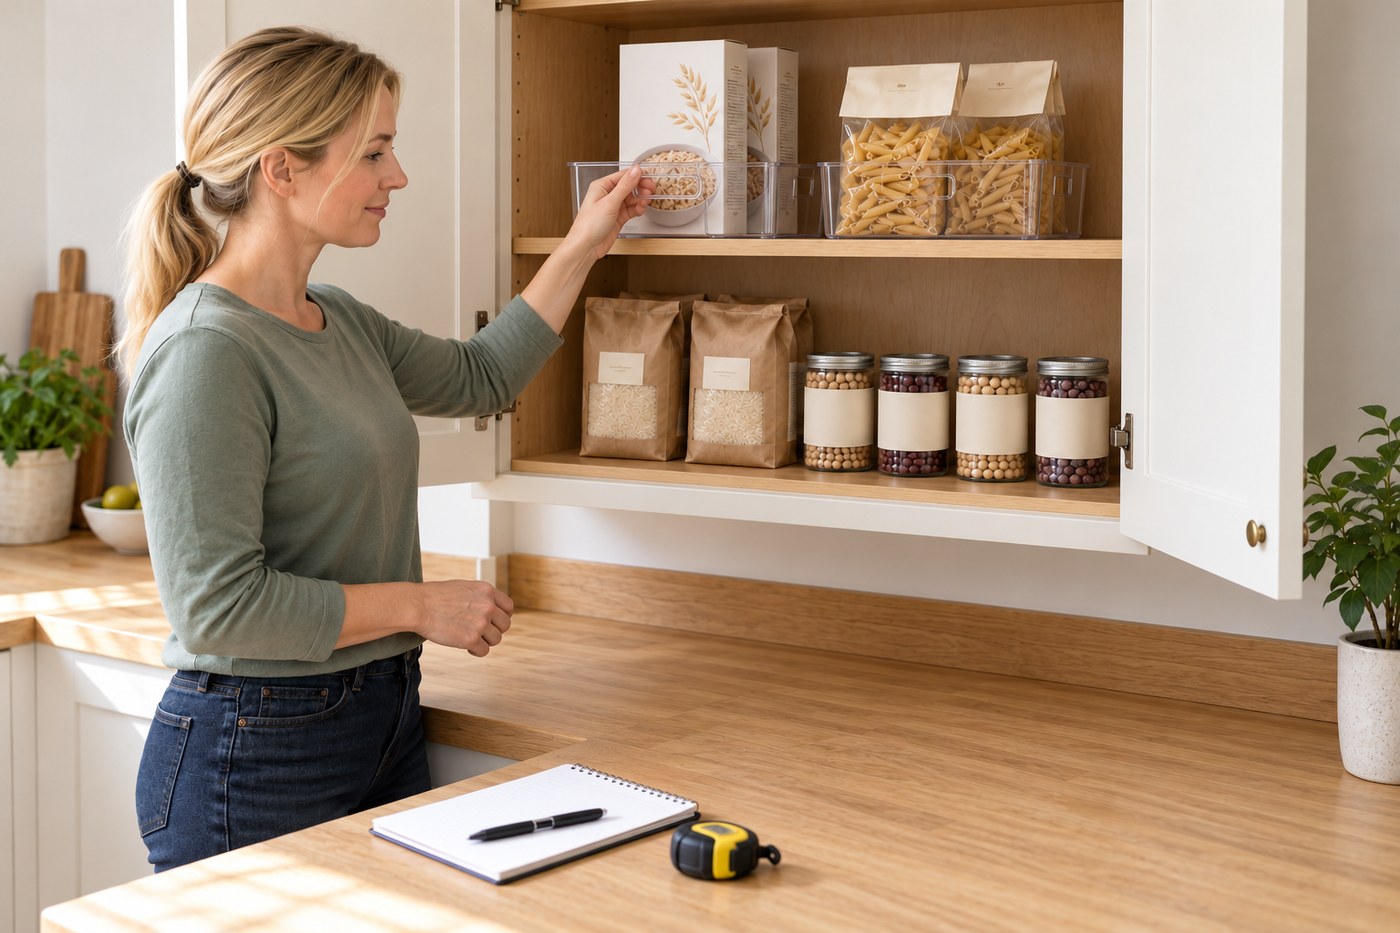
Make one cupboard easier to check, refill and use without buying a wall of matching jars. Keep foods in their labelled packs, fit simple storage zones and put the items needed soonest within reach.
What will you learn?
Make one cupboard easier to check, refill and use without buying a wall of matching jars. Keep foods in their labelled packs, fit simple storage zones and put the items needed soonest within reach.
Tools
- Tape measure or rulerSearch Amazon Canada ↗
- Notebook and penSearch Amazon Canada ↗
- Soft clothSearch Amazon Canada ↗
- Small hand brushSearch Amazon Canada ↗
Materials
- Existing labelled shelf-stable food packets and unopened commercial tins or jars
- Optional shallow wipe-clean organizer binsSearch Amazon Canada ↗
- Optional reusable packet clipsSearch Amazon Canada ↗
- Optional removable shelf labelsSearch Amazon Canada ↗
- Cleaner compatible with the cupboard finishSearch Amazon Canada ↗
Step by step
Photorealistic illustration · Waey
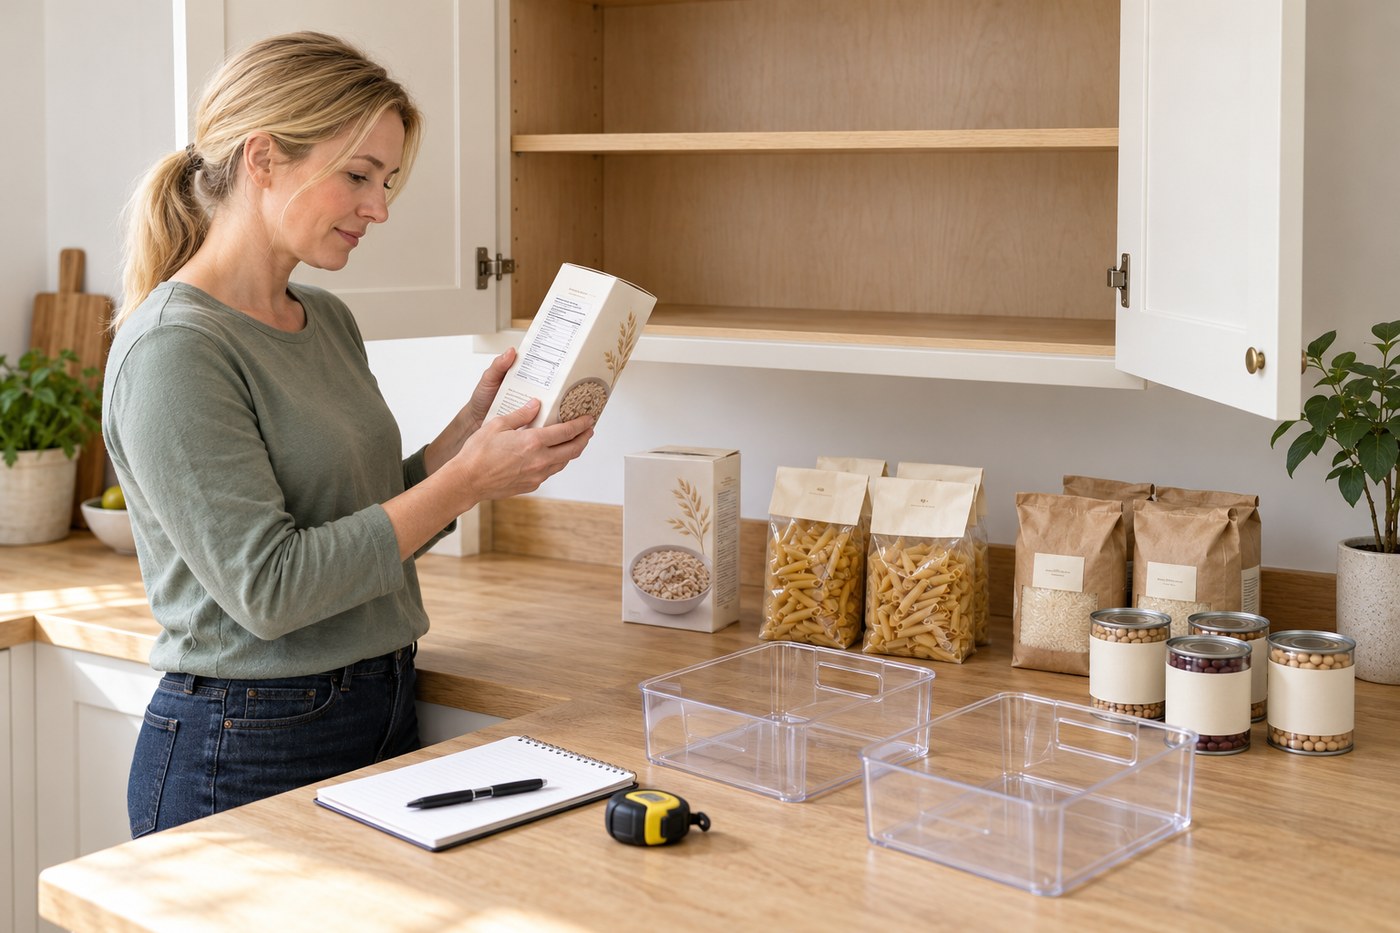
1. Empty one manageable cupboard
Clear a clean, dry worktop and move the cupboard contents onto it one shelf at a time. Keep each food in its original labelled packaging rather than combining similar-looking ingredients. Make a short inventory with product names and quantities. If an item needs refrigeration after opening, move it to the correct storage immediately; a tidy cupboard is not a substitute for its label instructions.
Photorealistic illustration · Waey
2. Check condition and read the dates
Separate packs with leaks, broken seals, dampness, visible mould or insect activity, and do not return them to the cupboard. Reject swollen tins without opening or tasting them. Read the wording beside each date: a UK use-by date concerns safety, while best-before concerns quality when correctly stored. Do not automatically discard sound best-before food solely because that date has passed; inspect it appropriately and follow product guidance. Date wording differs by country; follow the local label and do not treat every date as a UK use-by date.
Photorealistic illustration · Waey
3. Clean and check the empty space
Brush away crumbs and wipe the empty shelves using the cupboard finish’s care instructions. Keep food away until the surface is completely dry and any cleaning product has been removed as its label requires. Check shelf pegs, damage and signs of moisture or pests. Stop and address a leak, loose support or continuing infestation before refilling; do not hide the problem behind new bins.
Photorealistic illustration · Waey
4. Measure the usable shelf opening
Measure clear width, depth and height inside the door opening, allowing for hinges and any door lip. Test an existing shallow bin before buying one: it must slide out without scraping and leave room to grasp the packets. Choose a dry location away from direct sun and strong heat or humidity. Leave heavy stock out if the shelf load rating or support condition is uncertain.
Photorealistic illustration · Waey
5. Give each food group a clear home
Group items by how your household finds them, such as breakfast foods, meal ingredients and unopened tins or jars. Put frequently used packets where they can be reached without moving several others. Use low-sided bins for soft packets that fall over, keeping their names and original labels visible. Do not overfill a bin: it should lift comfortably with two hands and sit fully supported on the shelf.
Photorealistic illustration · Waey
6. Keep packets identifiable and closed
Close opened dry-food packets as directed, using a suitable clip or a lidded outer container if needed to protect them. Keeping the packet inside a container preserves ingredients, allergen warnings, cooking directions and batch information. Mark an opening date when the label gives an after-opening period. Do not mix old and new lots or transfer an unknown ingredient into an unlabelled jar.
Photorealistic illustration · Waey
7. Arrange a use-first row and test access
Within each product group, put the items that should be used soonest at the front and newer replacements behind. Compare dates as well as purchase order, since a new purchase can have an earlier date. Keep all packs upright and stable. Pull out a bin, remove one packet, return it and close the door; adjust the layout if that simple sequence requires balancing tins or forcing the door.
Photorealistic illustration · Waey
8. Build a quick refill routine
Before shopping, check the inventory against the actual cupboard and plan a meal around suitable use-first items. When unpacking groceries, check the storage instructions and place duplicates behind the stock already waiting to be used, adjusting for dates. Leave a little free space for that movement. Regularly remove crumbs and check for damaged packs or dampness, and revise the zones if everyday retrieval keeps undoing them.
Watch the method
Pantry Organization (Quick 15-Minutes!)
A practical demonstration of grouping and arranging packaged food. Follow this guide and local pack labels for date meanings, storage and rotation; the video’s title does not promise a15-minute result.
Home Organizing by Alejandra.tv · Unconfirmed spoken audio; English caption metadata available
Watch on YouTube ↗Final checks
Each item remains identifiable; opened packets close securely; no food shares a zone with cleaning products; bins sit fully supported; the door closes freely; the next item to use is accessible without unstable stacking.
Sources
Illinois Extension — Room Temperature Storage ↗
Food Standards Scotland — Use-by and best-before dates ↗
Montana State University Extension — How can I safely store food at home? ↗
AI-generated representative photographic illustrations by Waey, using only Waey-generated reference imagery. External video remains its credited creator’s work.