
Fit hinged-cap Aerotwin wipers to confirmed hook arms
Replace matched complete front blades with protected glass, continuous arm support, a checked cap lock and a stationary wet wipe test.
What will you learn?
Replace matched complete front blades with protected glass, continuous arm support, a checked cap lock and a stationary wet wipe test.
Tools
- Actual vehicle handbook and matched package/QR installation guideSearch Amazon Canada ↗
- Clean microfiber clothSearch Amazon Canada ↗
Materials
- Matched complete front blade pair with GWB002-style hinged-cap hook adapters; actual vehicle and position fitment confirmedSearch Amazon Canada ↗
- Thick folded towel or suitable glass-protection padSearch Amazon Canada ↗
- Clean water for glass cleaning and a wet testSearch Amazon Canada ↗
Step by step
Photorealistic illustration · Waey
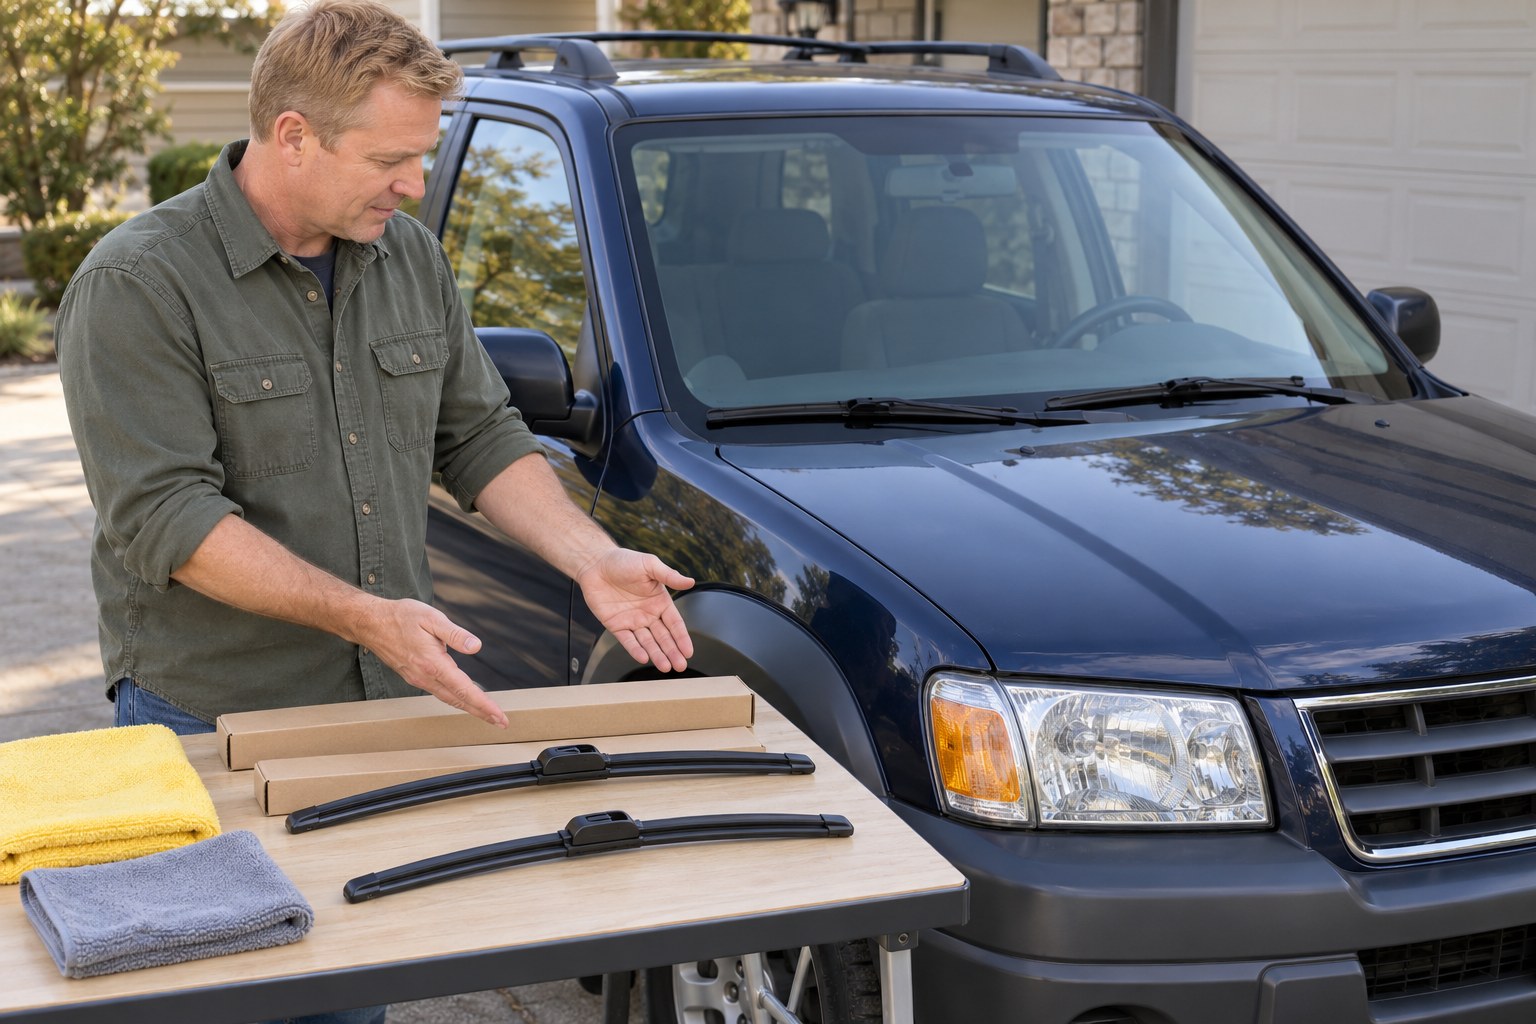
1. Match the car, hook and cap-style adapter
Confirm the vehicle variant, production period, existing hook and current blade package before buying or removing anything. The Bosch 2022 catalogue example for CR-V RD, July 2002–September 2006, lists AR21U 530 mm and AR20U 500 mm; its later KL branch differs. These are reference sizes, not a universal CR-V recommendation. This procedure covers the hinged-cap hook adapter shown in Bosch GWB002. Stop if the vehicle, blade position, connector or supplied diagram differs.
Photorealistic illustration · Waey
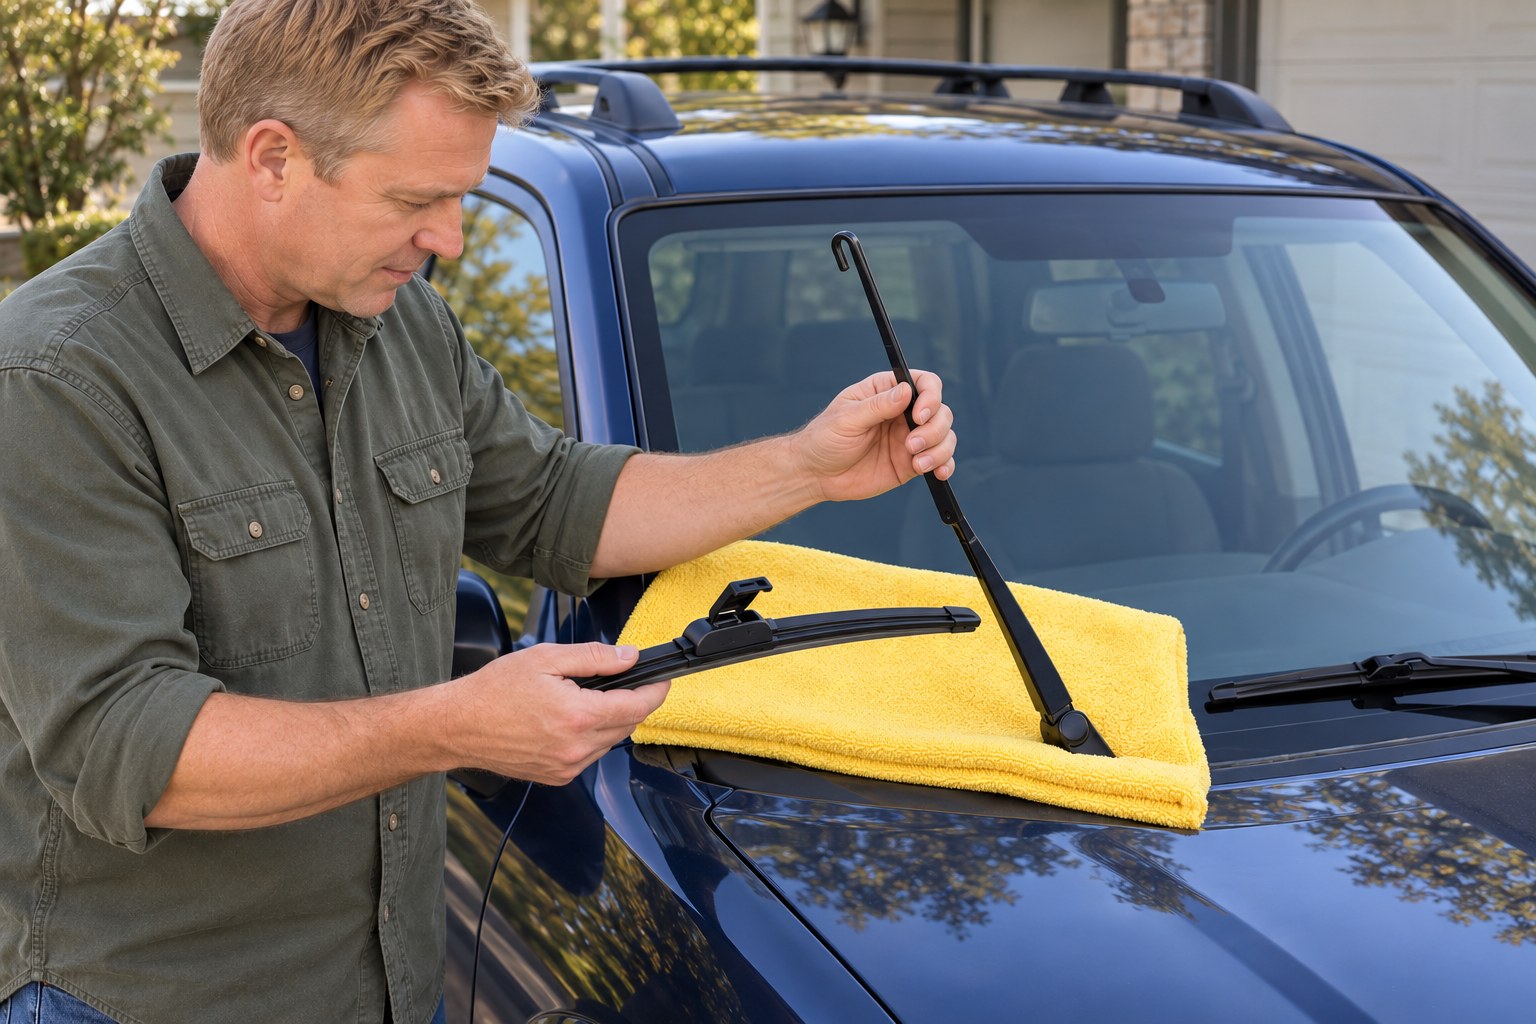
2. Park safely and protect the glass
Park on level private ground, apply the parking brake, switch the wipers and ignition off and keep the key away from the controls. Follow the actual vehicle handbook for access or service position. The reviewed 2004 CR-V handbook shows raising the front arm directly. Work on one side at a time. Place a thick folded towel over the glass beneath the arm’s landing area, and keep hold of the spring-loaded arm whenever its blade is removed.
Photorealistic illustration · Waey
3. Release the old assembly while retaining the arm
Raise the first arm only as allowed by the handbook, supporting it continuously. For the original lock-tab assembly pictured in the 2004 CR-V manual, press its lock tab and slide the complete assembly toward the arm’s base to release it from the hook. An existing Bosch hinged-cap adapter instead needs its own cap-release diagram. Never pry an unidentified latch or let the bare metal arm snap down. Keep the removed assembly clear; this job replaces the whole blade, not its rubber insert.
Photorealistic illustration · Waey
4. Open the new adapter and seat the hook
Keep one hand securely on the raised arm above the protected glass. On the matched GWB002-style new blade, squeeze the cap release points and swing the hinged cover open as shown in the package diagram. Guide the arm’s J-hook through the adapter opening, then draw the blade outward along the arm until the hook seats fully around the adapter’s retaining feature. Keep the blade aligned and use hand pressure only; a mismatched hook must not be forced.
Photorealistic illustration · Waey
5. Close the cap and check secure attachment
With the hook seated, rotate the hinged cover back into its closed position until it locks as the matched diagram shows. Inspect that the cap sits fully closed and the hook is contained correctly. Hold the arm and give the blade a gentle retention check; it must not slide off or open. If the cap will not close or anything feels loose, stop and recheck the exact parts. Do not rely on the generated illustration to prove engagement.
Photorealistic illustration · Waey
6. Complete the other side and lower carefully
Clean the glass under the first blade with a clean damp microfiber cloth, keeping control of the arm. Remove the protective towel from that landing area and lower the secured blade gently onto the clean glass. Repeat the protected, one-at-a-time replacement for the other side using its own matched length. Keep both arms lowered before moving any controls. Remove packaging, cloths and loose parts from the windshield and cowl, and confirm neither blade fouls the trim or the other arm.
Photorealistic illustration · Waey
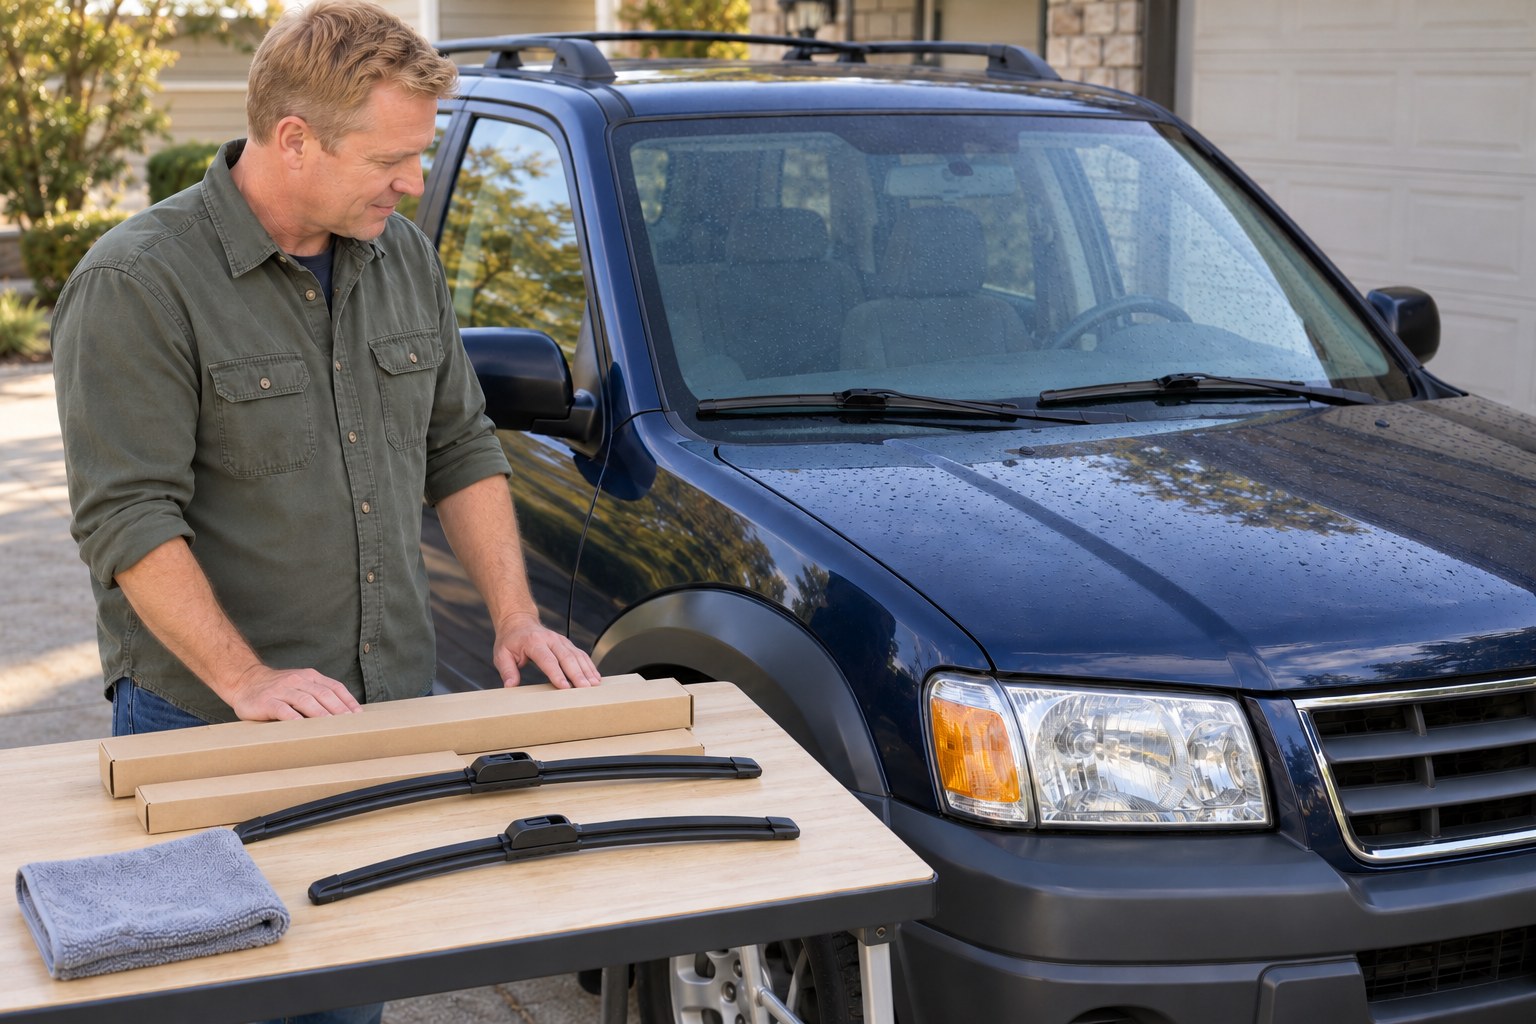
7. Perform a stationary wet wipe check
Return the wipers to their normal operating position using the vehicle handbook if a service position was used. Wet the windshield with clean water or the vehicle’s suitable washer system, then, with everyone’s hands and all cloths clear, operate a brief stationary wipe. Check smooth travel, clear sweep and secure attachment, then switch off and inspect again. Stop for scraping, collision, looseness or poor visibility; resolve the fitment or obtain professional help before driving. Never test the blades dry or use driving speed to confirm attachment.
Video demonstrations
Bosch Wiper Blades Assembly Instructions GWB002
0:10actualopencap and0:20hookseat context viewed; no wholeAV claim. 0:30extraattempt failedstrictlocator duepreviewvideo, excluded.
boschwiperblades · No captions advertised; speech not assessed. Diagramdemonstration, noArabictranslationclaim.
Watch on YouTube ↗Bosch Wiper Blades - Hook Installation Video II-1-002
Actual0:20shows sameopen-cap/hookseatinggeometry, usefulolderdemonstration. Retailerfittingpage embedsitbutcreatorisBosch, notindependentretailerproduction. 0:40samplebeyond31sduration failedandexcluded.
boschwiperblades · No captions advertised; speech not assessed.
Watch on YouTube ↗Final checks
Matching hook and cap-style parts; glass protected and arm retained during removal; cap fully closed and blade retained; both blades lowered, cloths removed and stationary wet wipe satisfactory.
Where to find supplies
Matched hinged-cap GWB002 hook adapter only. Confirm current vehicle, arm and blade position using the actual package/catalogue; the 2022 RD example is not universal fitment. KL, side-pin, GWB016, GWB069, BMW E46 special branch and OEM rubber-only insert replacement require their own procedure. Honda-authored viewer pages were read; the blocked OEM PDF was not byte-verified.
Sources
Bosch July 2024 replacement safety and glass protection ↗
Bosch 2022 catalogue, A13 hook dimensions and B55 CR-V variant reference ↗
Bosch GWB002 hinged-cap hook adapter mounting pictures ↗
Honda-authored 2004 CR-V handbook, printed page 189, actual public-viewer page reviewed ↗
Three original generated contextual images reviewed individually and as a final JPEG sequence: parked parts preparation, continuously retained hook arm over a folded towel with new blade separate, and lowered blades on wet glass. Reuse is explicit across seven complete steps. Exact vehicle identity, blade lengths, arm geometry, latch internals/engagement, actual retention and wipe performance are not certified by these pictures; matched vehicle/package diagrams and physical checks govern. The open-cap image is preparation, not a fitted-latch demonstration. No manufacturer diagrams or video frames were generation inputs; private references are not public assets.