
Charge an ML4 lantern and check its modes and transport lock
Set up the matched ML4 with its approved 14500 cell, dry 5 V magnetic charging, white/red controls and a verified transport-lock cycle.
What will you learn?
Set up the matched ML4 with its approved 14500 cell, dry 5 V magnetic charging, white/red controls and a verified transport-lock cycle.
Tools
- Compatible 5 V USB power sourceSearch Amazon Canada ↗
- Dry lint-free cloth for contact inspection if neededSearch Amazon Canada ↗
Materials
- Matched standard white-light ML4, product 502053, with its matched quick guideSearch Amazon Canada ↗
- Original or explicitly ML4-approved Ledlenser 14500 rechargeable cellSearch Amazon Canada ↗
- Supplied magnetic USB charging cableSearch Amazon Canada ↗
Step by step
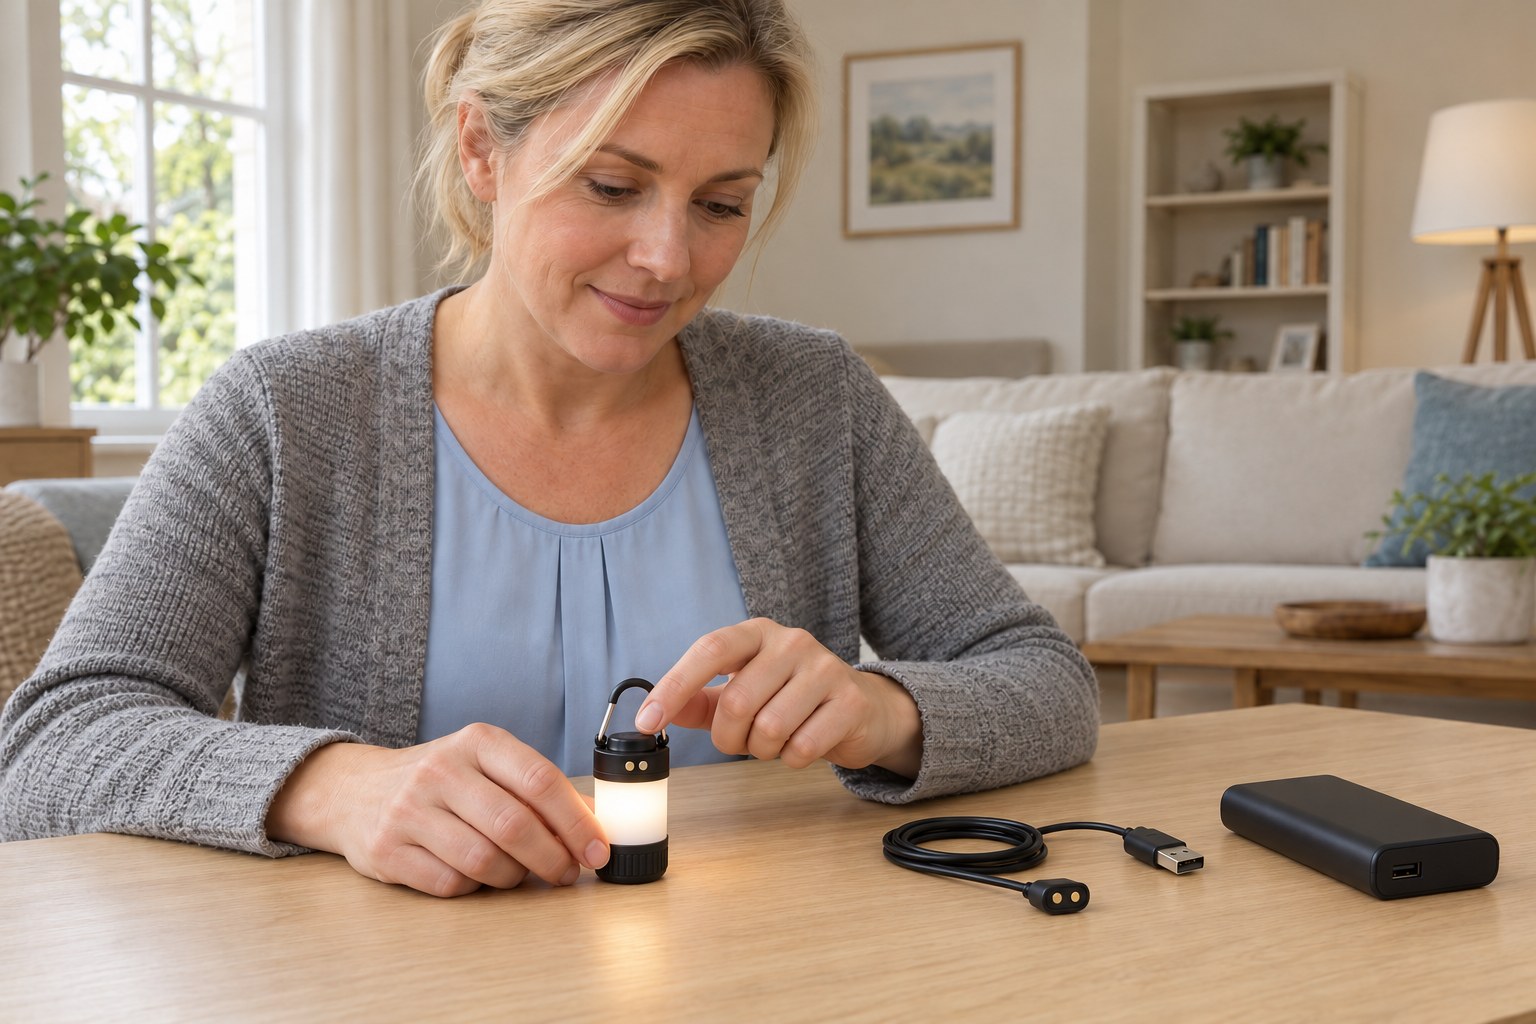
Photorealistic illustration · Waey
1. Match the lantern, battery and guide
Confirm the standard white-light ML4, product 502053, and compare its body and controls with the supplied guide. This procedure follows the V.03 quick-guide diagrams. Inspect the closed lantern, original magnetic cable and approved Ledlenser 14500 rechargeable battery; do not charge an unidentified cell. Use a dry stable workspace, away from heat and metal debris. Stop for damage, swelling, unusual heat or wet contacts, and obtain manufacturer help before continuing.
Photorealistic illustration · Waey
2. Check the original cell and close the base
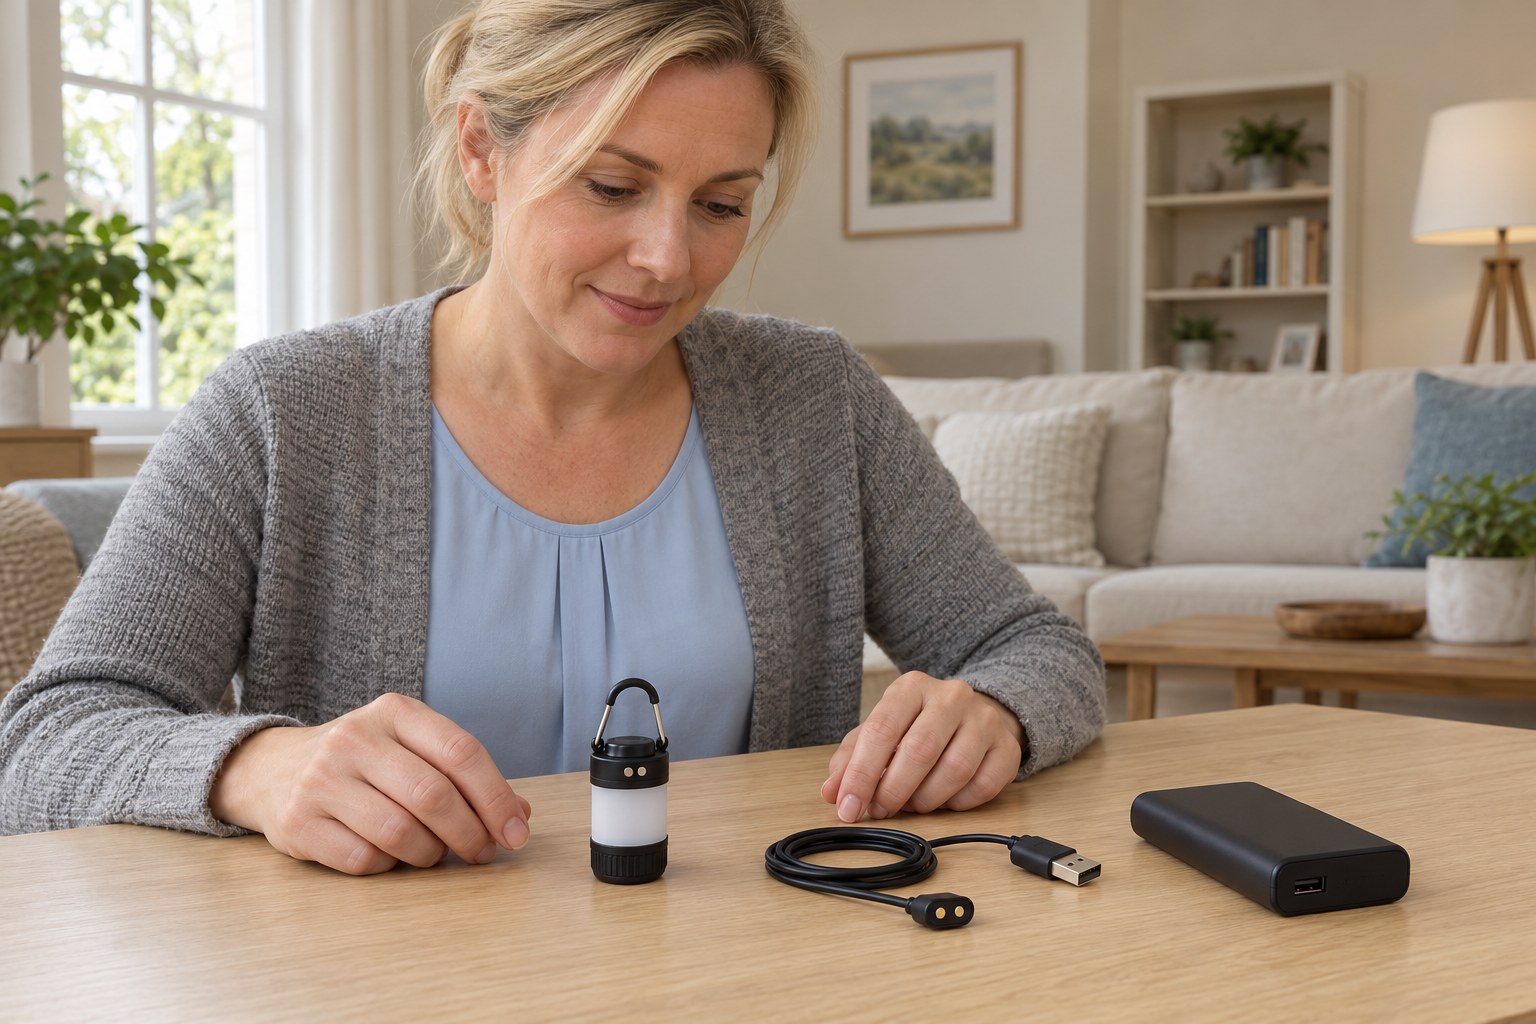
Disconnect the charging cable and switch the lantern off before opening the battery compartment if a cell check is needed. For the approved 14500, the manufacturer specifies inserting the negative end first, leaving the positive end toward the bottom cap. Follow the actual compartment marks and matched closure diagram; the V.03 guide includes the final cap engagement. Do not force a mismatched cap, substitute a generic cell or connect the charger with an AA installed.
Photorealistic illustration · Waey
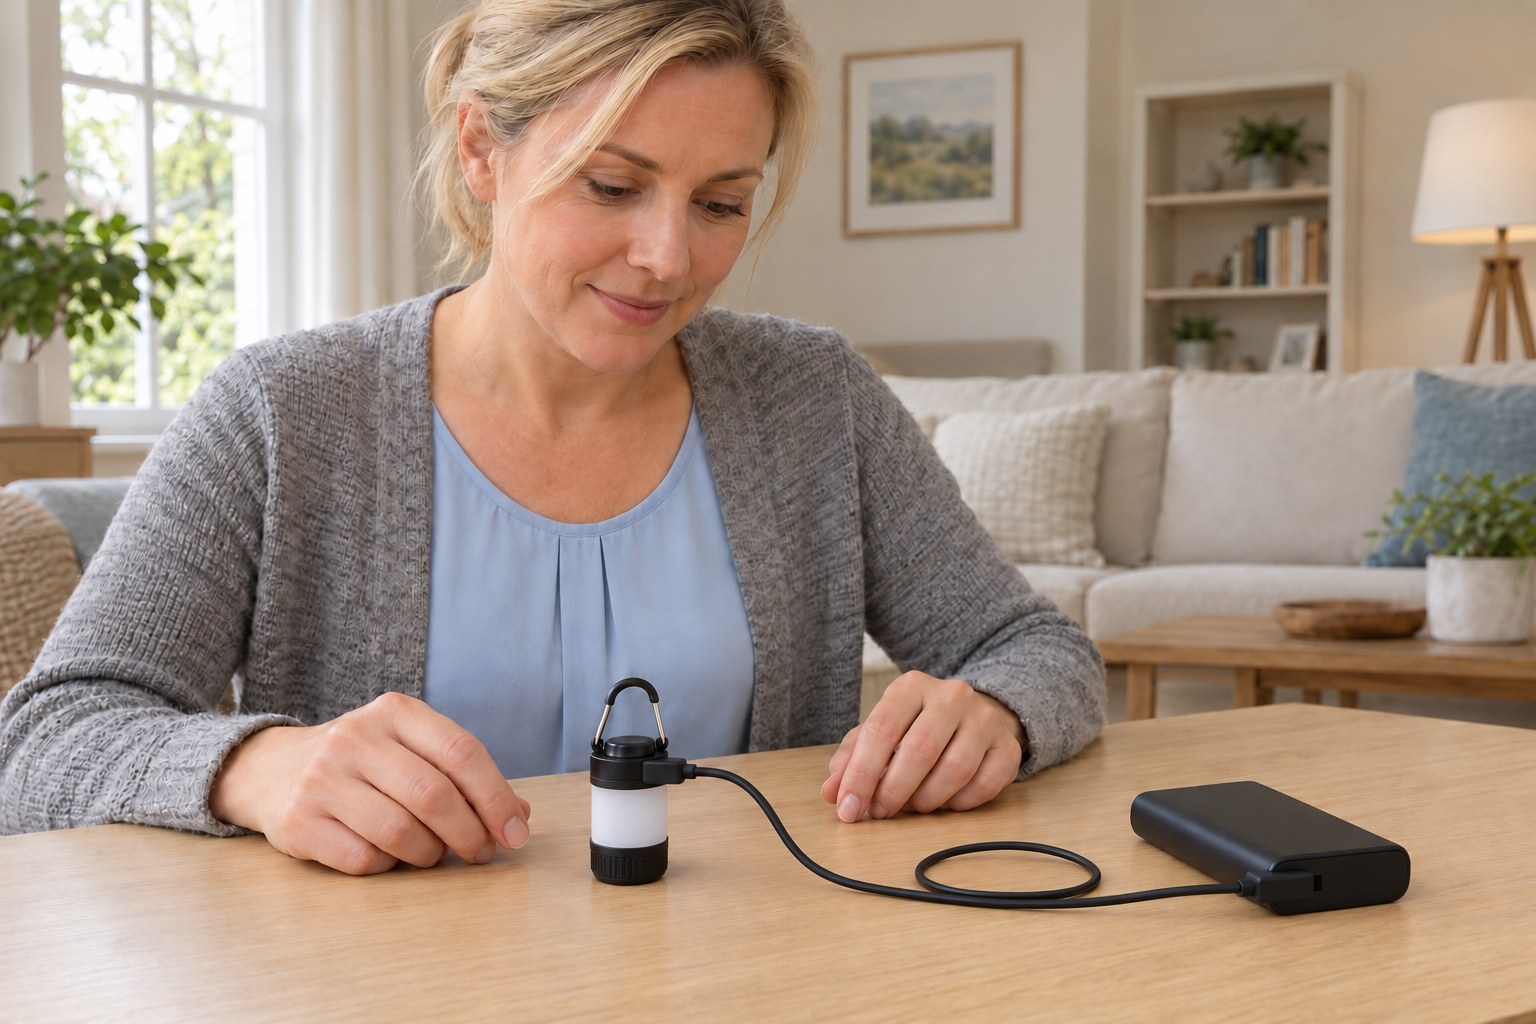
3. Charge with the lamp off and check the indicator
Keep the diffuser off and attach the supplied magnetic head to the paired contacts on the upper side collar. Connect the USB end to a sound 5 V source, with the cable loose and the lantern stable. The guide shows red while charging and green when complete. If it continuously flashes red/green, disconnect and check the battery orientation, type and clean dry contact fit; do not repeatedly force charging. Stop for unusual heat. Disconnect the cable after charging.
Photorealistic illustration · Waey
4. Check the steady white-light levels
With the charging cable disconnected, press the top button once from off to select low white light. Further presses within five seconds step to mid power and power, then blink. Use the steady levels for this check. After leaving a level unchanged for more than five seconds, press once to switch off. Check the actual response rather than judging a setting by a photograph or expecting a claimed runtime.
Photorealistic illustration · Waey
5. Try red mode and return to white
With the light on, hold the top button for three seconds to switch between white and red mode, then release it. In red mode, quick presses within five seconds step through low, power and blink. Use a steady setting and avoid shining the light into anyone’s eyes. Leave it for more than five seconds and press once to turn off. Return to your preferred colour using the same matched hold control.
Photorealistic illustration · Waey
6. Choose a stable tabletop position
Set the lantern upright on a dry stable surface away from the edge, with the diffuser unobstructed and no fabric covering it. Choose a comfortable steady level and keep it away from direct eye viewing, heat and water during this indoor setup. Keep the disconnected charging lead safely aside. The integrated hook is not used for load-bearing attachment here, and this guide does not test outdoor weather resistance or guarantee illumination performance.
Photorealistic illustration · Waey
7. Test transport lock and unlock before packing
Start with the lantern off and disconnected. Hold the top button for five seconds until the four confirmation flashes indicate transport lock, then check that a short press does not leave the main light on. Hold for three seconds to unlock and confirm the four flashes, then test normal lighting once. Switch off and reapply transport lock for carrying. Store the lantern cool and dry, and follow Ledlenser’s battery-care guidance for longer storage.
Video demonstrations
HOW TO USE Ledlenser ML4 (English)
Official how-to video visually sampled at0:10 for ML4/ML6 size distinction and0:30 for the ML4 top control/red-mode context. The178mm label belongs to the larger ML6; it is not an ML4 dimension. Exact matched QUG controls timing; no night-vision or full audiovisual claim.
Ledlenser Global · English on-screen text/title; no caption tracks listed, speech not fully assessed
Watch on YouTube ↗Ledlenser ML4 (English)
Official product video visually sampled at1:00 for actual body/cell-access and rechargeable-battery context. This is not proof of cell polarity, charging completion or a runtime claim. Dark0:30 promotional frame, attachment shots and presenter-only frame not used as procedural evidence. No full audiovisual assessment.
Ledlenser Global · English ASR caption track listed; speech not fully assessed
Watch on YouTube ↗Final checks
Correct approved cell and cap closure; upper contacts aligned; normal charge indication; cable disconnected; white/red controls checked; transport lock/unlock confirmed; final safe off/locked state for carry.
Where to find supplies
Matched standard ML4/V.03 branch; other revisions, Warm Light and ML6 need their own supplied guide. AA fallback, boost, flash signalling, hanging installation, power-bank output and weather tests are outside this setup. No numeric runtime, colour-temperature or night-vision guarantee.
Sources
Ledlenser UK matched ML4 product 502053 and supplied parts ↗
Manufacturer UK-linked ML4 quick guide V.01, actual diagrams compared ↗
Ledlenser approved 14500 3.7 V /750 mAh listsML4 compatibility ↗
Manufacturer ML4-specific red/green charge warning and negative-first orientation ↗
Manufacturer battery-care guidance ↗
Manufacturer2026 rechargeable-product charging safety notice ↗
Three original generated illustrations reviewed individually and as final JPEG sequence: closed-lamp preparation, corrected upper-contact charging context and disconnected top-button context. Preparation is reused for cell/cap/siting checks and the button picture for white/red/transport-lock checks. Internal cell orientation, cap engagement, electrical rating, charge indicator, completion, exact timing, colour temperature and actual lock state are not certified by images; matched diagrams/actual labels govern. One charging candidate with the connector beside contacts and incompletely inserted USB was rejected and corrected. Manufacturer diagrams/video frames remain private and were never generation inputs.