
Staple a fabric practice sample with a manual Arrow T50
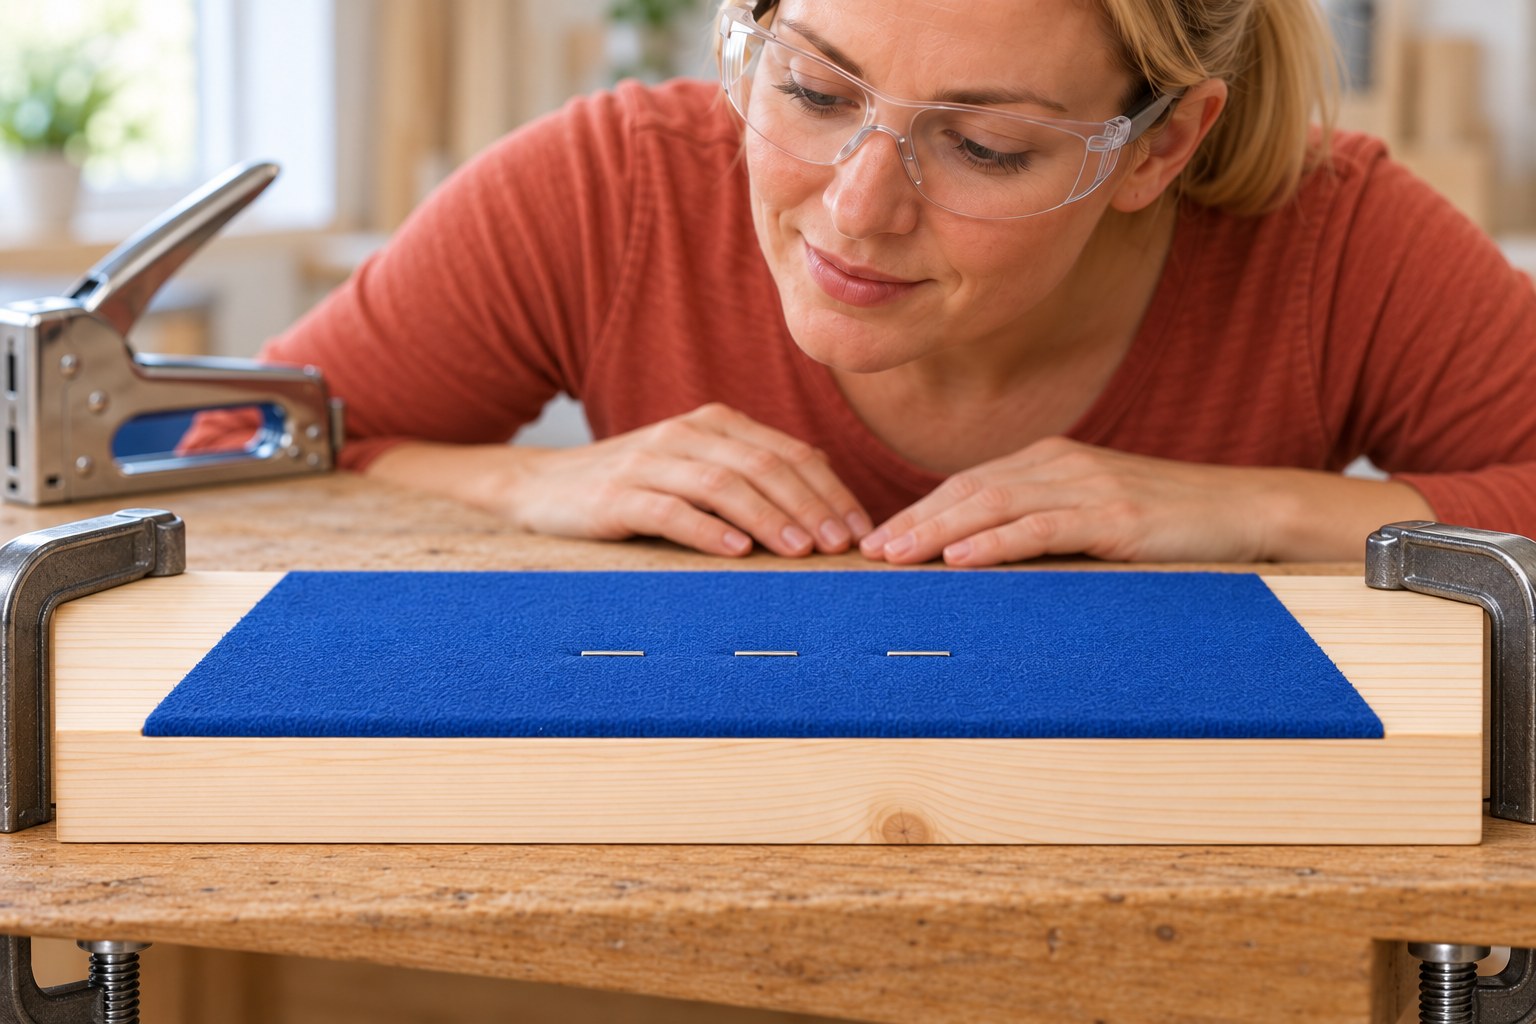
Load a classic manual Arrow T50, fasten a thin fabric practice sample to thick softwood, inspect the result, and unload safely.
What will you learn?
Load a classic manual Arrow T50, fasten a thin fabric practice sample to thick softwood, inspect the result, and unload safely.
Tools
- Classic chrome manual Arrow T50, exact rear-pusher versionSearch Amazon Canada ↗
- Safety glassesSearch Amazon Canada ↗
- Two suitable wood clampsSearch Amazon Canada ↗
- RulerSearch Amazon Canada ↗
- Dry clothSearch Amazon Canada ↗
Materials
- Genuine T50 staple strip,6mm legs for this thin sampleSearch Amazon Canada ↗
- Thin fabric offcutSearch Amazon Canada ↗
- Sound softwood scrap at least20mm thickSearch Amazon Canada ↗
Step by step
Photorealistic illustration · Waey
1. Inspect the manual tool and prepare safely
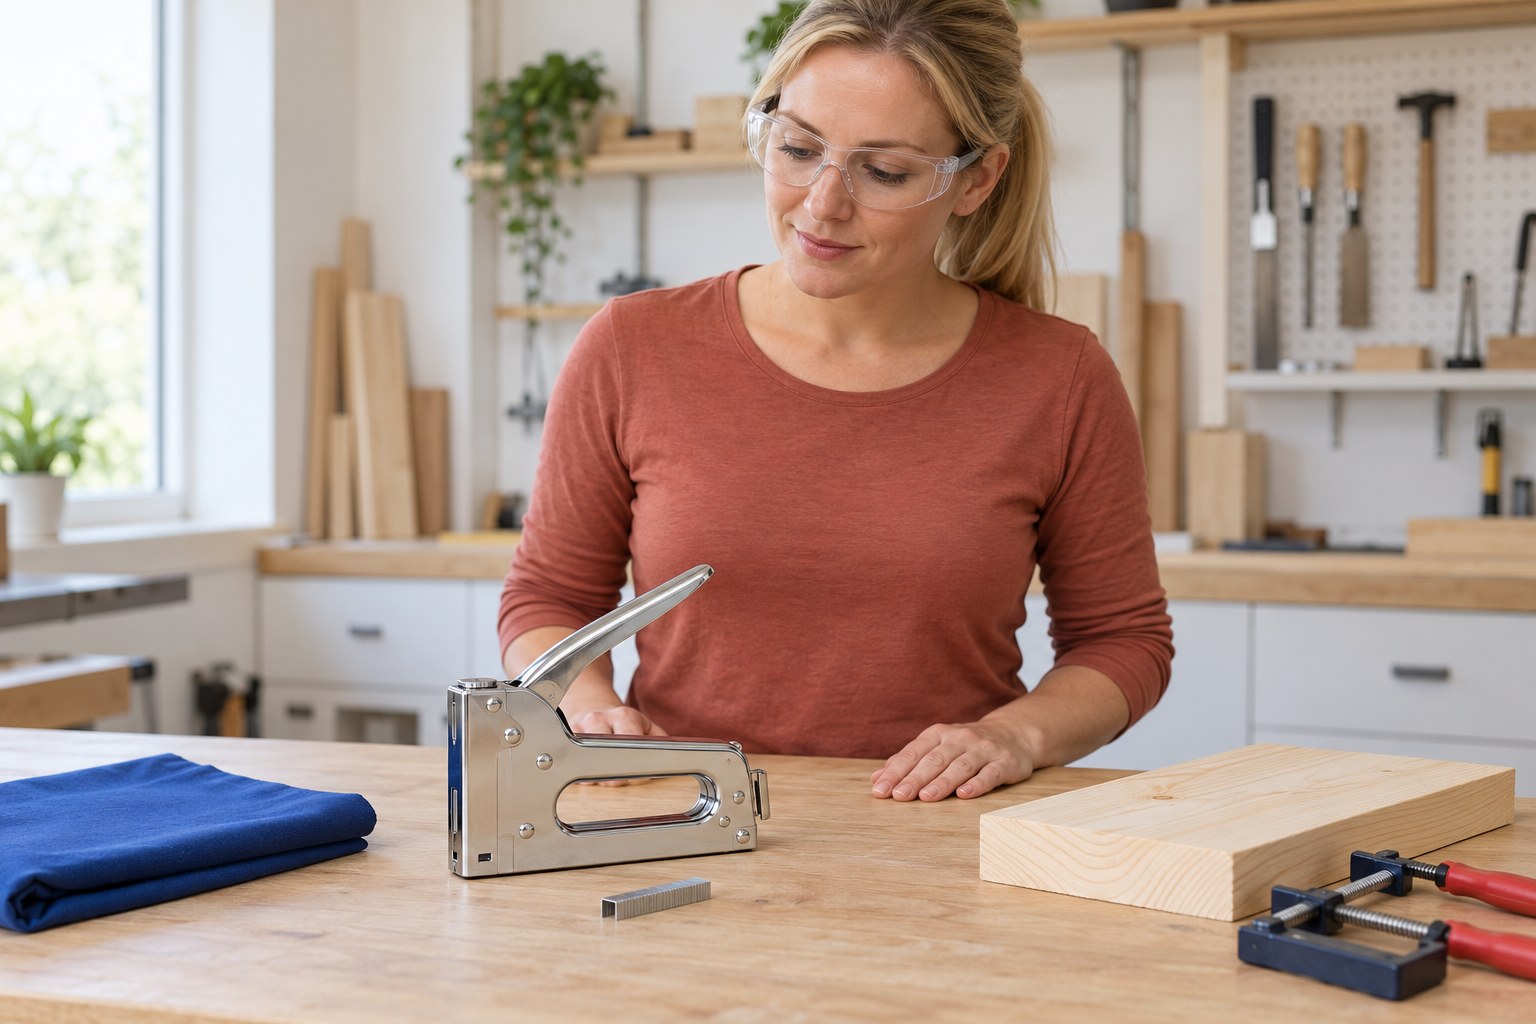
Use the classic chrome Arrow T50 manual staple gun with the rear pusher rod shown in the linked loading sheet. Put on safety glasses and clear the bench. Keep the nose pointed away from everyone, and leave the squeeze handle alone while inspecting or loading. Stop for loose, bent or damaged parts. Keep children away; this task uses no electrical, pneumatic or battery-powered stapler.
Photorealistic illustration · Waey
2. Choose the scrap and staple length
Use a thin fabric offcut and sound softwood scrap at least 20 mm thick, without nails, cracks or hidden wires. Start with genuine T50 staples with 6 mm legs for this small practice piece. Check the actual thicknesses so no leg can emerge underneath. Staple choice depends on fabric thickness and wood hardness; the test determines seating, and this sample is not a structural fixing.
Photorealistic illustration · Waey
3. Withdraw the rear pusher rod under control
Keep your hand clear of the nose and do not squeeze the operating handle. Release the rear pusher latch as shown in the loading diagram, then draw out the spring-loaded pusher rod while controlling it with your fingers. Do not let it spring toward your face. Set it safely on the bench and check the open loading channel for the correct model. Stop if it will not release normally.
Photorealistic illustration · Waey
4. Insert the staple strip and relatch the rod
Slide one straight strip of the selected T50 staples into the rear channel with its legs down toward the discharge side, following the sheet and manufacturer loading video. Do not mix sizes or force a bent strip. Reinsert the pusher rod carefully until its rear latch is fully retained. Keep the nose away from people throughout. Do not test-fire into the air to check whether the tool is loaded.
Photorealistic illustration · Waey
5. Clamp the fabric and wood on the bench
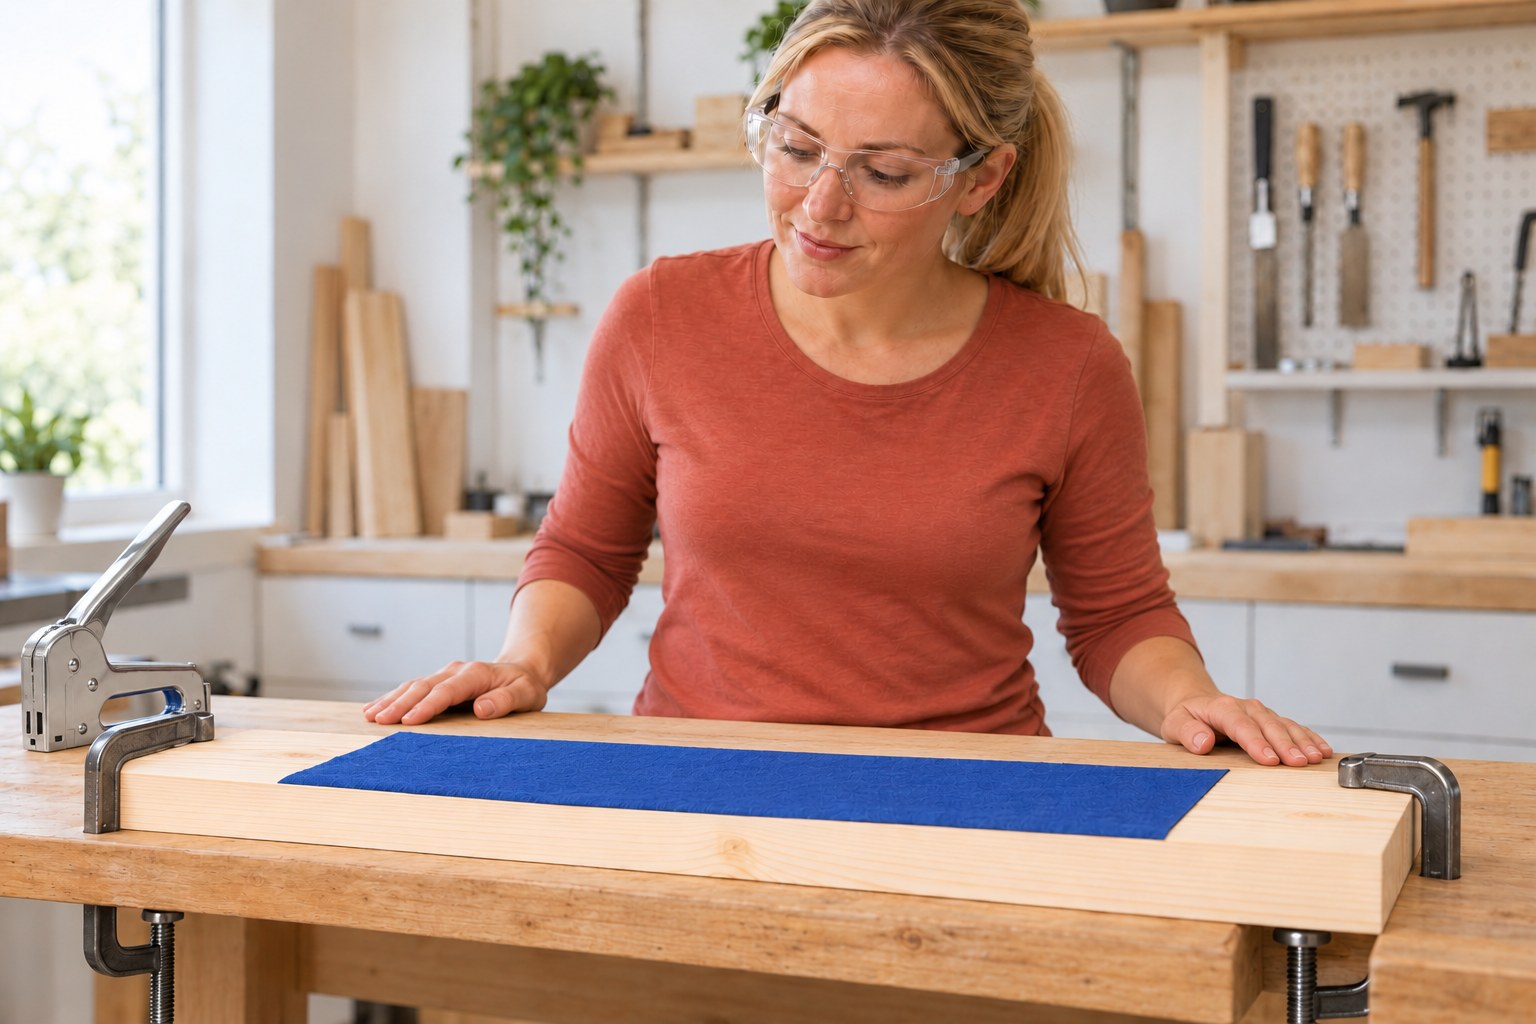
Lay the fabric flat over the scrap and clamp the wood securely to the bench with the intended staple area clear of the clamps. Keep the planned line away from edges, splits and existing metal. Check underneath before firing; no hand, body part, cable or object should be in the staple path. Arrange the work so both hands can operate the tool without holding the fabric near its nose.
Photorealistic illustration · Waey
6. Drive one test staple and inspect it
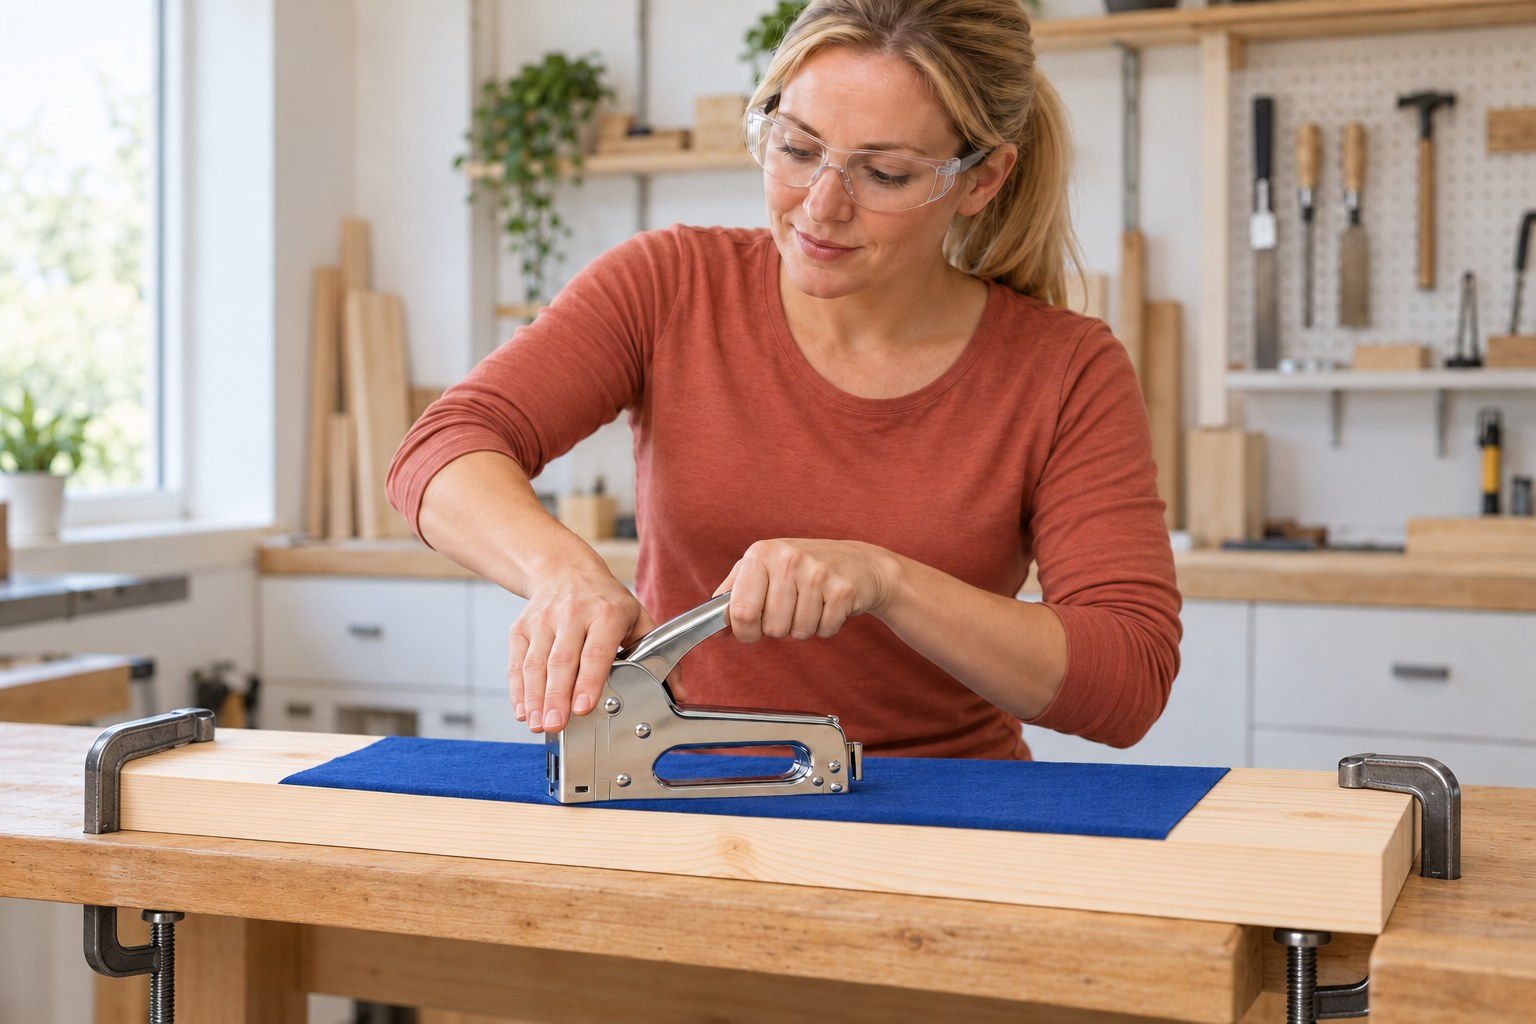
Place the discharge nose firmly on the test spot through the fabric, with hands on the intended grips and clear of the nose. Follow the matched manual’s technique: maintain pressure on the front to resist recoil, allowing the rear to sit slightly raised, then squeeze the handle once in control. Release fully before lifting. Check for a seated crown, intact fabric and no projecting legs underneath. Stop if the tool misfires or jams.
Photorealistic illustration · Waey
7. Complete the small sample without forcing the tool
If the test staple seats correctly, add a short row of separate staples while keeping the clamps secure and the nose clear of your other hand. Reposition only after fully releasing the handle. Stop for proud, bent or loose staples, tearing fabric or split wood. Do not keep firing onto a faulty staple or hammer the tool. Unload before changing staple size, and use approved service support for a jam or damaged mechanism.
Photorealistic illustration · Waey
8. Unload and store the tool safely
Keep the handle untouched and the nose pointed safely away. Control and remove the rear pusher rod, then remove the unused strip from the loading channel without putting fingers at the discharge opening. Confirm the channel is empty and refit the rod; if staples remain trapped, stop and seek approved service rather than probing the nose. Gather loose staples, dry-wipe the exterior and store the unloaded tool securely out of children’s reach.
Video demonstrations
How to Load Arrow’s T50 Staple Gun
Arrow shows the classic T50 rear-loading channel and pusher rod. Follow the matching loading sheet and keep the handle untouched during loading.
Arrow Fastener · English automatic captions listed; speech unverified
Watch on YouTube ↗How To Use Arrow’s T50 Heavy Duty Staple Gun
Arrow’s video includes the T50 staple-size chart and rear pusher. Its electric-tool montage is separate from this manual-tool exercise.
Arrow Fastener · English automatic captions listed; speech unverified
Watch on YouTube ↗Final checks
Sample held securely; staple crowns seated without fabric cuts; no bent staples or underside projections; tool unloaded and stored safely.
Where to find supplies
Other Arrow models need their own manual. This is a small nonstructural practice sample, not a furniture repair or cable-fastening guide. Stop for jams and obtain approved service.
Sources
Manufacturer-authored T50 loading sheet PMT50HPK-8 REV215, distributor-hosted ↗
Original generated instruction illustrations created for Waey. Videos belong to their credited creators.