
Repair a light impact mark in Pergo laminate
Prepare, colour-match, fill, level and finish a small cosmetic mark using the matched repair kit.
What will you learn?
Prepare, colour-match, fill, level and finish a small cosmetic mark using the matched repair kit.
Tools
- Matched kit melter, supplied filler applicator and cleaning combSearch Amazon Egypt ↗
- Supplied grey and green/white finishing padsSearch Amazon Egypt ↗
- Soft floor brush or suitable vacuum attachment; clean microfibre clothSearch Amazon Egypt ↗
- Controlled pointed tool for loose fragments and grain detailSearch Amazon Egypt ↗
- Heat-resistant tool rest/work tray compatible with the melter instructionsSearch Amazon Egypt ↗
Materials
- PGREPAIR wax sticks matched through the actual laminate decor matrixSearch Amazon Egypt ↗
- Batteries specified by the actual melter manualSearch Amazon Egypt ↗
- Manufacturer-compatible local cleaner only if needed; follow actual labelSearch Amazon Egypt ↗
Step by step
Photorealistic illustration · Waey
1. Confirm that the damage is cosmetic
Identify the actual Pergo laminate floor and its decor code before choosing the PGREPAIR kit and colour chart. This method fills a small, local impact mark in a stable, dry plank; it does not restore a swollen core or broken locking joint. Examine the surrounding surface and stop for dampness, softness, lifted edges, movement or extensive damage. Keep the repair away from expansion gaps and moving joints. If the floor or damage cannot be identified confidently, ask the flooring supplier before applying heat or filler.
Photorealistic illustration · Waey
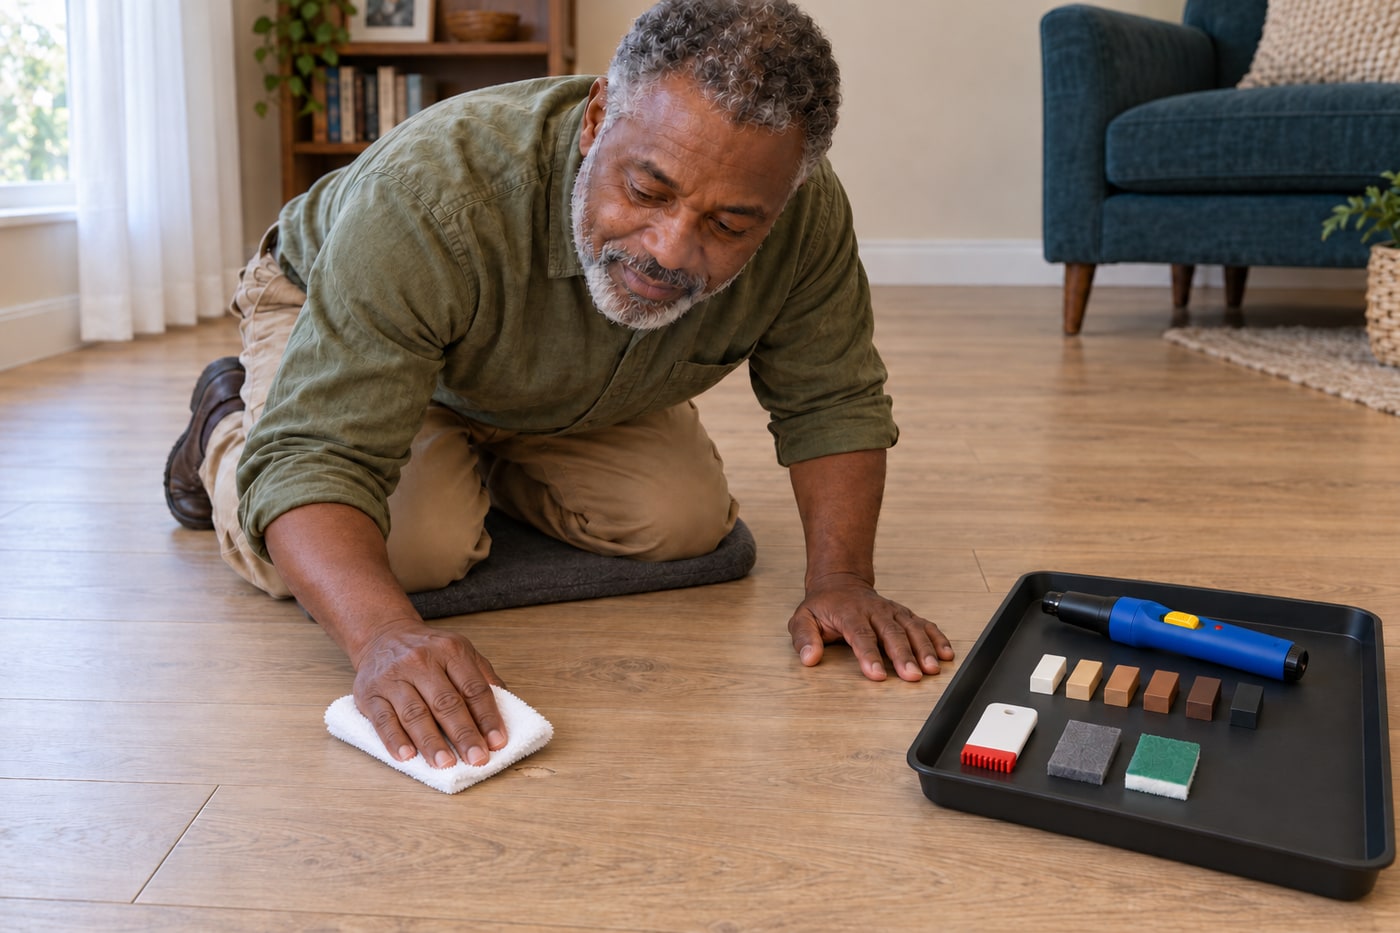
2. Clean and dry the repair recess
Remove loose grit with a soft floor brush or a vacuum fitted with the appropriate soft parquet attachment. Clean the local mark using the floor manufacturer's compatible cleaning method, then leave it completely dry and free from grease. Remove only loose or protruding fragments with a controlled pointed tool, keeping your other hand out of its path. Do not enlarge the mark, scrape intact decoration or flood the recess. Cleaning prepares adhesion; covering dirt or damp fibres with coloured wax will conceal the cause rather than produce a sound cosmetic fill.
Photorealistic illustration · Waey
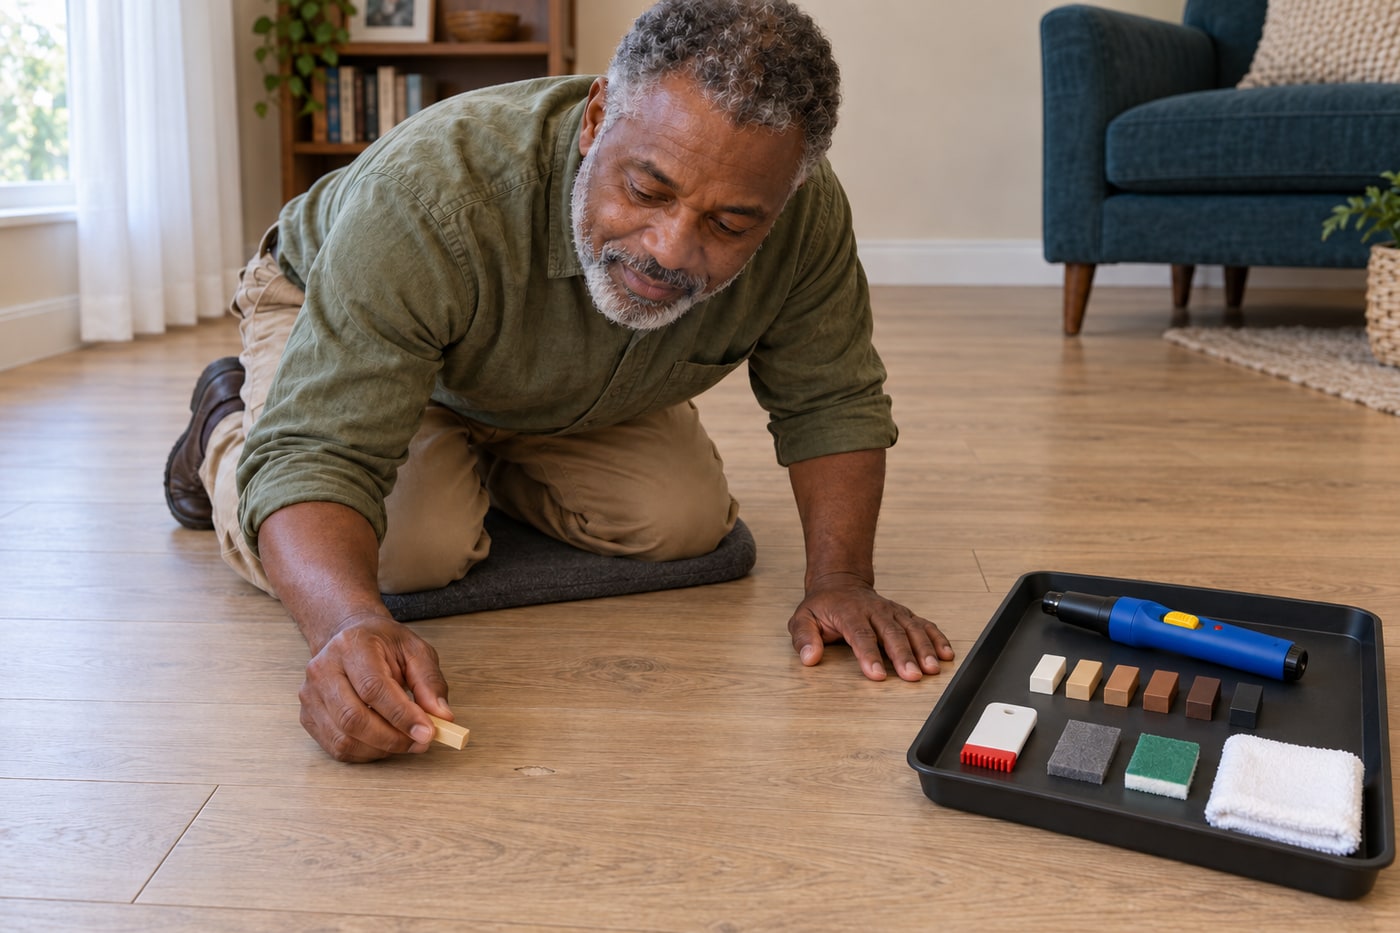
3. Plan the colour blend and prepare the melter
Use the matching matrix for the actual laminate decor, beginning with its starter colour and adding small amounts of the listed darker colours. Bracketed shades can change the mixture strongly; they are not fixed equal portions. Compare a cooled trial blend beside the undamaged pattern in the same light before committing to the recess. With the melter switched off and cool, check its tip and fit the batteries specified by the actual tool instructions. The selected 2025 Pergo sheet specifies three AA cells; do not transfer that requirement to a different melter.
Photorealistic illustration · Waey
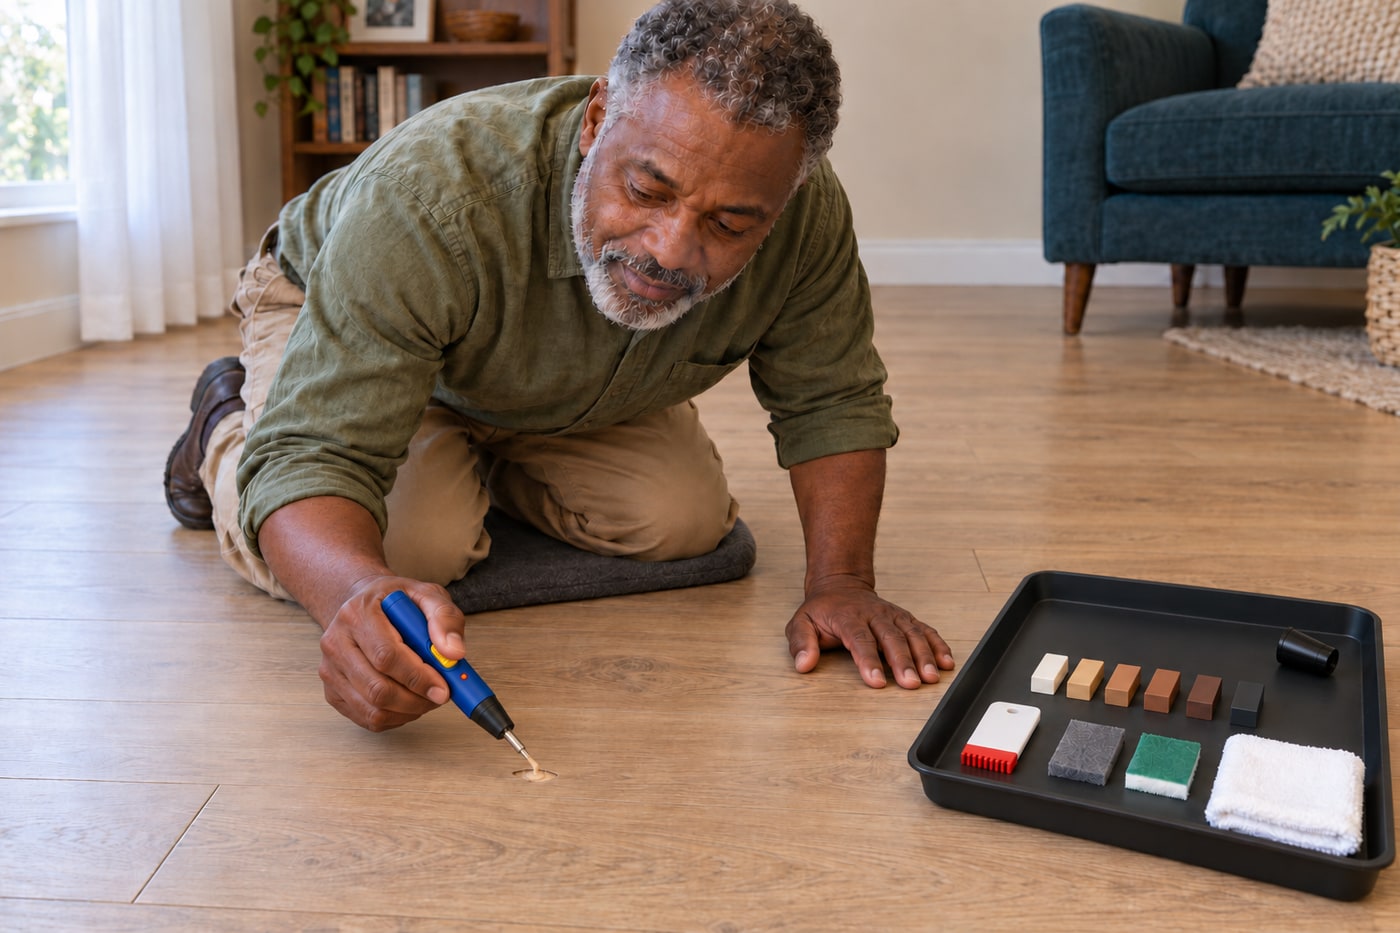
4. Melt small portions and slightly overfill
Keep children and pets outside the work area and place the tool only where its hot tip cannot touch skin, flooring or combustible material. Follow the matched melter's controls: the selected guide describes the yellow switch, blue heating button and red indicator, with initial heating around ten to fifteen seconds. Melt small portions of the chosen wax and let the blend flow into the prepared mark, slightly above the surface. Work in short intervals, release heating if wax smokes, and never substitute a flame or heat gun or cool the tool in water.
Photorealistic illustration · Waey
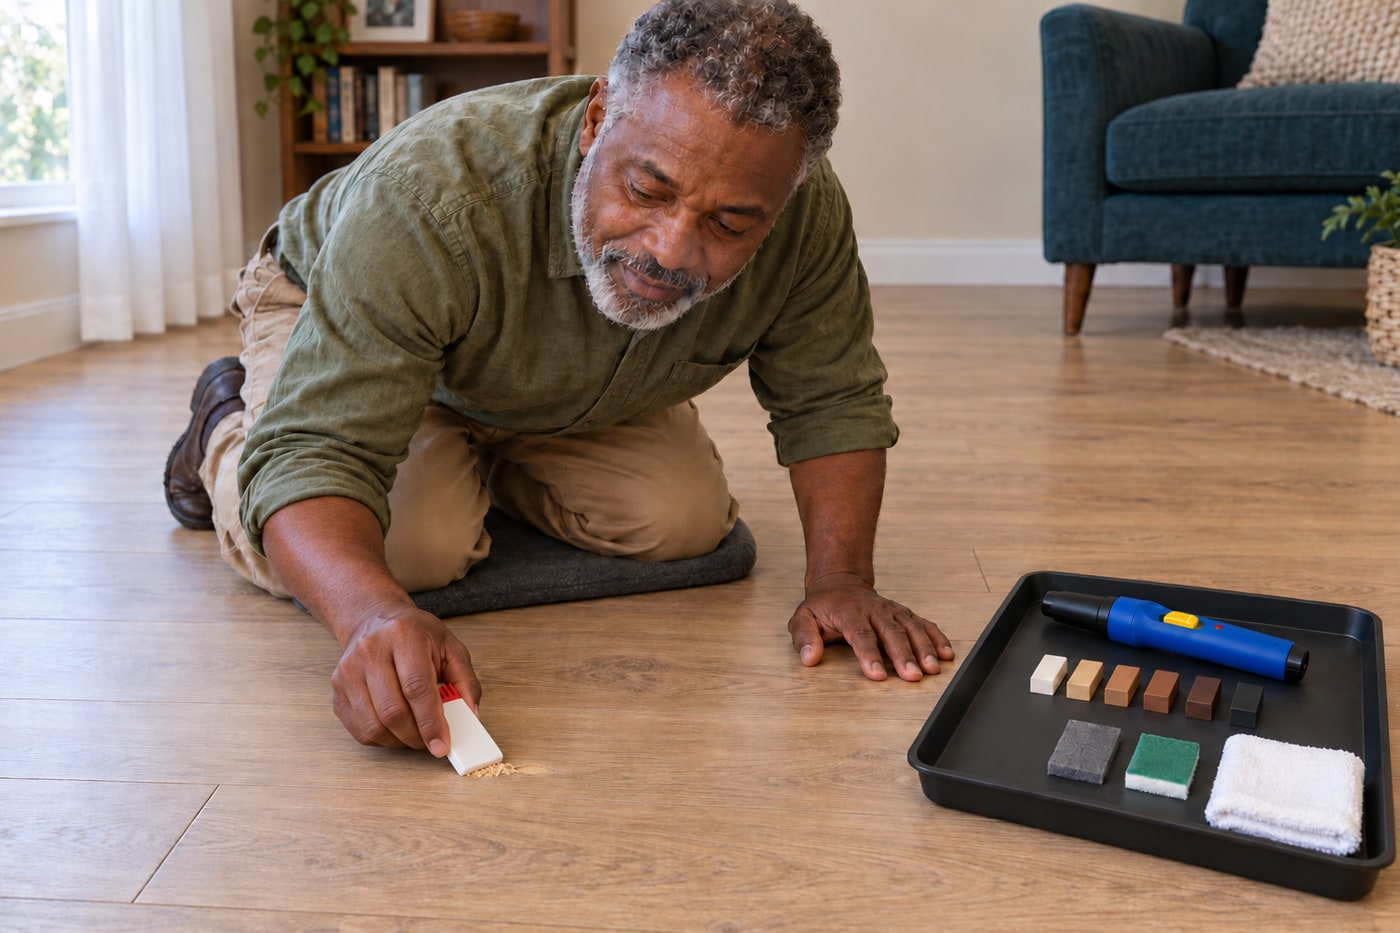
5. Level the fill without cutting the wear layer
Let the wax firm sufficiently for the supplied applicator to remove excess cleanly, following the actual kit instructions rather than inventing a universal waiting time. Use its sharp stripping grooves across the filled mark with light, controlled passes. Keep the applicator supported on the surrounding surface without digging its edge into the laminate's printed wear layer. If the fill pulls out, stop and reassess its condition instead of pressing harder. Collect the shavings as you work and check the patch is level from a low viewing angle before adding grain detail.
Photorealistic illustration · Waey
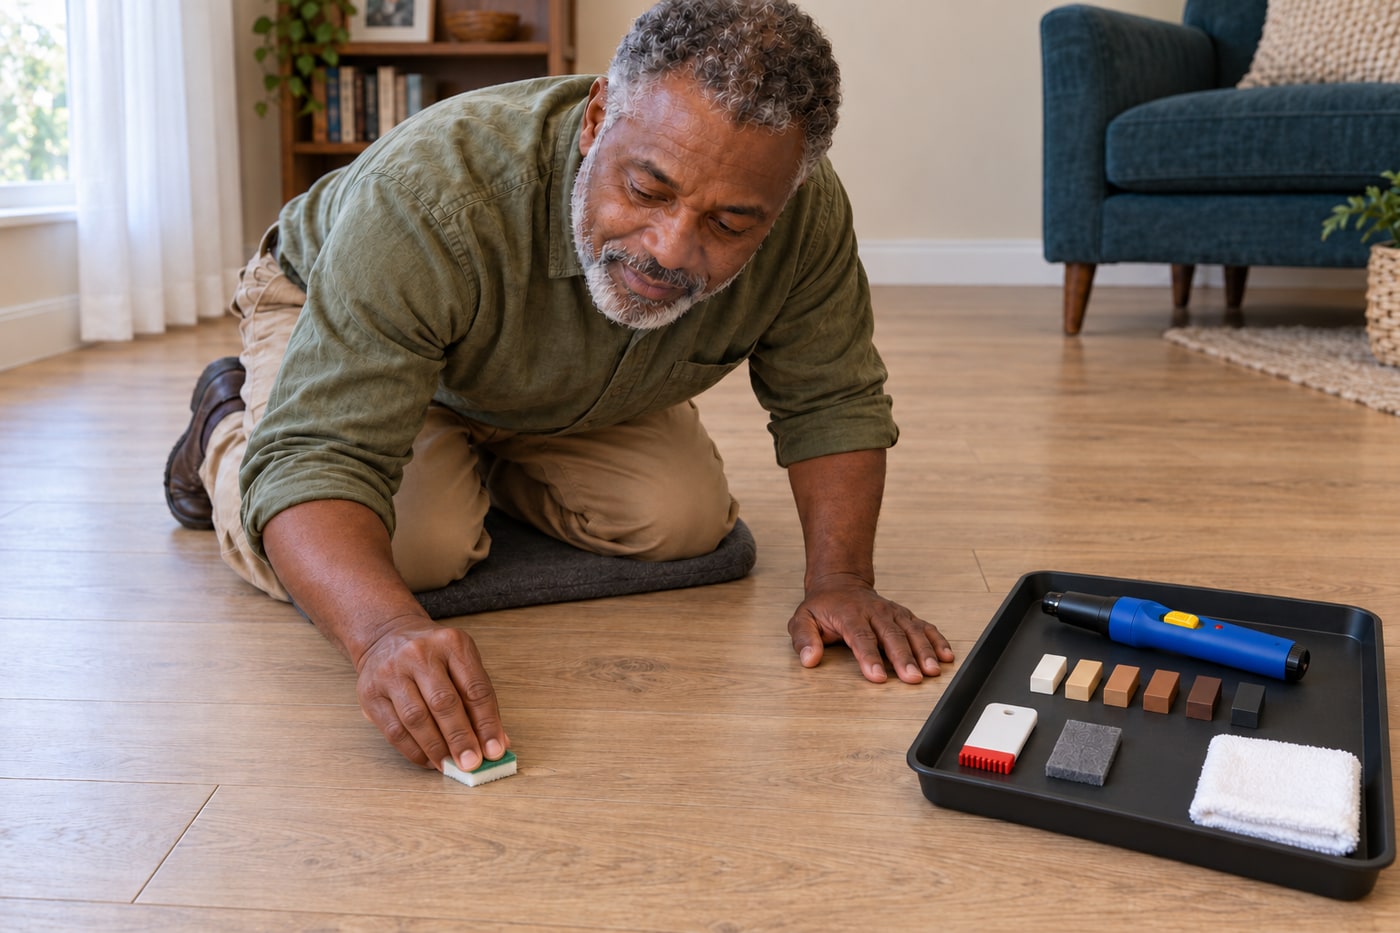
6. Recreate the grain and match the sheen locally
If the decor needs grain lines, lightly mark those lines in the wax fill with a pointed item, following the nearby pattern rather than scratching the intact plank. Refill them with a small amount of darker wax and level again with the supplied planing grooves. Treat only the repair with the kit's grey pad to reduce its gloss, then adjust with the green or white side of the polishing pad as the guide specifies. This is local wax finishing, not permission to sand, polish or wax the whole laminate floor. The green side increases gloss; the white side reduces it.
Photorealistic illustration · Waey
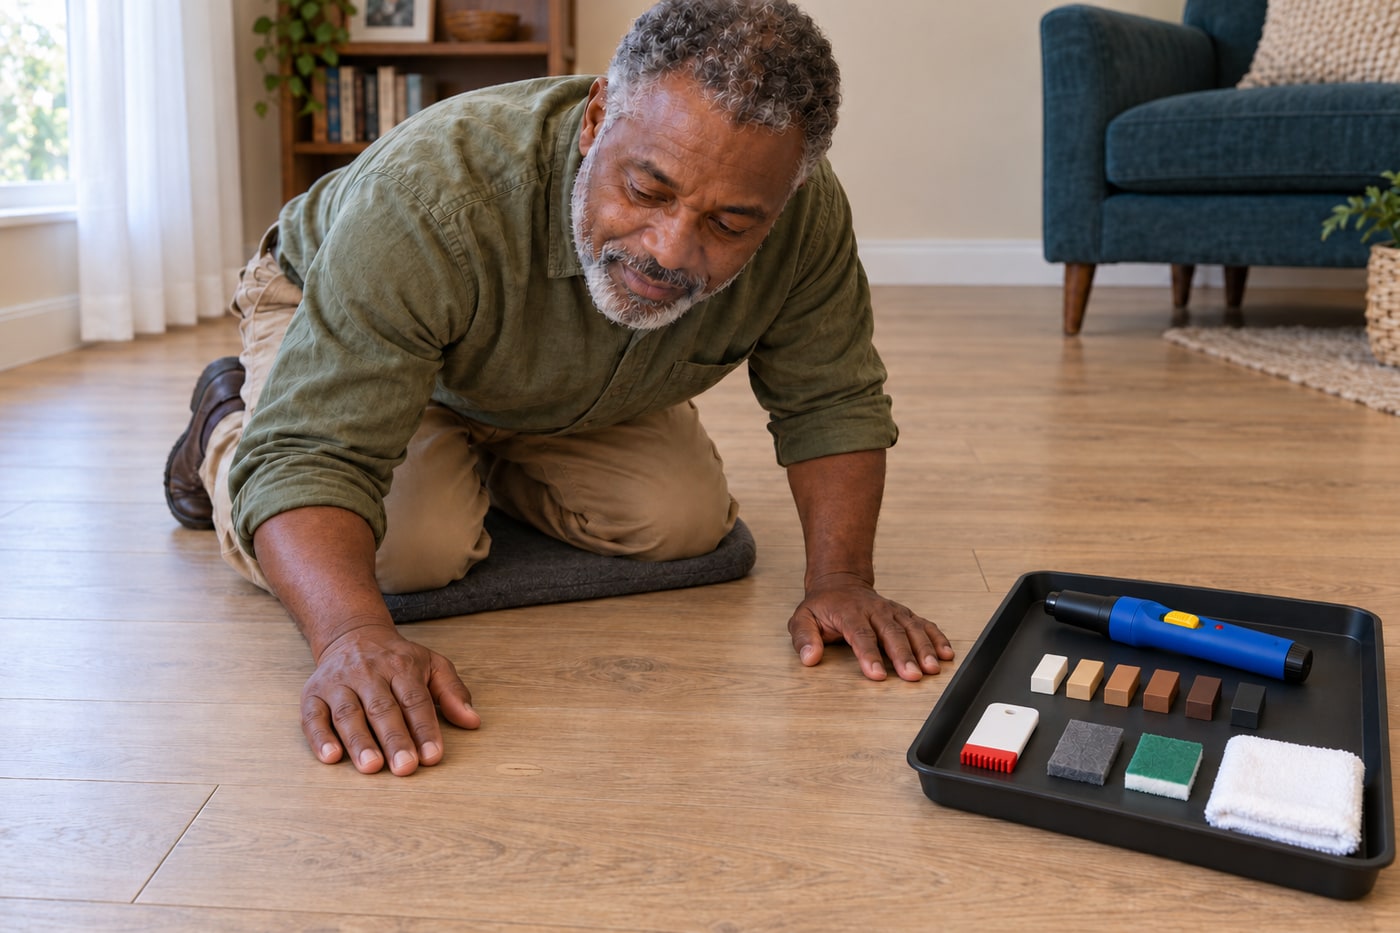
7. Inspect the cooled repair and store the kit safely
Switch the melter off, allow its tip to cool, then refit its cap before storage; keep it away from water throughout. Remove all repair shavings with a soft brush and inspect the cooled patch in ordinary room light and from a low angle. It should sit level without loose edges or a sticky smear, but colour and grain matching may remain visible. Follow the actual kit's return-to-use instructions and keep the area protected until ready. Record the decor code and blend used; seek professional assessment if the surrounding plank later swells or moves.
Video demonstrations
Pergo Repair wax
Original manufacturer demonstrations: Pergo kit and related Quick-Step kit. Older tool versions and colour systems may differ; selected Pergo08.2025 written instructions and actual matched kit govern. Metadata/descriptions/playability checked only, not full audiovisual review.
Pergo Flooring Global · English
Watch on YouTube ↗How to use the new Quick-Step repair kit?
Original manufacturer demonstrations: Pergo kit and related Quick-Step kit. Older tool versions and colour systems may differ; selected Pergo08.2025 written instructions and actual matched kit govern. Metadata/descriptions/playability checked only, not full audiovisual review.
Quick-Step Floors · English
Watch on YouTube ↗Final checks
Cooled fill level and secure, no sticky smear; grain and sheen checked in ordinary light. Cosmetic repair may remain visible and does not restore structural or water damage. Record actual decor and wax blend; follow matched return-to-use instructions.
Sources
Pergo PGREPAIR product and original downloads ↗
Six original AI-generated photographic illustrations across seven steps, including one colour-comparison context reuse. They do not prove a physical repair, measured dimensions, floor identification, invisible colour match or curing time. Original videos belong to their attributed creators.