
Dry-clean a MeacoFan 1056 and refit its guard
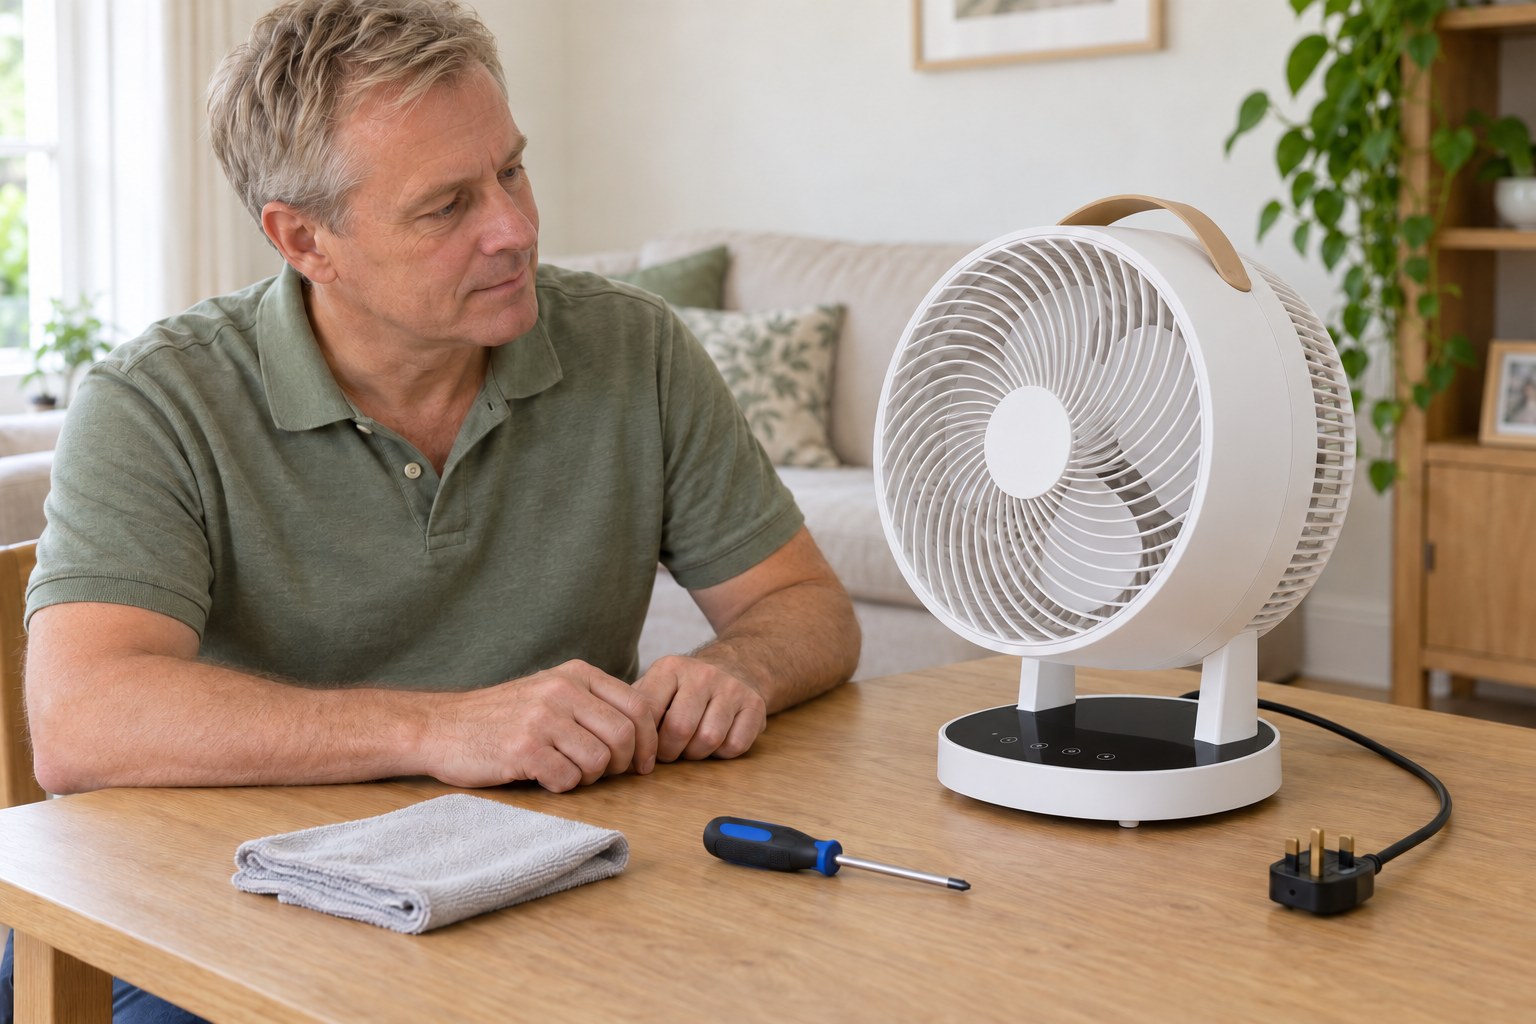
Dry-clean the matched MeacoFan 1056 blades and accessible interior, then refit its cap and guard before checking operation.
What will you learn?
Dry-clean the matched MeacoFan 1056 blades and accessible interior, then refit its cap and guard before checking operation.
Tools
- Screwdriver matching the two guard screw headsSearch Amazon Egypt ↗
- Soft dry clothSearch Amazon Egypt ↗
- Shallow tray for the original screws and capSearch Amazon Egypt ↗
Materials
- Matched MeacoFan 1056 desktop fan and MF1056EN3_TP_Nov_22 manual
Step by step
Photorealistic illustration · Waey
1. Match the fan and disconnect it
Check that your desktop fan is the MeacoFan 1056 covered by the linked manual, with two guard screws below the handle ends. Switch off, wait until the blades stop, and unplug from the wall. Inspect the plug, cable and guard. Stop for damaged insulation, cracks, loose parts or moisture. Keep children and pets away from the work area. This guide does not cover the 1056P, 360 or Sefte models.
Photorealistic illustration · Waey
2. Prepare a stable dry work surface
Set the unplugged fan on a stable level table with room for its front guard and blade assembly. Lay out a soft dry cloth, a screwdriver that fits the two small screw heads, and a shallow tray for the screws and cap. Keep the mains plug visibly disconnected. Wipe loose dust from the exterior with the dry cloth. Do not introduce water, detergent, spray or lubricant, and do not open the base or motor housing.
Photorealistic illustration · Waey
3. Remove the two guard screws
Support the fan housing without forcing its oscillation mechanism. Find the two small screws at the top rear, directly below the ends of the carrying handle, as shown in the cleaning diagram. Use the correctly fitting screwdriver to remove those screws and keep them together in the tray. These are guard fixings, not motor or base screws. Stop if the location differs from the manual or a screw head starts to strip.
Photorealistic illustration · Waey
4. Release and lift away the front guard
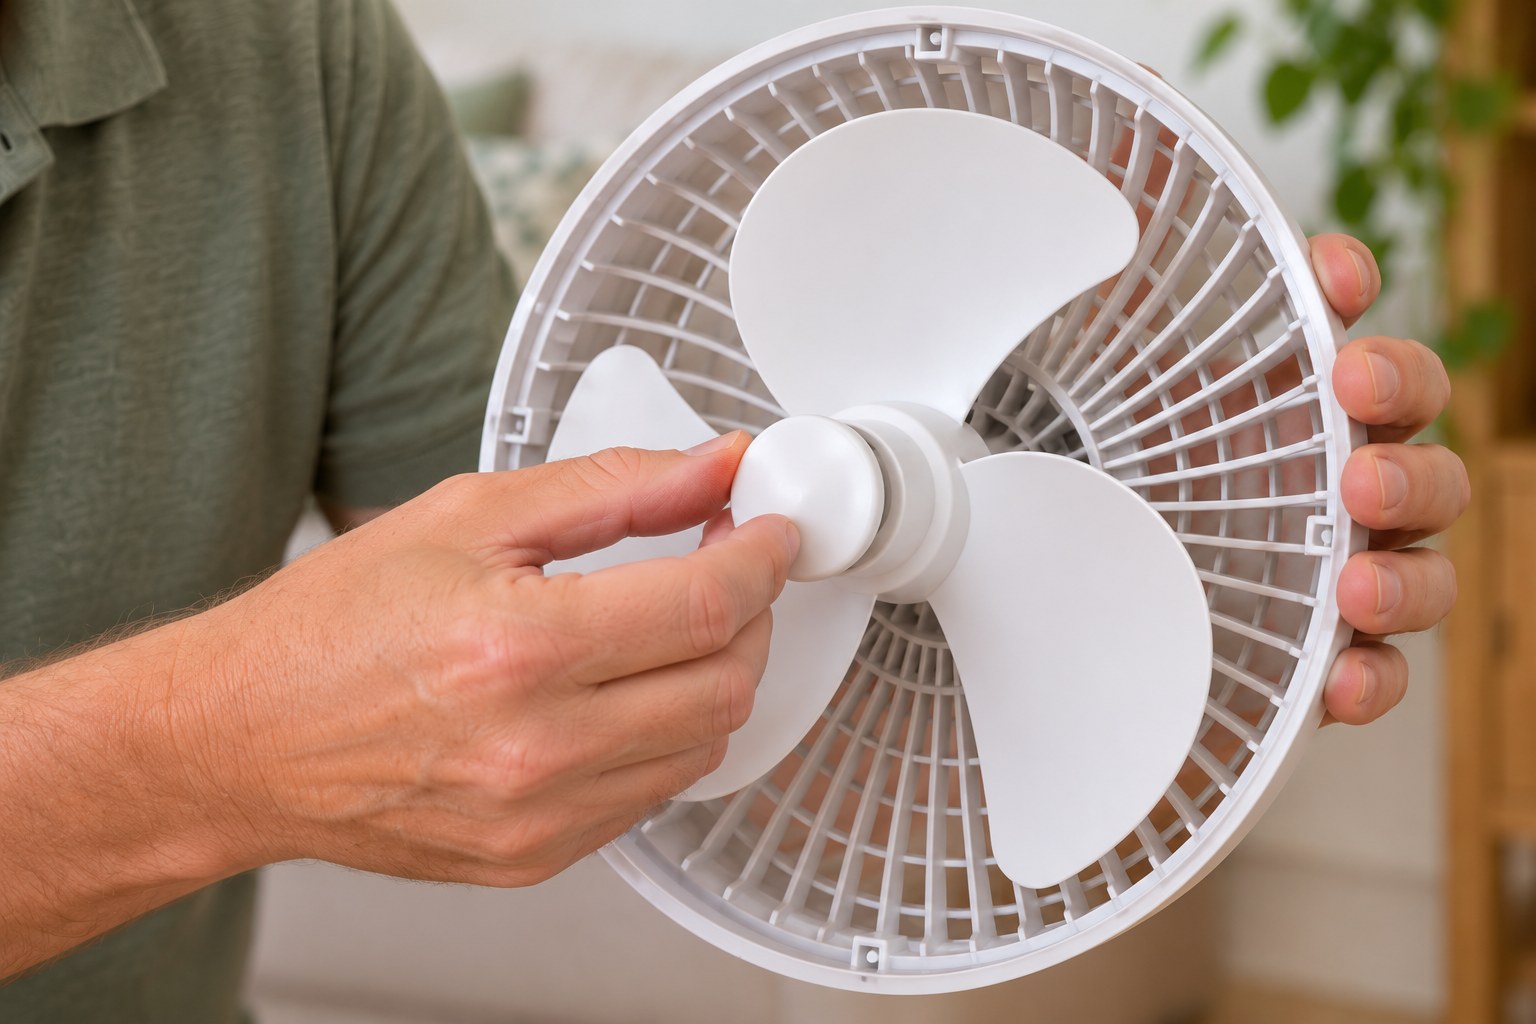
Hold the front guard so it cannot fall. Squeeze the two release tabs beside the screw positions and ease the guard away, following the manual diagram. Put it safely on the table without bending the grille or breaking its clips. Keep your fingers clear of the blade edges. Do not lever with the screwdriver or pull against resistance. The rear guard and closed motor housing stay on the fan throughout this cleaning task.
Photorealistic illustration · Waey
5. Remove the locking cap and blade assembly
With the plug still disconnected, support the blade assembly near its hub. The matched manual specifies turning the central locking cap clockwise to remove it; check its diagram rather than assuming a normal thread. Place the cap in the tray, then ease the blade assembly off the shaft without pulling on a blade tip. Do not bend the shaft, dismantle the motor or force a stuck part. Stop and contact Meaco if it will not release normally.
Photorealistic illustration · Waey
6. Dry-wipe the blades and accessible interior
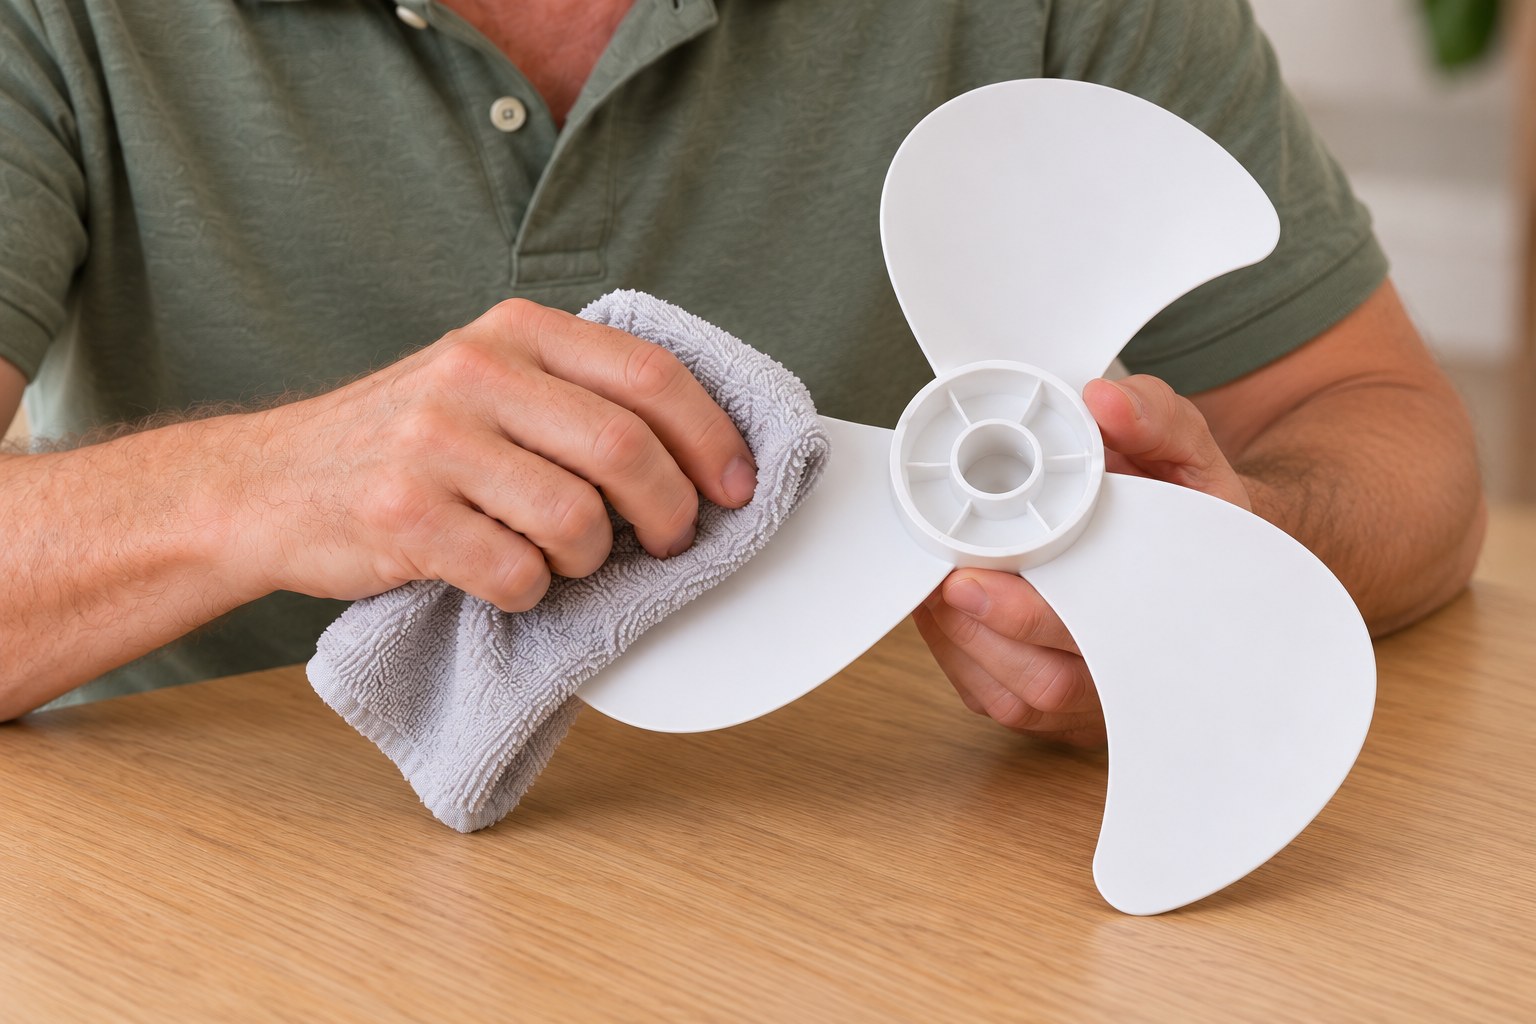
Support the removed blade assembly on a soft cloth and wipe both sides of each blade gently with another soft dry section. Dry-wipe the accessible guard and interior surfaces without pushing debris into the motor or electrical parts. Do not soak or rinse any part, and do not scrape with metal tools. Inspect for cracked blades, damaged clips or a distorted guard. Stop for damage or contamination that cannot be removed with the specified dry cleaning.
Photorealistic illustration · Waey
7. Refit the blades, cap and front guard
Reverse the matched removal procedure. Seat the blade assembly correctly on its shaft without force, then refit the locking cap and tighten it securely in the reverse direction to removal. Align the front guard and engage its clips fully before replacing both original guard screws. Tighten carefully without stripping the plastic fixings. Check that the guard sits evenly and all tools, cloths and loose parts are clear. Never run the fan with a missing guard or fixing.
Photorealistic illustration · Waey
8. Check guarded operation and stop for faults
Place the fully assembled fan upright on a stable level surface with clear air inlets and outlets. Confirm that the label suits your supply and connect its intact original plug to a suitable outlet. Use the power control, check a low speed and then check oscillation with hands kept away from the grille. Stop, switch off and unplug for scraping, unusual vibration, loose parts, abnormal heat or smell. Do not continue running to see whether a fault clears.
Video demonstrations
How to clean your MeacoFan 1056 Air Circulator | Meaco
Meaco shows1056 guard and blade access and refitting. Follow the matched manual’s dry-cloth method and reinstall the complete guard before power.
Meaco · English automatic captions listed; full speech review not claimed
Watch on YouTube ↗MeacoFan 1056 Strip down & clean
This independent1056 video includes deeper teardown outside this guide. Use only its early access views; keep the motor, rear housing and base closed.
Frimley Computing · Automatic captions listed; spoken language not independently confirmed
Watch on YouTube ↗Final checks
Blades undamaged and seated; cap secure; all guard clips and both screws refitted; no loose tools; guarded operation steady and quiet without scraping.
Where to find supplies
Use the exact manual for other Meaco models. Stop for stuck, wet or damaged parts and contact Meaco; do not extend cleaning into motor or wiring repair.
Sources
Original generated instruction illustrations created for Waey. Videos belong to their credited creators.