
Cut, fit and adjust an aluminium door-bottom shoe
Renew a compatible door bottom with a sized vinyl-insert shoe, stop clearances, secure fixing and full-swing checks.
What will you learn?
Renew a compatible door bottom with a sized vinyl-insert shoe, stop clearances, secure fixing and full-swing checks.
Tools
- Tape measure, square and pencilSearch Amazon Egypt ↗
- Stable workbench, padded clamps or vice and long-stock supportSearch Amazon Egypt ↗
- Hacksaw with aluminium-suitable blade; handled deburring fileSearch Amazon Egypt ↗
- Suitable pliers for the specified end crimpSearch Amazon Egypt ↗
- Drill, material-appropriate pilot bit and depth stop; matching hand screwdriverSearch Amazon Egypt ↗
- Eye protection and close-fitting cut-resistant gloves for handling sharp metalSearch Amazon Egypt ↗
- Soft cloth and suitable swarf collection brushSearch Amazon Egypt ↗
- Sharp knife suitable for the vinyl insert and a sacrificial cutting boardSearch Amazon Egypt ↗
Materials
- Matched Pemko216AV aluminium shoe and correct vinyl insert, sized for the actual compatible doorSearch Amazon Egypt ↗
- Supplied approved screws for the actual door constructionSearch Amazon Egypt ↗
Step by step
Photorealistic illustration · Waey
1. Confirm the door, threshold and exact shoe
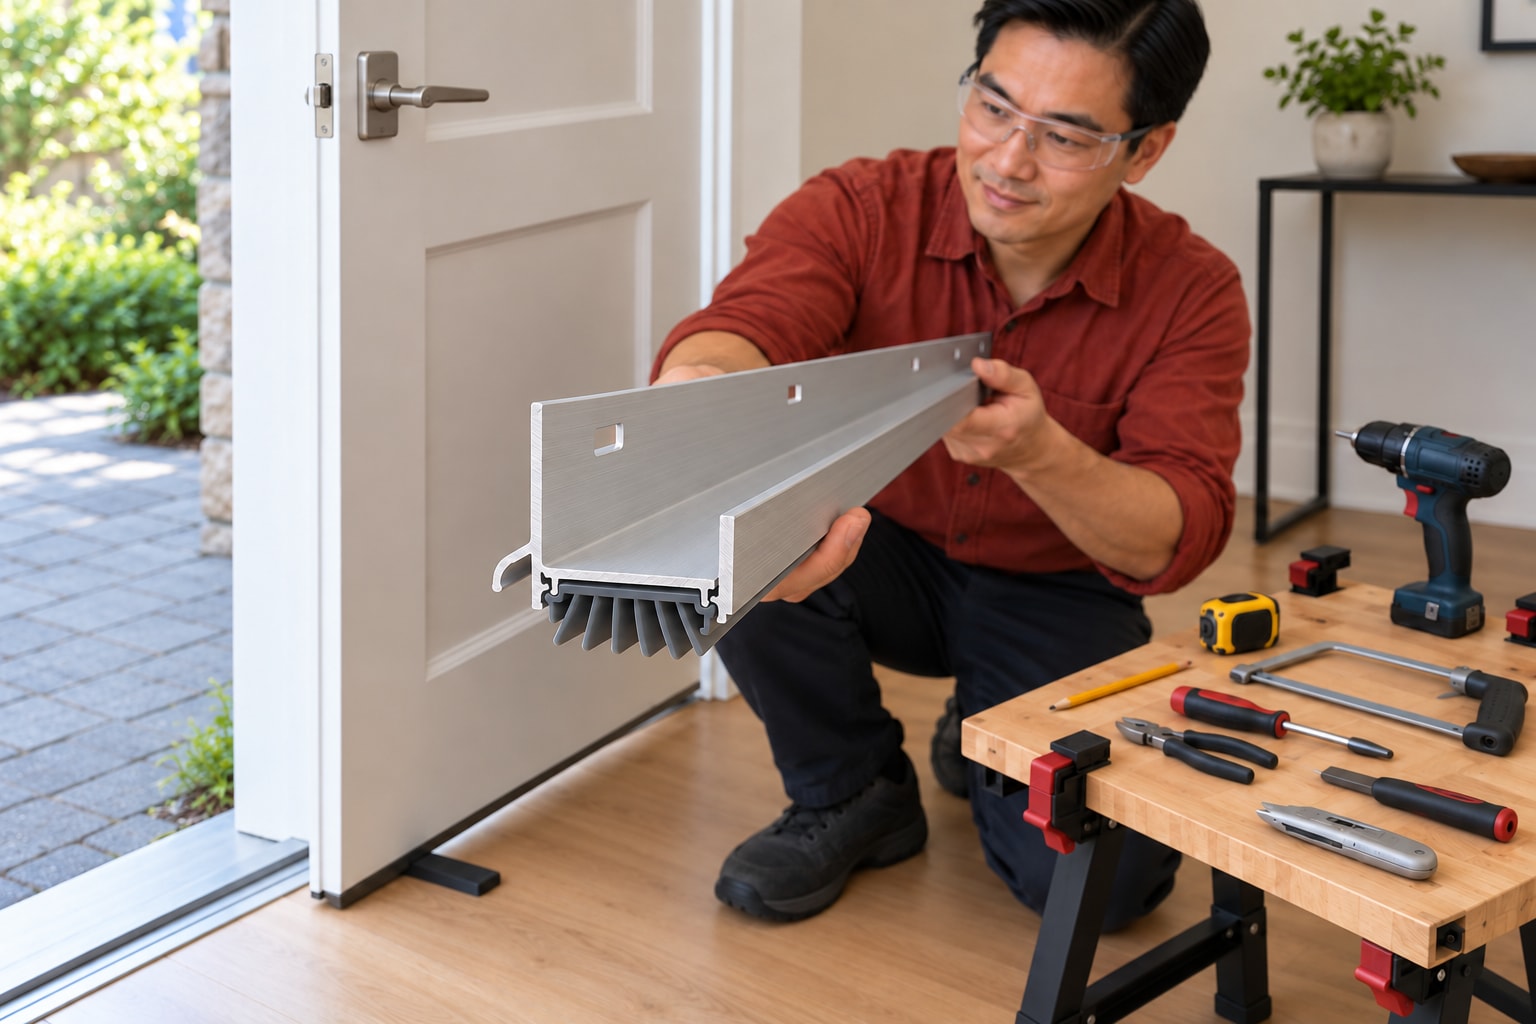
Use this method only on a sound, compatible, non-fire-rated door whose maker permits the attachment. The selected example is Pemko 216AV: an aluminium U-shaped shoe with vinyl insert for a 1¾-inch door. Confirm the actual kit and current instructions, door construction, threshold clearance and supplied fasteners before buying or cutting. A profile’s overall depth is not a universal gap limit. Stop for rot, loose hinges, an uneven threshold, required ventilation or any uncertainty about fire, smoke or escape-door requirements; those need a different assessment.
Photorealistic illustration · Waey
2. Remove the old compatible bottom and inspect the edge
Check the door’s existing closing and latching before starting, then hold it securely open without obstructing an escape route. Keep children and fingers away from the hinge side. If replacing a screw-retained shoe, remove its fasteners with the correctly fitting hand screwdriver and slide it free without levering against the door skin. Keep sharp metal edges controlled. Clean and dry the exposed bottom and faces, inspecting for damaged timber or unsupported fixing points. Do not conceal deterioration with the new shoe or force off a bonded or unfamiliar assembly.
Photorealistic illustration · Waey
3. Lay out the full width and stop clearances
Measure the actual door width and thickness, and inspect the clearance above the threshold across the full swing. Mark the shoe to the full door width using a square; identify the exterior drip side before marking either end. With the door closed, establish where the frame stops would foul the projecting profile, then transfer only the required end-clearance marks to the shoe. Do not copy a stock notch dimension or trim the door itself. Check that shortening will retain usable mounting slots; obtain a correctly fabricated shoe if it will not.
Photorealistic illustration · Waey
4. Cut and finish the aluminium off the door
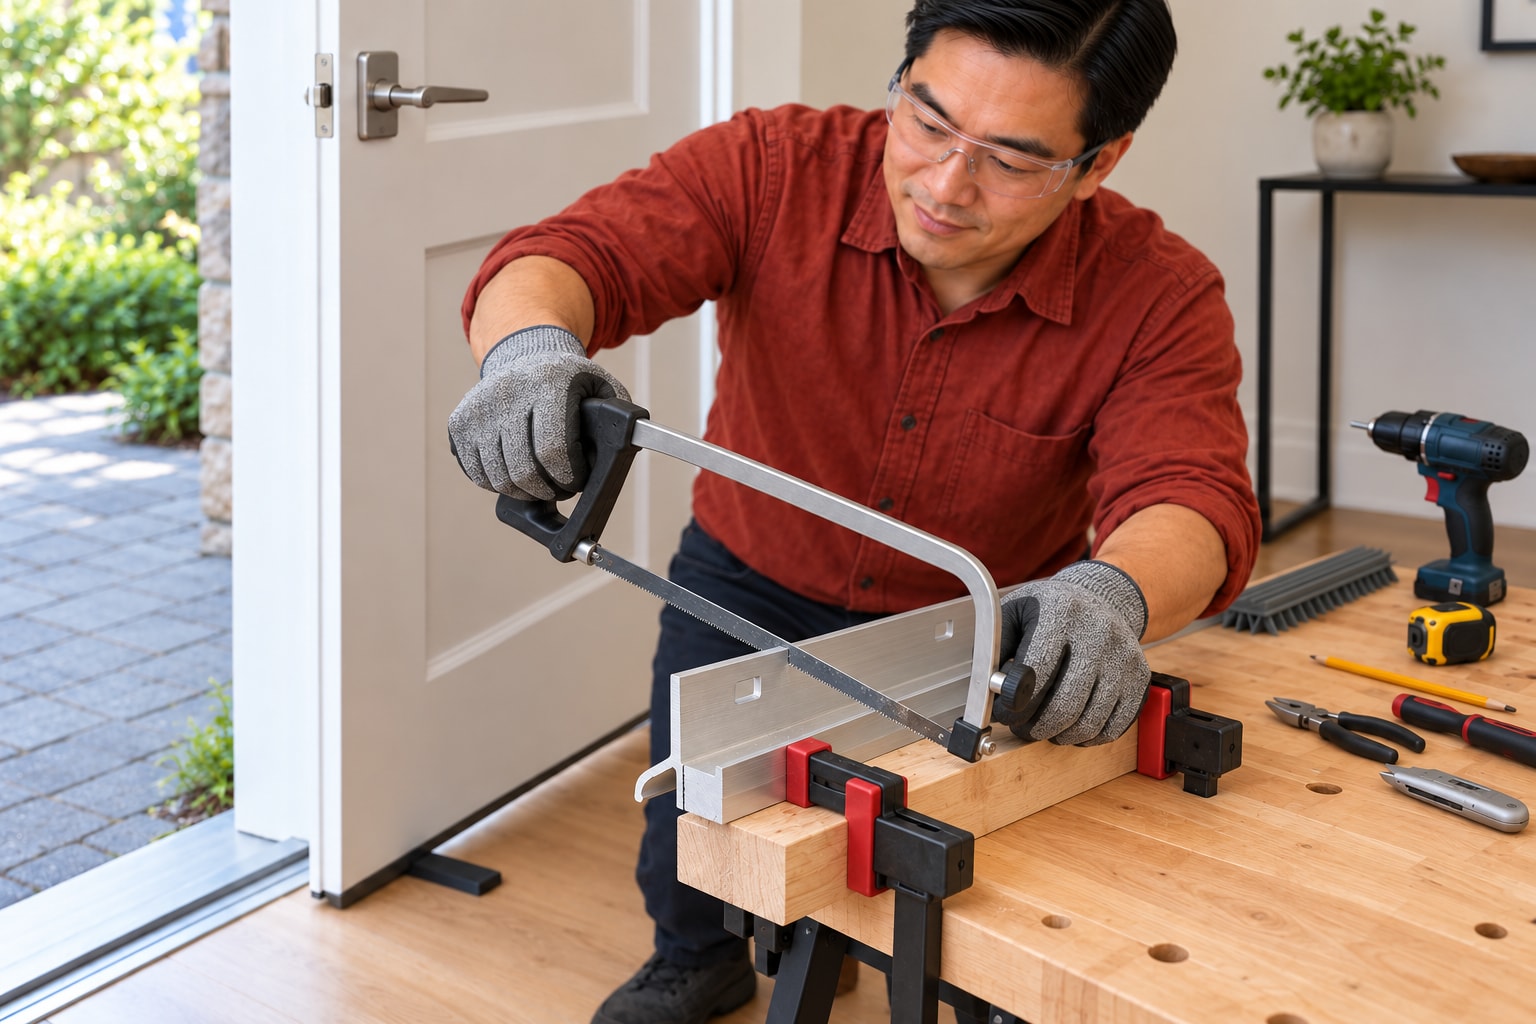
Work on a stable bench with eye protection, supporting the long extrusion and clamping it with protected jaws so it cannot twist or be crushed. Keep the vinyl clear of the metal-cutting path. Use a properly tensioned hacksaw blade suitable for aluminium, start gently on the waste side of the line and use steady strokes without twisting. Make the marked stop-clearance cuts only where needed and remove burrs with a handled file. Keep hands outside the cutting path, collect swarf and check the smooth profile against the marks before fitting.
Photorealistic illustration · Waey
5. Size and retain the matched vinyl insert
Follow the selected Pemko instruction for this insert: its finished length projects 1/16 inch beyond the trimmed shoe at each end. Measure that allowance independently rather than cutting the insert flush with the metal. Seat the correct vinyl evenly in its retaining track and use the specified end crimp to prevent it sliding out. Support the metal and use suitable pliers with controlled pressure, keeping fingers clear of the jaws. Do not flatten the whole track, cut the sealing fins or substitute a Frost King foam or different Pemko insert method. Trim the vinyl on a cutting board with a suitable sharp knife, cutting away from hands.
Photorealistic illustration · Waey
6. Dry-fit and mark the centres of the slots
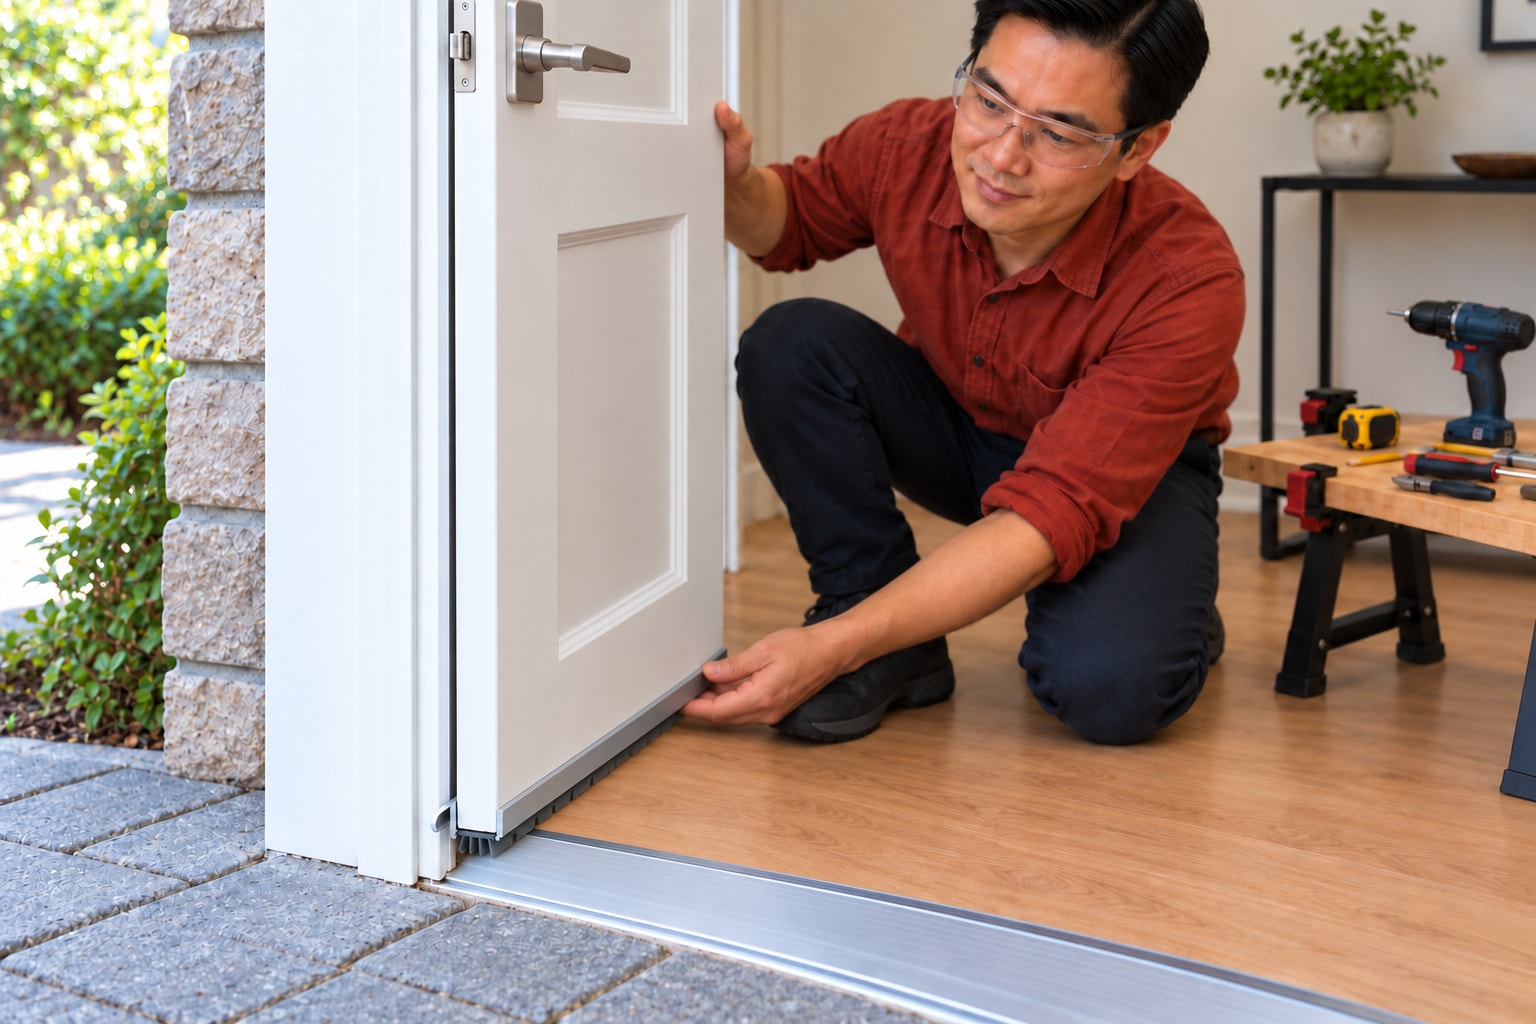
Slide the prepared shoe onto the door with the drip facing outside, keeping the seal and door faces free from trapped swarf. Close gently and position it for light, even contact with the sound threshold. Check the end notches clear the stops and that metal does not scrape the sill or floor. Mark the door through the centres of the slotted holes, preserving room for adjustment. If normal closing needs force or the assembly will not sit squarely, remove it and correct the fit before drilling; extra gasket compression will not repair bad geometry.
Photorealistic illustration · Waey
7. Pilot and fasten for the actual door construction
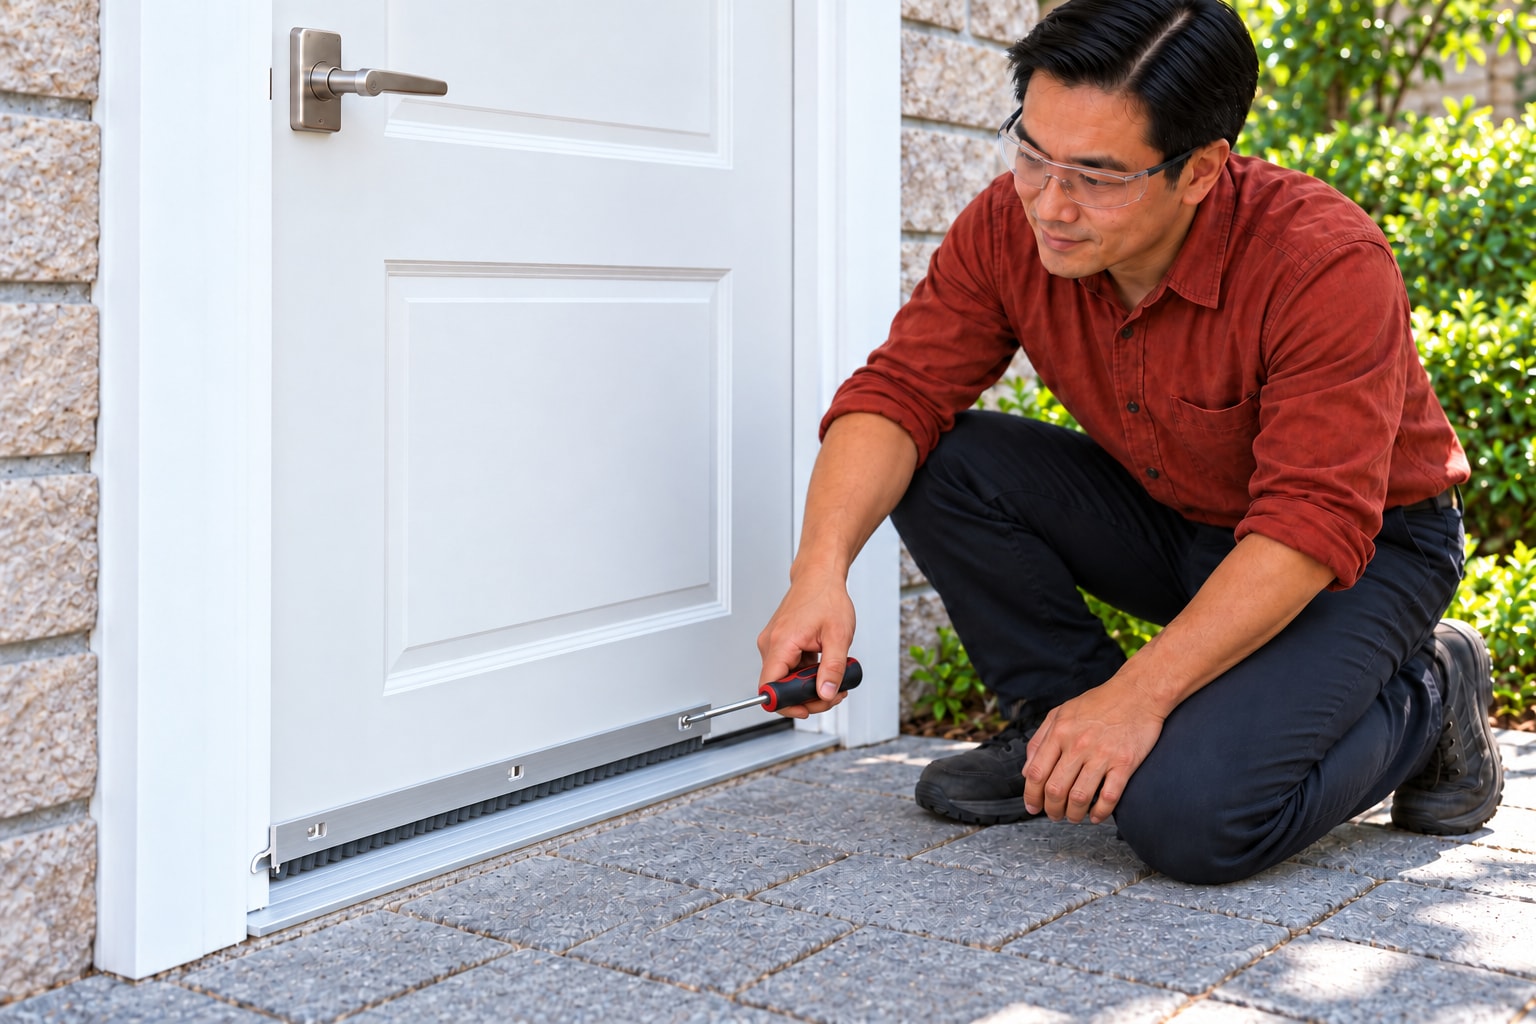
Remove the shoe for drilling and hold the door securely against movement. Confirm the permitted pilot diameter and depth for the supplied screws and the actual door construction; these are prerequisites, not dimensions to borrow from another brand. Fit the appropriate bit with the drill power disconnected and set a suitable depth stop. Wearing eye protection, drill square to the marked face, keeping hands clear behind it. Refit the shoe and use the supplied fasteners, initially leaving adjustment possible. Stop if fixings will not hold; do not improvise longer screws through an unknown door.
Photorealistic illustration · Waey
8. Adjust, tighten and check the whole swing
Adjust the shoe within its slots until the vinyl makes light, continuous contact, then tighten the screws securely without distorting the aluminium. Open through the normal full swing and close and latch using ordinary effort; confirm the drip and end clearances remain free and the shoe cannot shift. Look for uneven contact or rolled fins and correct the fitting rather than increasing force. Clear every offcut and tool from the doorway and record the shoe and insert used. Persistent rubbing, leakage or poor latching calls for door/threshold assessment, not more compression or door planing.
Video demonstrations
Door Shoe Installation/Instalación de Zapato de Puerta
Original door-shoe installation demonstrations. Product profiles, inserts and fasteners may differ; the selected Pemko216_V written instructions and actual kit/door requirements govern. Threshold replacement shown in related material is outside this procedure. Watch metadata/descriptions/playability checked only, not full audiovisual viewing.
Benny the Builder · English / Spanish
Watch on YouTube ↗How to install a door threshold and door shoe
Original door-shoe installation demonstrations. Product profiles, inserts and fasteners may differ; the selected Pemko216_V written instructions and actual kit/door requirements govern. Threshold replacement shown in related material is outside this procedure. Watch metadata/descriptions/playability checked only, not full audiovisual viewing.
Askillthatpays · English
Watch on YouTube ↗Final checks
Shoe secure, insert retained and lightly contacting the threshold, stops/drip clear, normal swing and latching preserved. No quantified airtightness, waterproofing, energy saving, fire rating or physical installation claim.
Sources
Pemko216 series manufacturer product information ↗
Pemko manufacturer-authored DB3 installation instructions; distributor-hosted copy ↗
Pemko216_V manufacturer technical sheet2013; distributor-hosted copy ↗
Four original AI-generated photographic illustrations across eight steps, with explicitly captioned context reuse. They do not establish dimensions, model approval, hidden crimp/notch/pilot work, torque, full swing, completed fastening or a physical installation. Original videos belong to their attributed creators.