
Install and test a Tapo water-leak alert system
Pair a T300 sensor with a compatible Tapo hub, add a hub alarm and prove that local and phone alerts work.
What will you learn?
Build an alert system for one indoor leak-prone point, such as the hard cabinet base beneath a sink. This guide uses a Tapo T300, a compatible regional Tapo hub and the Tapo app. It covers pairing, placement, a hub-alarm automation and a controlled wet test. It detects water at its probes; it cannot prevent leaks, close a valve or guarantee a phone alert during a network or power failure.
Tools
- 1 phone with current Tapo app and an account
- Access to a working home network and a dry suitable outlet for the hub
- 1 shallow non-metallic tray for the wet testSearch Amazon Egypt ↗
- 1 small clean clothSearch Amazon Egypt ↗
- Matching hand screwdriver, only if required by your battery-cover instructionsSearch Amazon Egypt ↗
Materials
- 1 Tapo T300 water-leak sensor, exact regional/hardware version checkedSearch Amazon Egypt ↗
- 1 compatible Tapo hub, e.g. H100 where listed as compatible with that sensor regionSearch Amazon Egypt ↗
- 2 matching fresh AAA/LR03 batteries if not supplied; follow the device labelSearch Amazon Egypt ↗
- A little clean water for dampening the test cloth
Step by step
Photorealistic illustration · Waey
1. Confirm compatibility and prepare the hub
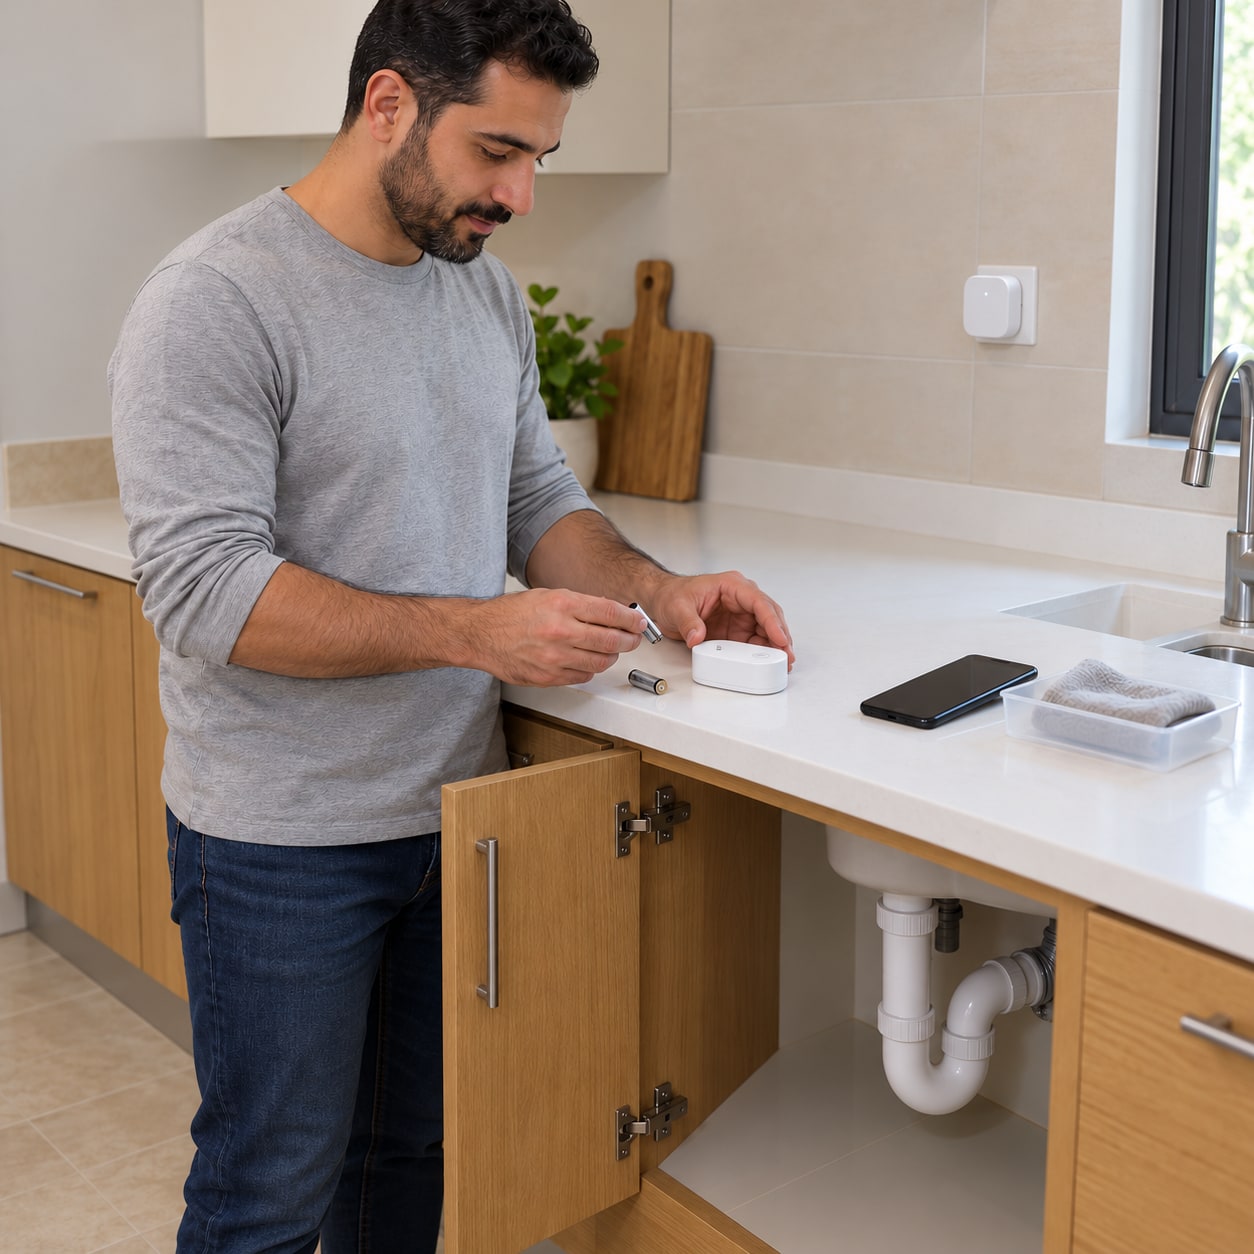
Check the sensor and hub model, hardware version and sales region against Tapo’s compatibility information before opening batteries. T300 uses a compatible Tapo hub, not an arbitrary Zigbee hub. Add the hub in the Tapo app using its own setup instructions, place it in a dry location and apply offered updates. Keep access to the sink’s water shutoff clear; the new electronics must not obstruct the practical response to a real leak.
Photorealistic illustration · Waey
2. Power the sensor and pair it to the right hub
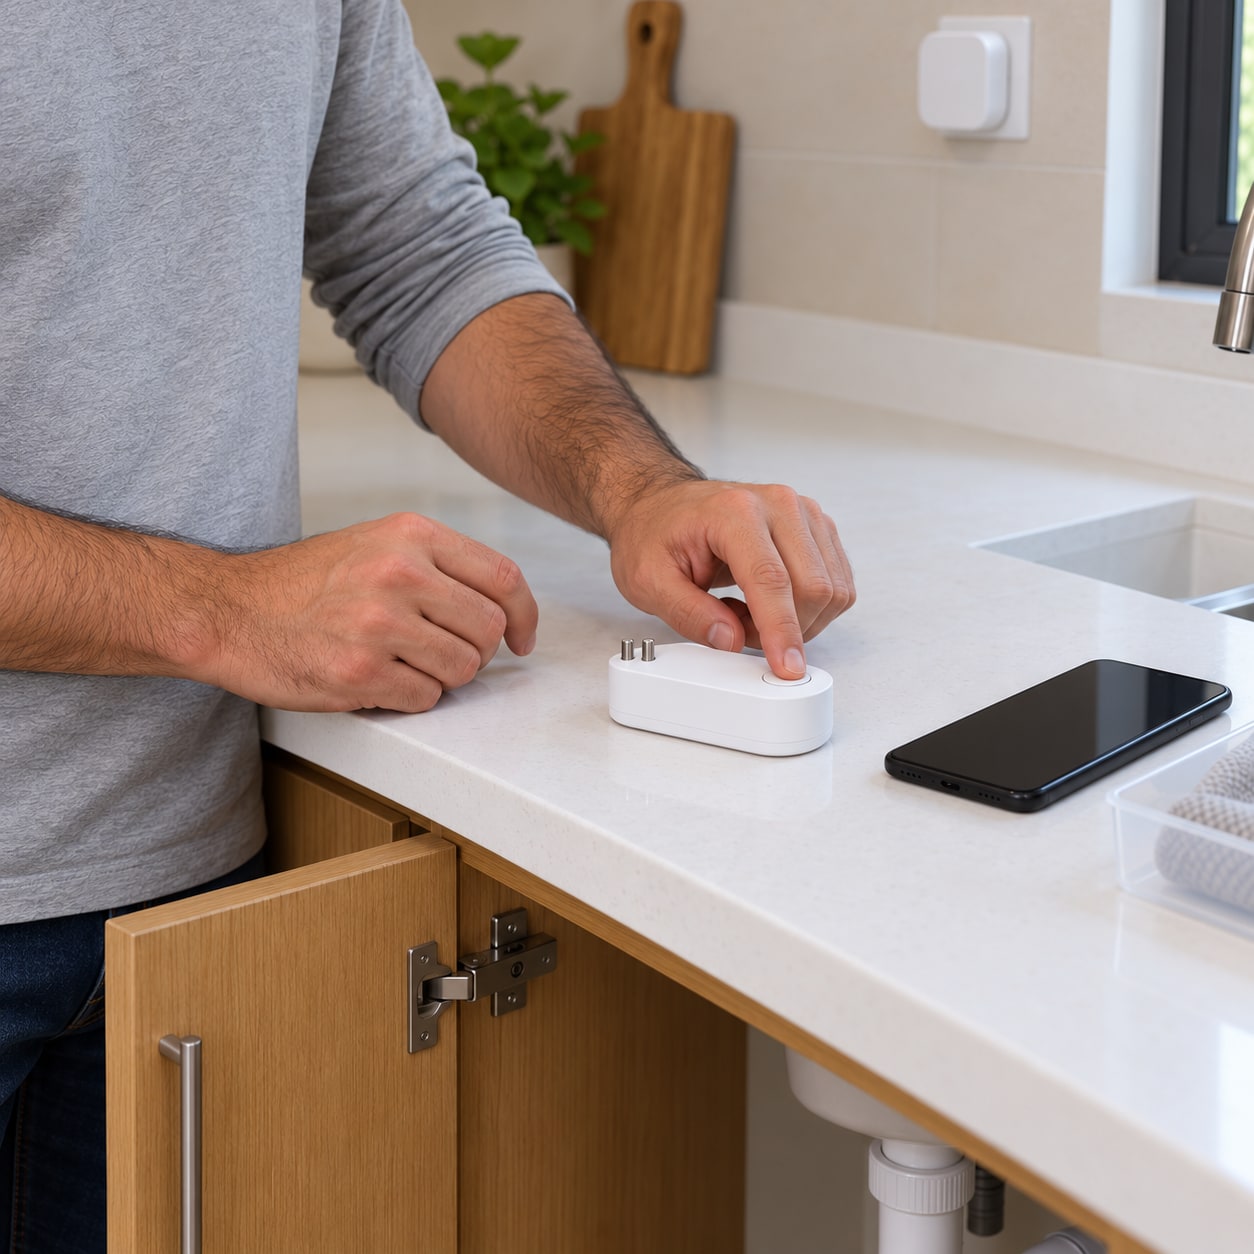
Remove the battery insulating strip or fit the two specified cells with the polarity marked inside the compartment. Close the cover and seal correctly. In the app, add the T300 to the intended hub and follow the displayed pairing-button instructions; do not reset an already working system unnecessarily. Give it a location-specific name such as “Kitchen sink base” and confirm it reports online before moving it into a cupboard.
Photorealistic illustration · Waey
3. Choose a reachable water path
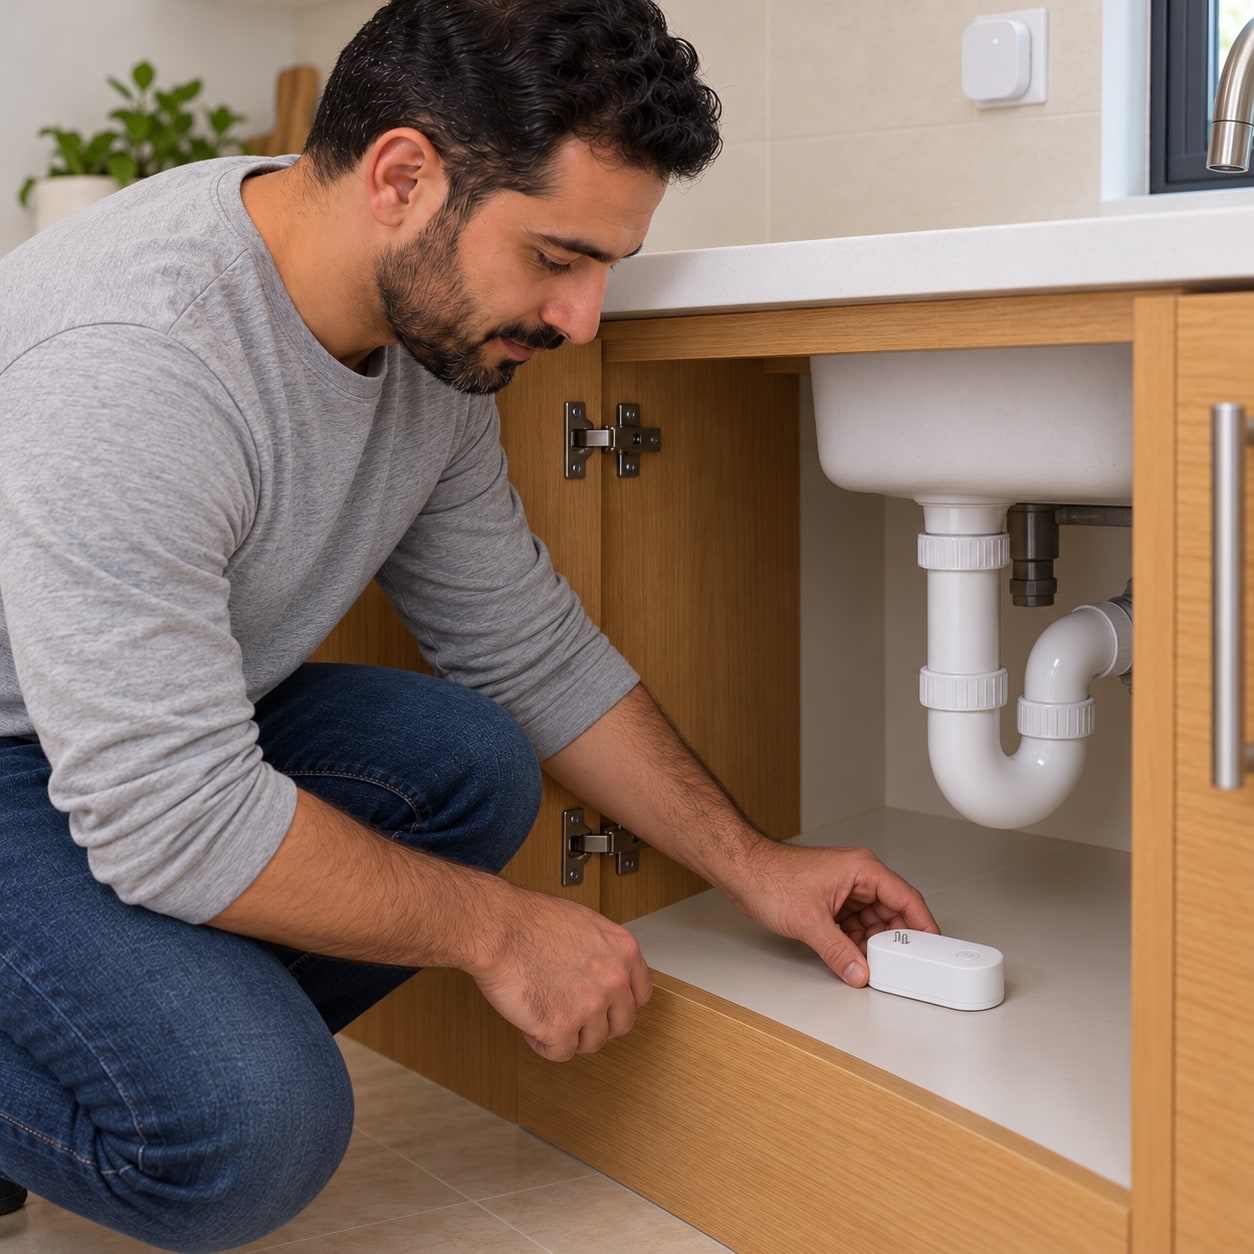
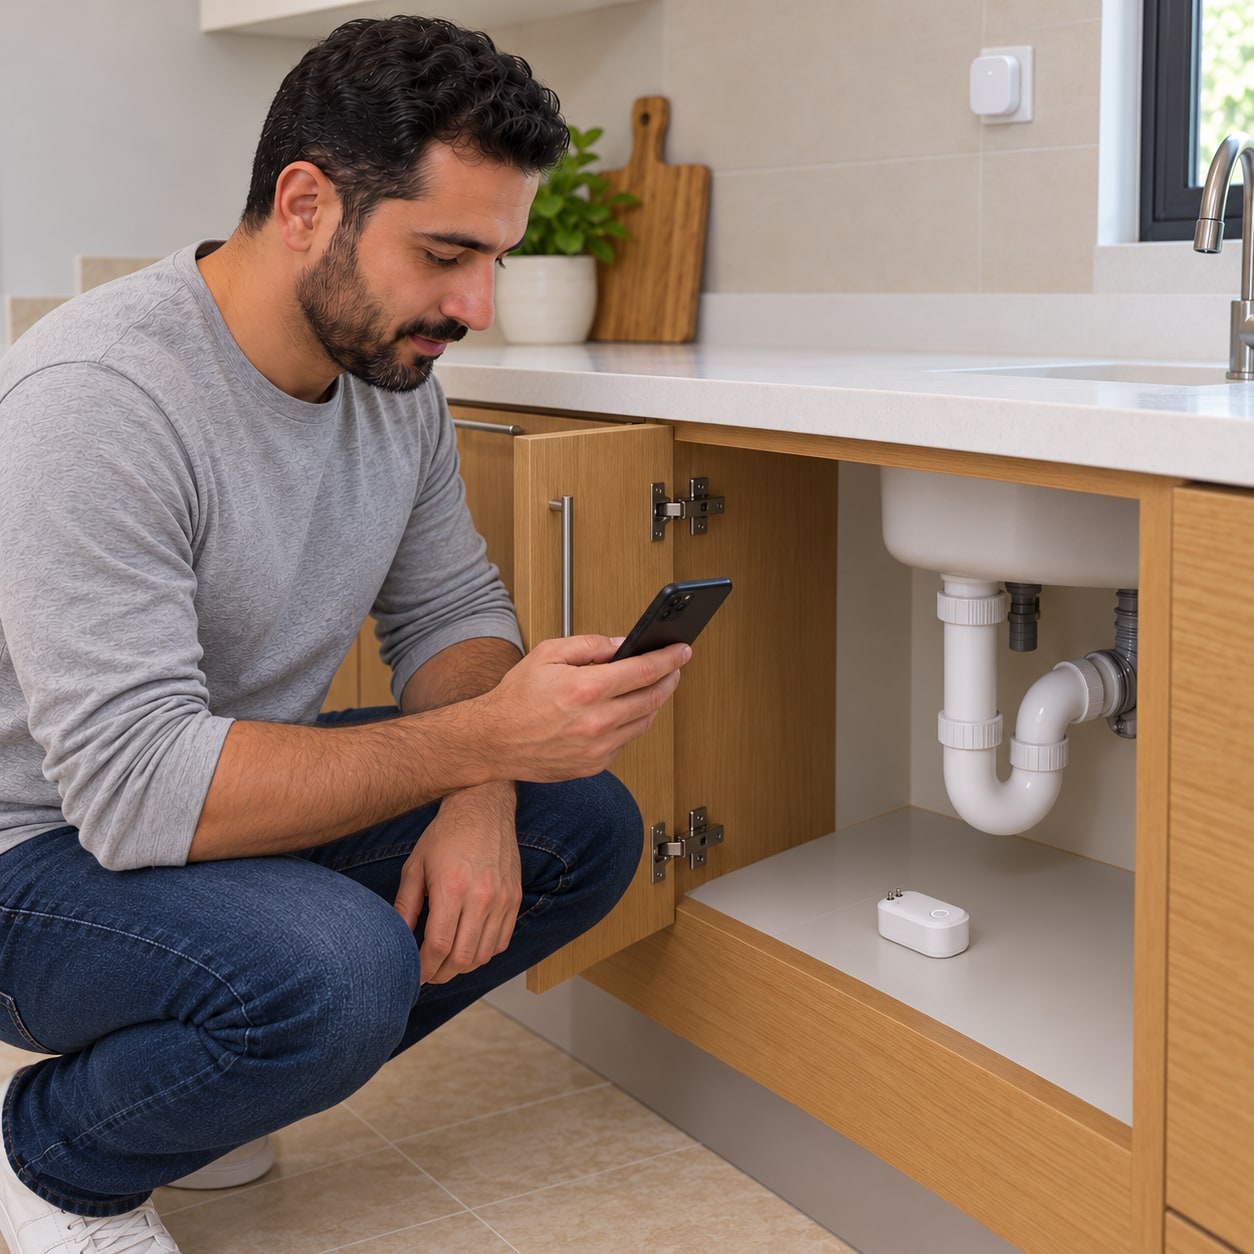
Place the sensor level on the clean hard cabinet base directly beneath the sink fittings, where a small leak will collect. A sensor on a raised cabinet base cannot detect water that remains only on the room floor; monitor that separately if needed. Keep the bottom probes touching the surface and the buzzer clear. Move stored bottles away, then close the cupboard and confirm the sensor remains online at this final location.
Photorealistic illustration · Waey
4. Enable phone alerts and a hub alarm
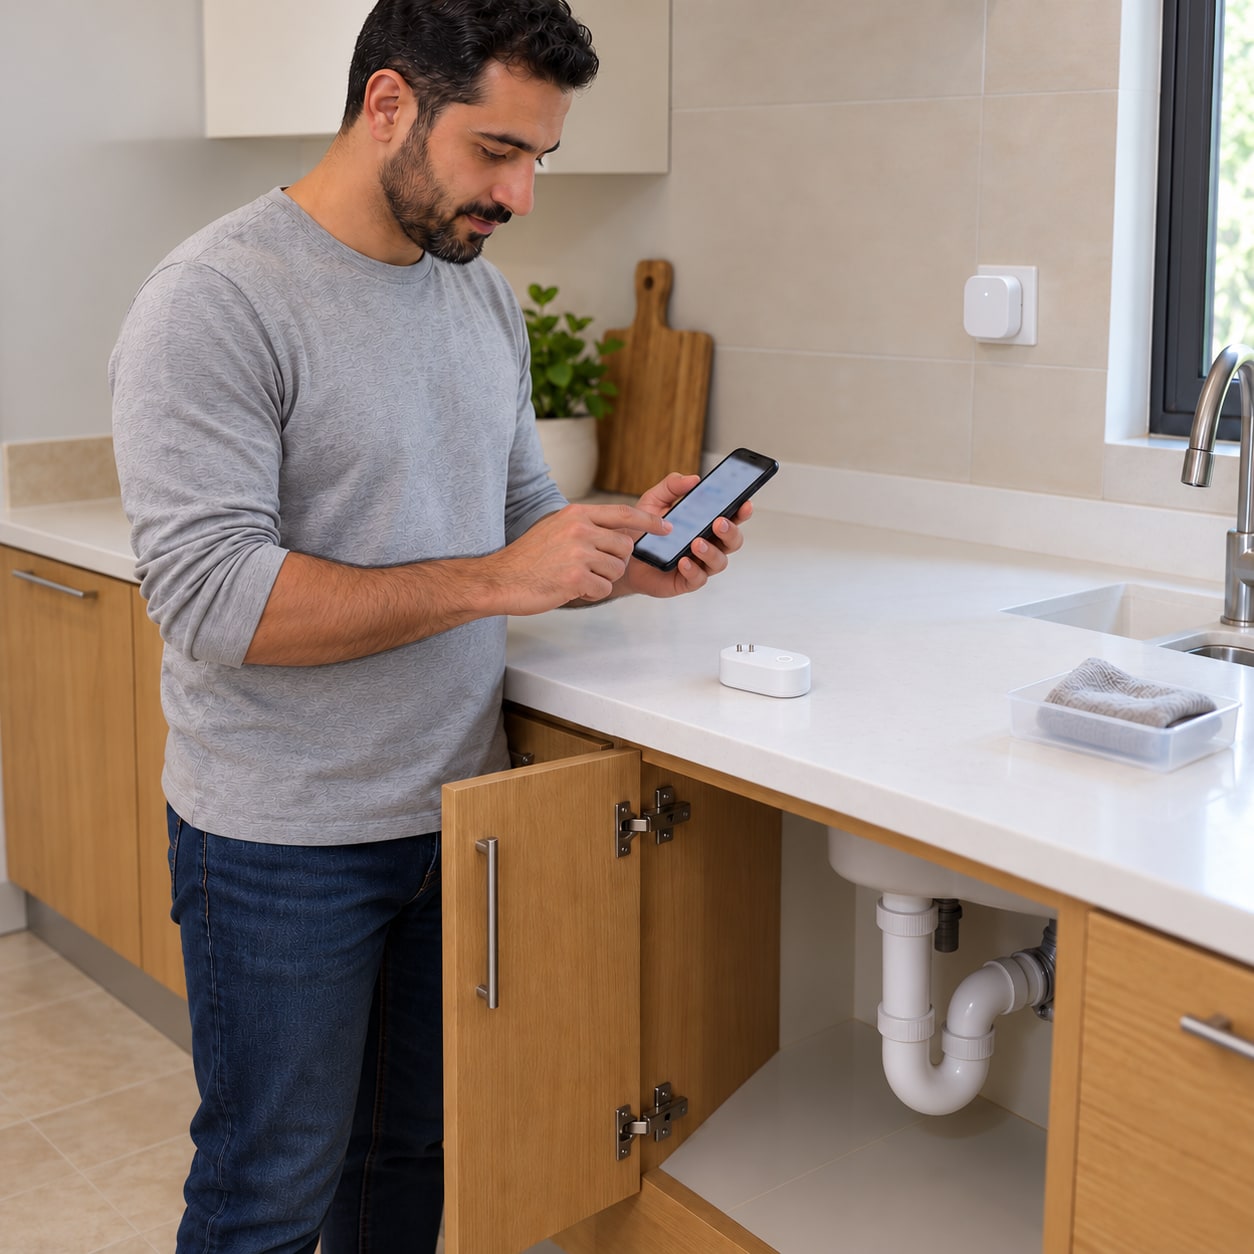
Enable leak notifications in the sensor settings and allow Tapo notifications in the phone’s operating system. Then open Smart, add an Automation, choose this sensor’s “Water Leak Detected” trigger and the compatible hub’s alarm or ring action offered in your app. Set an effective period that covers the whole day and save with a clear name. Menus vary by app and device version; if the hub action is unavailable, resolve compatibility instead of substituting a guessed action.
Photorealistic illustration · Waey
5. Prove detection with a controlled wet test
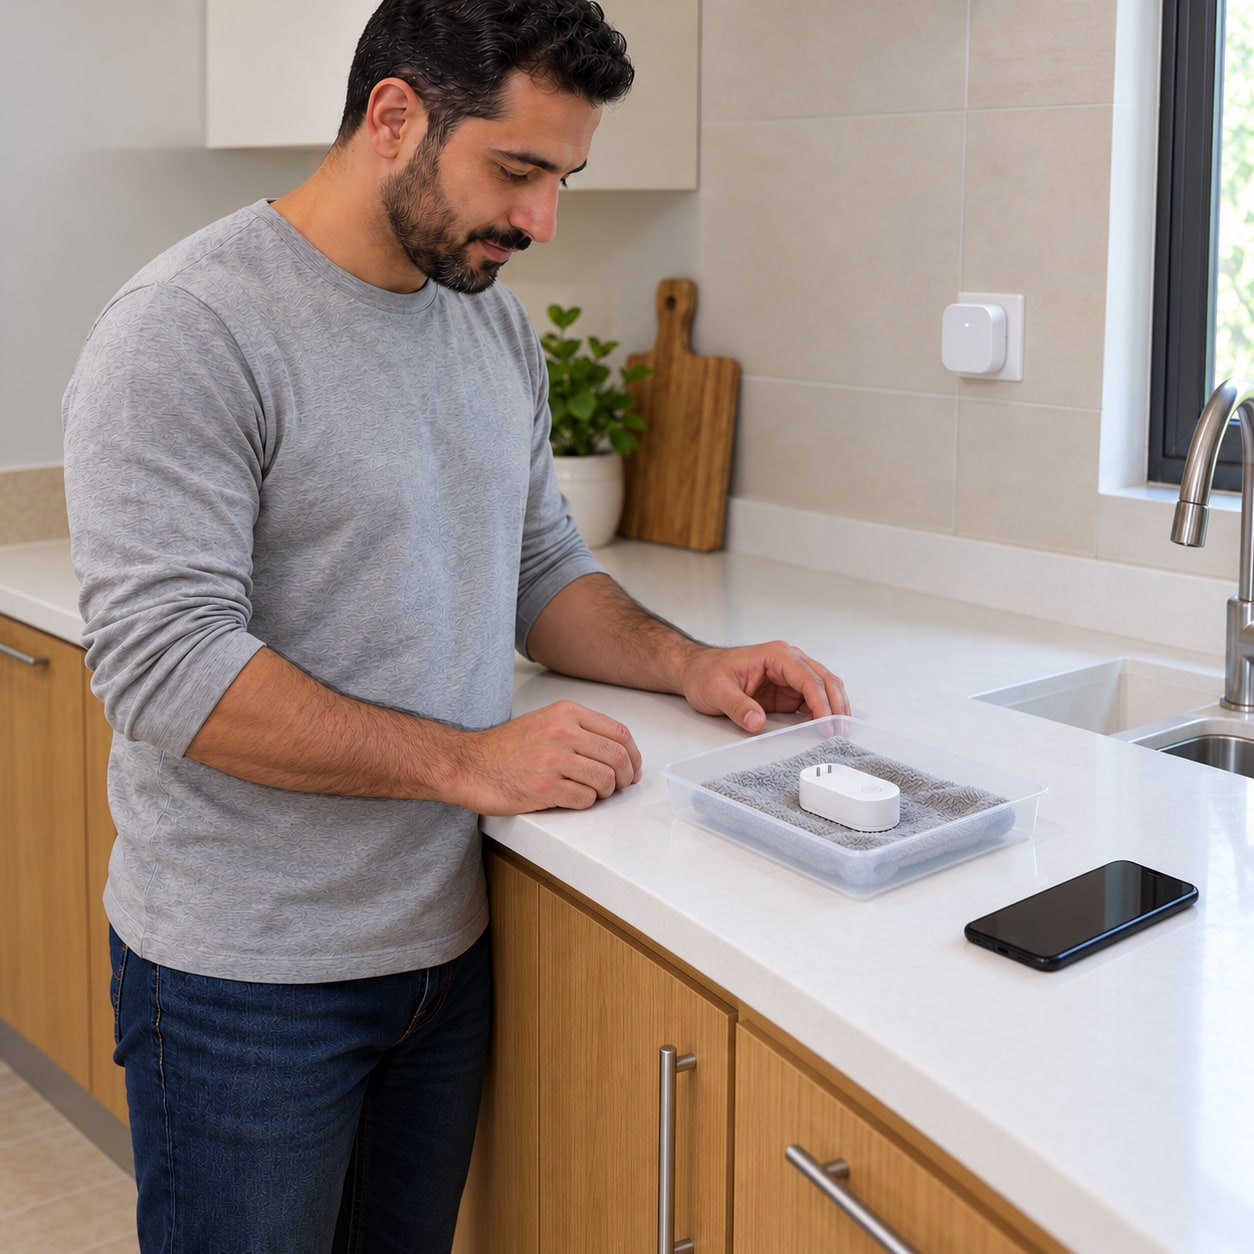
Keep the hub and phone well away from water. Near the intended location, put the sensor on a damp clean cloth in the separate plastic tray so moisture bridges the bottom probes; do not submerge it or create a real floor leak. Check three results separately: the sensor sounds, the hub alarm runs and the named phone alert arrives. Repeat with the phone using mobile data to check remote delivery, then restore normal settings. Do not assume any one result proves the other two.
Photorealistic illustration · Waey
6. Dry, rearm and test the next alert
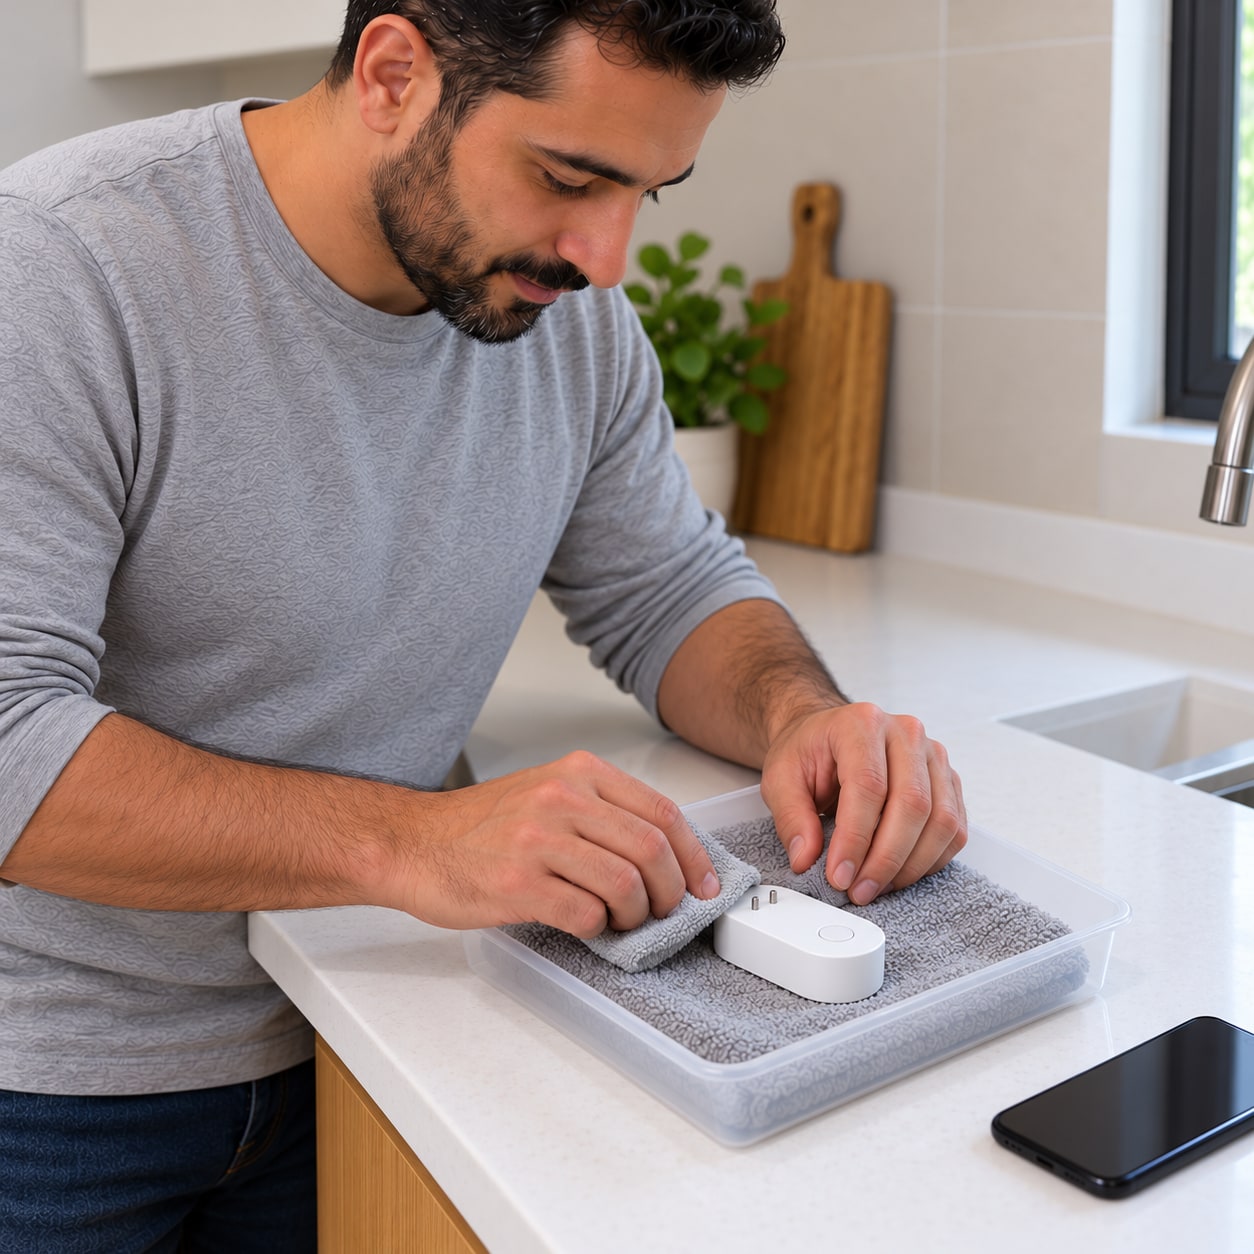
Acknowledge the sensor and hub alarms separately if required. Remove the damp cloth and dry the sensor’s probes and outside thoroughly; silencing while it remains wet does not rearm it for another event. Wait until the app shows the leak cleared, then repeat a small controlled wet test and confirm a second alert. Dry it again and return it level to its final position. A missing repeat alert needs troubleshooting now, before relying on the system.
Photorealistic illustration · Waey
7. Record the response and maintain the system
Tell everyone at home which sensor name identifies this location and where the water shutoff is. Check the manual for behaviour when internet, hub power or batteries fail; remote alerts and hub actions are not guaranteed in those conditions. Keep low-battery reminders enabled and replace cells as a matching set when required. Test again after moving the sensor, changing the network or updating automation, and periodically according to the manufacturer; an online icon alone is not a wet-detection test.
Video demonstrations
How to Setup Tapo T300 Smart Water Leak Sensor
TP-Link shows T300 hub pairing and its button test. A button test is separate from testing water detection at the bottom probes.
TP-Link Malaysia · English
Watch on YouTube ↗Tapo Water Leak Sensor Review & Setup - T300
Gauging Gadgets shows T300 settings and a tray test with detected/cleared events in the app. Check the sensor, hub and phone alerts separately in your own test.
Gauging Gadgets · English
Watch on YouTube ↗Final checks
Sensor and hub alarms and a correctly named remote notification work in two separate wet tests. The sensor is fully dry, online and level at its final location, with probes and buzzer clear. A household member knows the safe leak response. This system remains an alert, not automatic water isolation.
Software & apps
Tapo app on a compatible phone; account and hub required for app integration.
Sources
Tapo — T300 questions, placement, alarm and rearming ↗
Tapo — Smart Actions: automation and shortcuts ↗
Original generated instruction illustrations created for Waey. Videos belong to their credited creators.