
Build a removable two-bay plywood shelf organizer
Turn a measured shelf opening into a finished two-bay insert with an accurate cut list, pocket-hole joints, square back and compatible clear finish.
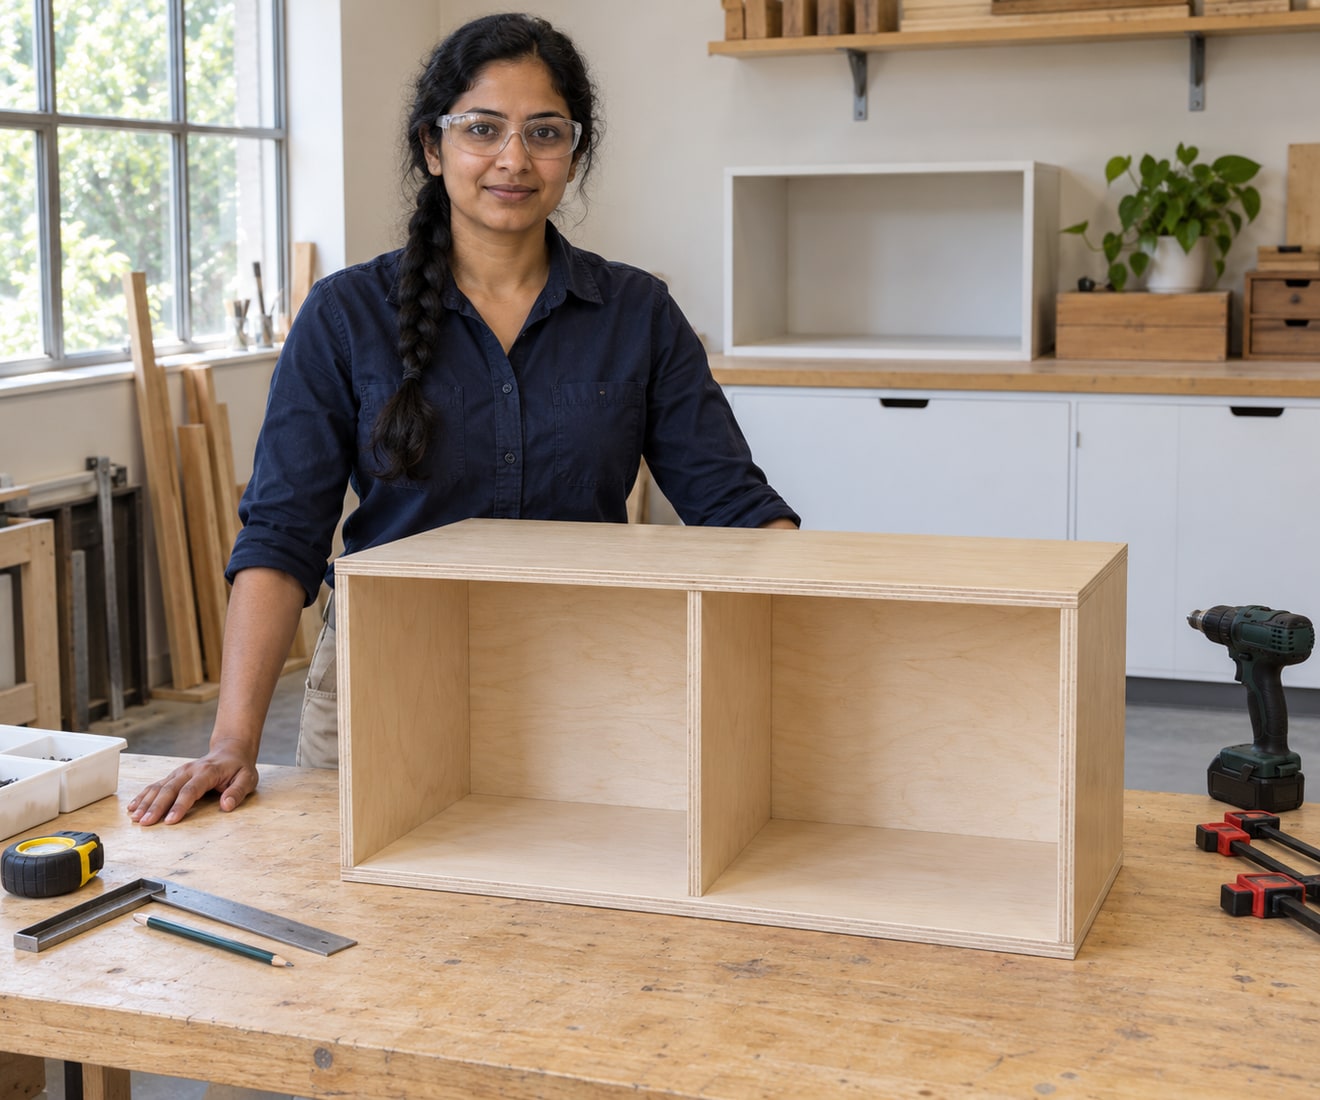
What will you learn?
Turn a measured shelf opening into a finished two-bay insert with an accurate cut list, pocket-hole joints, square back and compatible clear finish.
Tools
- Tape, square, pencil, thickness gauge and equal spacers; inside-reading allowance per the actual tapeSearch Amazon Egypt ↗
- Kreg320 or actual compatible pocket jig, correct stepped bit/collar and square driverSearch Amazon Egypt ↗
- Drill/driver with clutch, suitable clamps and flat protected benchSearch Amazon Egypt ↗
- Hammer and panel-pin holder; hand-sanding block, dust collection and suitable PPESearch Amazon Egypt ↗
- Synthetic finish brush and suitable cleanup suppliesSearch Amazon Egypt ↗
Materials
- Supplier-cut furniture plywood: two top/bottom panels, three equal uprights, matching scrap; actual thickness measuredSearch Amazon Egypt ↗
- Separate square6mm plywood back; example600×420mmSearch Amazon Egypt ↗
- Correct pocket screws: example eighteen32mm coarse-thread for verified19mm stock plus scrap-test sparesSearch Amazon Egypt ↗
- Interior wood glue for bare plywood;20×1.6mm panel pins for the documented6mm-back/19mm-frame example, plus scrap-test sparesSearch Amazon Egypt ↗
- Suitable abrasives and clear water-based furniture finish; example General Finishes High Performance, actual current instructions governSearch Amazon Egypt ↗
Step by step
Photorealistic illustration · Waey
1. Design the insert around the real shelf and baskets
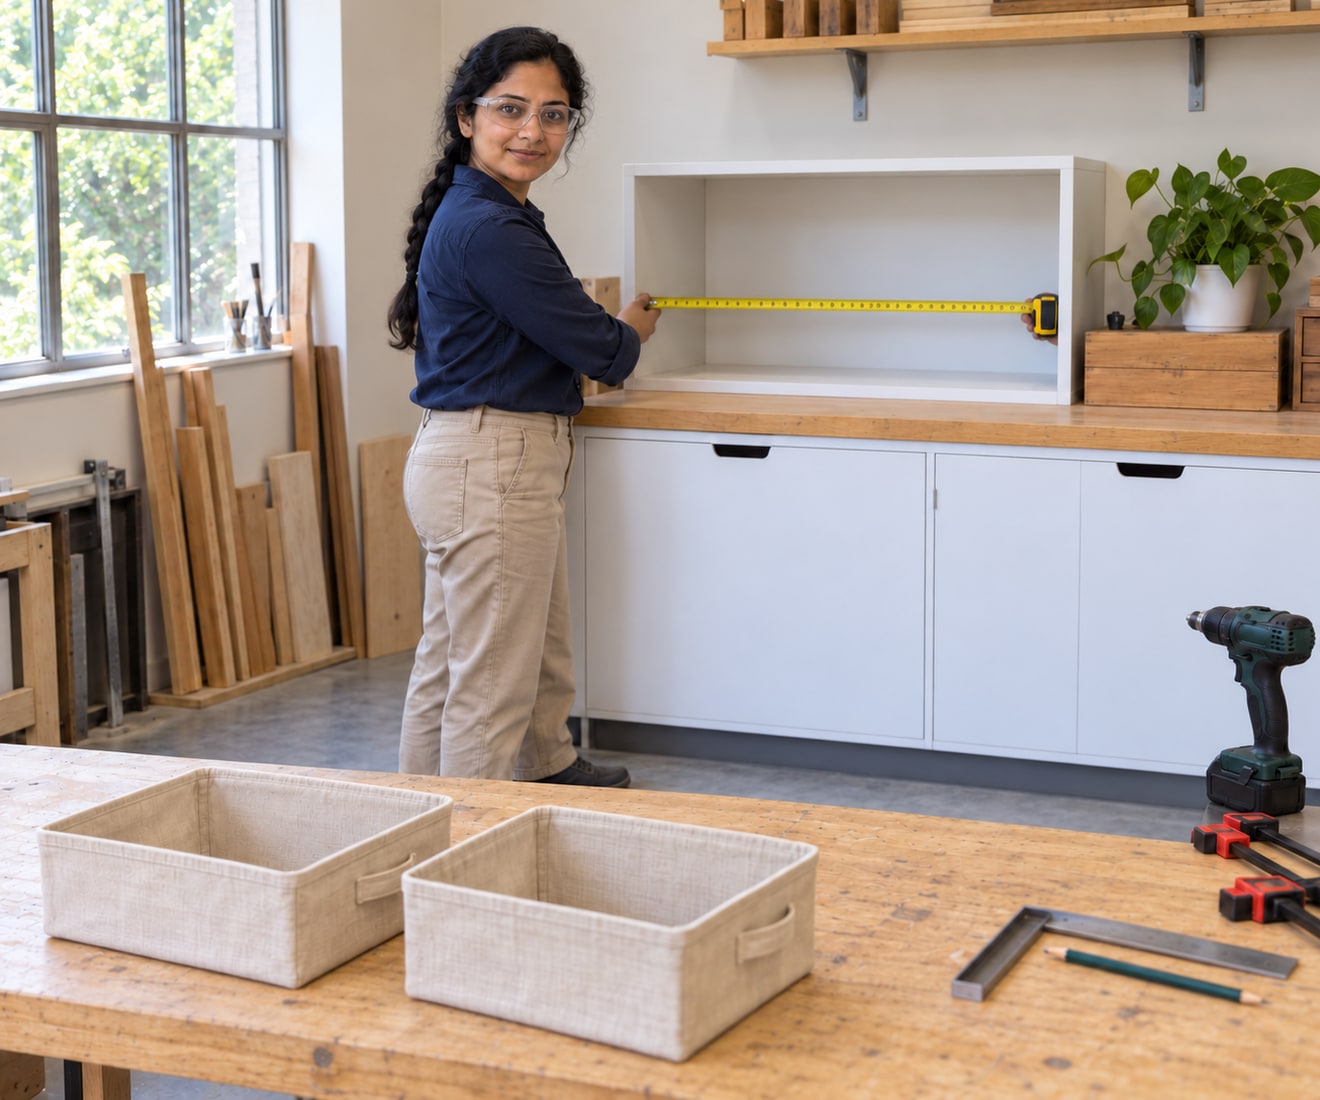
Empty the existing shelf and confirm that its cabinet is secure, sound and suitable for the added insert and intended light contents. Measure the narrowest opening, rear obstructions, door sweep and usable depth, not just the front width. Measure the baskets at their widest rims and handles. Plan a removable two-bay insert with working clearance around it and space to grasp each basket. Stop if the shelf sags, its support is uncertain or a door would strike the insert; this project does not reinforce an existing cabinet. Use the tape maker’s inside-measurement method, including any case allowance; do not omit the case width.
Photorealistic illustration · Waey
2. Calculate the five main panels and separate back
Choose overall width W, height H and carcass depth D, using the actual panel thickness t. Top and bottom are W×D; both sides and the centre divider are (H−2t)×D. Each clear bay is (W−3t)/2 wide and H−2t high. For W600, H420, D280 and t19mm, order two600×280 and three382×280 panels, plus a6mm600×420 back. Overall depth becomes286mm. These are example dimensions, not a load rating. Recalculate for your measured stock and confirm baskets, finish and installation clearances before ordering.
Photorealistic illustration · Waey
3. Have the panels cut and check them before assembly
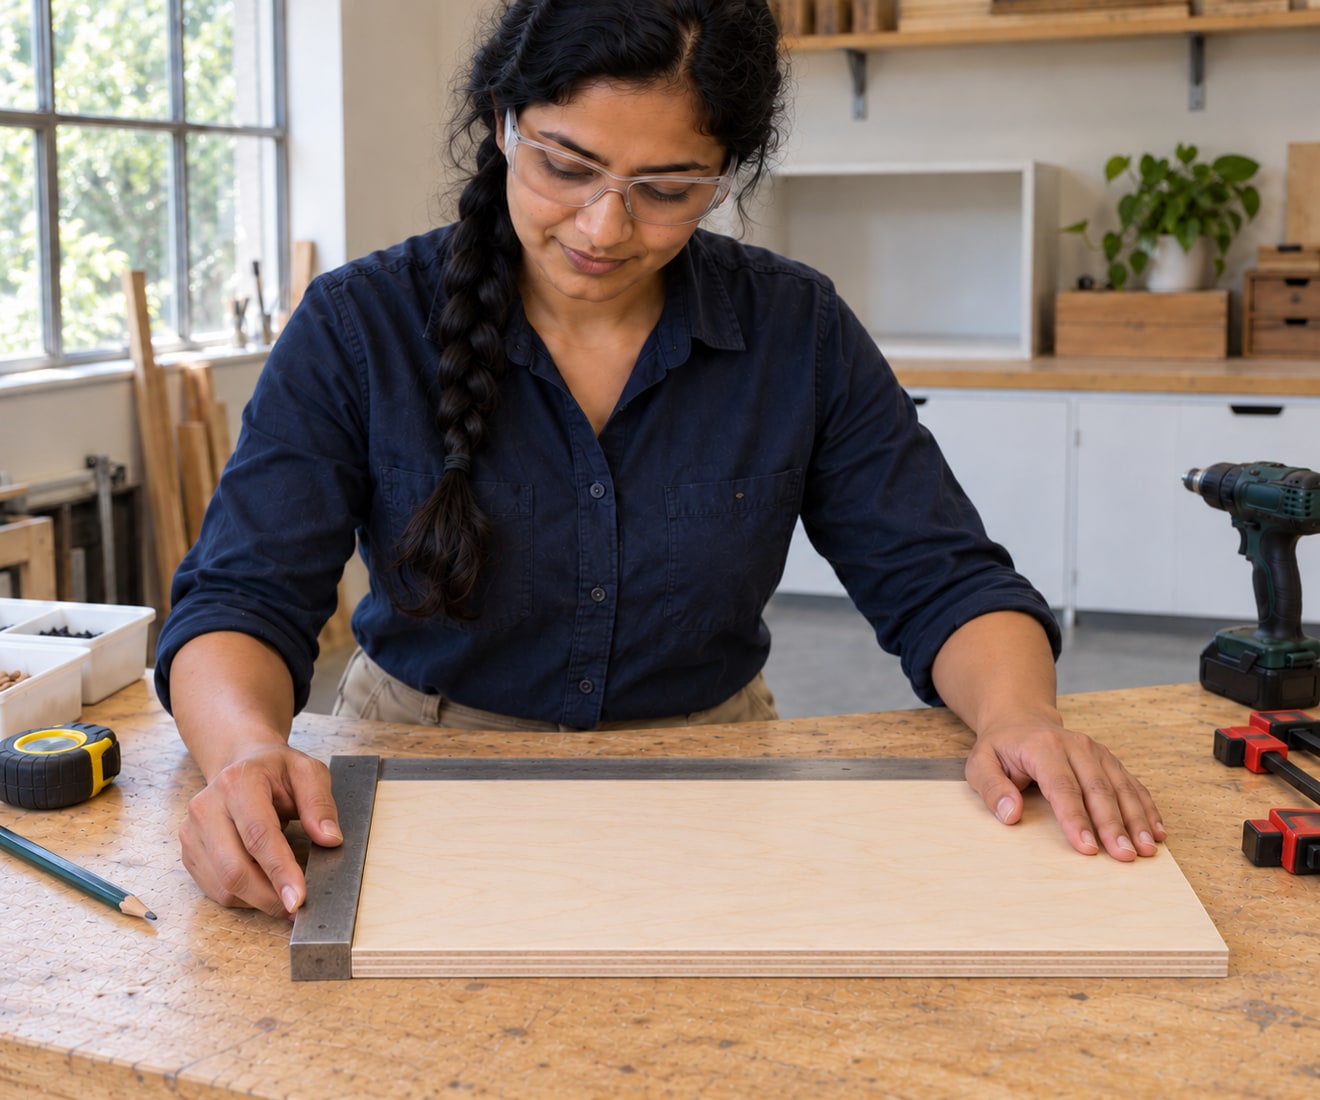
Order square, clean cuts from a competent timber supplier and specify finished dimensions, quantity and actual thickness. Cutting full sheets with powered saws is outside this version of the project. On delivery, compare matching panels, check corners with a square and inspect the plywood for voids, loose veneers or warping. Label top, bottom, left, right, divider and back on hidden faces. A skewed back cannot square the assembly properly. Have inaccurate parts corrected rather than pulling them into alignment with screws or enlarging holes.
Photorealistic illustration · Waey
4. Dry-fit the box and confirm tool access
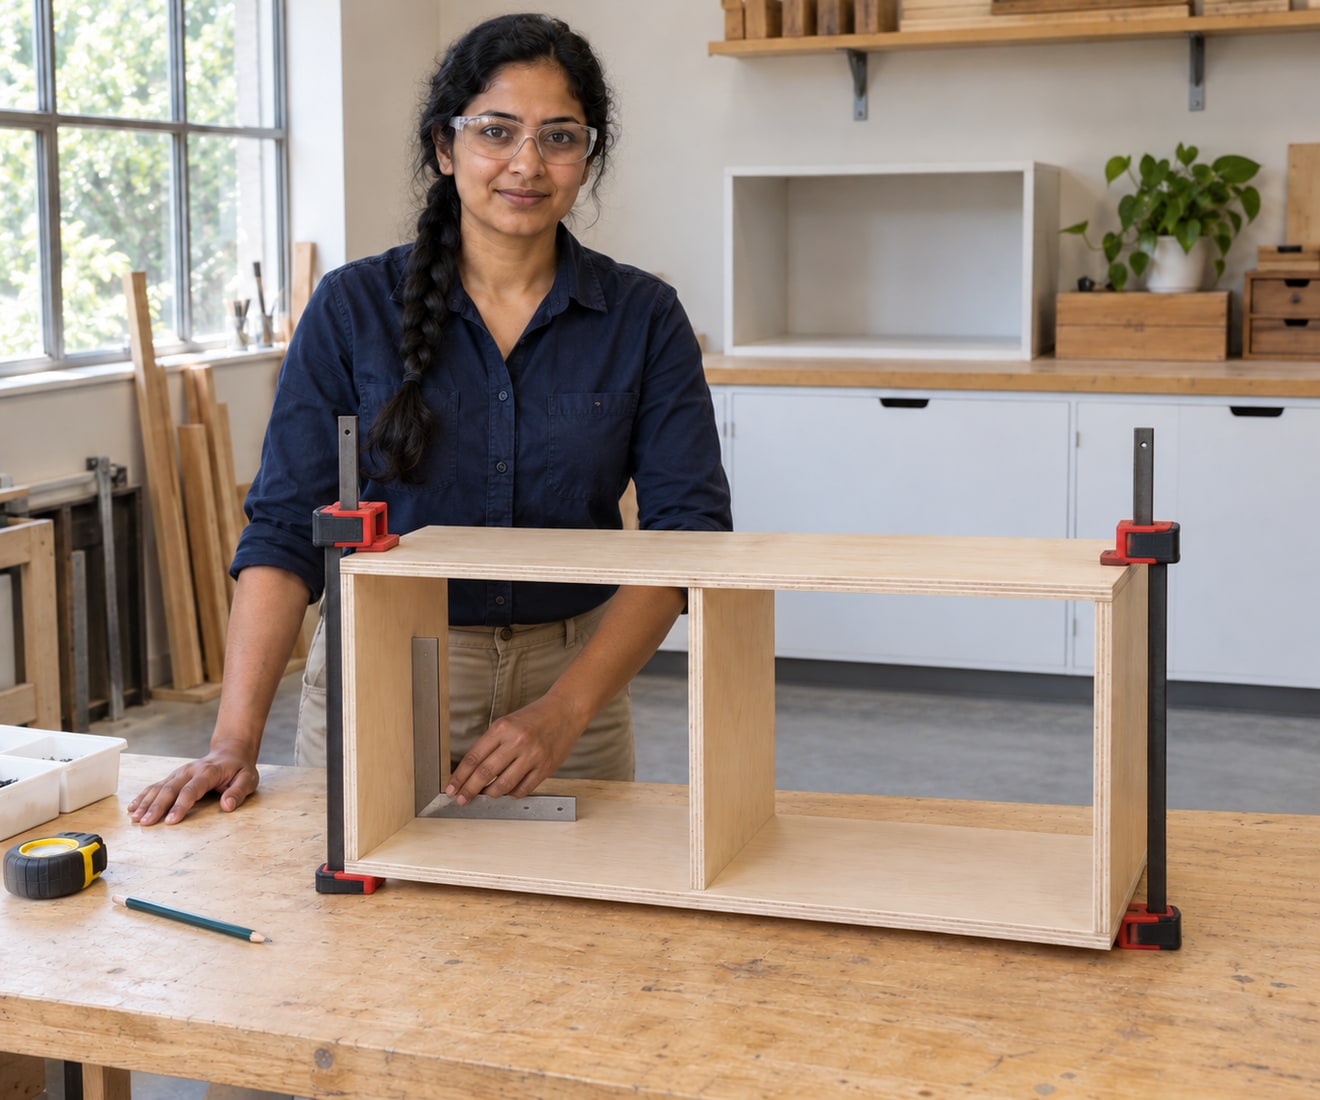
On a flat protected bench, clamp the three upright panels between the full-width top and bottom without glue. Align front edges and use equal spacer blocks to locate the divider. Confirm both openings and compare the outside diagonals. Place the unfastened square back against the rear to check its fit. Also trial the drill and square-drive bit at every proposed pocket screw: the tool must reach without forcing an angle. Change the assembly order or use a manufacturer-approved shorter bit if access is inadequate.
Photorealistic illustration · Waey
5. Set the pocket-hole jig and test a scrap joint
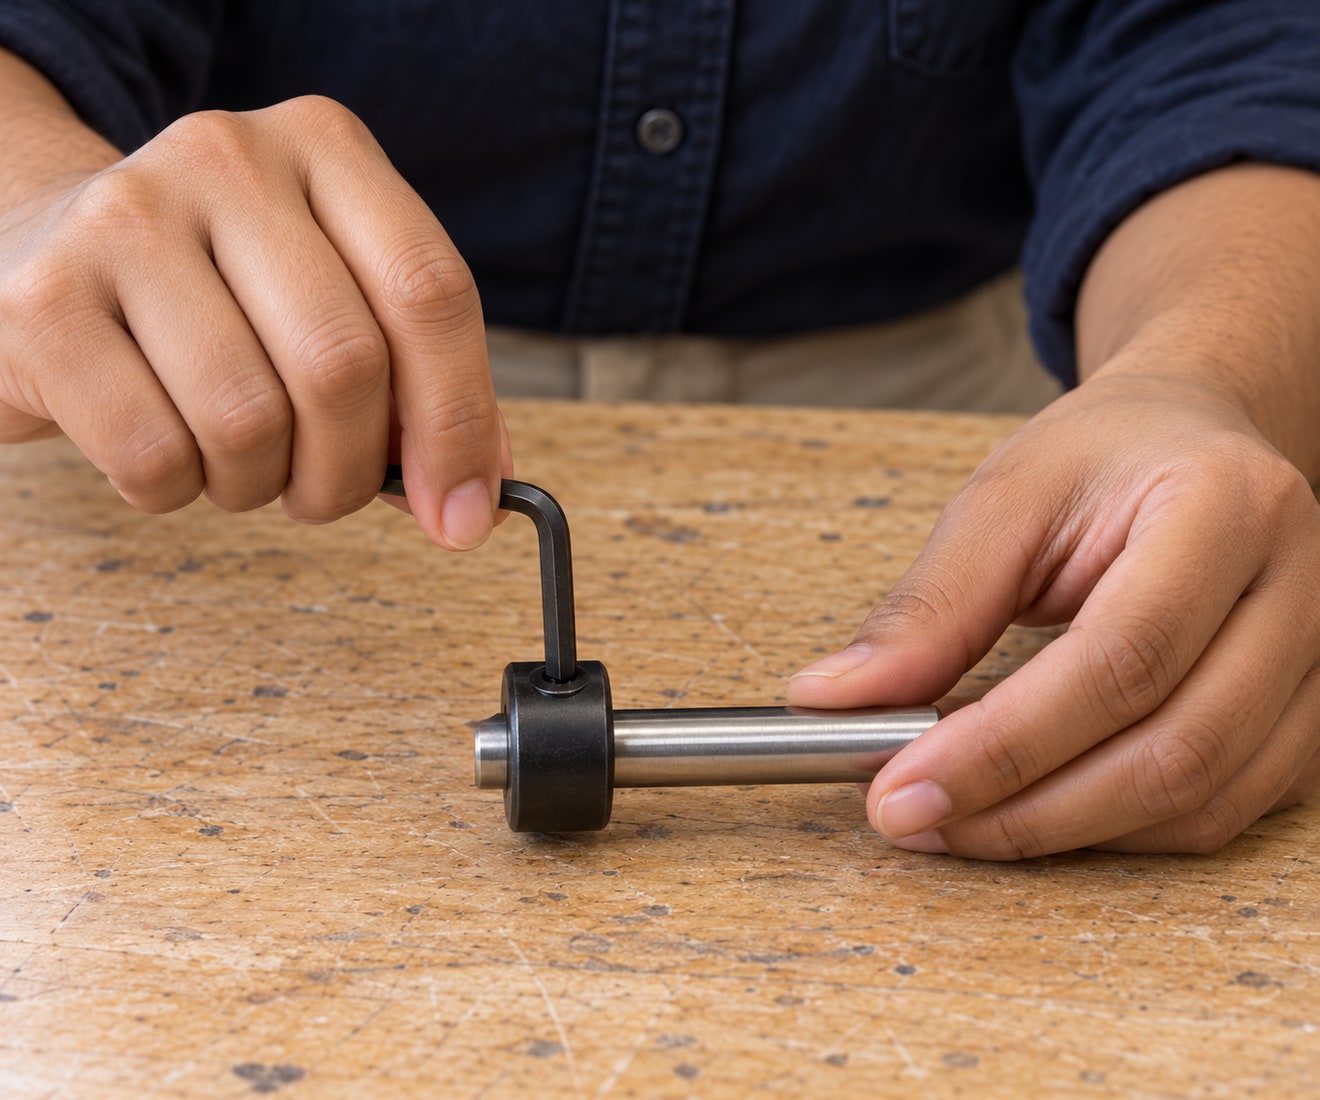
Use the actual jig manual to match the material gauge, depth collar, thickness stop and screw to the measured plywood. The documented Kreg320 example uses the19mm setup and32mm coarse-thread pocket screws for19mm stock. Do not apply that combination blindly to another thickness or jig. Clamp the jig and scrap securely, keep its chip outlet clear and use the drill maker’s settings with eye, hearing and suitable respiratory protection. Assemble a trial right-angle joint; reject breakthrough, loose seating, splitting or a gap before drilling the finished parts.
Photorealistic illustration · Waey
6. Drill the upright-panel pockets in the planned positions
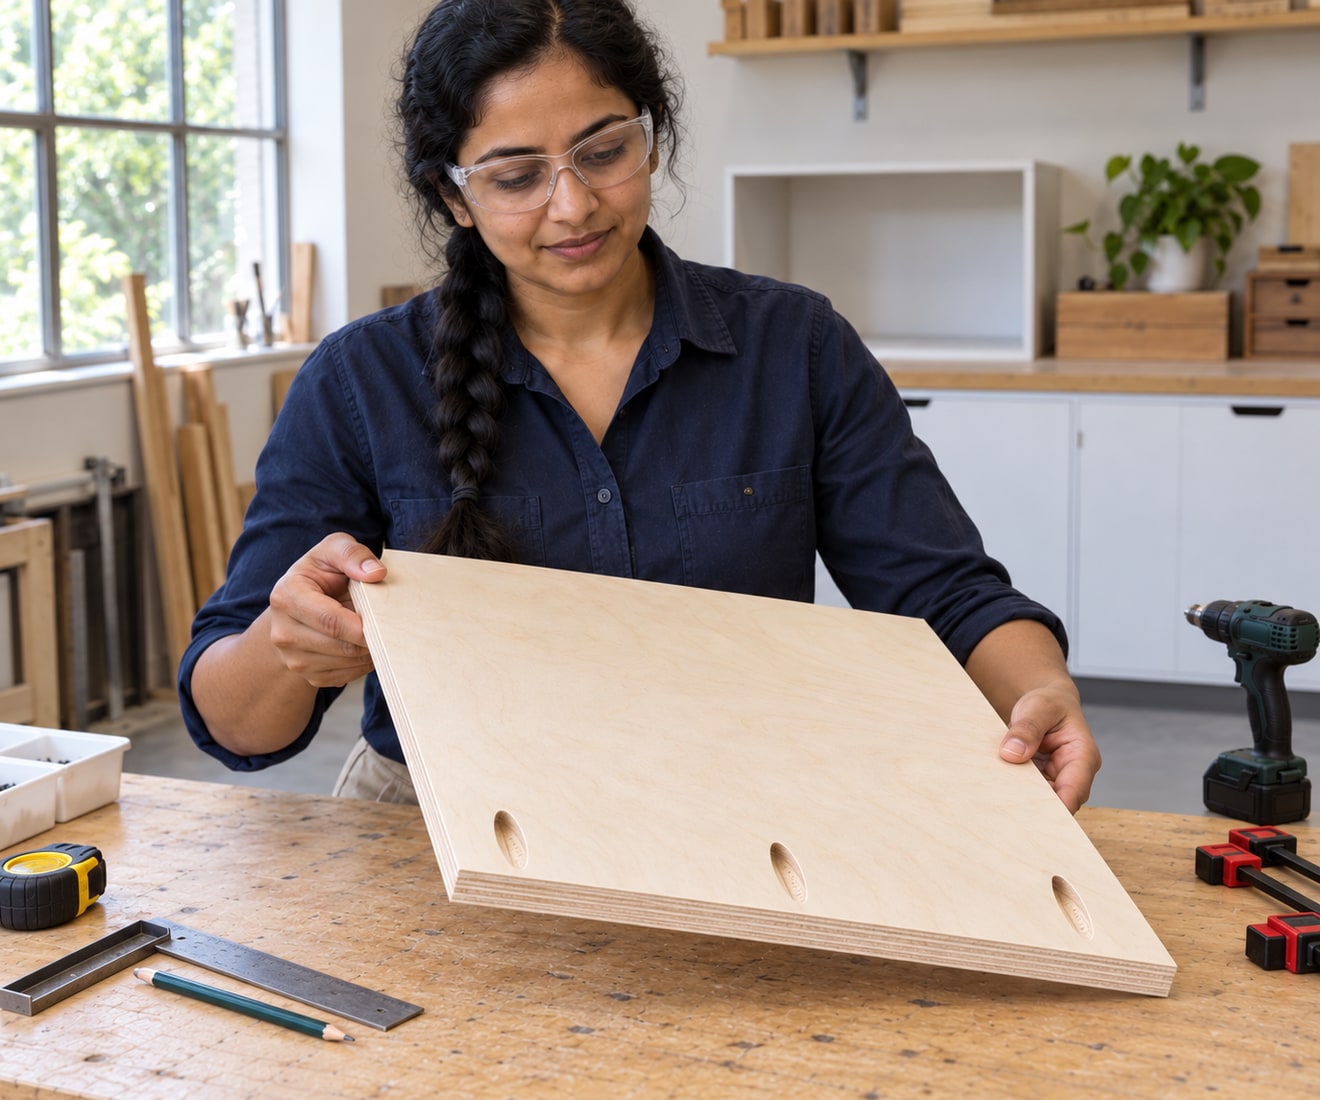
Mark pockets near both short ends of each side and the divider, on the faces selected during the dry run. Follow the jig’s edge-distance and spacing guidance; the280mm example uses three positions across each end, clear of corners and the future back fasteners. Secure the panel to the bench and clamp the jig at each position. Never hold the guide in place by hand while drilling. Drill to the correctly locked collar, clearing chips as instructed. Stop before repositioning, and inspect the eighteen pockets for tear-out or damaged veneer.
Photorealistic illustration · Waey
7. Join the sides and divider to the bottom
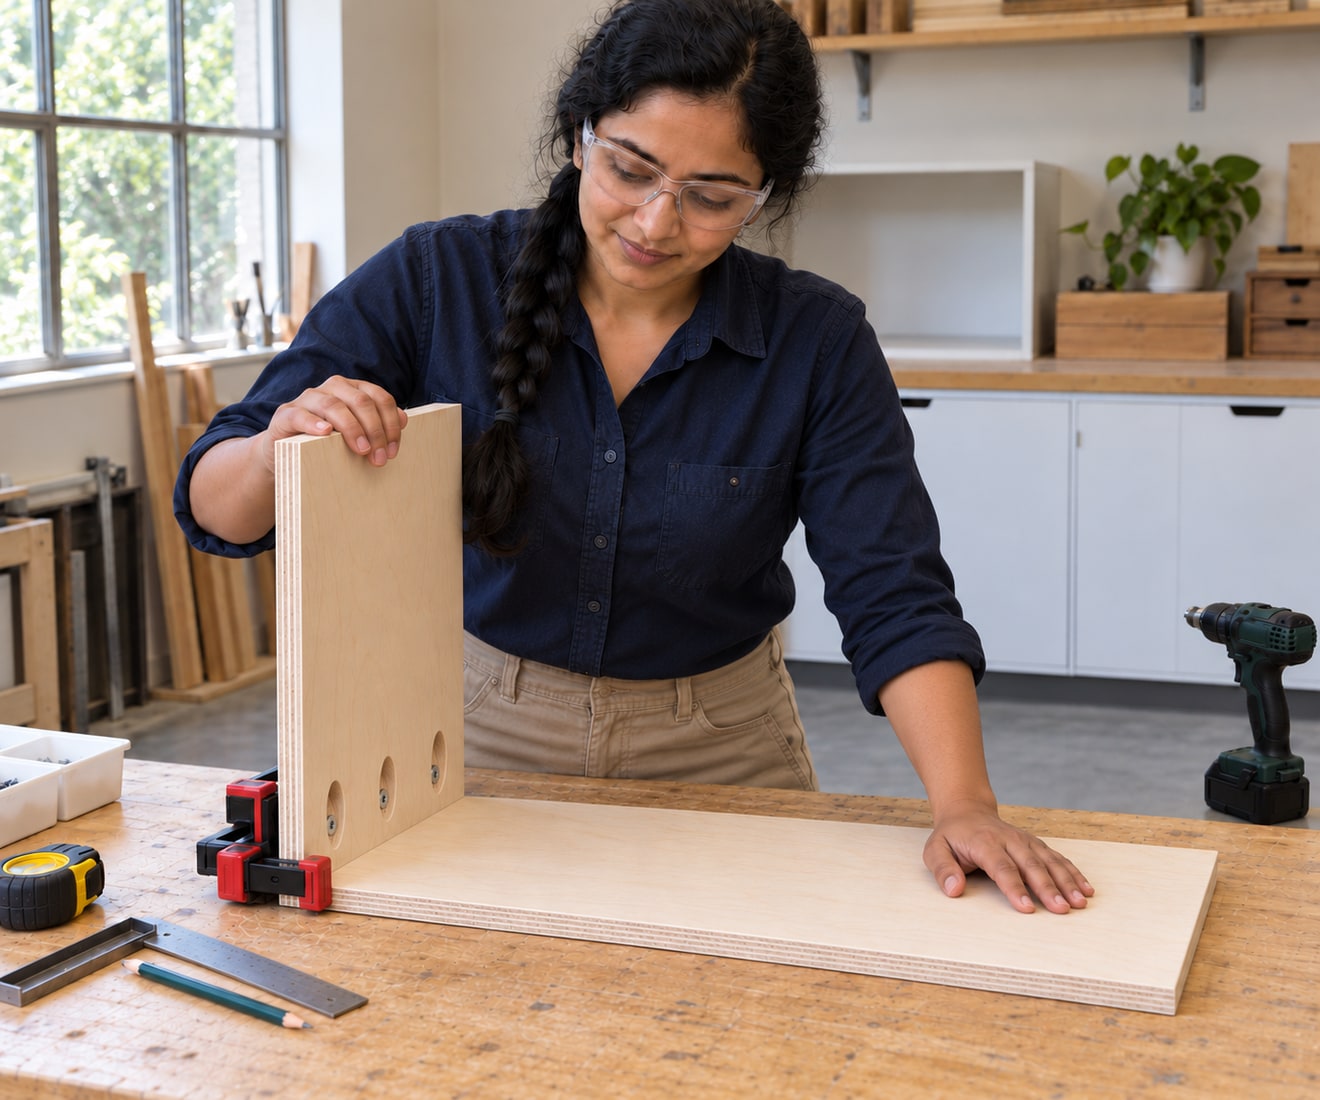
Dry-clean the mating bare-wood edges, then apply the selected interior wood glue as its instructions require. Work in manageable stages within its assembly time. Clamp each upright square to the bottom with front edges flush and the divider against the checked spacers. Drive the specified pocket screws with the correct square bit and controlled clutch setting, stopping when the heads seat. Screws hold alignment; extra torque cannot repair a poor fit. Recheck width, squareness and pocket seating after each joint, and remove squeeze-out using the glue maker’s method.
Photorealistic illustration · Waey
8. Fit the top and square the complete carcass
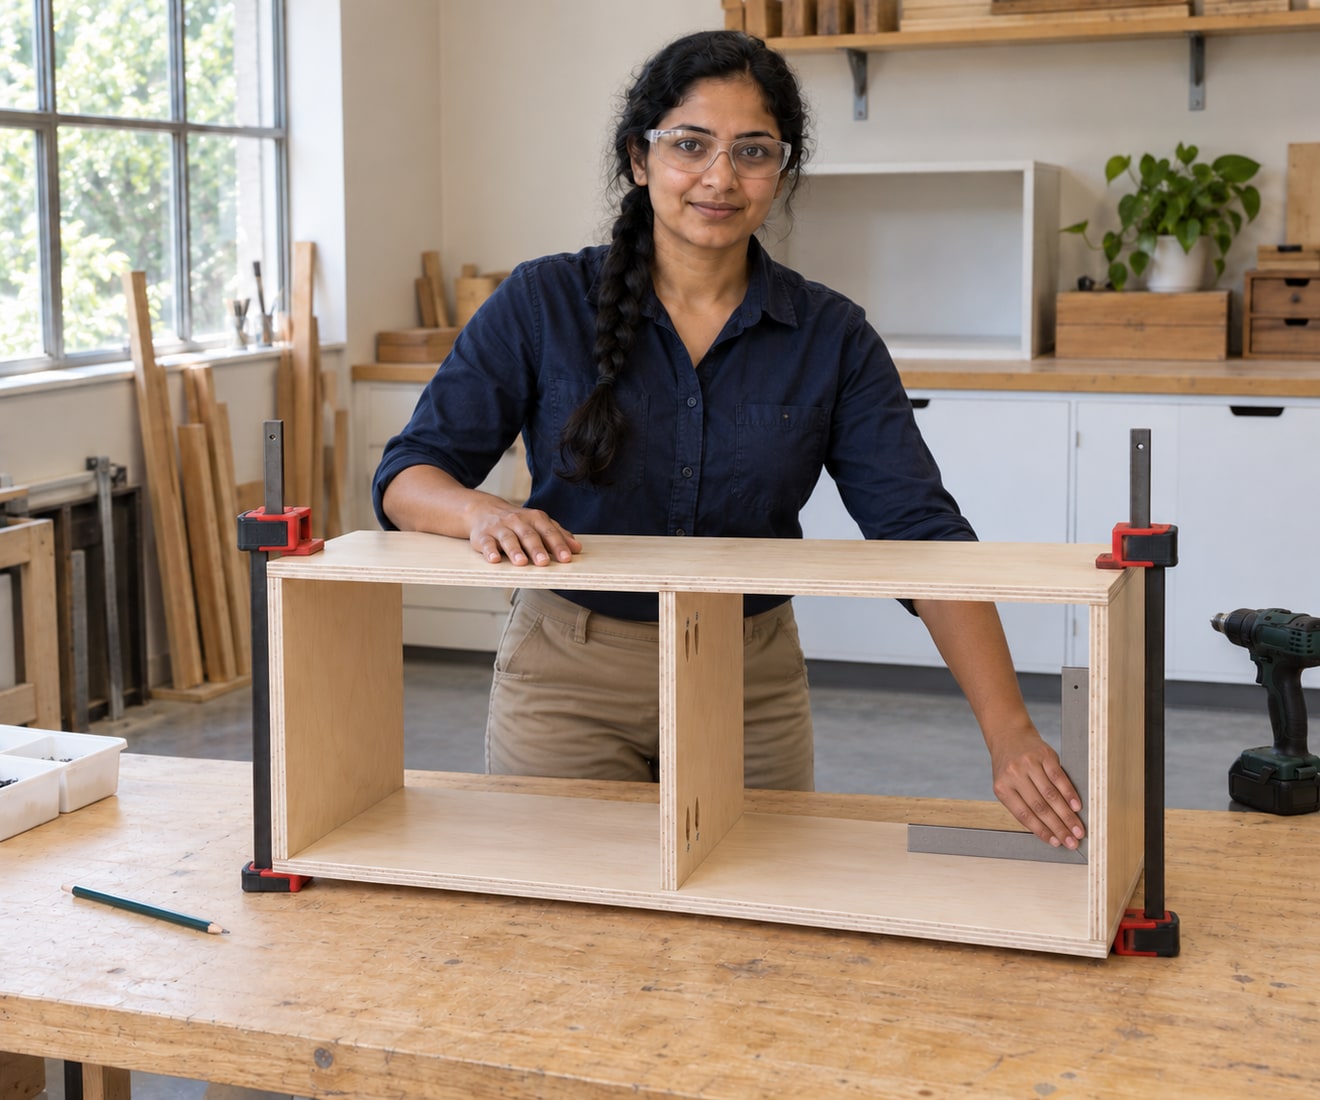
Set the full-width top onto the three upright ends, keeping the same front alignment and centre spacing. Clamp before driving the remaining pocket screws, and stop if the panels shift or a screw begins to strip. Compare the two outside diagonals again on the flat bench, then check each corner and both bay widths. Gently correct a small rack while the assembly remains adjustable; unequal diagonals caused by wrongly cut panels need corrected parts. Do not conceal an open joint with filler or use the back to force a distorted box square.
Photorealistic illustration · Waey
9. Attach the square back to resist racking
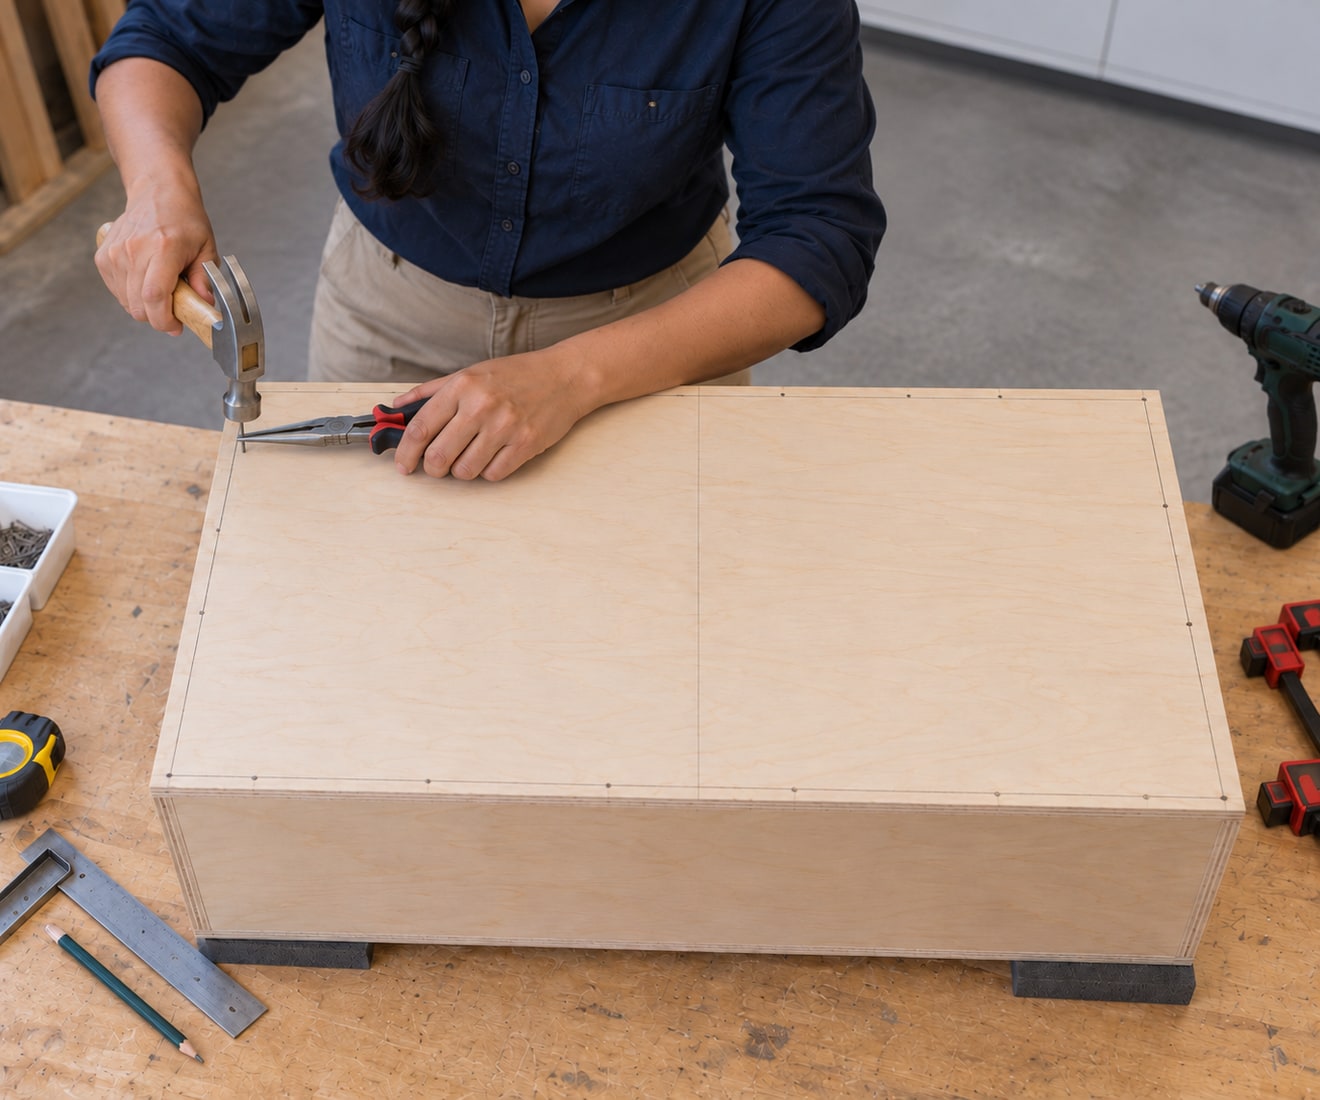
Support the squared carcass face-down on protective blocks. Fit the square6mm back flush to the perimeter and mark the centre lines of the19mm receiving edges and divider beneath it. The documented lightweight example uses20×1.6mm panel pins, trialled through matching scrap first. Position pins over receiving wood, clear of corners and pocket screws; work around the perimeter and divider while checking that the back remains flat. Hold each pin with a pin holder, keep it straight and use controlled hammer taps. Stop for splitting, a missed edge or an exposed point.
Photorealistic illustration · Waey
10. Prepare and finish the plywood without rounding joints
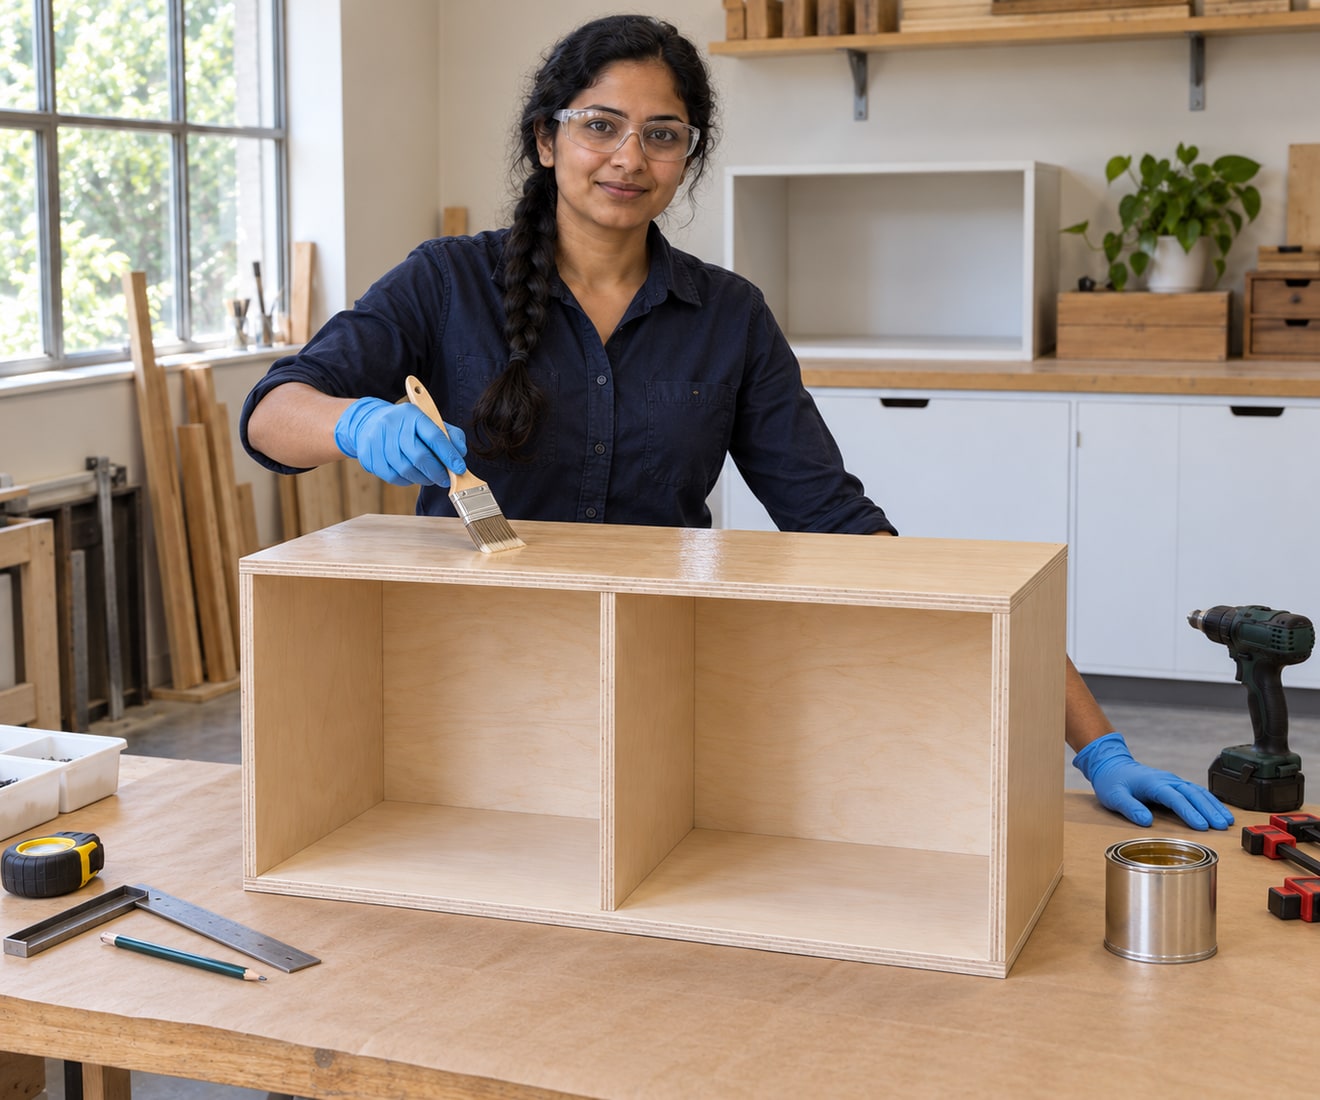
Wait for the adhesive’s required cure before stressing the assembly. Remove residue, lightly ease sharp exposed edges and sand the raw veneer without cutting through it; capture dust and use suitable protection. Test the complete clear-finish schedule on matching scrap. For the documented General Finishes High Performance example, prepare raw wood no finer than220grit, remove dust and brush2–3coats with the grain in suitable ventilation. Follow the current label for light sanding between coats and recoat readiness:2+hours is an ideal-condition example, not a hot/humid-room guarantee. Dry-to-touch and cured-for-use are different stages.
Photorealistic illustration · Waey
11. Fit the insert and check the finished storage
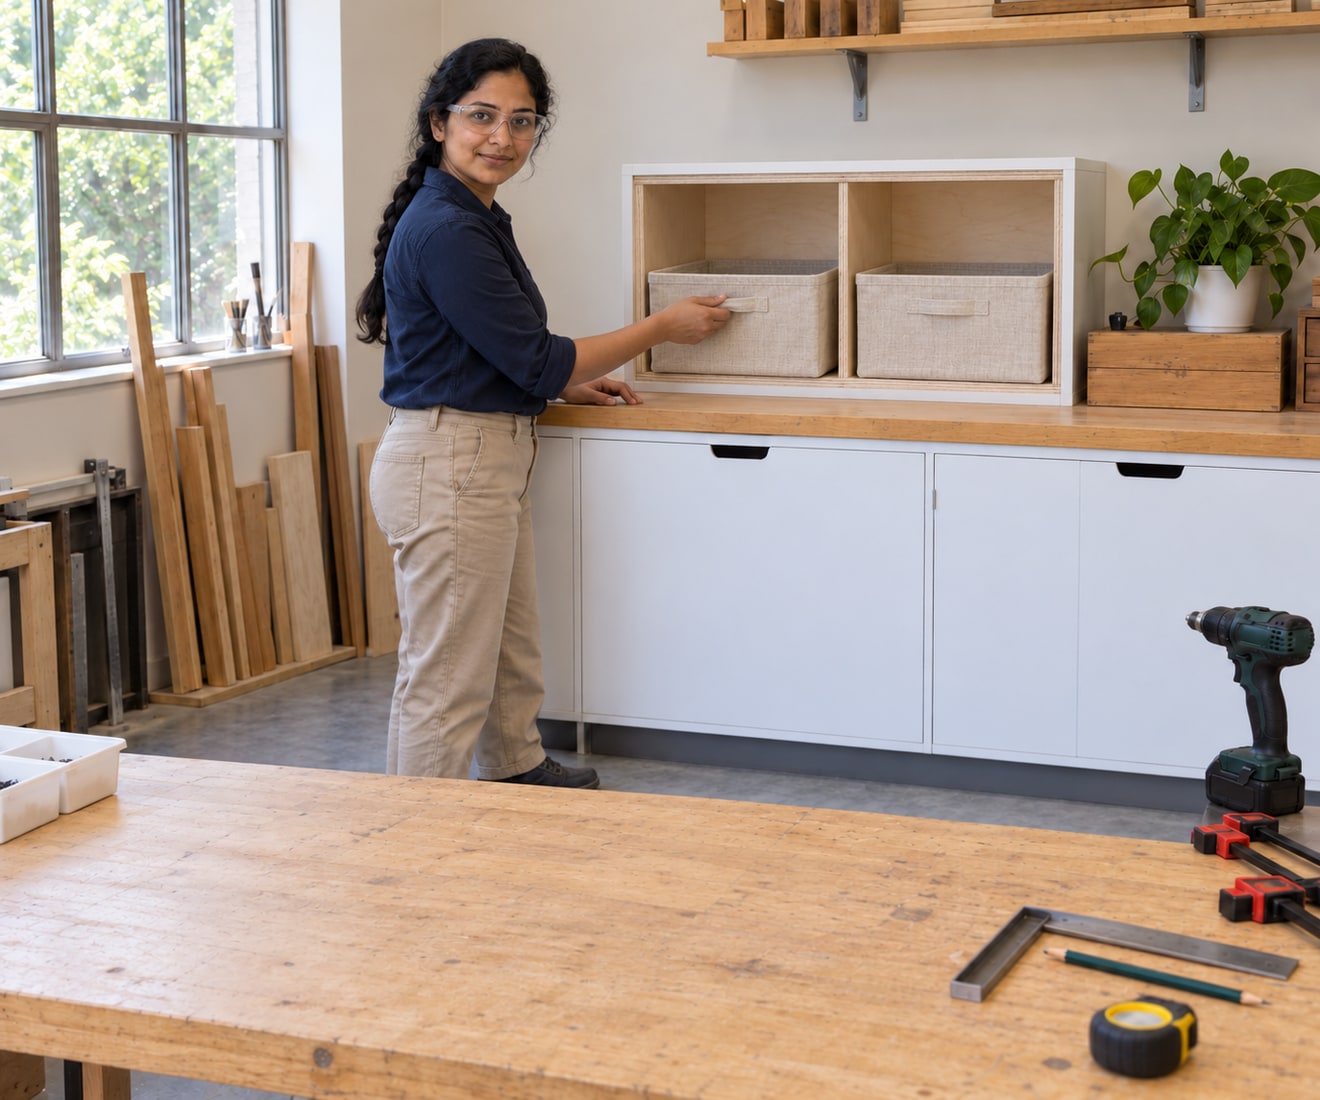
After the finish reaches the maker’s specified use condition, lift the empty insert with support underneath and slide it into the checked shelf opening without forcing it. Confirm full base support, rear clearance, unobstructed doors and no rocking. Test each empty basket, then add only the light contents planned for the sound existing shelf; inspect for movement, snagging and panel flex. This custom insert has no tested load rating and is not a step or seat. Remove it and correct a poor fit rather than wedging it against doors or relying on loose packing. For this finish, the maker lists7–10days to light use and21days to cure; protect it from basket friction until the applicable interval has passed.
Video demonstrations
DIY Closet Upgrade
Original cubby build and pocket-joint assembly; larger closet installation, face frames and wall fixing are outside this removable insert.
Oak Hill Millworks · English
Watch on YouTube ↗How to Build Your Own DIY Kitchen Cabinets--Using Only Plywood!
Plywood box assembly and square fitted backs; kitchen dimensions, doors, cabinetry installation and powered cutting are different projects.
Shara Woodshop Diaries · English
Watch on YouTube ↗How to Use a Kreg Pocket Hole Jig 320
Exact Kreg320 setup, thickness gauge, collar, clamping and driving demonstration. Follow your actual manual and scrap trial, not another jig’s settings.
Scott Saws on Skates · English
Watch on YouTube ↗Final checks
Square, stable, fully supported insert; sound joints and back, no exposed points, baskets and doors move freely, finish cured before contact. No tested load rating.
Sources
Kreg actual-thickness and screw selection ↗
Oak Hill Millworks original closet cubbies ↗
Woodshop Diaries plywood box and square back method ↗
Titebond glue use and cure guidance ↗
General Finishes current High Performance preparation and application ↗
Original photorealistic illustrations by Waey. Videos belong to their credited creators.