
Repair a stripped interior-door hinge screw hole
Restore sound wood beneath a loose hinge with a fitted dowel, controlled pilot drilling and a fully cured glue joint, then refit and test the door.
What will you learn?
Restore sound wood beneath a loose hinge with a fitted dowel, controlled pilot drilling and a fully cured glue joint, then refit and test the door.
Tools
- Matching hand screwdriver; stable purpose-made door support or firm non-slip timber wedgesSearch Amazon Egypt ↗
- Drill, matched wood bit, secure depth collar and suitable centred pilot bitSearch Amazon Egypt ↗
- Fine flush-cut saw; measuring rule; small wood-holding clamp for cutting loose dowelSearch Amazon Egypt ↗
- Vacuum, eye protection and finish-protection sheetSearch Amazon Egypt ↗
Materials
- Clean hardwood dowel matched to the repair holeSearch Amazon Egypt ↗
- Interior wood adhesive suitable for bare timber, used to its labelSearch Amazon Egypt ↗
- Sound original hinge screws or verified matching replacementsSearch Amazon Egypt ↗
- Fine sandpaper, masking tape and a clean damp clothSearch Amazon Egypt ↗
Step by step
Photorealistic illustration · Waey
1. Diagnose lost screw grip before changing the alignment
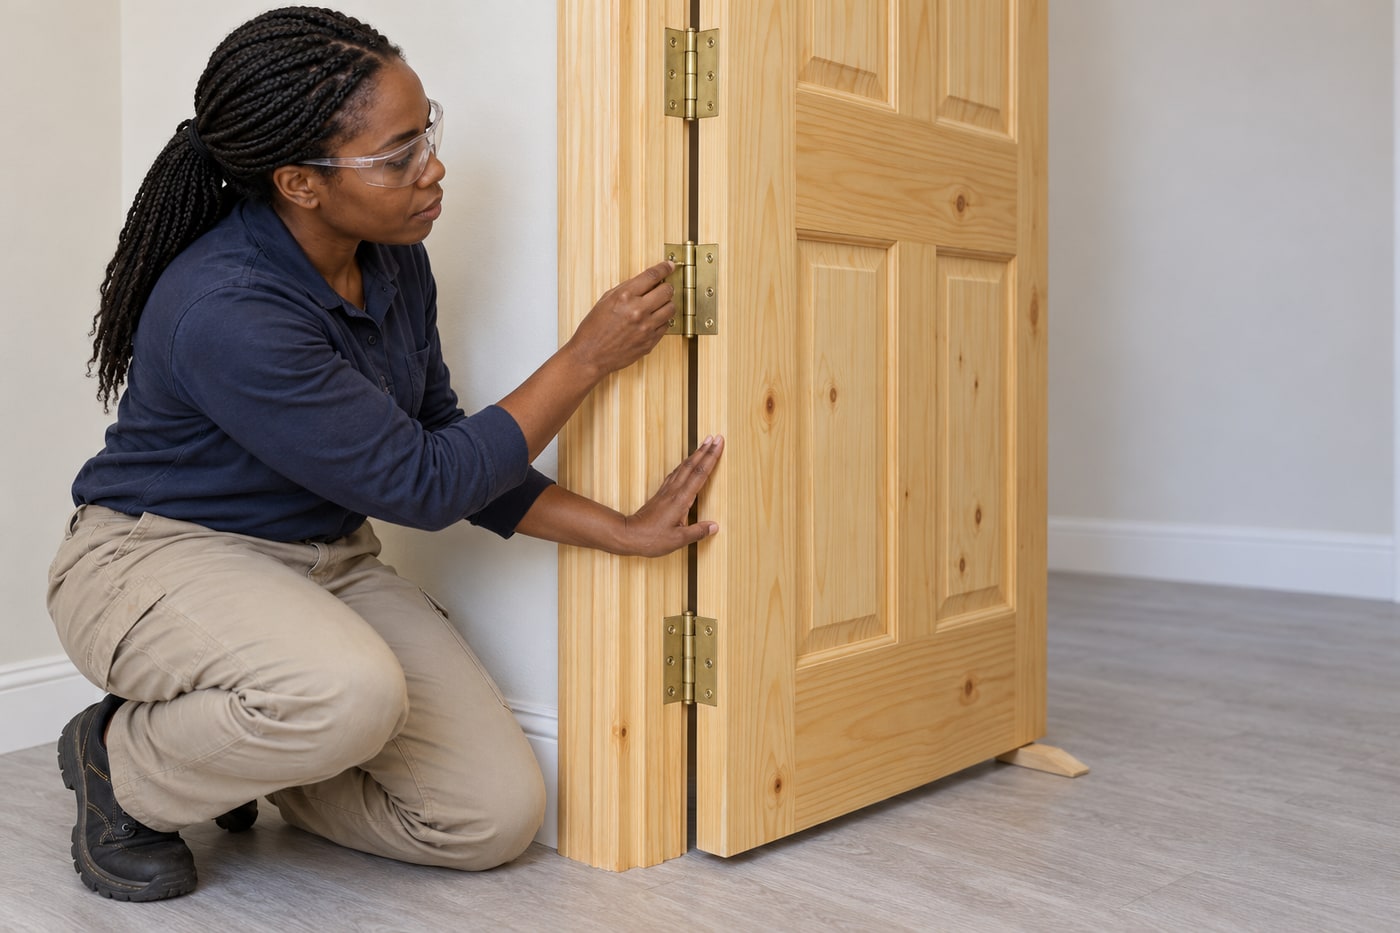
Open the door slowly and identify which hinge leaf actually moves against its timber. A screw that turns without drawing the leaf tight suggests stripped wood; a bent hinge, loose pin, split jamb or several failing hinges needs a different repair. This project repairs one stripped frame-side hole on a light, ordinary interior timber door with otherwise sound fixings. Do not plane the door or move its latch to disguise sagging caused by a loose hinge. Check that the surrounding wood is firm and dry.
Photorealistic illustration · Waey
2. Support and immobilise the door
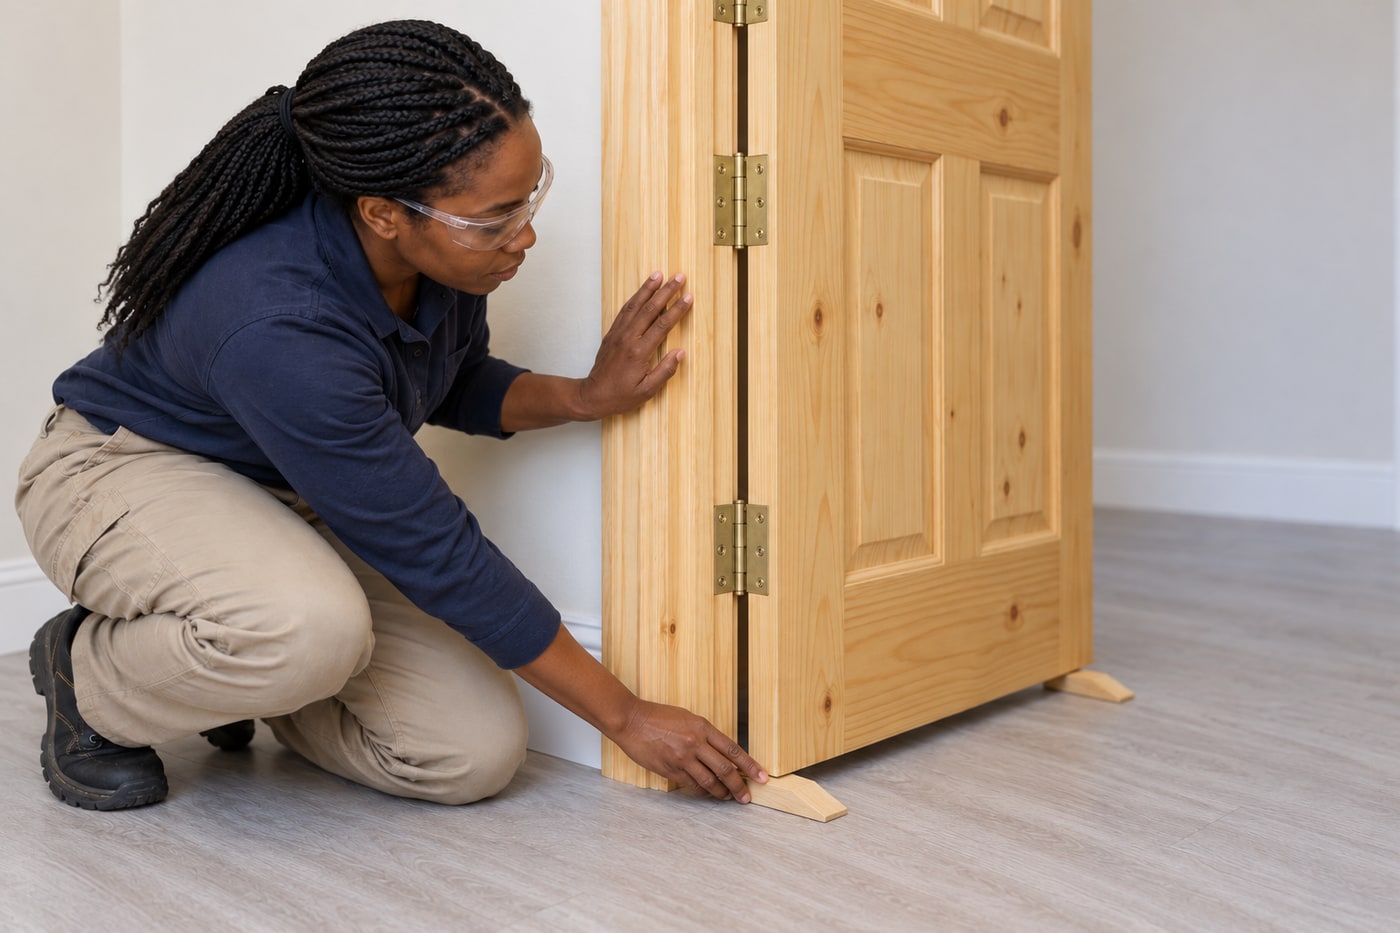
Keep the door open at a comfortable working angle. Set a purpose-made door support or firm, non-slip timber wedges beneath its outer bottom corner, taking up the weight without lifting it out of alignment. Prevent the door swinging in either direction and keep the passage closed to other people. Check the support cannot slip when you gently release your hand. The other hinges remain fully attached throughout; if the door cannot be held securely, arrange competent help before releasing a hinge leaf.
Photorealistic illustration · Waey
3. Release only the affected frame-side leaf
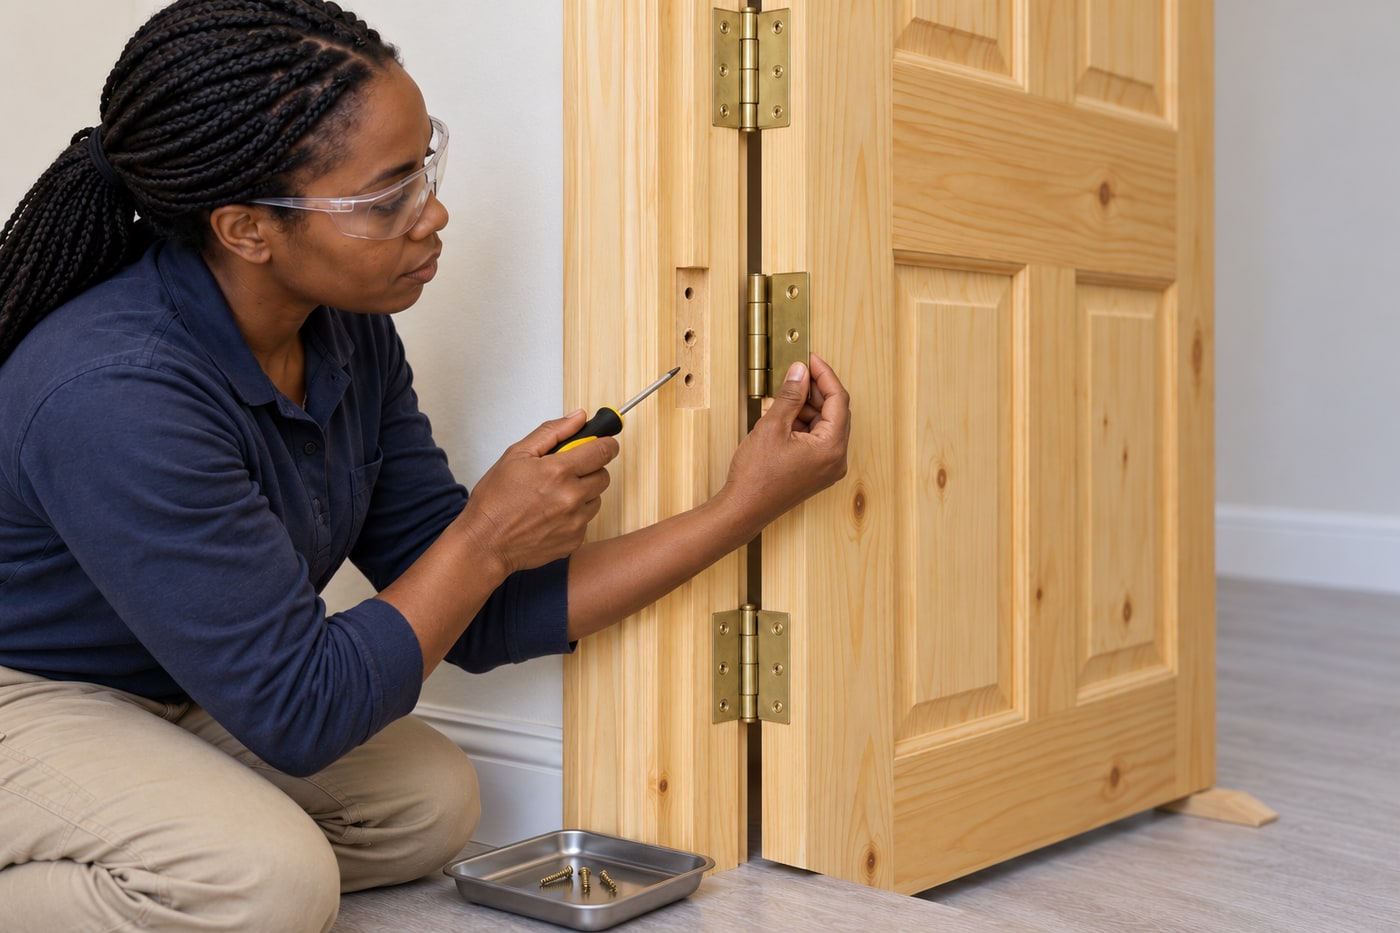
Use a hand screwdriver that fully fits the screw recess. Remove the screws from the affected frame-side leaf, keeping them together, then fold that leaf away from the jamb while its pin and door-side leaf stay attached. Leave the other hinges untouched. Inspect the exposed recess and the damaged hole. Stop for cracked, soft or extensively missing timber, an elongated hinge recess or several failed fixings. Keep the original screws in their removal order so you can compare their condition and return sound matching fasteners to the same positions.
Photorealistic illustration · Waey
4. Choose a matched plug and a verified drilling depth
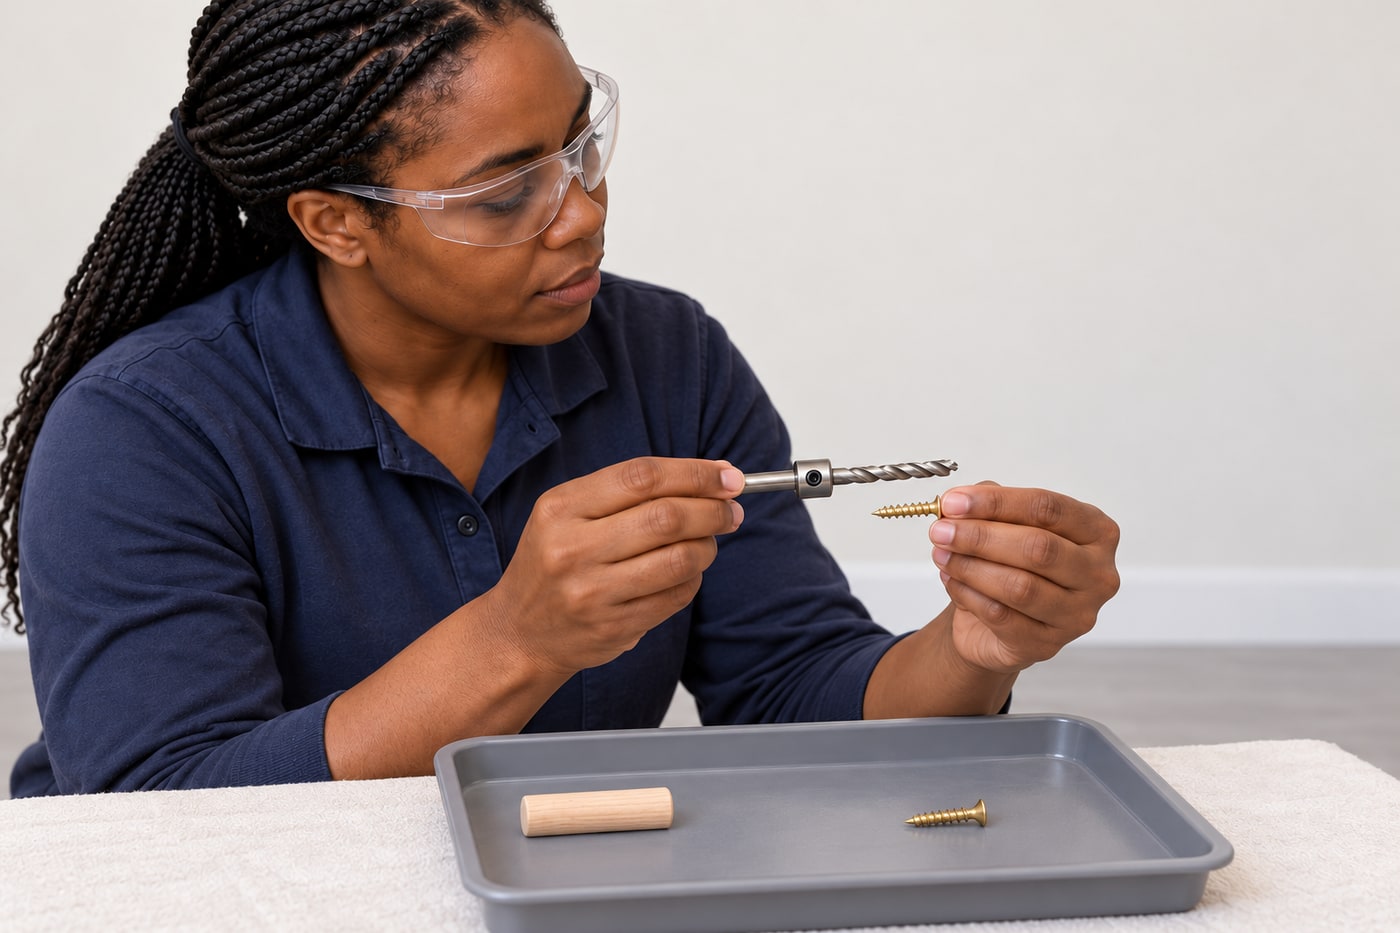
Select a clean hardwood dowel and matching wood-drill diameter that remove the damaged fibres while leaving sound timber around the hole. A roughly 6 mm plug is an example, not a universal specification. Establish a safe depth from the known timber construction and original fixing before drilling; fit a secure depth collar and account for the drill-point length. Do not probe deeper to find something solid or copy a video’s long screws into an unknown frame. Unknown depth or possible concealed services requires assessment first.
Photorealistic illustration · Waey
5. Bore squarely and dry-fit the repair
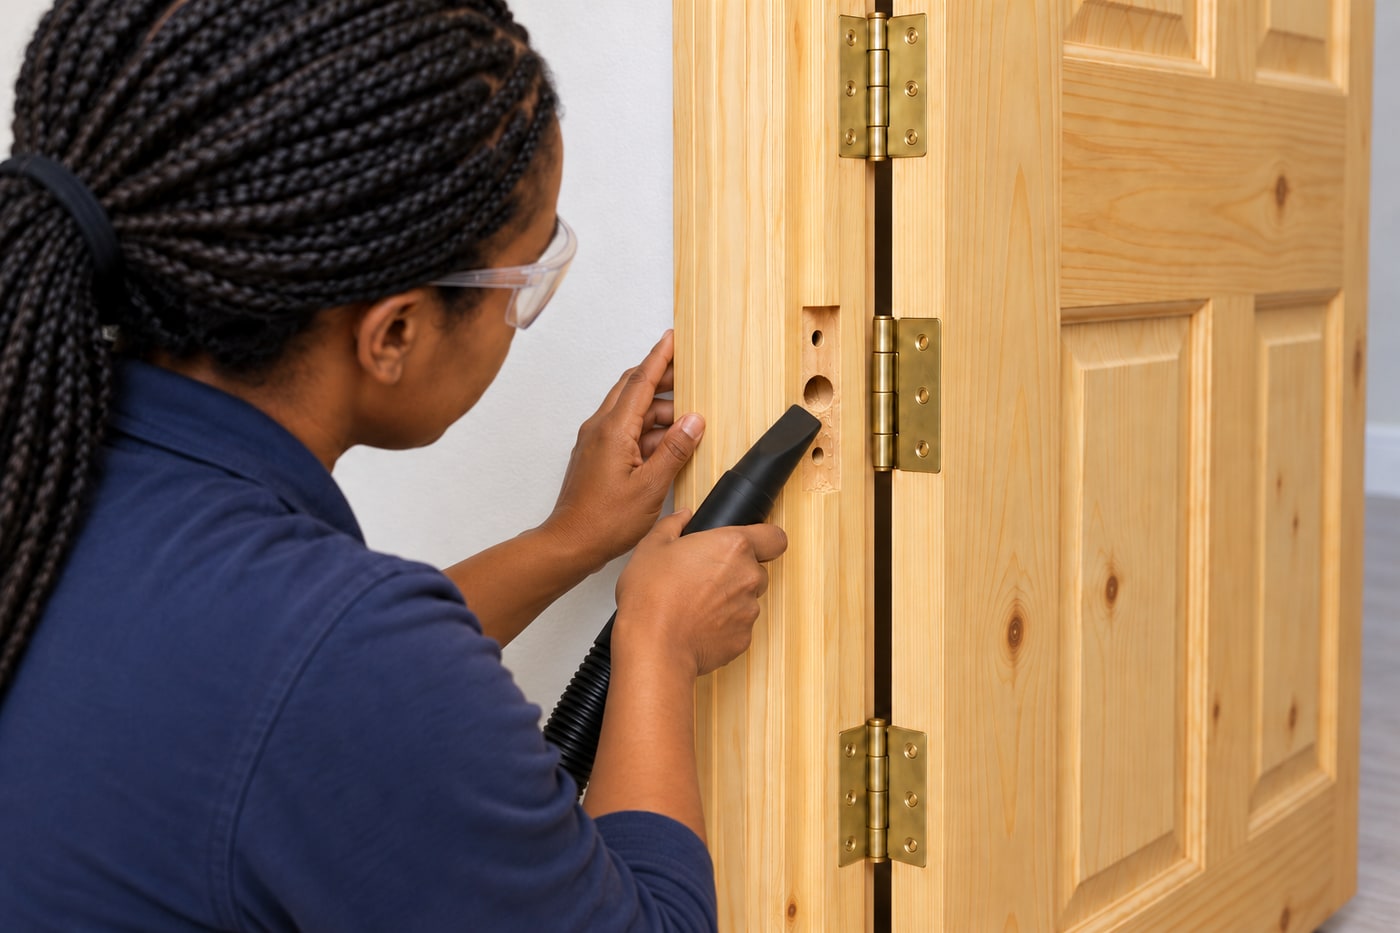
Wear eye protection and hold the drill square to the hinge recess. Enlarge only the stripped hole, stopping at the preset depth; keep your free hand clear of the bit and never hold a rotating chuck. Vacuum out the loose chips. Cut a dowel to fit the measured hole without bottoming out, allowing a small projection for trimming. Test for a snug fit that can be inserted without heavy hammering. A forced oversize plug can split the jamb, while a loose plug leaves an unreliable glue joint.
Photorealistic illustration · Waey
6. Glue the plug and allow a full unloaded cure
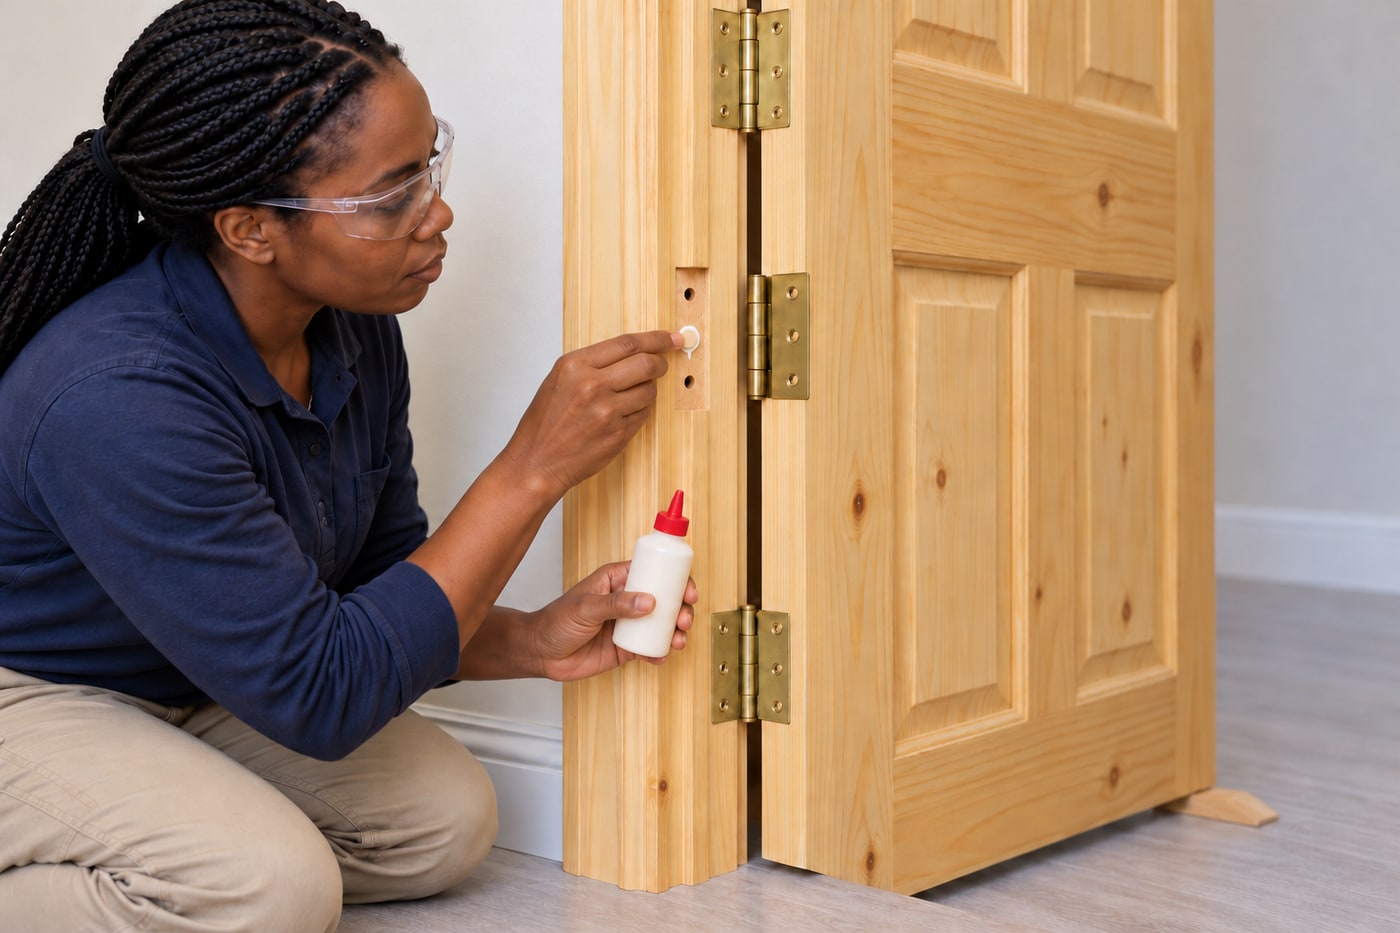
Remove the test plug and coat its mating wood surfaces evenly with a suitable interior wood adhesive, following that product’s instructions. Insert it gently, maintain the required contact and wipe away wet squeeze-out before it hardens. Keep the door supported, immobilised and unavailable for use throughout curing. Surface dryness does not mean the repair can carry hinge load: Titebond advises not stressing its wood-glue joints for at least 24 hours. Use the actual adhesive’s curing conditions and longer waiting time where required; do not reinstall and load the screw while wet.
Photorealistic illustration · Waey
7. Trim the cured plug without deepening the recess
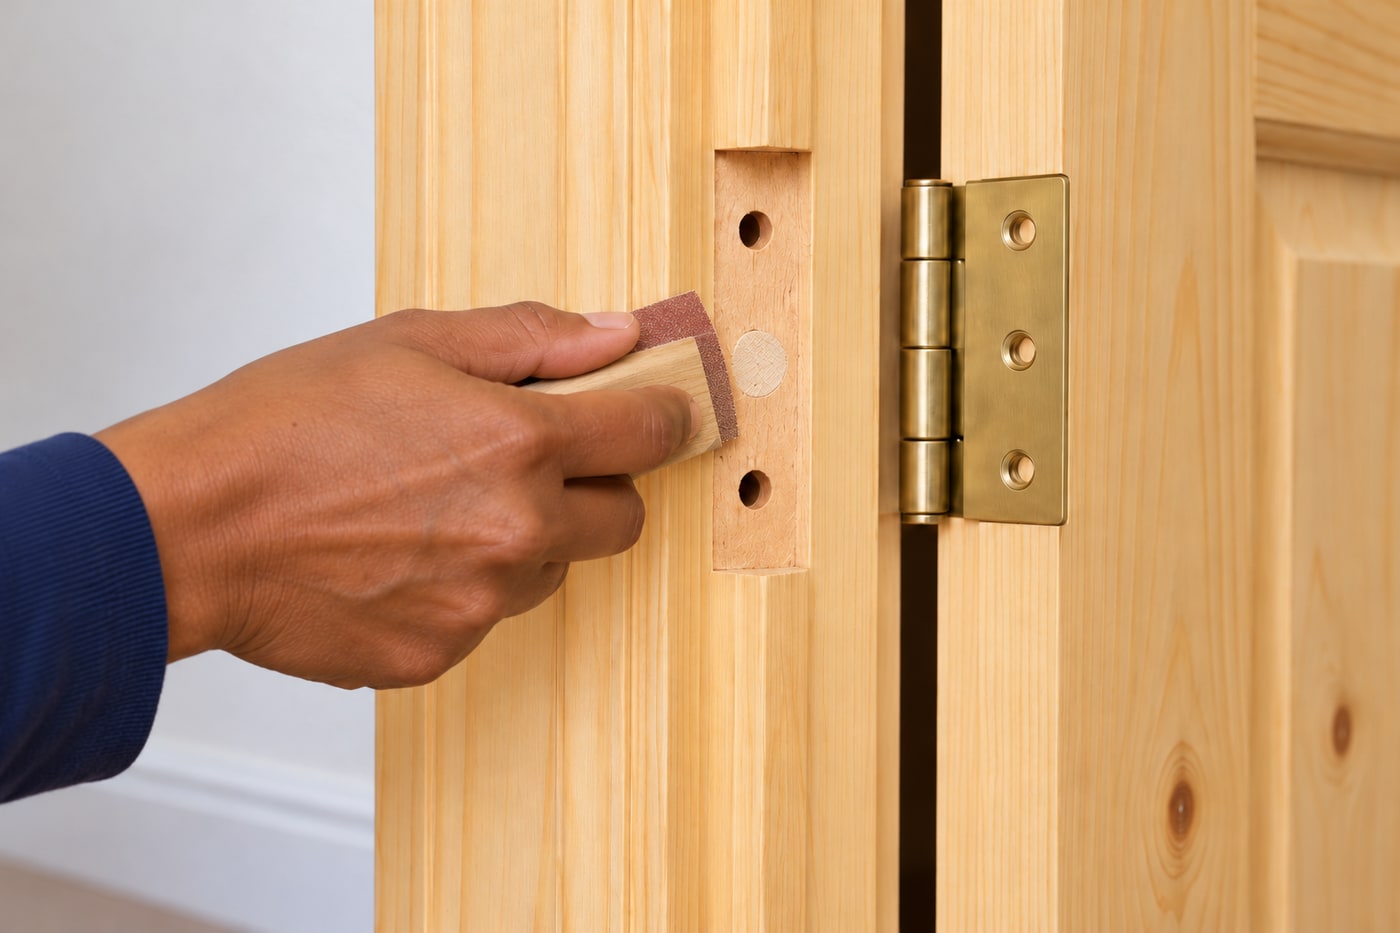
After the specified cure, protect the adjacent finish and use a fine flush-cut saw to remove the projecting dowel. Keep fingers away from the cutting line and avoid dragging the teeth across the finished jamb. Lightly hand-sand just enough to make the plug level with the original hinge seating surface, then vacuum the dust. Do not carve a deeper hinge pocket or remove surrounding timber to make the repair look tidy: changing that seating depth can create a new binding problem.
Photorealistic illustration · Waey
8. Centre a pilot hole and refit the hinge
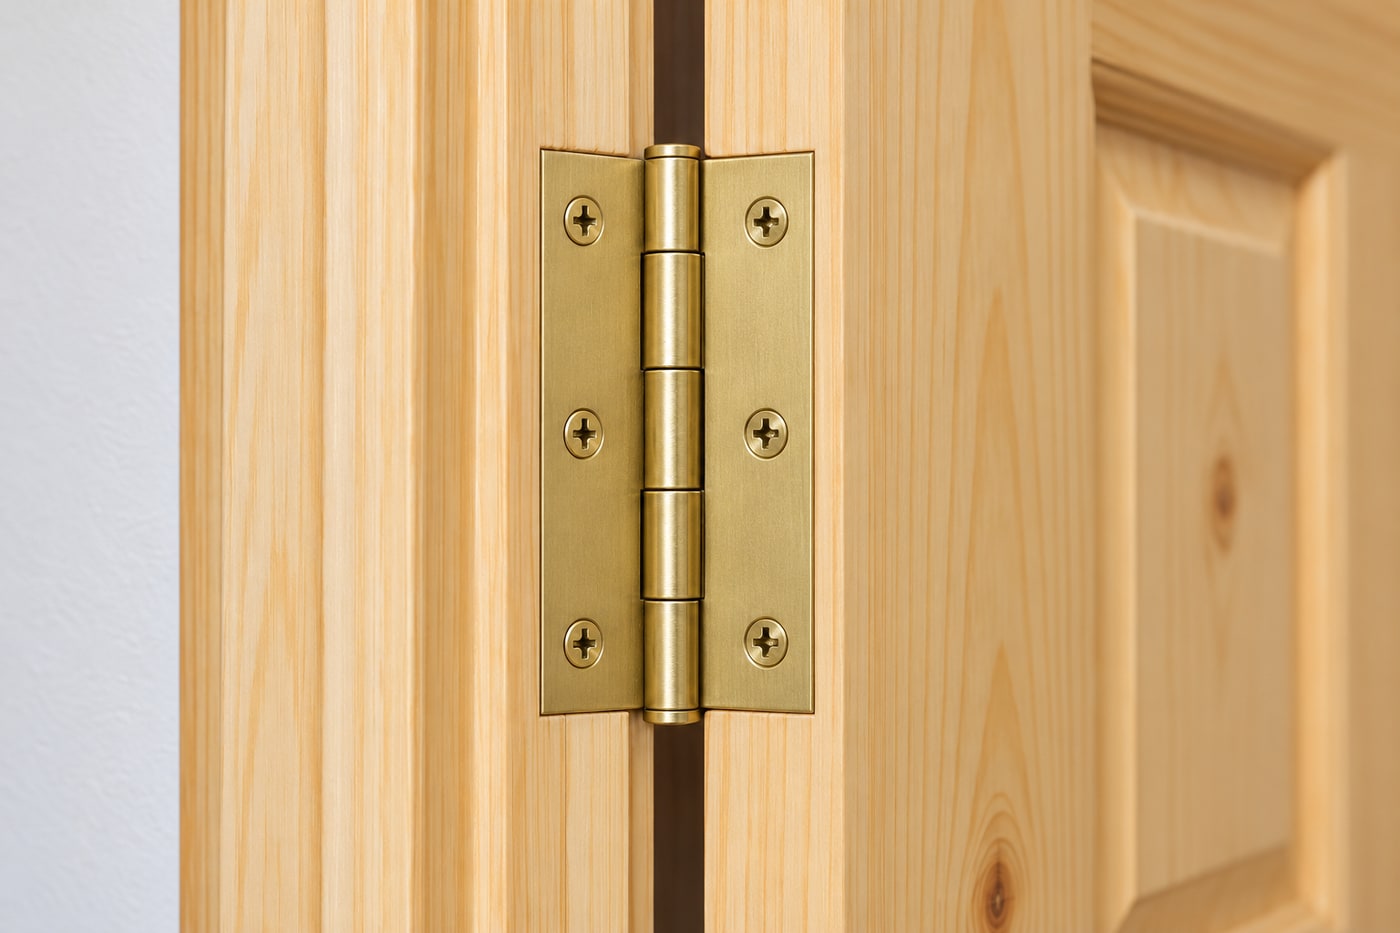
Return the leaf to its original recess and hold it flat. Use the hinge opening to locate a centred pilot, preferably with a suitable self-centring bit. Match the final pilot diameter to the screw’s root and timber, and limit its depth to the verified safe length. Reuse sound original screws or genuinely matching replacements with the correct countersunk head and length. Hand-tighten progressively until the leaf is seated and the heads are flush; do not chase extra torque once seated. Stop if the repaired screw spins or the wood cracks.
Photorealistic illustration · Waey
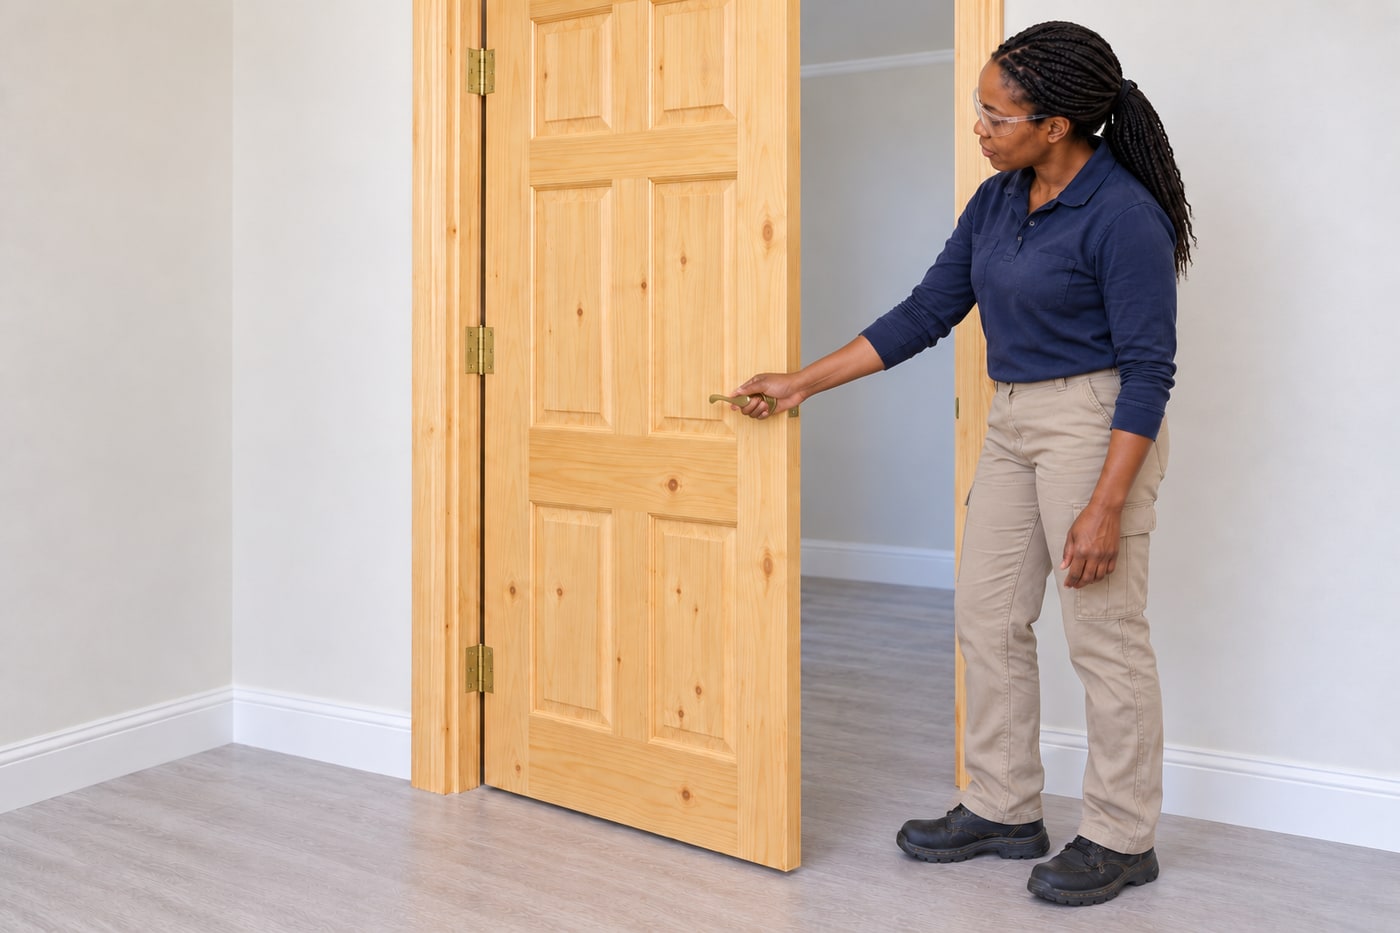
9. Remove support gradually and test the finished repair
Check that the glue has completed its required cure and every released fixing is refitted. Reduce the support gradually while watching the repaired leaf: it must remain firmly seated. Open and close the door slowly several times, keeping fingers clear of the hinge gap. Confirm even clearance, a latch that engages without lifting the handle and screw heads that do not strike the opposite leaf. Recheck after normal use. Continued movement, scraping or repeated loosening needs diagnosis of the door, hinge or frame rather than repeated tightening or another oversized screw.
Video demonstrations
How to Repair a Stripped Screw Hole | Ask This Old House
Carpenter Nathan Gilbert demonstrates a dowel repair with epoxy on an exterior door. The centring and flush-head principles are useful, but this guide uses interior wood adhesive on a light interior door; do not copy its long screws, drilling depth or cure schedule into an unknown frame.
This Old House · English
Watch on YouTube ↗The Easiest Way to Fix Stripped Door Hinge Holes (Using a Dowel)
A second creator demonstrates preparing hinge holes, inserting wooden dowels and refitting screws. Use the support, verified depth and full adhesive cure specified here; the creator’s broader interior/exterior claims do not extend this tutorial’s scope.
Handy Paisa · English
Watch on YouTube ↗Final checks
Support stable; sound surrounding timber; safe depth known; snug plug; full unloaded cure; centred pilot; flush screw heads; no movement, binding or latch misalignment.
Sources
This Old House: supported door, dowel repair and refitting ↗
This Old House: centring, screw-head fit and alternative epoxy method ↗