
Wash, dry and refit both filters on a matched Dyson V8 SV10
Clean the two removable filters with cold water, allow complete drying and refit both before a short operating check.
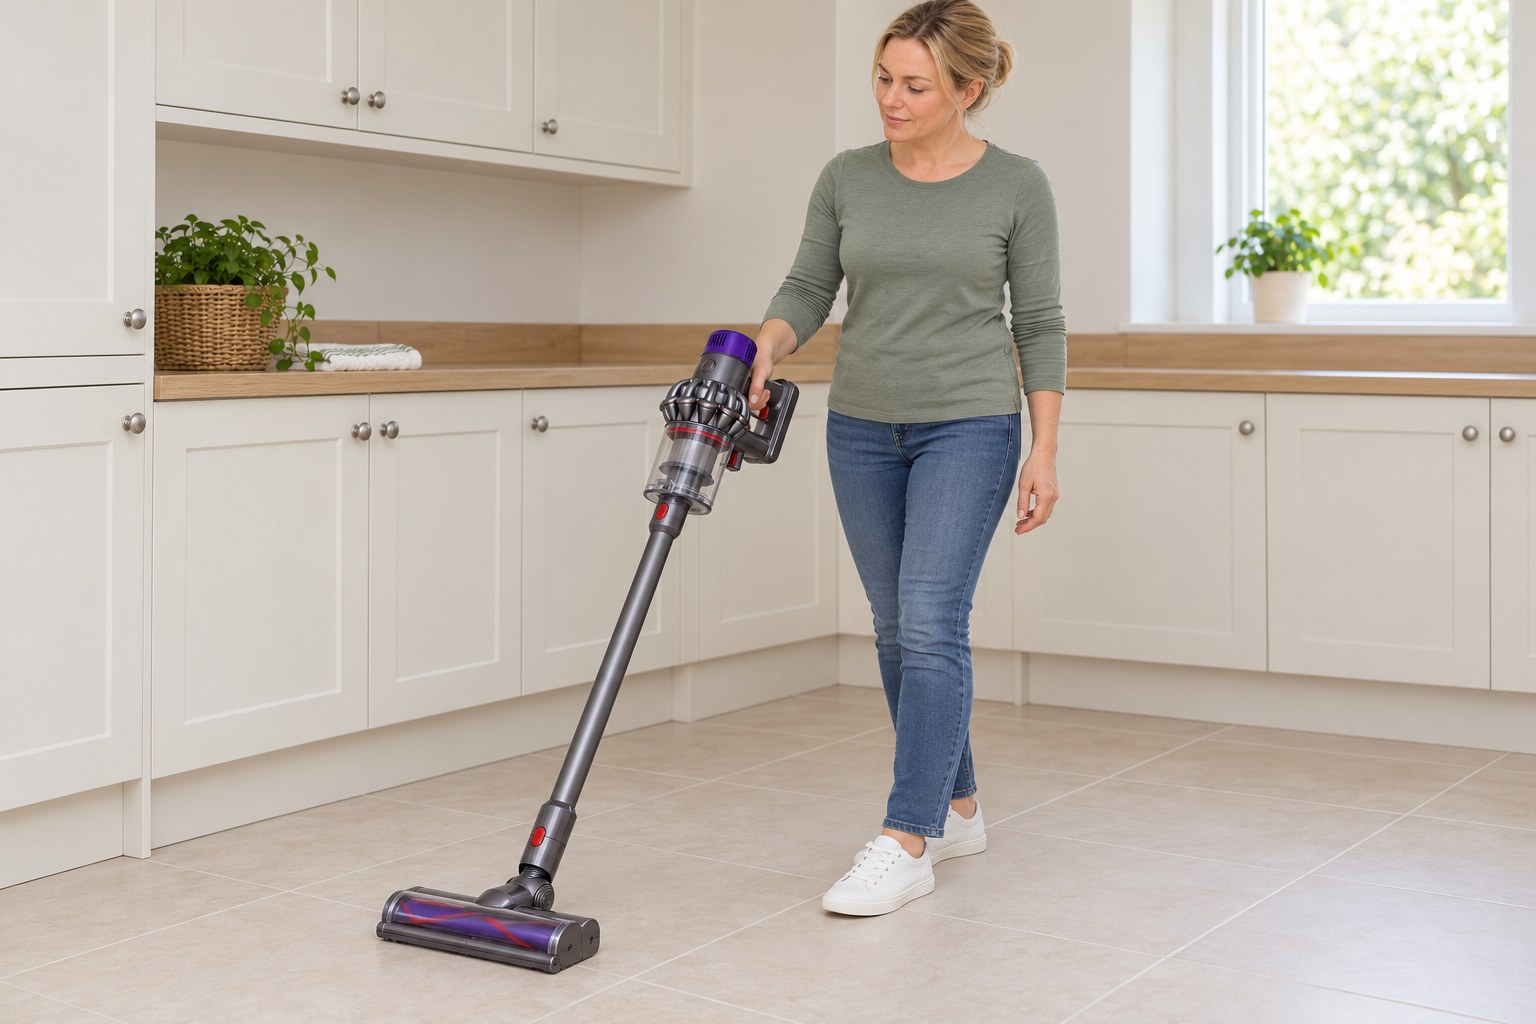
What will you learn?
Follow this procedure only for the two-filter Dyson V8 SV10 with a top pinch-grip pre-filter and a rear twist-off post-filter. Confirm the manual and actual parts first. This routine service does not replace fault diagnosis, damaged filters or battery repairs.
Tools
- Sink with cold running water
- Clean dry ventilated drying area
- NotebookSearch Amazon Egypt ↗
- PencilSearch Amazon Egypt ↗
Materials
- Existing undamaged model-matched pre-filter and post-filter
- Cold water only
Step by step
Photorealistic illustration · Waey
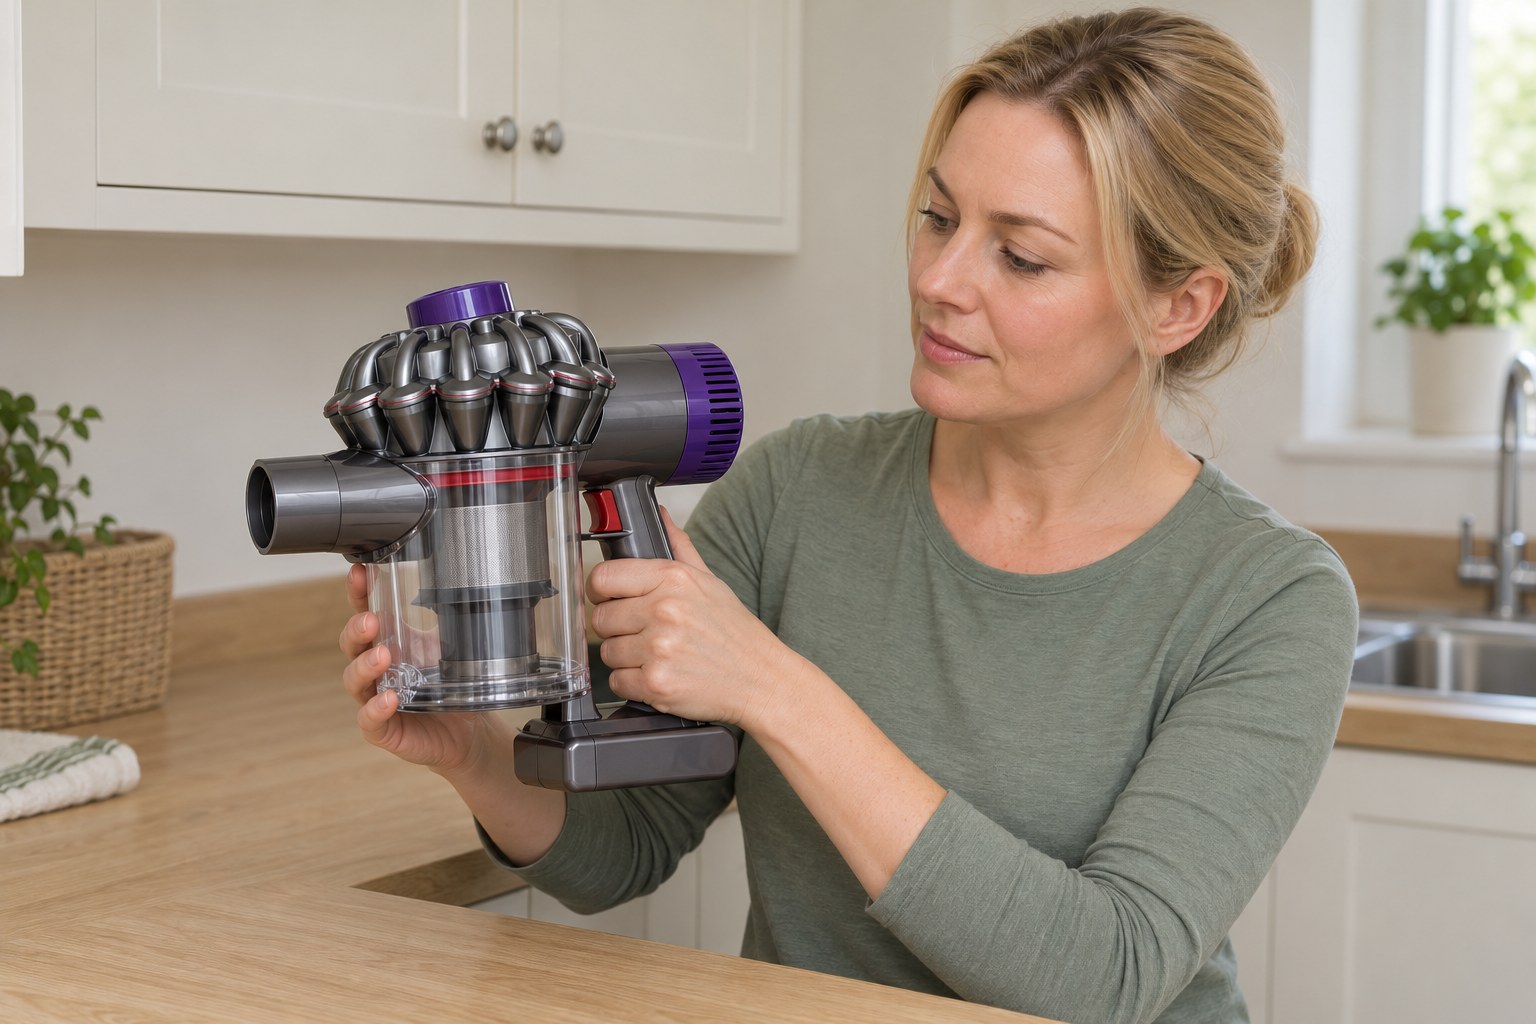
1. Match the two-filter SV10
Check the rating label and the matching operating manual before starting. This procedure is for a V8 SV10 with a removable long top pre-filter and a separate rear twist-off post-filter. A different filter shape needs its own instructions. Inspect both filters for torn fabric, damaged seals or broken locking parts; washing cannot repair those faults.
Photorealistic illustration · Waey
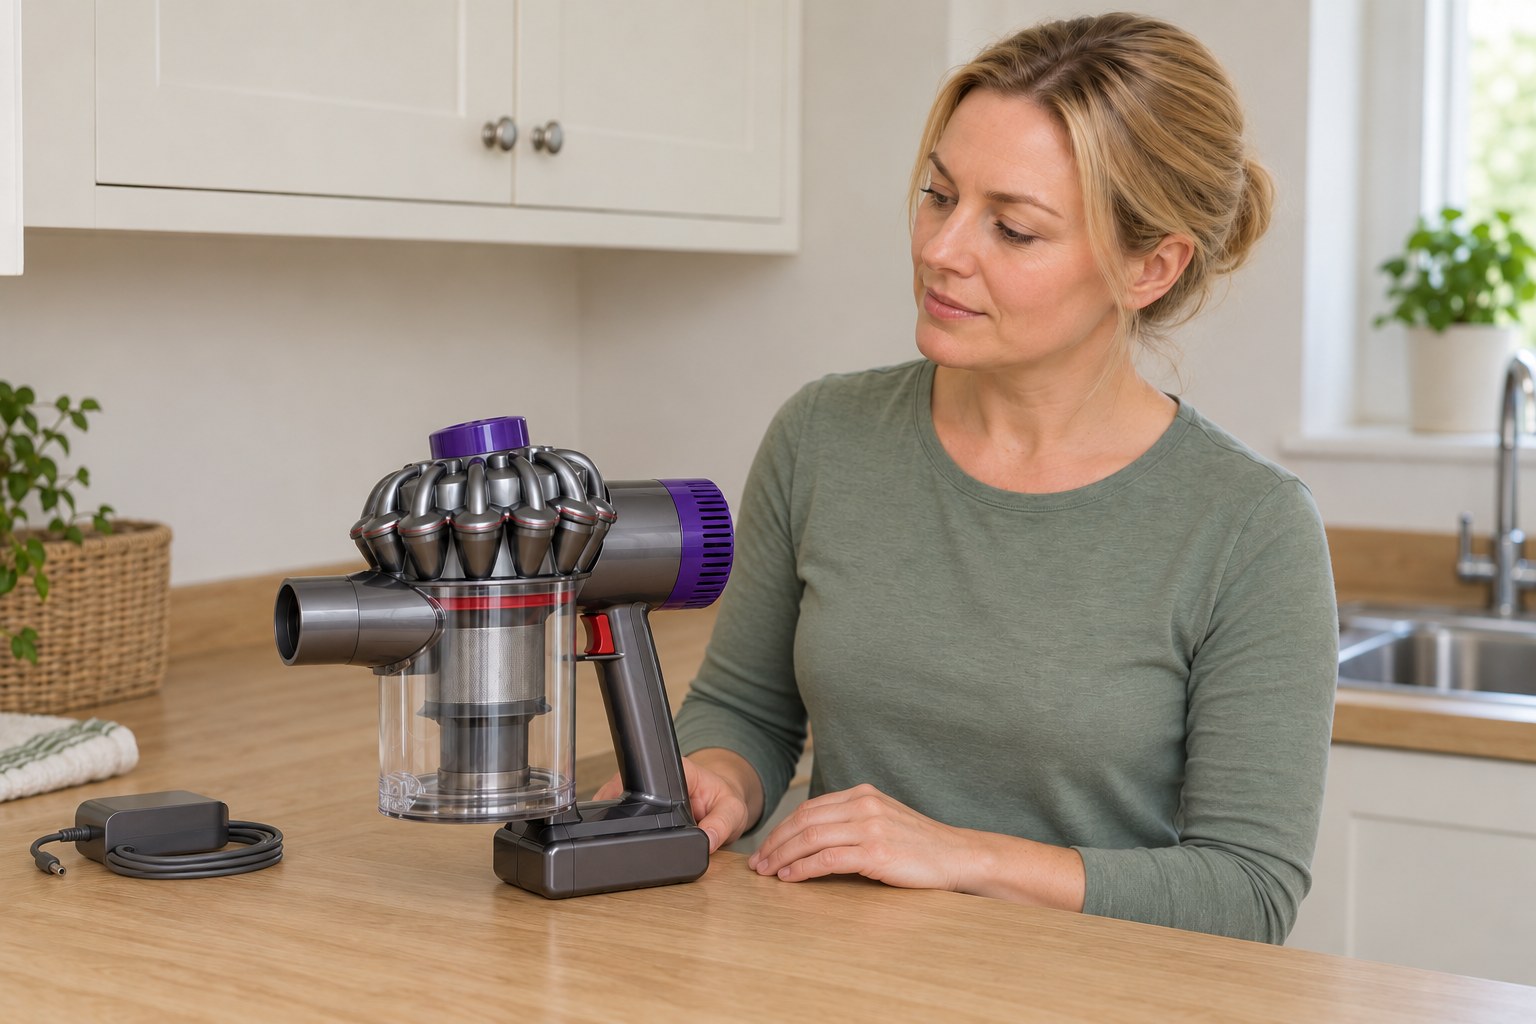
2. Disconnect and prepare a dry work area
Release the trigger, disconnect the charger and take the machine off its charging dock. Keep your finger away from the trigger throughout maintenance. Empty an overfilled bin using the matched instructions before handling dusty filters. Keep the motor, battery, cyclone and charger away from the sink. Prepare a separate ventilated place where the filters can remain undisturbed until fully dry.
Photorealistic illustration · Waey
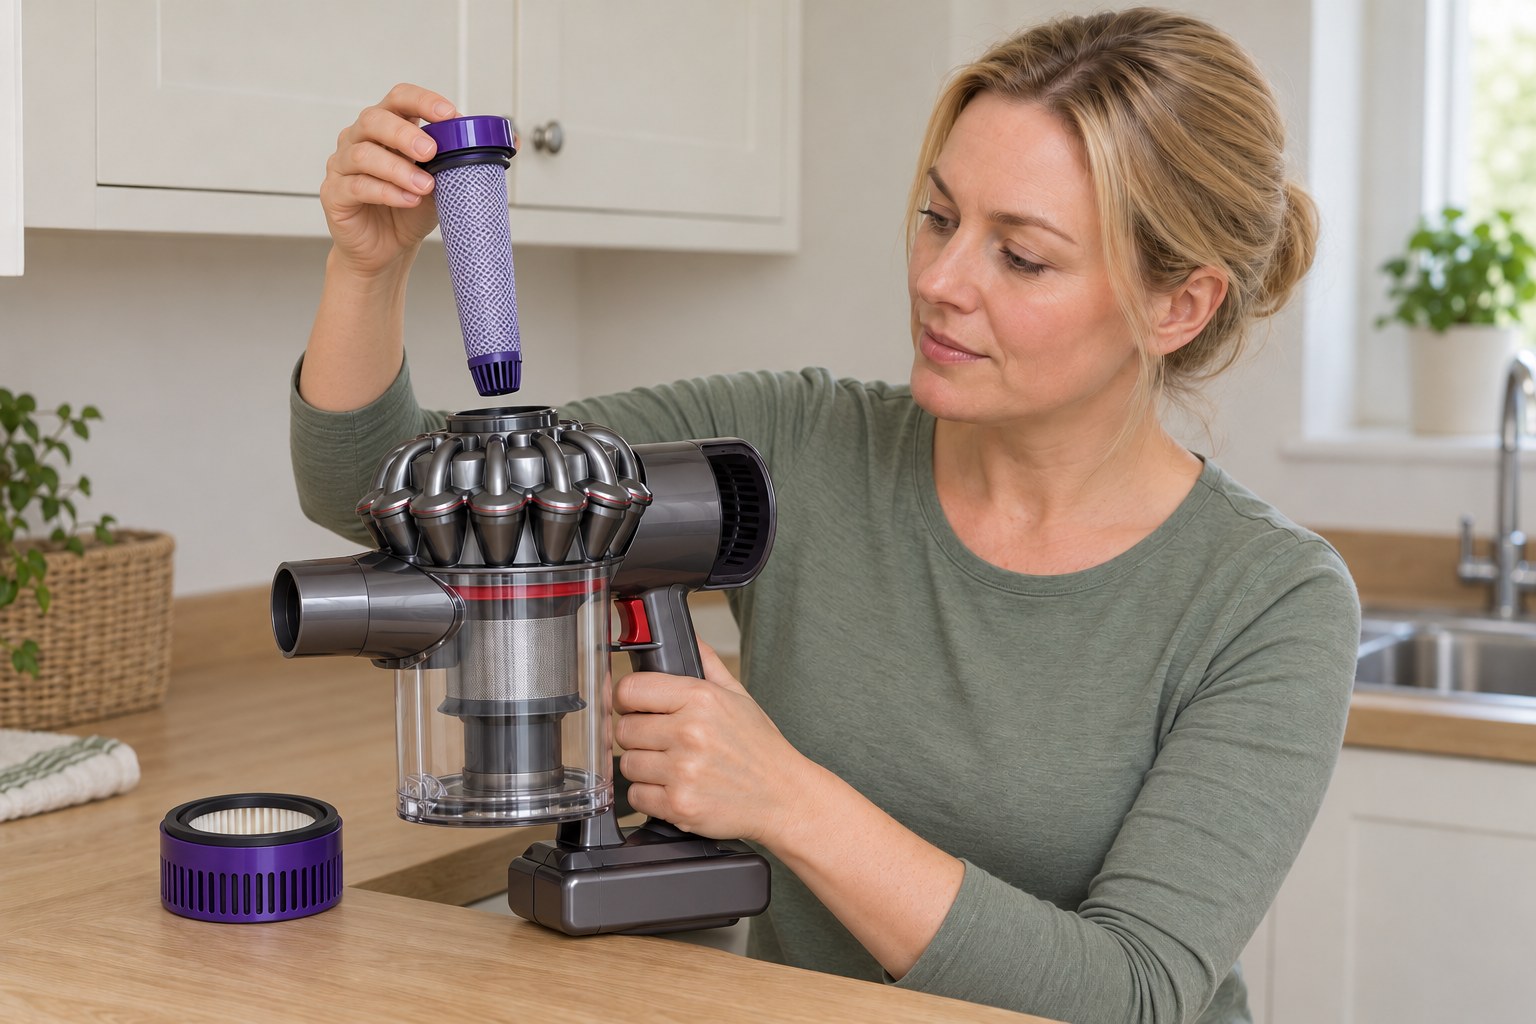
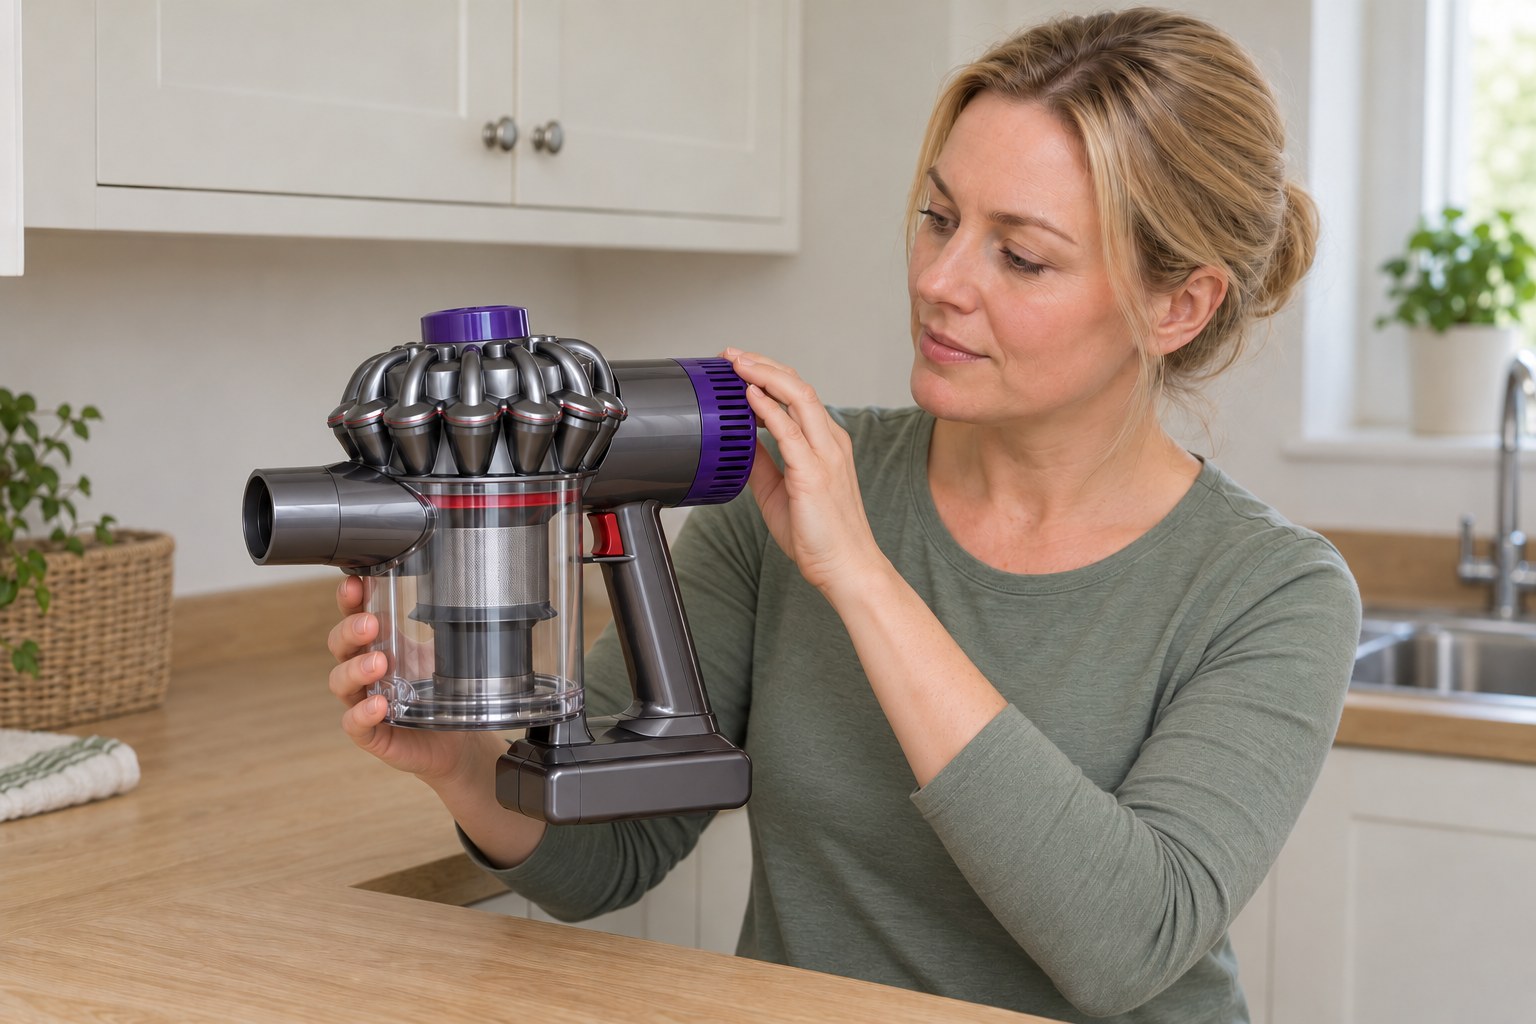
3. Remove each filter without opening the motor
Support the disconnected machine securely and lift the long pre-filter straight out from the top. Turn the rear post-filter anticlockwise to its open position, then pull it away. Keep track of the two parts and their seating surfaces. Do not remove screws, prise apart the filter casing or dismantle the battery. Stop if either filter will not release normally.
Photorealistic illustration · Waey
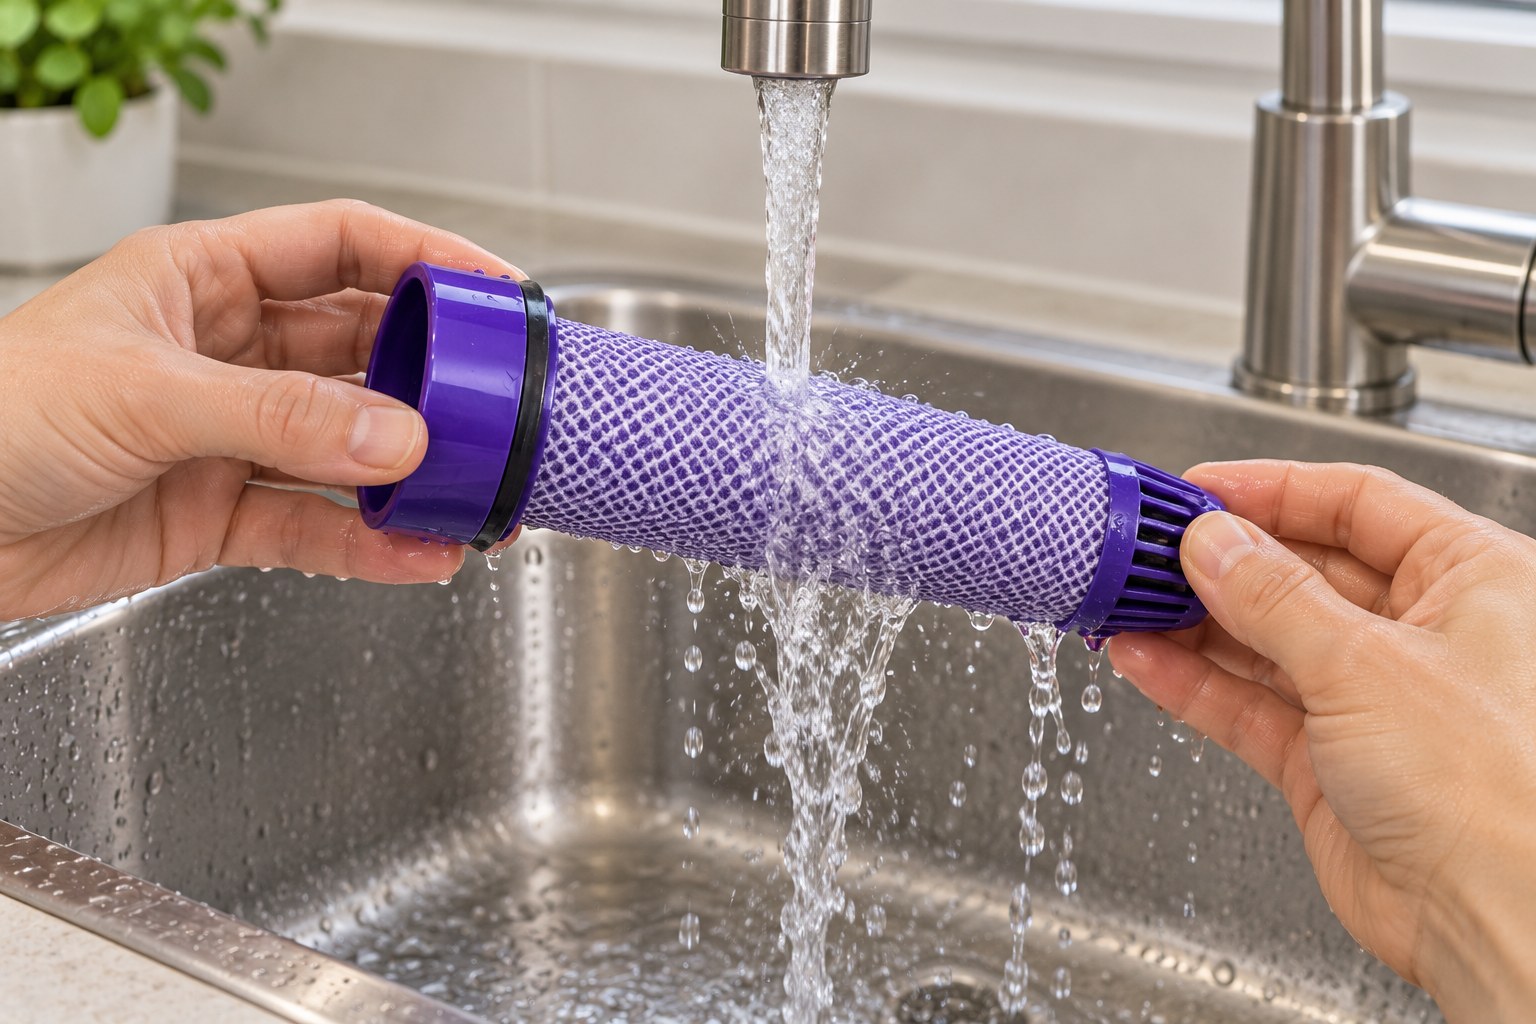
4. Rinse the long pre-filter
Take only the removed pre-filter to the sink. Run cold water over its outside until the runoff is clear, then use both hands to squeeze and twist out surplus water. Work gently without scraping the fabric or pulling its seams. Use water alone: detergent, fragrance and hot water are unsuitable. Keep the vacuum body completely outside the wet area.
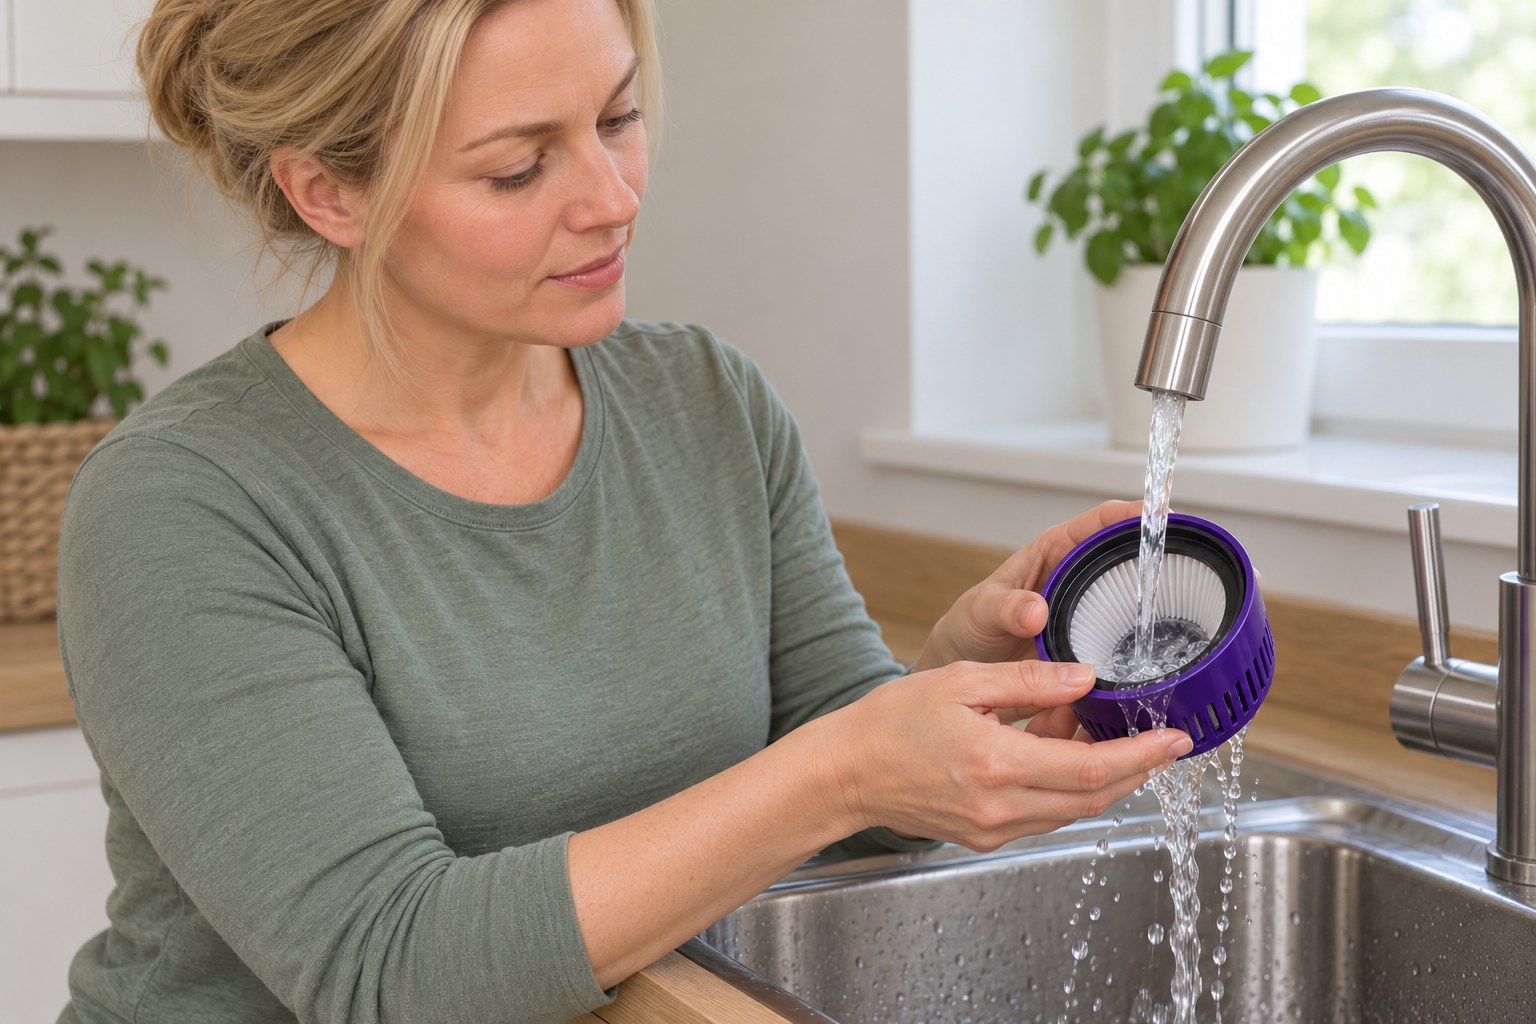
Photorealistic illustration · Waey
5. Wash the rear post-filter separately
Run cold water inside the removed rear filter while rotating it so water reaches all the pleats. Gently tap it against the side of the sink to release debris. Repeat the rinse-and-tap cycle four or five times until clean. Do not apply the squeezing method used for the long fabric filter to this rigid filter, and do not remove its internal pleats.
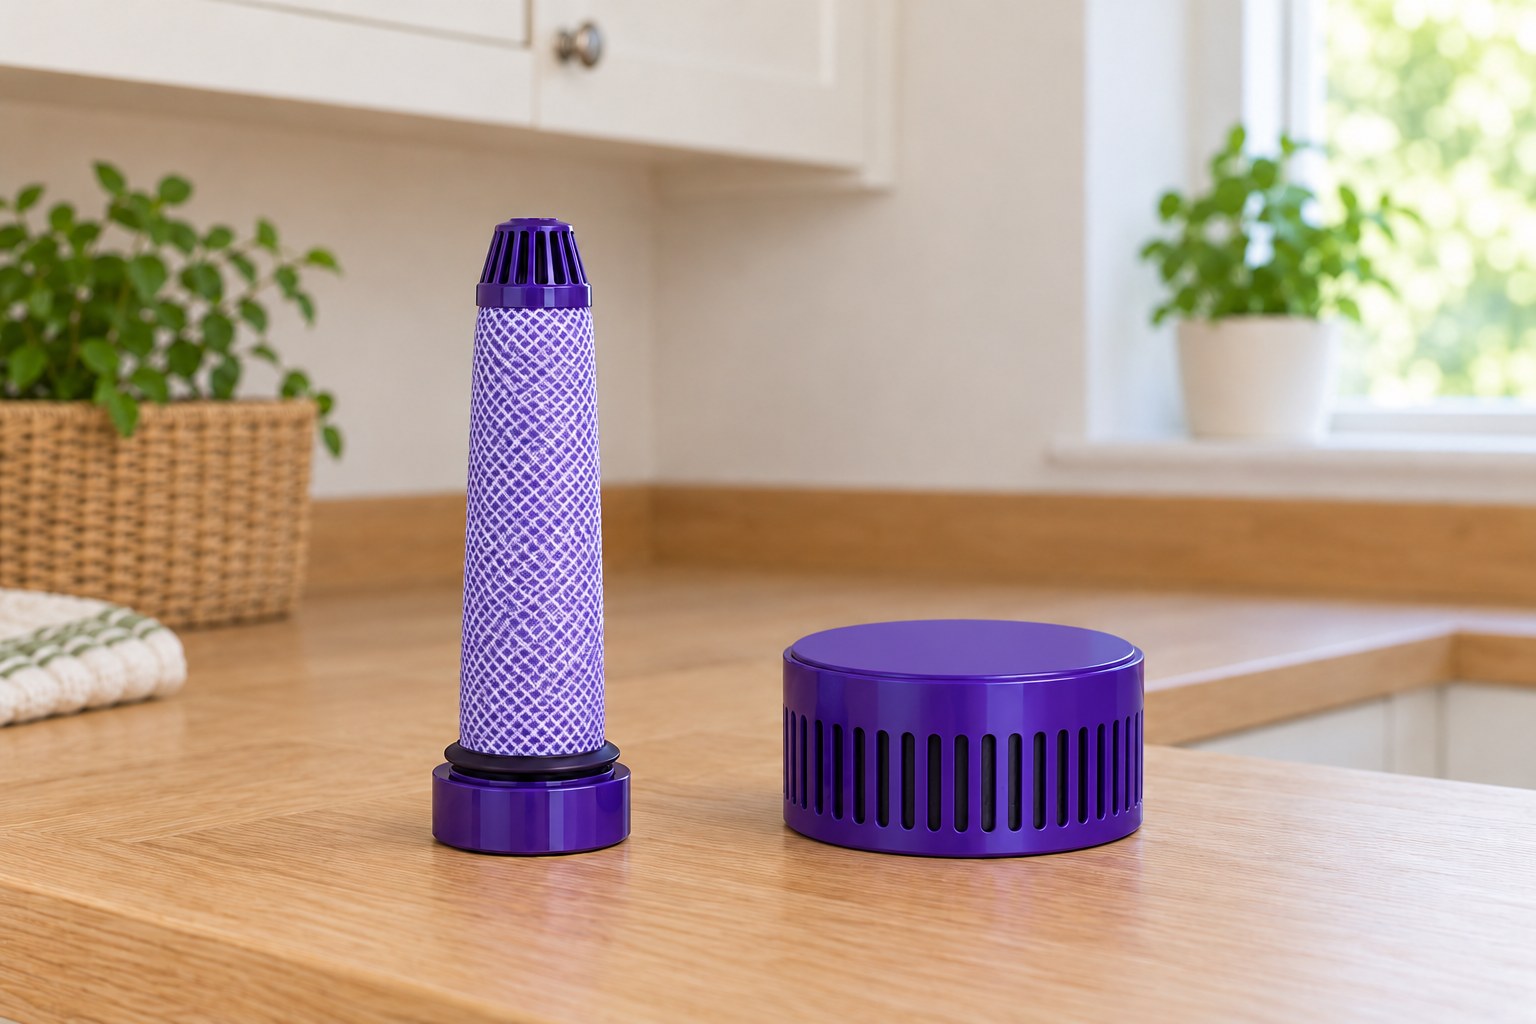
Photorealistic illustration · Waey
6. Allow at least a full day for drying
Leave both filters in a place with good airflow for at least 24 hours, and longer whenever any moisture remains. Stand the rear filter upright with its top facing upward. Keep them away from heaters and flames. Do not use an oven, microwave, tumble dryer, washing machine or dishwasher. A day on the clock is a minimum waiting period, not proof that a damp filter is safe.
Photorealistic illustration · Waey
7. Inspect and refit both dry filters
With dry hands, inspect the fabric, pleats and seals again. If either filter is damp or damaged, leave the machine unused and dry it further or obtain the correct replacement. Seat the long pre-filter fully in its top opening. Offer the rear filter in its open position and turn clockwise until it clicks securely into place. Never operate with either filter absent.
Photorealistic illustration · Waey
8. Check normal operation and plan maintenance
Return the fully assembled machine to a dry cleaning area and make a short normal-suction check with the correct attachment fitted. Stop if it pulses, cuts out, smells unusual or sounds wrong. Disconnect and let it cool before following the separate blockage procedure; do not keep restarting it or test without filters. Record the wash date and check monthly, sooner with heavy use or fine dust.
Video demonstrations
How to clean Dyson V8™ cord-free vacuum filters | Monthly maintenance guide
Dyson demonstrates washing the two removable filters and leaving them to dry for at least 24 hours. Follow the manual for your filter design.
Dyson · English captions; full narration not assessed
Watch on YouTube ↗How do I empty and clean the bin on my Dyson V8?
Dyson shows the V8 bin-emptying mechanism. This companion is for preparing a dusty machine before filter care.
Dyson · English captions; full narration not assessed
Watch on YouTube ↗Final checks
Both filters completely dry, intact and fully seated. Charger disconnected during maintenance; motor and battery stayed dry. Normal brief operation without pulsing, odd smell or overheating. Monthly check noted; inspect sooner with intensive use
Where to find supplies
Use the correct genuine model-matched replacement when fabric, seals or locking parts are damaged. For a different V8 filter design, use its own manual instead of forcing these parts. Persistent pulsing needs the separate blockage procedure or manufacturer support.
Sources
Dyson — V8 SV10 pinch-filter operating manual, filter A and B care ↗
Original generated instruction illustrations created for Waey. Videos belong to their credited creator.