
Weed and top up stable block-paving joints
Remove small weeds from a sound conventional concrete-block footpath and replace minor lost loose jointing sand. This is shallow maintenance of already filled joints, not a repair for loose blocks or deep washout.
What will you learn?
Remove small weeds from a sound conventional concrete-block footpath and replace minor lost loose jointing sand. This is shallow maintenance of already filled joints, not a repair for loose blocks or deep washout.
Tools
- Soft-to-medium non-metal bristle broom for placing sand onlySearch Amazon Egypt ↗
- Gardening glovesSearch Amazon Egypt ↗
- Safety gogglesSearch Amazon Egypt ↗
- Suitable FFP3 or P3 respiratory protection with fit testing and user checksSearch Amazon Egypt ↗
- Kneeling padSearch Amazon Egypt ↗
- Small weed-waste containerSearch Amazon Egypt ↗
- M- or H-class dust extractor with manufacturer-approved dry silica/sand collection, suitable surface attachment, sealed collection system and safe outdoor electrical supply; follow its instructionsSearch Amazon Egypt ↗
Materials
- Small quantity of approved plain kiln-dried jointing sand compatible with the existing conventional block system; keep the bag label and SDSSearch Amazon Egypt ↗
Step by step
Photorealistic illustration · Waey
1. Confirm this is a minor top-up task
Identify the paving and its existing joint material before opening a sand bag. Check that the blocks and edging are stable, the path drains normally and the lower joints still retain sound sand. The selected top-up method assumes much of the joint depth is already filled; it does not replace full-depth jointing or construction compaction. If joints are deeply empty, blocks rock or the system is unknown or permeable, stop and arrange a suitable assessment.
Photorealistic illustration · Waey
2. Choose dry calm conditions and prepare dust protection
Choose dry, calm conditions and keep others clear. Before opening the sand, arrange the specified M/H extractor and check its instructions, filters, bag, hose seals and outdoor electrical safety. Confirm a surface attachment can collect surplus from block faces without drawing sand from joints; if not, obtain supplier advice before starting. Follow the sand SDS and use the listed PPE and mask-fit checks. Keep filling sand dry; gentleness and a mask alone do not control cleanup dust. Tight-fitting masks need a clean-shaven sealing area, the appropriate fit test and a fit check before each use.
Photorealistic illustration · Waey
3. Lift small weeds without disturbing the blocks
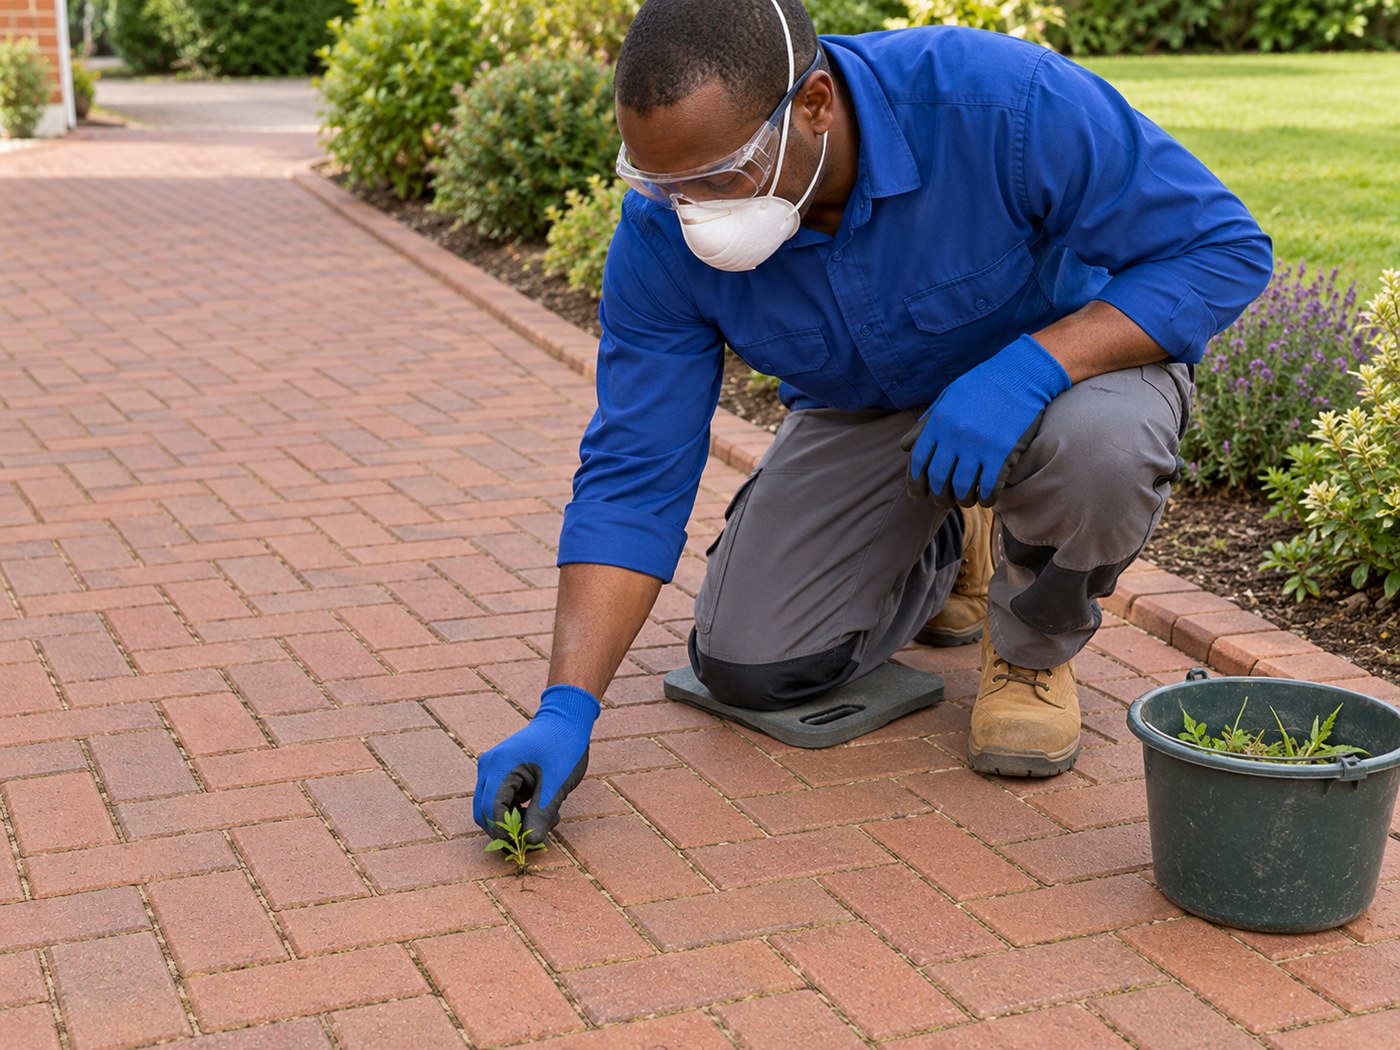
Working from a comfortable kneeling position, grip small weeds near their base and ease them out with their roots where they release readily. Collect the growth in the container rather than leaving it to seed on the path. Keep existing sound sand in place and do not gouge joints or lever against block edges. A stubborn deep root, woody growth or movement of a block is a reason to stop, not pull harder or excavate below the paving.
Photorealistic illustration · Waey
4. Remove loose debris and let the joints dry
Collect leaves, roots and loose dirt from the surface and affected joint mouths without stripping out the retained sand. Keep debris and later surplus sand away from drains and planted borders. Both the block surface and the joint openings must be dry enough for kiln-dried sand to move freely; postpone filling if dampness makes it cling or form lumps. Check a small inconspicuous area for compatibility rather than assuming a different sand colour will disappear later.
Photorealistic illustration · Waey
5. Brush a little compatible sand into the low joints
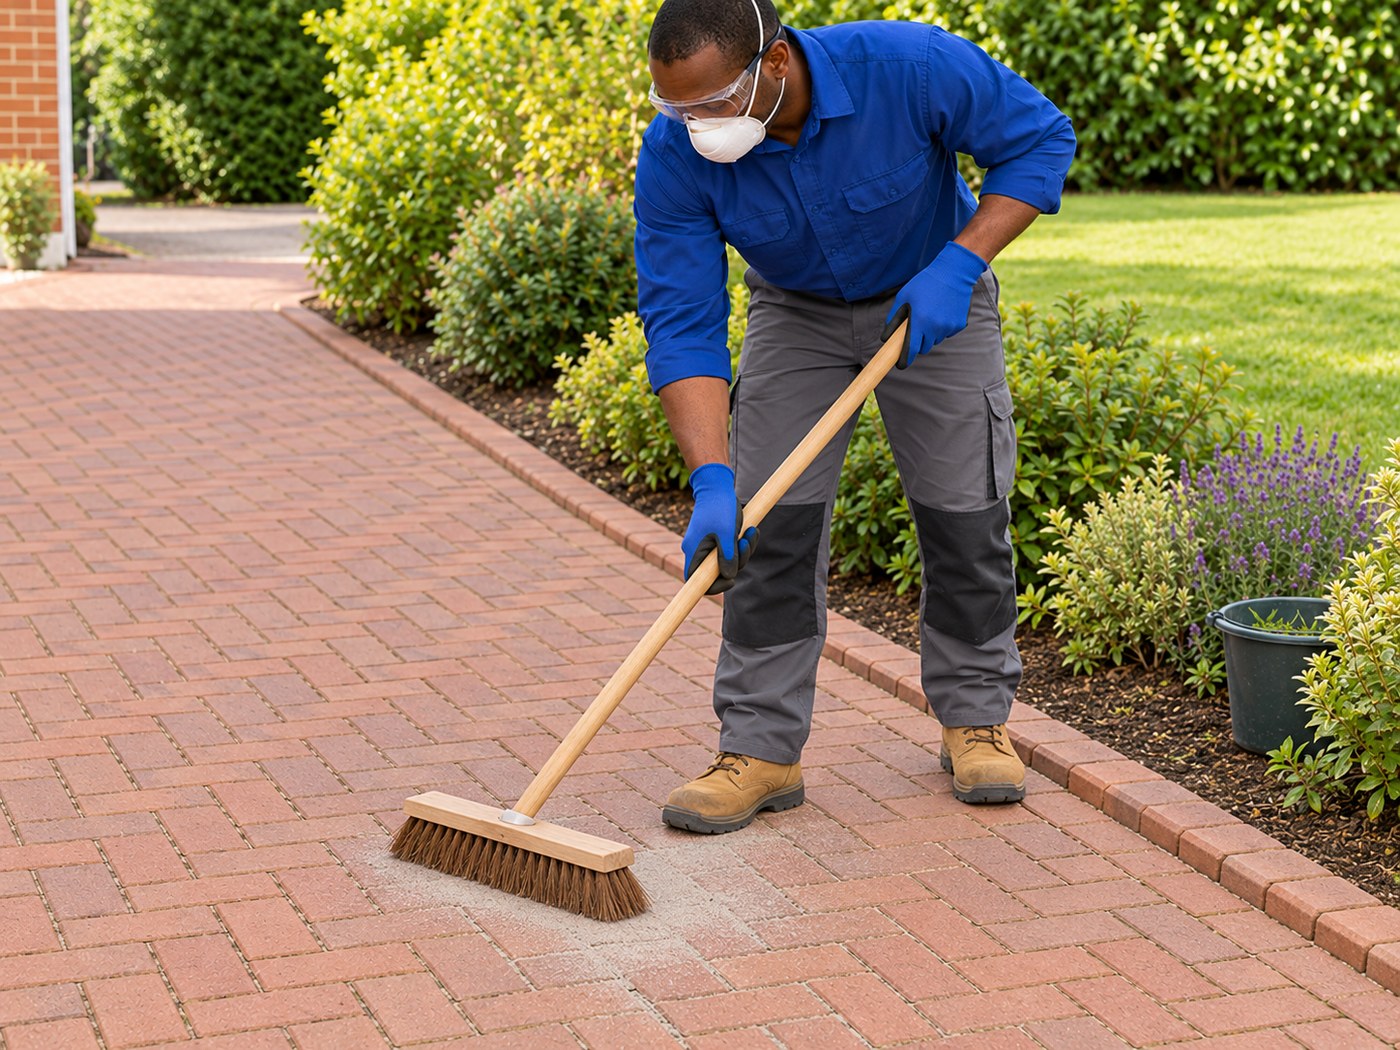
Place a small amount of the approved dry jointing sand close to the affected area with the shortest practical drop. Move it gently across the blocks with the broom so it trickles into the low joints. Work in small sections and repeat modest additions until joints are visibly full to the paving manufacturer’s required finish. This selected gravity-fed maintenance route retains the lower joint fill; it does not use a vibrating plate or disguise deep voids with a thin surface crust. Brush only to place sand into the joints; do not continue brushing to clear surface dust. Add sparingly so little surplus remains for extraction.
Photorealistic illustration · Waey
6. Extract surface surplus without stripping joints
Keep the broom out of cleanup: the sand SDS advises against dry sweeping. Use the specified M/H extractor and approved attachment on block faces only, starting with a small inconspicuous area. Keep suction away from joint mouths; do not run a nozzle along joints. Follow the equipment instructions rather than inventing a suction setting. Stop if joint sand moves or effective collection is impossible. Do not substitute a household vacuum, blower, dry broom/dustpan or water on the dry fill. Contain and dispose of collected material using the extractor and sand instructions. Seal remaining sand dry, remove trip hazards and later check joint loss or block movement.
Watch the method
HOW TO RE SAND BLOCK PAVING
Related sand brush-in demonstration on a driveway. Follow the article’s shallow top-up limits and separate dust-extraction cleanup; the video does not establish product compatibility or safe dust exposure.
Moorhouse Kitchen & BBQ · English automatic captions listed; audio unconfirmed
Watch on YouTube ↗Final checks
Stable conventional joints with retained lower fill; compatible dry sand placed sparingly; surface surplus/fines extracted with suitable M/H equipment without disturbing joint fill; no dry-swept cleanup, water on dry fill, uncontrolled dust or repeated joint loss.
Sources
Marshalls — Cleaning and maintenance, weed control and lost joint sand ↗
Pavingexpert — Existing block-paving top-up jointing ↗
Heidelberg Materials — Kiln-dried jointing sand technical sheet ↗
Heidelberg Materials — Natural aggregates safety data ↗
RHS — Weeds on hard surfaces ↗
HSE — Dust controls and respiratory protection ↗
HSE — CN5 small-scale clearing: no dry brushing, suitable M/H extraction and equipment checks ↗
AI-generated representative photographic illustrations by Waey using only Waey-generated references. No third-party photographs or diagrams reused. External video belongs to its credited creator.