
Restore washing and drainage on a matched Bosch dishwasher
Service the filters and spray arms, conditionally clear the owner-accessible pump area, refit correctly and verify operation.
What will you learn?
Service the filters and spray arms, conditionally clear the owner-accessible pump area, refit correctly and verify operation.
Tools
- Small soft non-abrasive brushSearch Amazon Spain ↗
- Spoon for the matched pump-cover crosspiece, only for the conditional pump stepSearch Amazon Spain ↗
- Small scoop, sponge, basin and absorbent clothsSearch Amazon Spain ↗
- Suitable protective gloves for potentially sharp debrisSearch Amazon Spain ↗
Materials
- Running water for removable componentsSearch Amazon Spain ↗
- Approved dishwasher detergent for the final suitable loaded programmeView at Carrefour España (Finish Power Essential) ↗Search Amazon Spain ↗
Step by step
Photorealistic illustration · Waey
1. Match the appliance and diagnose the symptom
Read the complete E-Nr on the appliance and obtain its matching instructions before opening components. This sequence uses Bosch SMS25AW05E manual 9001931933_B; another Bosch may have a different pump cover. Record the displayed code and whether the programme actually ended. E:22 points to filters; E:24 can also involve the drain hose or siphon, while E:25 can involve the pump or its cover. Poor washing alone does not justify pump access. Stop for leaks, electrical damage or an unmatched mechanism.
Photorealistic illustration · Waey
2. Cool, cancel if needed, and isolate safely
Let the appliance and wash water cool; open a hot door cautiously because water and steam can scald. If a programme needs cancelling, follow the matched panel: this manual specifies holding Reset for about three seconds and allowing roughly a minute for termination. The power button only interrupts and can resume the programme. Then disconnect the accessible plug with dry hands, holding the plug, or use an established safe isolation arrangement. If isolation requires pulling out the appliance or guessing a circuit, stop for service.
Photorealistic illustration · Waey
3. Remove and separate the filter system
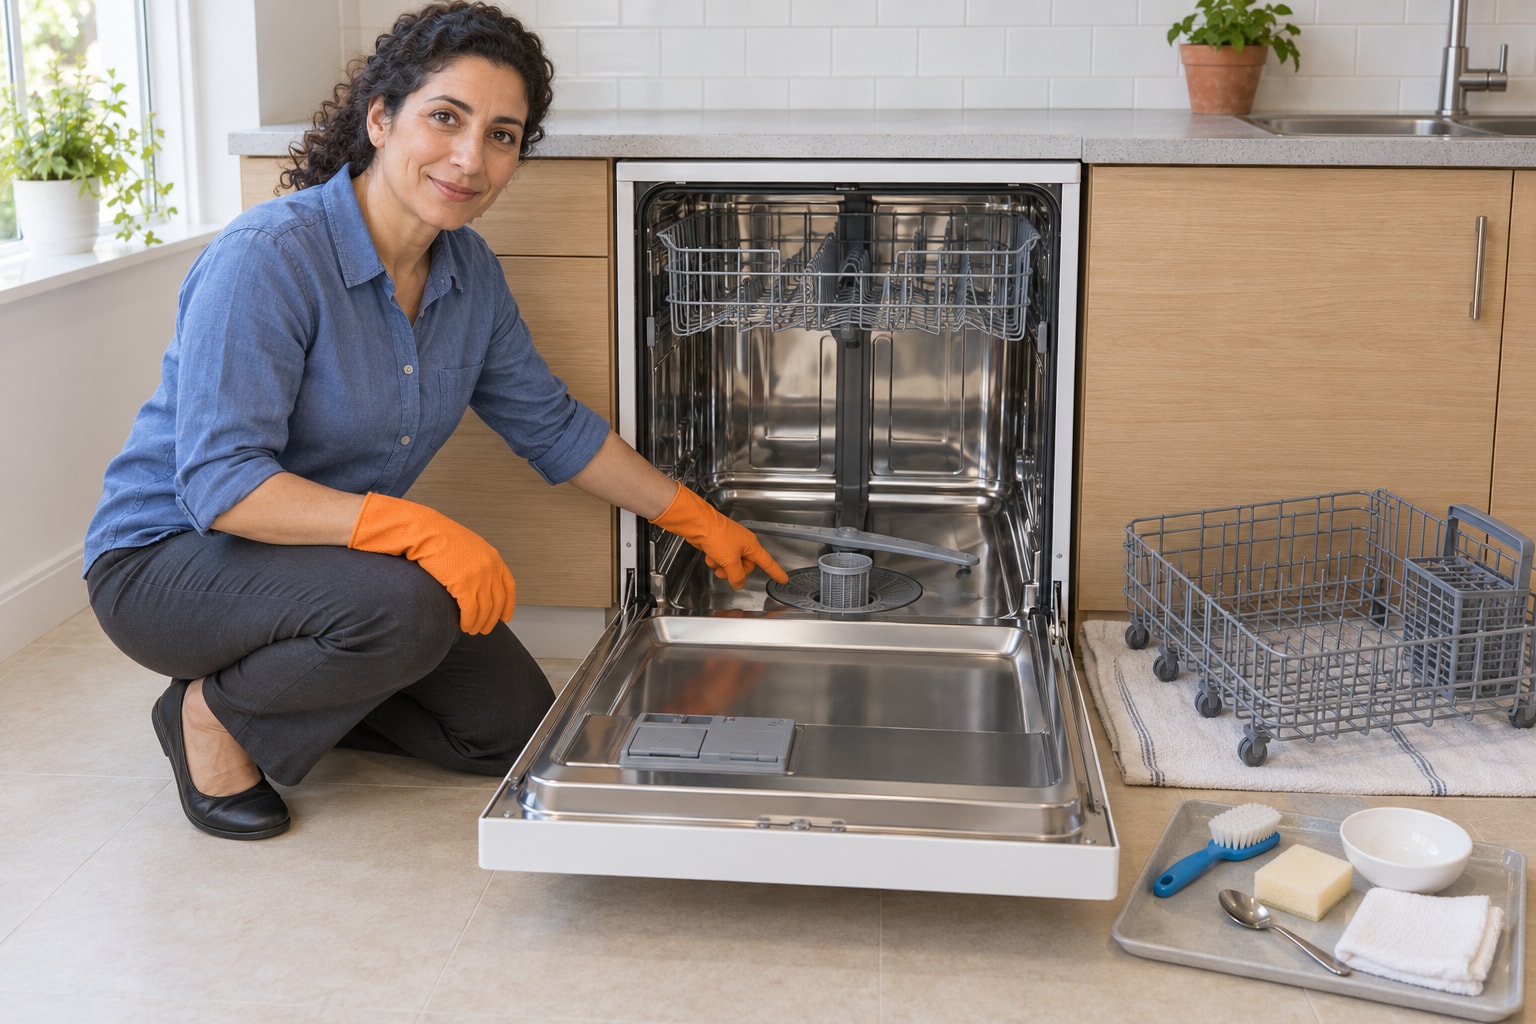
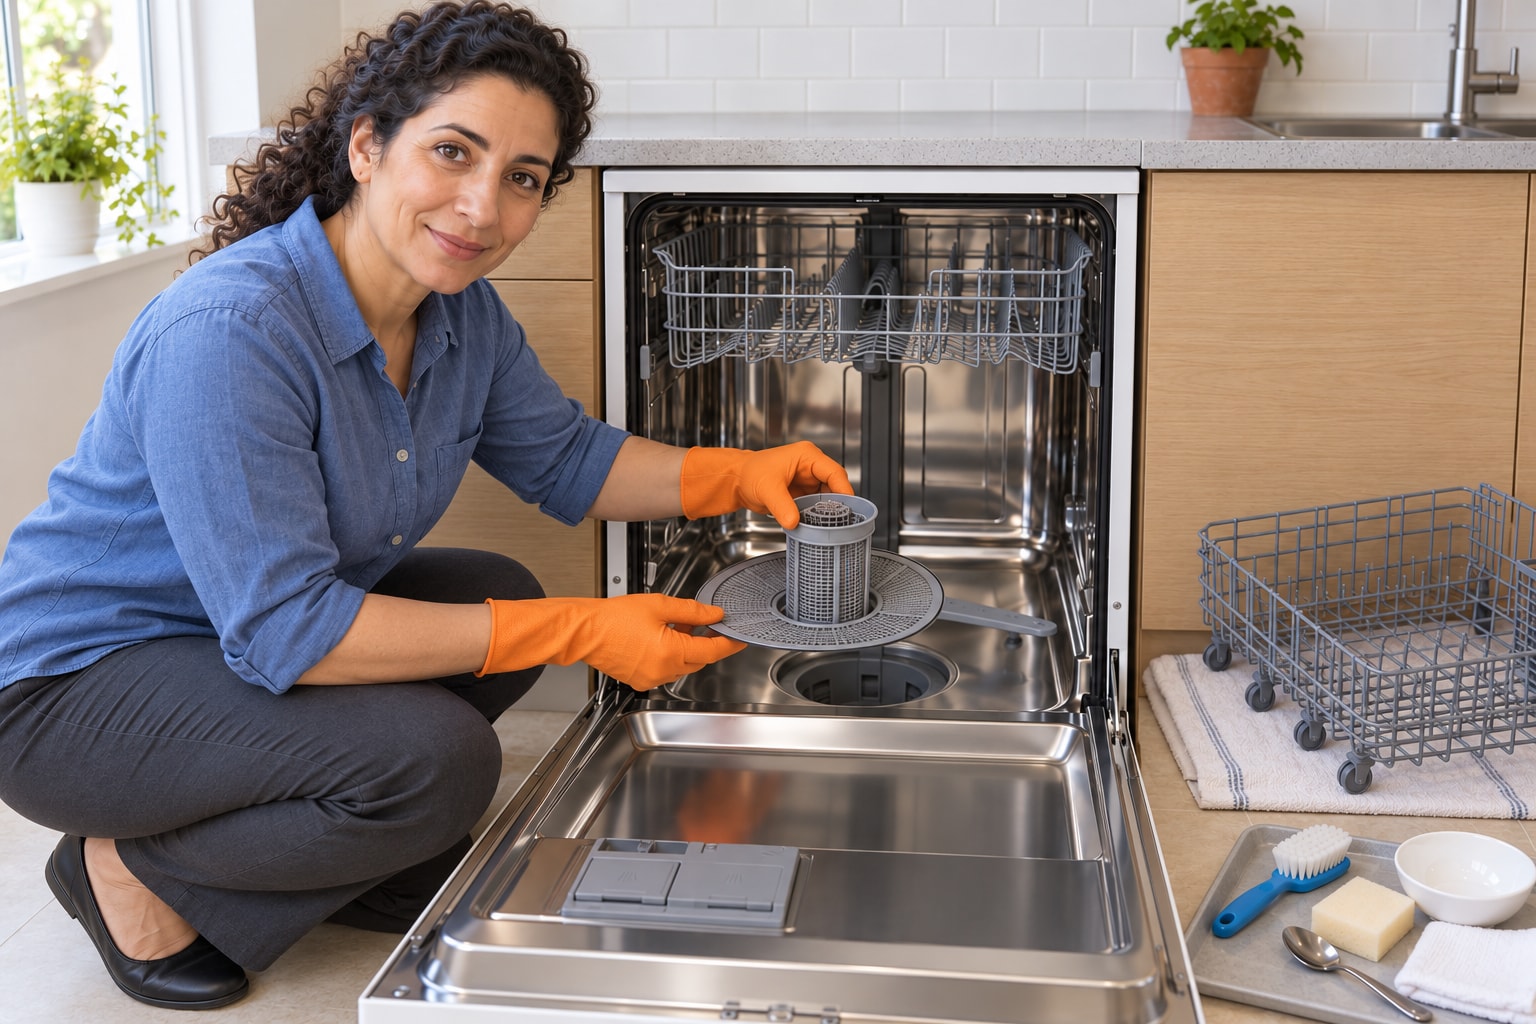
Unload cooled tableware and remove the lower basket, keeping the open door clear of feet and never using it as a seat. Wear suitable protective gloves because trapped debris may include glass. Turn the coarse filter anticlockwise and lift the complete filter system without dropping debris into the sump. On this assembly, pull the microfilter downwards, then press the coarse-filter locking catches together to release it. Keep all three parts together in a basin; do not force a stuck catch or substitute another model’s release method.

Photorealistic illustration · Waey
4. Rinse, inspect and rebuild the filters
Rinse the separated parts under running water and loosen residue with a small soft non-abrasive brush. Pay particular attention to the rim between the coarse and fine filters, where debris can prevent proper seating. Inspect the mesh, seals and catches without pushing sharp objects through them; cracked or distorted parts need the correct replacement. Reassemble the parts and confirm the coarse-filter catches click home. Do not add washing-up liquid to the tub or use abrasive cleaners; loose residue should be collected rather than washed into the exposed sump.
Photorealistic illustration · Waey
5. For drainage symptoms only, clear the accessible pump area
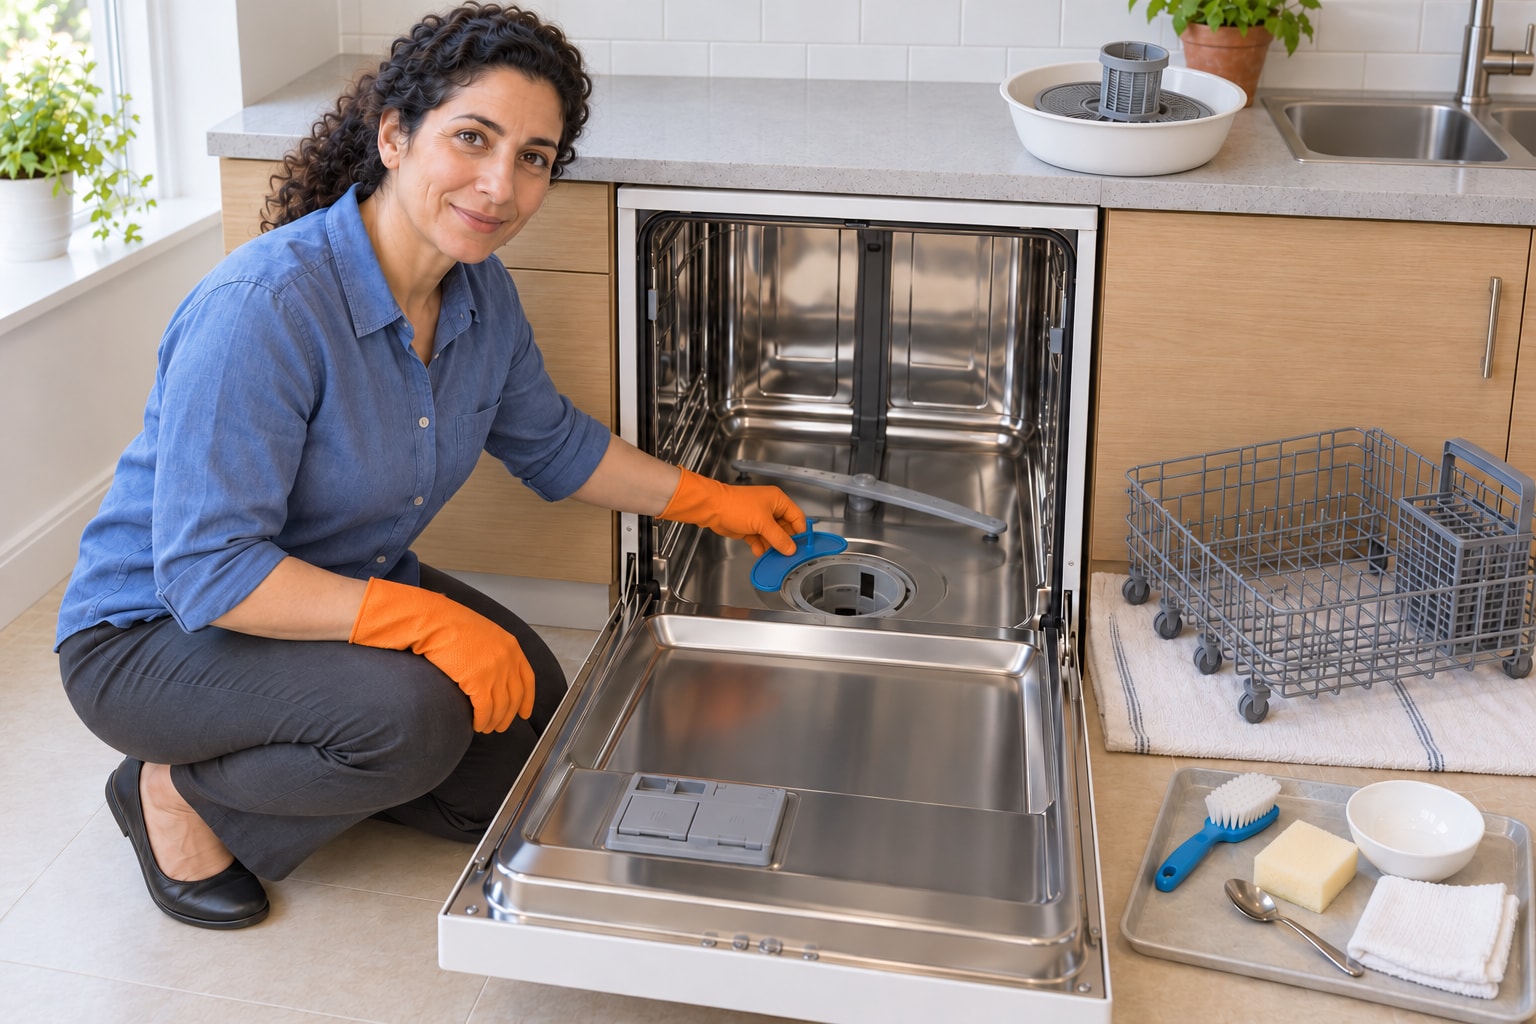
Skip this step for wash-only maintenance. With power still isolated, follow the matched manual’s pump procedure: remove both baskets and filters, scoop out standing water and finish with a sponge. Using a spoon at the specified cover crosspiece, release the cover and lift it inwards at an angle. Remove only safely accessible food or foreign bodies from the impeller area. Never search blindly for glass, force the impeller, dismantle the pump or continue against resistance. If debris is sharp, inaccessible or uncertain to remove safely, stop for service.
Photorealistic illustration · Waey
6. Lock the cover and filters before restoring power
If the pump cover was removed, insert it in its specified position and press it down until it clicks into place. A loose cover can itself cause drainage faults; resting it over the opening is insufficient. Refit the assembled filter system, turn the coarse filter clockwise and align the arrow markings. Check that the assembly sits evenly and is engaged, with no trapped debris under its rim. Do not run the dishwasher with the cover absent, the filter loose or damaged parts awaiting replacement. Keep power isolated while completing the remaining service.

Photorealistic illustration · Waey
7. Clear and refit the spray arms
Check the spray-arm nozzles for food or scale deposits. On this matched design, unscrew the upper arm and pull it down; pull the lower arm upwards to remove it. Rinse the arms under running water and remove accessible obstructions without enlarging nozzle openings or forcing the plastic. Refit the lower arm until it clicks and screw the upper arm firmly into position. Turn each by hand to confirm free movement, then replace the baskets correctly. Do not transfer another model’s clip arrangement or a chemical soaking recipe to these parts.
Photorealistic illustration · Waey
8. Run a suitable programme and assess the result
Remove tools, dry the surrounding floor and confirm that the cover, filters, arms and baskets are secure. Restore power only with dry safe access. Load suitable tableware without obstructing the arms or detergent dispenser, and use the approved detergent and programme appropriate to that load. Press Start and monitor externally for leakage or abnormal sounds; never reach inside while running. This manual indicates completion at 0:00. After cooling, assess drainage and washing. Repeated standing water, errors, leakage or grinding requires stopping and professional diagnosis, not repeated cover removal or hose replumbing.
Video demonstrations
How to clean the dishwasher filter | Bosch Home UK
Original Bosch UK demonstrations cover filters, pump access and spray arms. Cover mechanisms and model details can differ: the complete E-Nr and matched SMS25AW05E manual govern. Metadata, descriptions and player status verified; no full audiovisual review claim.
Bosch Home UK and Ireland · English
Watch on YouTube ↗How to Unblock Your Dishwasher Pump & Filter | Bosch Home UK/Ireland
Original Bosch UK demonstrations cover filters, pump access and spray arms. Cover mechanisms and model details can differ: the complete E-Nr and matched SMS25AW05E manual govern. Metadata, descriptions and player status verified; no full audiovisual review claim.
Bosch Home UK and Ireland · English
Watch on YouTube ↗How to clean the dishwasher spray arms | Bosch Home UK
Original Bosch UK demonstrations cover filters, pump access and spray arms. Cover mechanisms and model details can differ: the complete E-Nr and matched SMS25AW05E manual govern. Metadata, descriptions and player status verified; no full audiovisual review claim.
Bosch Home UK and Ireland · English
Watch on YouTube ↗Final checks
Cover clicked, filters locked with arrows aligned, arms secure and freely rotating; programme completed and washing/drainage assessed after cooling. Persistent faults require service. This is an owner-accessible obstruction procedure, not a guaranteed diagnosis or physical repair claim.
Where to find supplies
Sources
Bosch SMS25AW05E instructions 9001931933_B ↗
Five original AI-generated photographic illustrations across eight steps with explicitly captioned context reuse. Images do not establish E-Nr, electrical isolation, release/locking mechanisms, completed programme or physical repair. Original videos belong to their attributed creators.