
Clean intact laminate kitchen cabinet fronts
Remove routine fingerprints and light greasy marks from confirmed laminate fronts with a mild cleaner and controlled moisture. Protect edges and hardware, rinse away residue and dry each front before moving on.
What will you learn?
Remove routine fingerprints and light greasy marks from confirmed laminate fronts with a mild cleaner and controlled moisture. Protect edges and hardware, rinse away residue and dry each front before moving on.
Tools
- Three clean soft non-abrasive cloths for washing, clear-water wiping and dryingView at Leroy Merlin España (KH-7 ultrasoft cloths, 3 pack) ↗Search Amazon Spain ↗
- Separate dry dusting clothView at Leroy Merlin España (3 cloths; buy 2 packs for all 4 roles) ↗Search Amazon Spain ↗
- Small basinView at IKEA España (PEPPRIG folding basin, 27 cm) ↗Search Amazon Spain ↗
- Protective towelView at IKEA España (VÅGSJÖN 50x100 cm; shipping/collection min. 3) ↗Search Amazon Spain ↗
- Gloves if required by the cleaner labelSearch Amazon Spain ↗
Materials
- Warm clean water
- Mild liquid detergent approved for the exact laminate and handle finishSearch Amazon Spain ↗
Step by step
Photorealistic illustration · Waey
1. Identify the finish and check for damage
Check the cabinet care information or ask the supplier to confirm the surface and permitted cleaner. Inspect the front, edges and handle fixings for loose material, chips or swelling. Set damaged areas aside for repair advice rather than wet cleaning them. A similar appearance does not establish that two finishes tolerate the same treatment, so do not apply specialist matte-surface or countertop solvent instructions to these doors.
Photorealistic illustration · Waey
2. Clear the work area and remove loose dust
Move food, small appliances and loose objects away from the work area, and place a towel where it can catch accidental drips without covering a hot appliance. Dust the closed fronts gently from top to bottom with a clean soft dry cloth. Remove gritty particles before damp wiping so they cannot scratch the finish. Keep cleaning cloths separate from any cloth used on a dirty floor or raw-food spill.
Photorealistic illustration · Waey
3. Prepare mild solution and test a hidden spot
Mix the approved mild liquid detergent with warm water at its labelled dilution; a stronger solution is not automatically more effective. Dampen the wash cloth and wring it until it cannot drip. Test a small inconspicuous intact area, remove the cleaner with a second barely damp clean-water cloth and dry it. Continue only if the finish retains its colour, sheen and smooth feel without softening or streak damage.
Photorealistic illustration · Waey
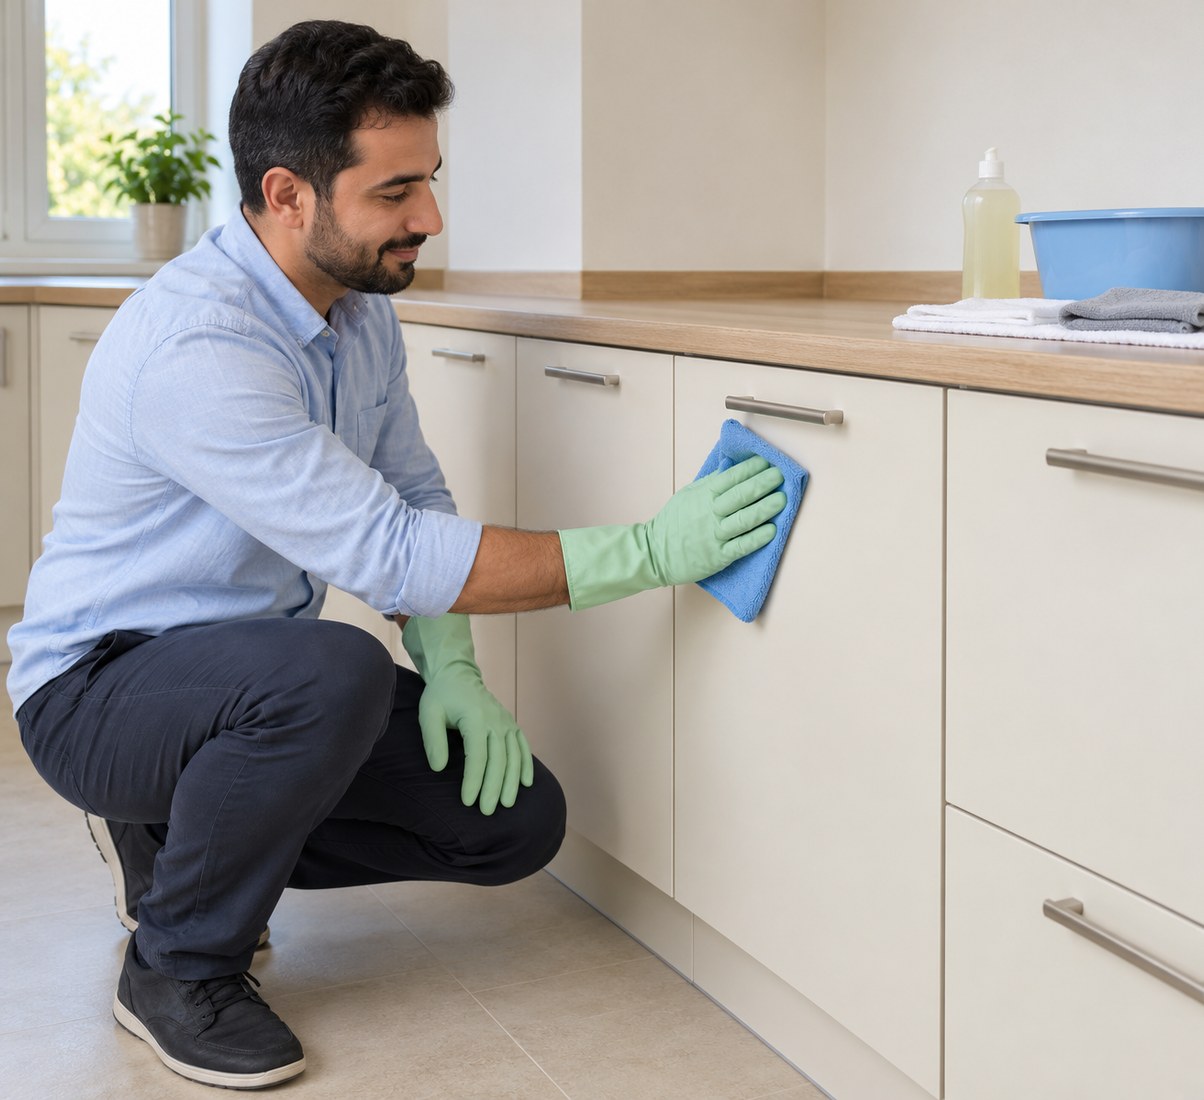
4. Wash one front with controlled moisture
Wipe one small front at a time with the well-wrung cloth, using light circular movements on its face. Turn to a clean part of the cloth as marks lift and refresh dirty solution instead of spreading grease. Keep moisture away from seams and edge banding, and never pour or spray cleaner directly onto the door. If a mark persists, repeat gentle cleaning or ask the supplier rather than increasing pressure, scraping or improvising solvents.
Photorealistic illustration · Waey
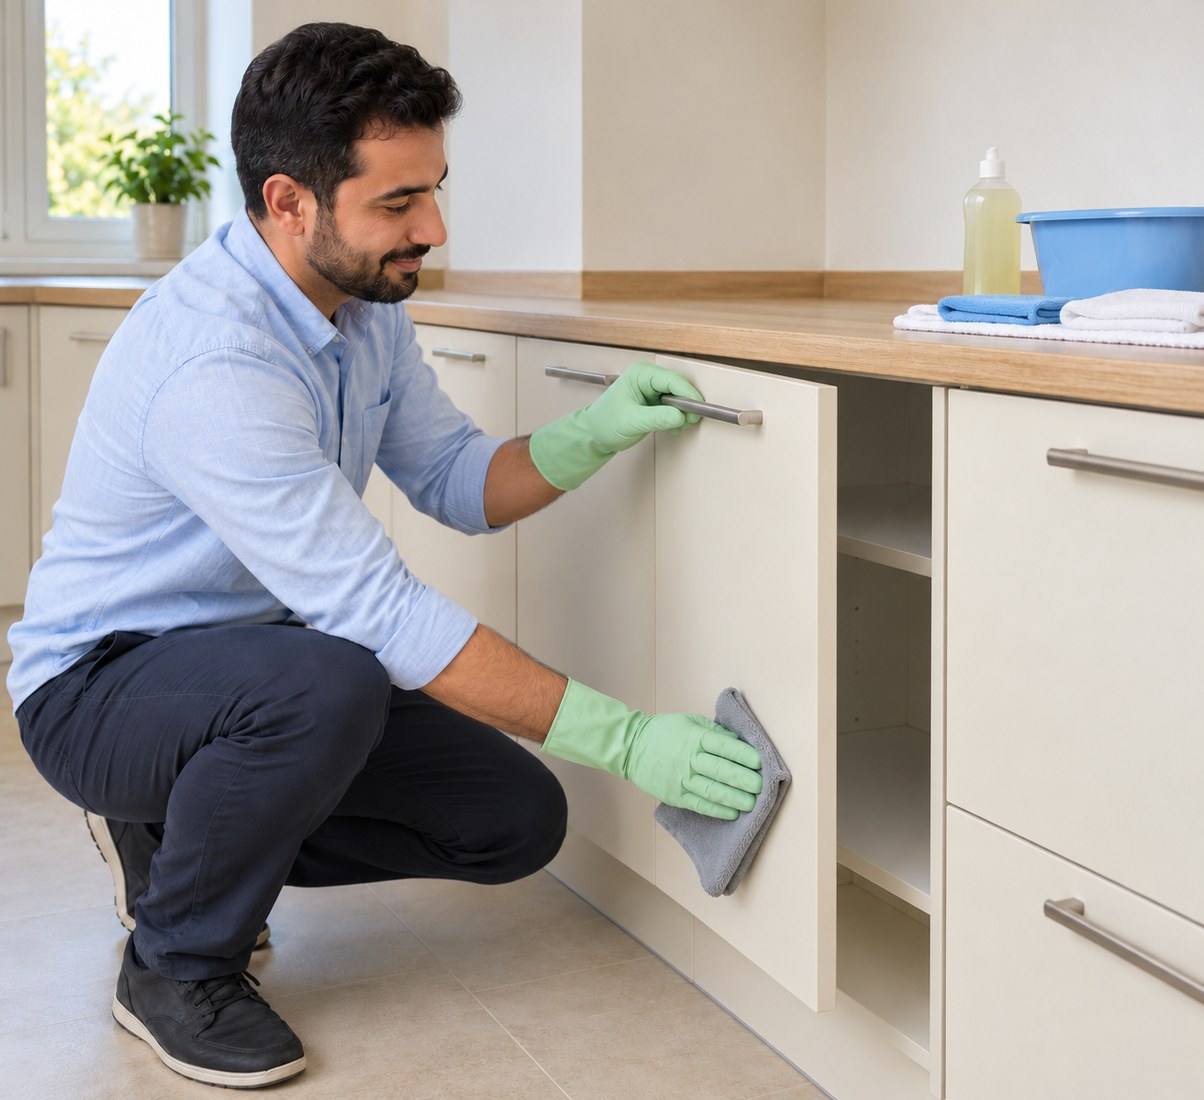
5. Treat handles and accessible edges carefully
Check the handle’s own finish instructions before using the same solution on it. Clean around it with the cloth rather than flooding its fixings. Open the door only as needed to reach a sound edge, supporting it without pulling the hinge, and use minimal moisture there. Keep the cloth away from hinge mechanisms and any exposed core. Stop if the edge covering lifts or water enters a damaged joint.
Photorealistic illustration · Waey
6. Remove residue and dry immediately
Wipe away detergent with a clean cloth barely dampened in fresh water, without flooding the front or its seams. Immediately follow with a soft dry cloth, paying particular attention to the lower edge and handle fixings. Check in side light for remaining greasy streaks or moisture and repeat only the gentle rinse-and-dry sequence if needed. Leave everything dry before closing the door and replace nearby objects only after the area is clear of cleaner.
Watch the method
Cleaning and Disinfecting Formica® Laminate
Formica demonstrates everyday laminate cleaning in the opening section. This is a countertop reference; use the written cabinet instructions to protect seams, edges and hinges. Later stain-removal and disinfection methods are outside this guide.
Formica Group North America · Unconfirmed audio; English metadata
Watch on YouTube ↗Final checks
The finish is confirmed and intact; no dripping cloth or flooded seam; detergent residue is removed; lower edges and handle fixings are dry; hinges and electrical equipment remain dry; no scratch, softened finish or swelling appears.
Where to find supplies
Sources
Formica — Care and maintenance, laminate cabinet section ↗
AI-generated representative photographic illustrations by Waey, using only Waey-generated references. External video belongs to its credited creator.