
Remove pills from sound knitwear with a fabric shaver
Check a compatible garment, test a hidden patch and remove surface bobbles with light, controlled passes. Finish by isolating and cleaning the tool rather than chasing every last fibre.
What will you learn?
Check a compatible garment, test a hidden patch and remove surface bobbles with light, controlled passes. Finish by isolating and cleaning the tool rather than chasing every last fibre.
Tools
- Battery-operated fabric shaver with intact metal guard and its specified height spacerView at MediaMarkt España (Philips GC026/00, new) ↗Search Amazon Spain ↗
- Supplied cleaning brush
- Clean smooth support towelSearch Amazon Spain ↗
- Small tray for detached partsView at Suministros Revuelto España (plastic parts tray L1001) ↗Search Amazon Spain ↗
Materials
- One dry, sound, compatible plain-knit garment
- Two AA alkaline batteries for the GC026 referenceView at Carrefour España (AA alkaline, 4-pack) ↗Search Amazon Spain ↗
Step by step
Photorealistic illustration · Waey
1. Decide whether shaving suits the garment
Read the garment care guidance and the exact tool instructions before starting. Choose a sound plain-knit area with small surface pills, rather than holes, pulled stitches, a fluffy decorative finish or a very loose weave. Pilling comes from fibre friction; shaving removes material and cannot repair weak fabric. For valuable or delicate knitwear, ask its maker or use the care method it recommends instead of assuming a shaver is suitable.
Photorealistic illustration · Waey
2. Inspect the unpowered tool and fit its parts
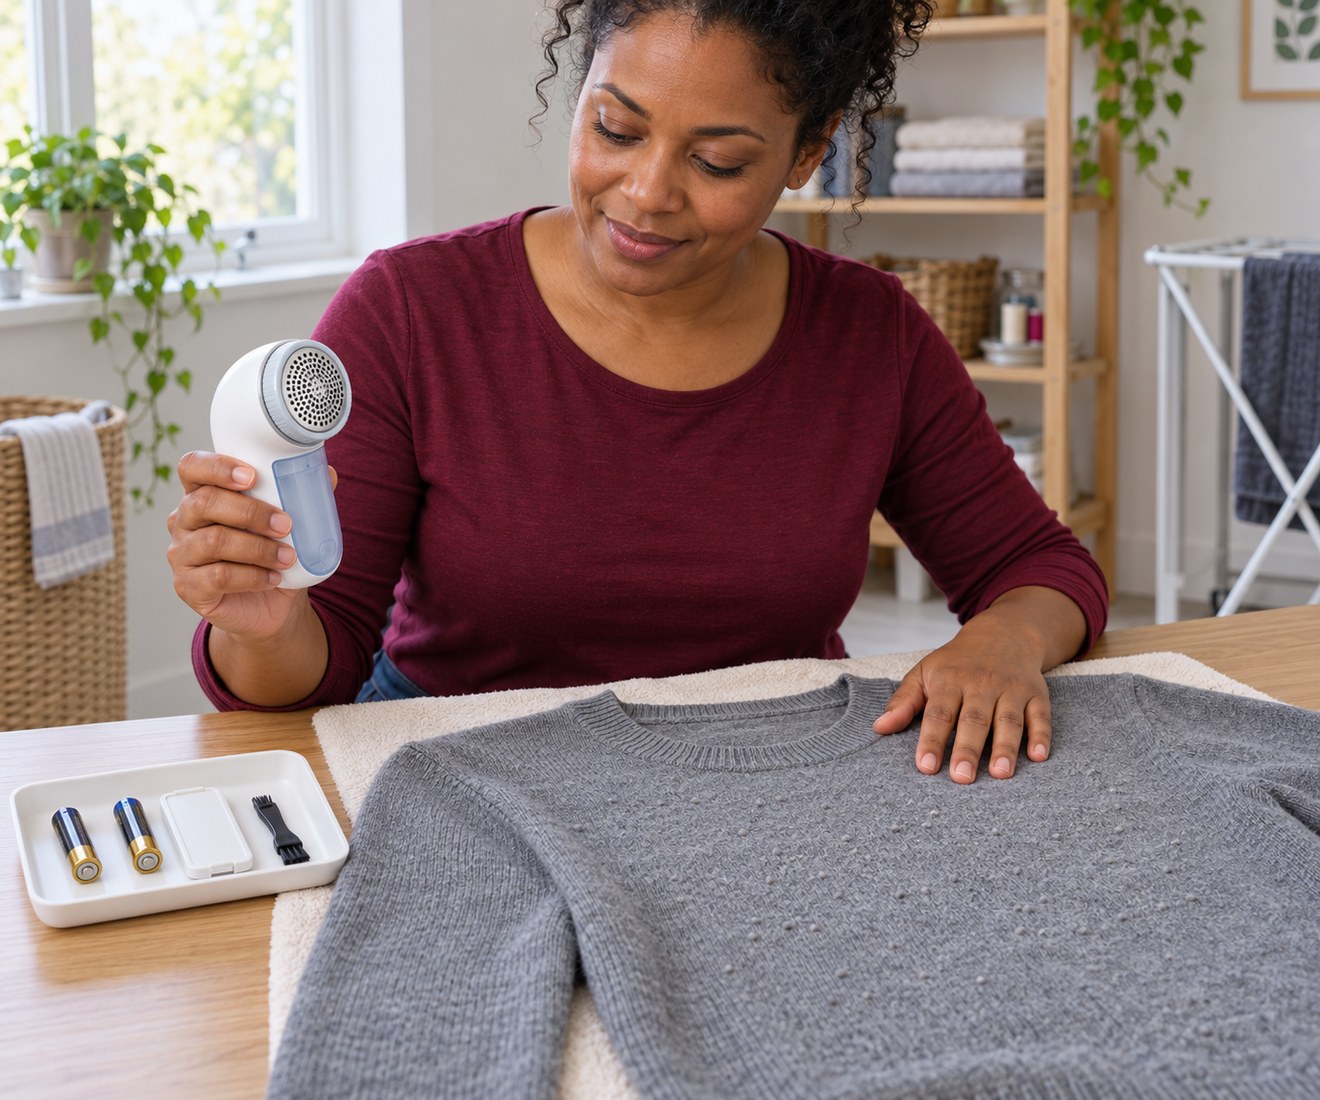
With the switch off and batteries removed, check that the body, perforated metal guard and lint collector are intact and correctly fitted. Identify the plastic height spacer separately from the metal blade guard: changing the spacer never means running exposed blades. The GC026 manual attaches its spacer for longer lint and removes it for shorter lint. Follow the matching manual, then install the specified batteries with the marked polarity and close the cover.
Photorealistic illustration · Waey
3. Lay out one flat supported layer
Spread the dry garment on a smooth towel over a firm table and straighten it gently without stretching the knit. Move the back, seams and sleeves so the working area is flat rather than sitting on a ridge underneath. Keep cuffs, buttons, zips, embroidery and loose threads outside the path. Your free hand should rest well away from the head, never underneath a section being shaved.
Photorealistic illustration · Waey
4. Test a small concealed patch
Start on a discreet compatible area, using the spacer setting specified for that fabric and lint. Switch on, make one or two gentle gliding passes and switch off before lifting the garment to inspect it. Compare the test patch with the surrounding knit in good light. Stop if stitches lift, the surface thins, the head catches or the finish changes; more pressure is not a remedy for an unsuitable fabric.
Photorealistic illustration · Waey
5. Work across small sections with light pressure
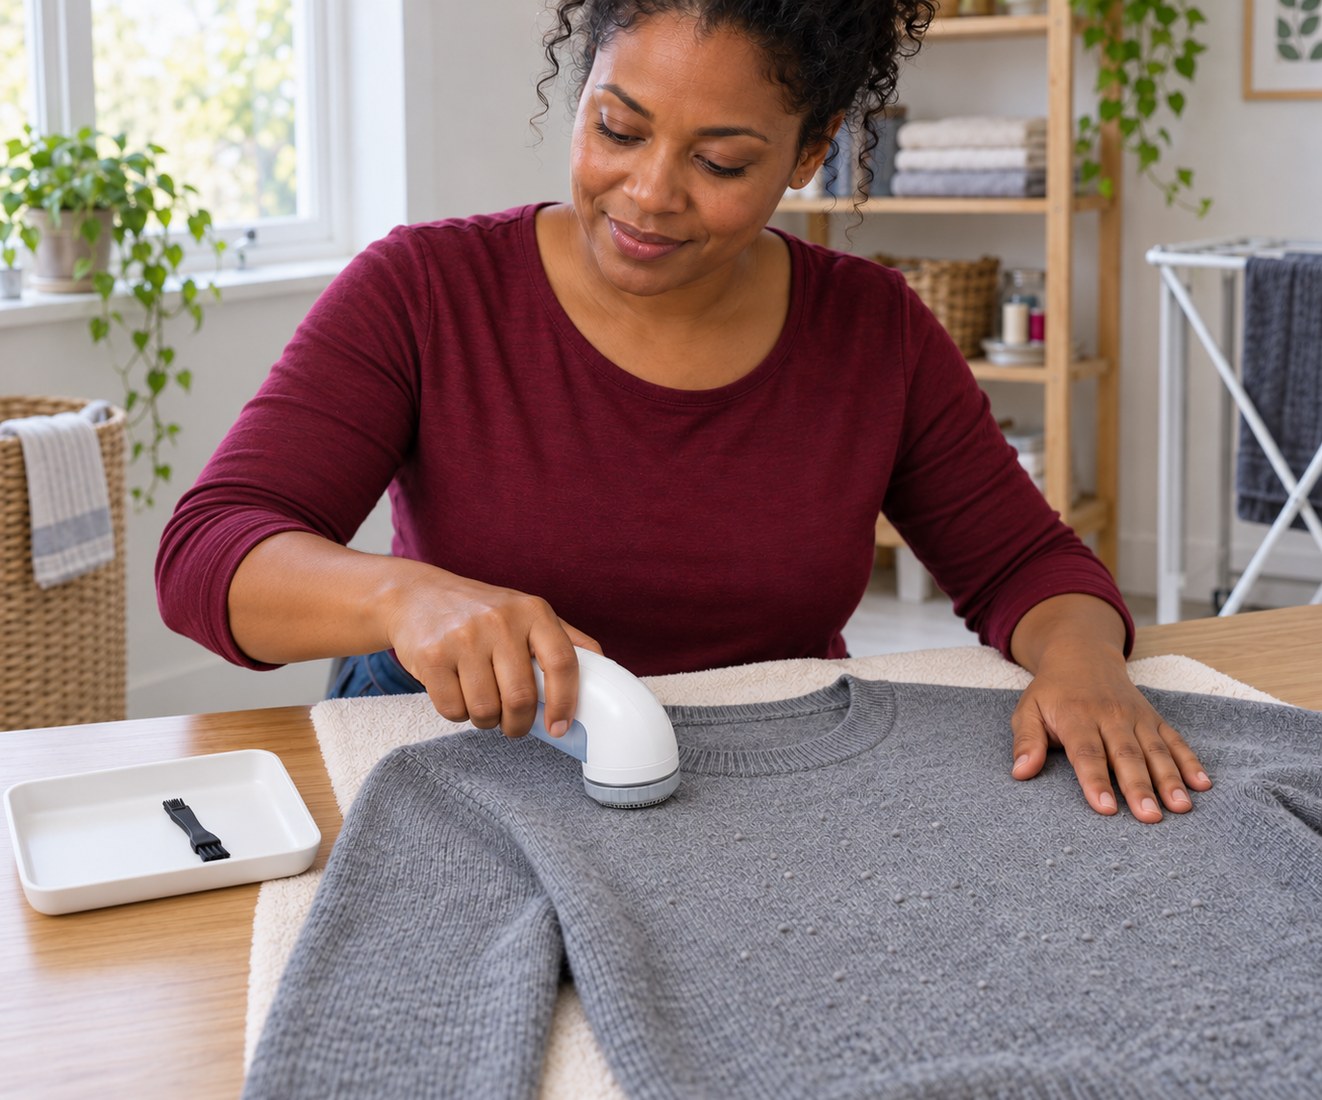
If the test is satisfactory, glide the guarded head smoothly across one small flat section at a time. Let the tool remove projecting pills without pushing the knit into its mesh. Use overlapping passes only where needed, and switch off before smoothing a new fold or moving close to seams. Do not chase every fuzzy fibre until the fabric becomes thin; an even, intact surface matters more than an artificial brand-new finish.
Photorealistic illustration · Waey
6. Pause when the collector fills or cutting slows
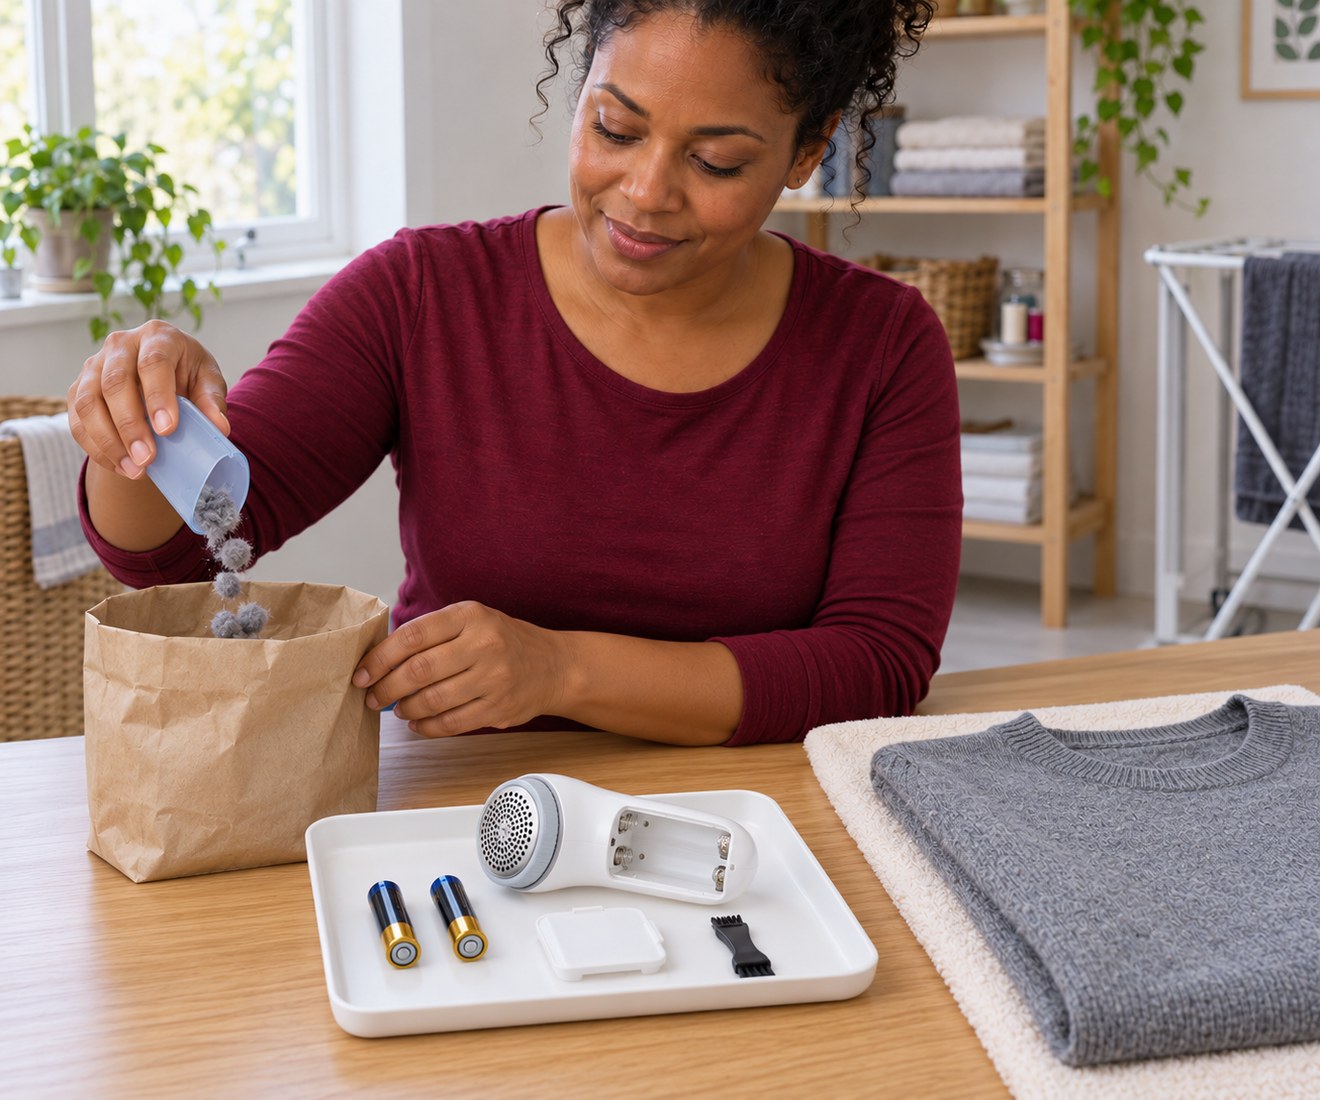
Check the lint collector regularly. If it fills, the motor slows or pills stop being removed, switch off and remove the batteries before detaching anything. Empty the removable collector as the tool instructions show, keeping fluff out of the battery compartment. Refit it securely before replacing the batteries. If the tool still performs poorly, stop for its specified cleaning or service; do not press harder or poke the running head with a pointed object.
Photorealistic illustration · Waey
7. Clean with the batteries removed
Finish by switching off, removing both batteries and emptying the collector. For the GC026 reference, unscrew the metal guard anticlockwise and lift the cutter only by the non-cutting support shown in its manual, keeping fingers away from sharp edges. Use the supplied brush to remove lint from the cutter and inner guard, without water or pointed tools. Refit the cutter in its correct seat and screw the guard clockwise securely. If the safe grip or reassembly is unclear, stop and use the manufacturer’s diagrams or support before handling it.
Photorealistic illustration · Waey
8. Inspect the garment and store the tool safely
Look over the treated areas for lifted stitches or thinning, and stop using the shaver if either appears. Remove loose surface fluff gently and fold the garment without stretching it. Store the dry, reassembled tool with its batteries separate in safe storage, and keep its brush and spacer together. Reduce future rubbing where practical and follow the garment’s wash label; pilling can return, so repeat only when needed rather than shaving routinely.
Watch the method
How To Clean And Remove Fabric Pills | Philips Fabric Shaver GC026
A firsthand GC026 demonstration on fabric. Follow the written flat-garment method, test a hidden patch and remove both batteries before opening or cleaning; the video does not establish safe servicing.
HIP HOP Unboxing · Unconfirmed; no audio/caption language metadata
Watch on YouTube ↗Final checks
The hidden patch remains intact; the metal guard stays fitted while running; no skin or hand is beneath the working fabric; no loose threads enter the head; maintenance occurs with batteries removed; all parts are correctly refitted before any reuse.
Where to find supplies
Sources
Philips/Versuni — GC026 current user manual ↗
Philips/Versuni — GC026 important information ↗
AI-generated representative photographic illustrations by Waey, using only Waey-generated image references. Manufacturer diagrams were private research, not public images or generator input. External video belongs to its credited creator.