
Divide and repot a crowded spider plant
Separate a healthy multi-crown spider plant into rooted divisions, repot them at the right depth and manage their recovery.
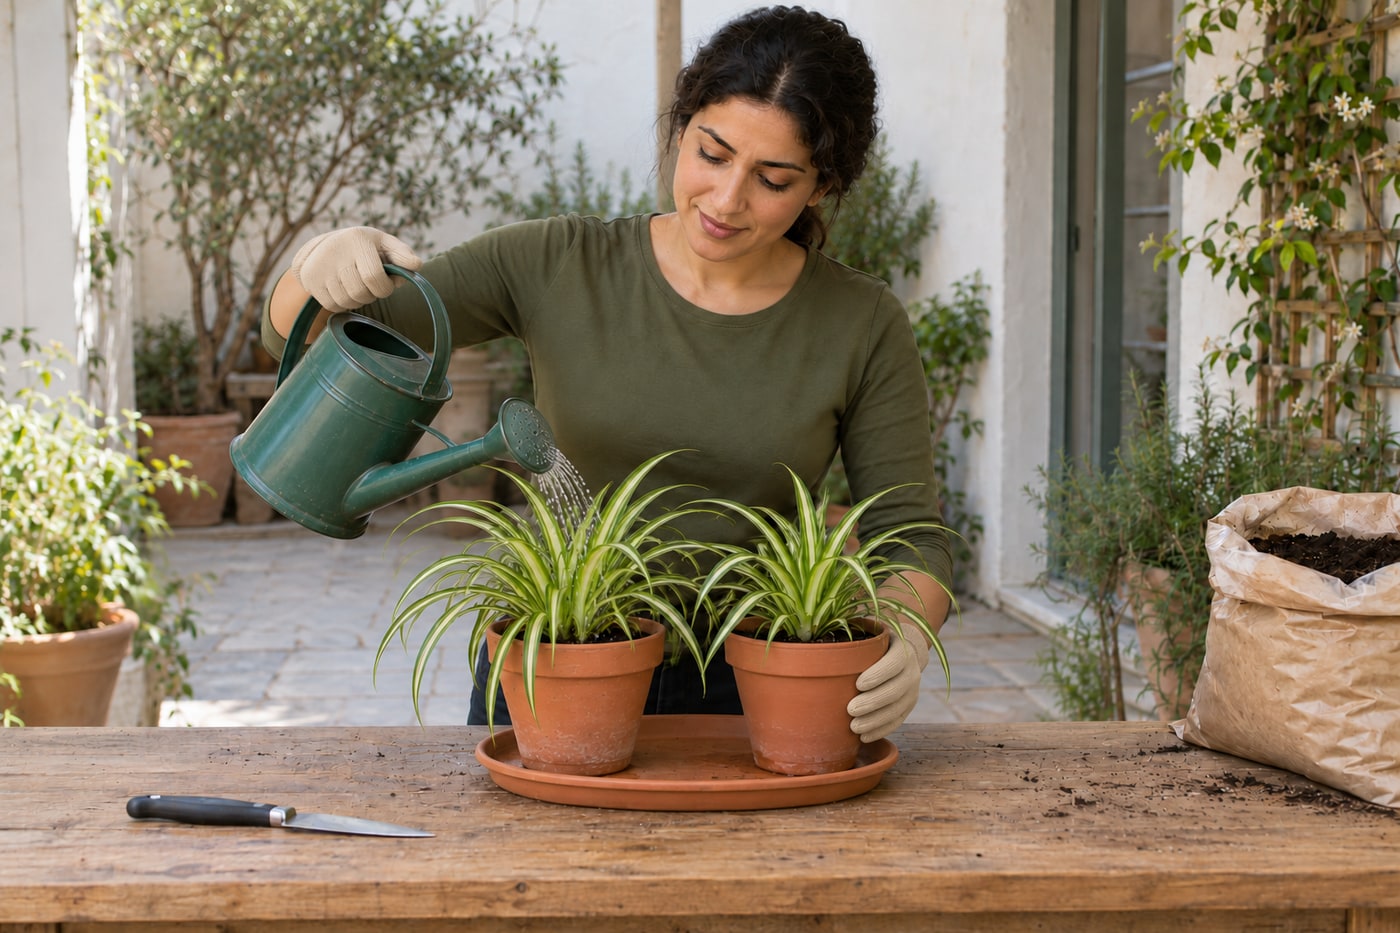
What will you learn?
Separate a healthy multi-crown spider plant into rooted divisions, repot them at the right depth and manage their recovery.
Tools
- Gardening glovesView at Leroy Merlin España (Gardena, 9/L) ↗Search Amazon Spain ↗
- Potting trayView at Suministros Hortícolas del Norte (Garland complete Tidy Tray) ↗Search Amazon Spain ↗
- Small watering canView at Leroy Merlin España (small watering can) ↗Search Amazon Spain ↗
- Clean sharp garden knife, only if roots cannot be separated by handView at Conillas España (Hori Hori garden knife with sheath) ↗Search Amazon Spain ↗
- Firm cutting board, if using a knifeView at IKEA España (APTITLIG bamboo board, 45 × 28 cm) ↗Search Amazon Spain ↗
Materials
- Your healthy mature spider plant with separate crowns
- Two or three clean pots with drainage holes, sized to the divisionsView at PlantaShop España (15 cm draining pots, pack of 25; check root fit) ↗Search Amazon Spain ↗
- Pot saucersView at Verdecora España (pot saucer; select base-fit size and 2–3 units) ↗Search Amazon Spain ↗
- Fresh peat-free houseplant potting compostView at BAUHAUS España (peat-free indoor potting substrate, 40 L) ↗Search Amazon Spain ↗
- Clean water
Step by step
Photorealistic illustration · Waey
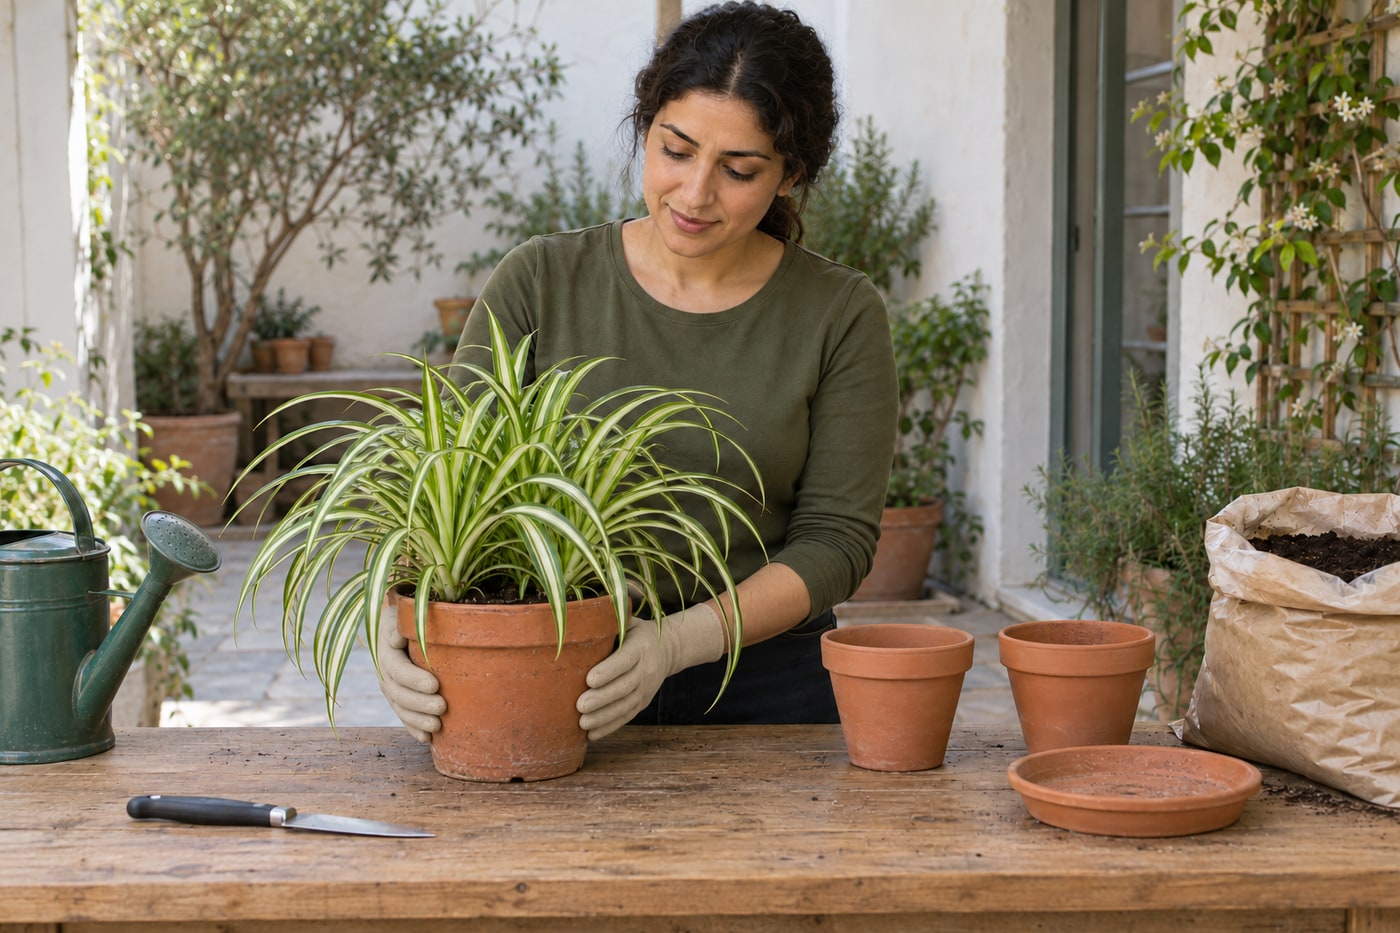
1. Choose a plant that can be divided
Part the leaves gently and find the separate growing centres at the surface. Each future plant needs living leaves, a crown and its own share of healthy roots. A larger division usually recovers more readily than a tiny fragment. Choose a period of active growth with mild conditions; do not turn division into an emergency treatment for a plant already collapsing from rot.
Photorealistic illustration · Waey
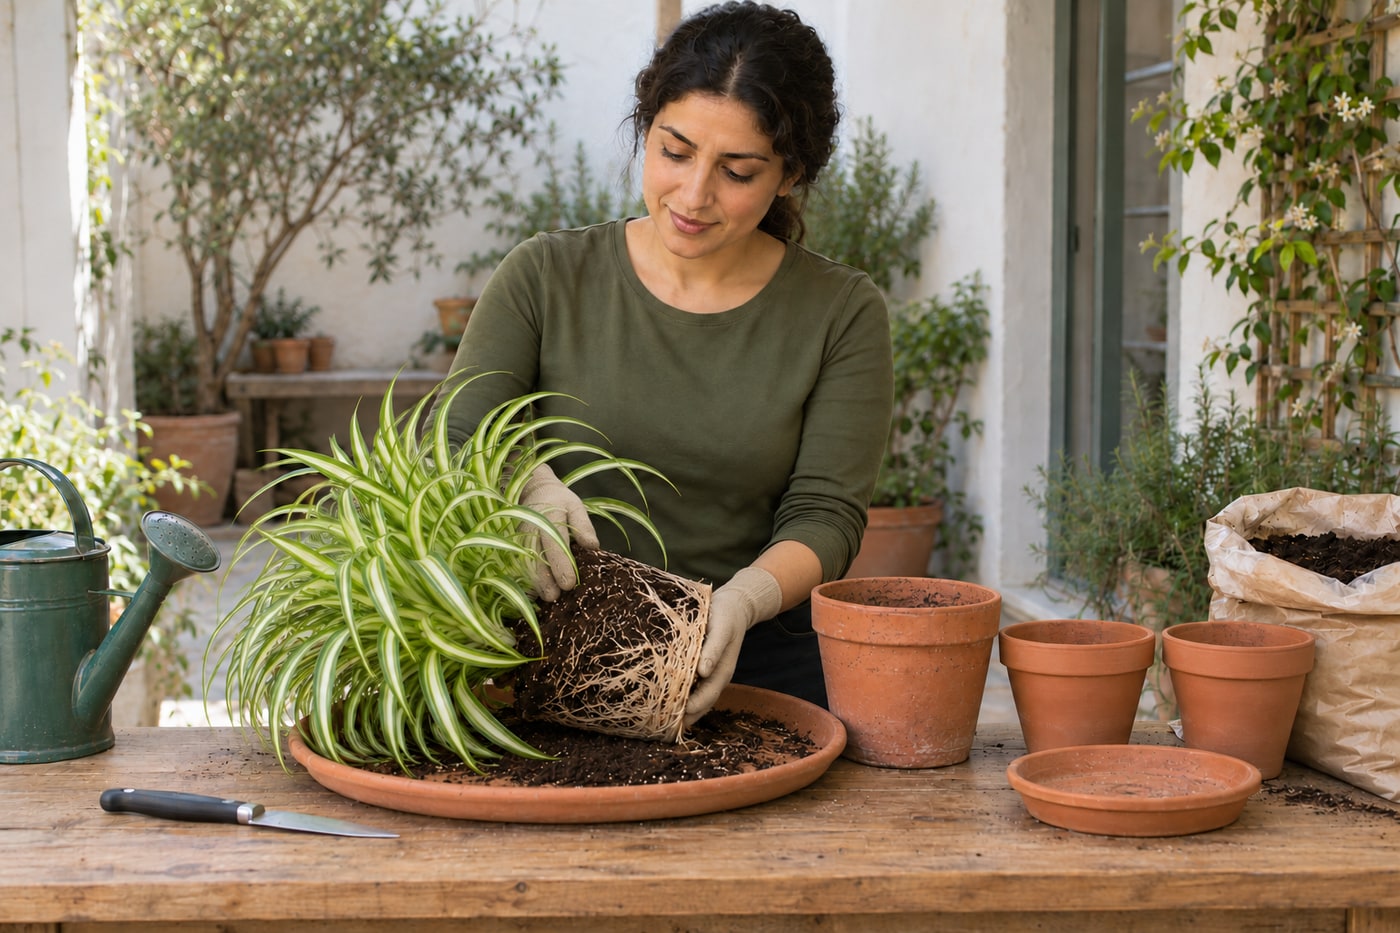
2. Release the root ball without pulling leaves
Work over a tray with the compost slightly moist, so roots are flexible rather than brittle or dripping wet. Support the plant at the base, tip the pot and ease out the root ball. Squeeze a flexible nursery pot or loosen its edge; do not yank the foliage. If roots trap a plant inside a rigid pot, release the container safely instead of forcing the crown through.
Photorealistic illustration · Waey
3. Find the natural divisions
Lay the root ball on the tray and tease away only enough loose compost to follow the crowns down into their roots. Work from the outside inward with your fingers. Spider plants have fleshy storage roots: firm pale roots are useful, not defects to strip away. If you find soft dark roots and a sour smell, stop and assess root rot rather than potting infected sections together.
Photorealistic illustration · Waey
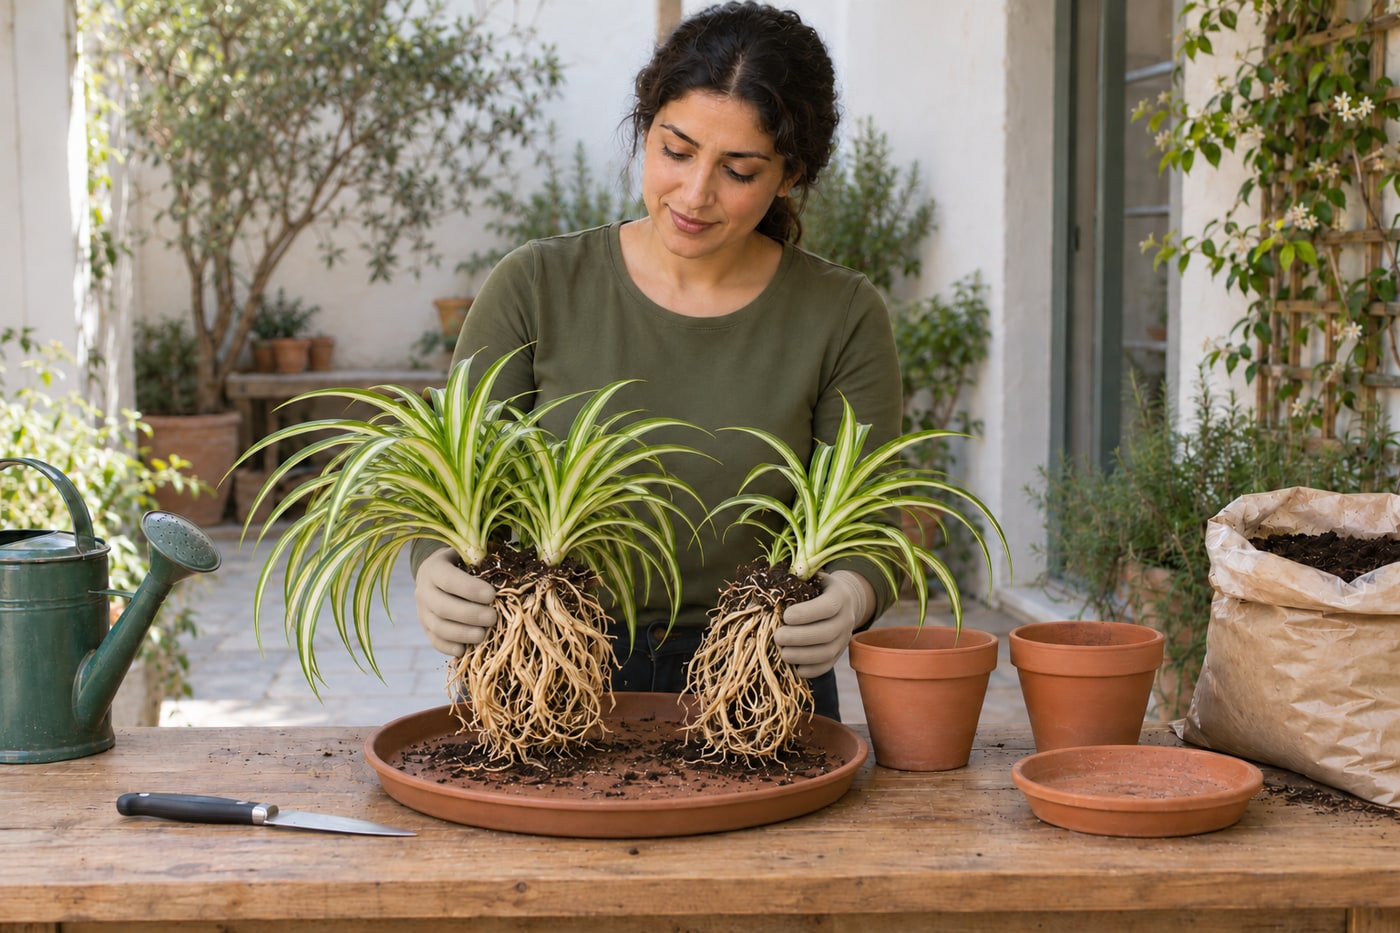
4. Separate complete rooted plants
Gently pull apart the natural sections while supporting their bases. If a tight bridge of roots prevents separation, put the clump on a firm board and make a controlled cut between crowns with a clean sharp knife. Keep the other hand well away from the blade. Do not slice through every crown to make equal-sized portions: keep a viable growing point and substantial roots on each piece.
Photorealistic illustration · Waey
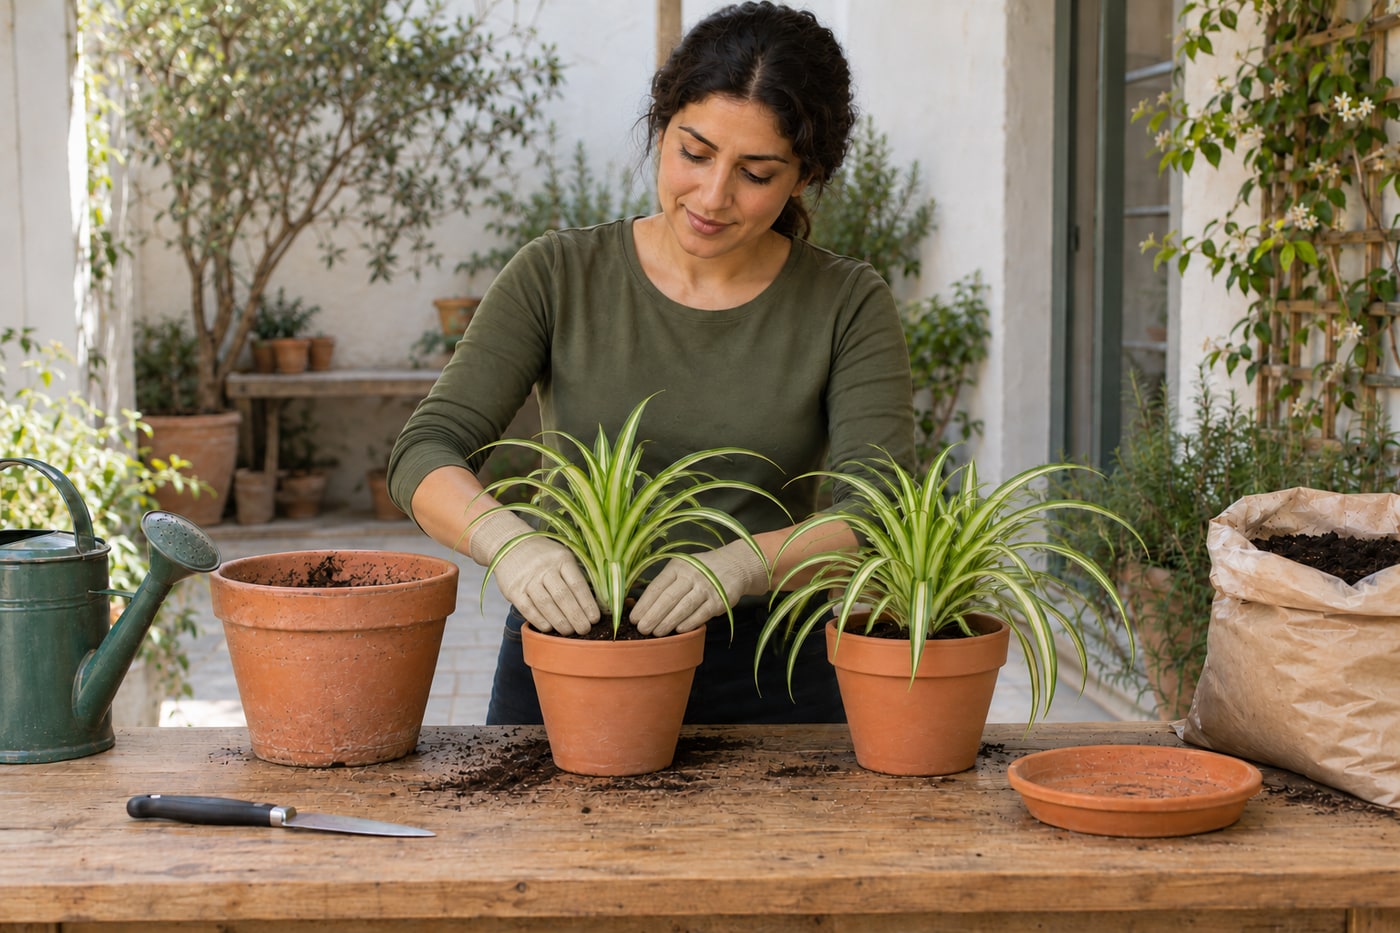
5. Set each division at its old depth
Choose a pot that accommodates the roots with modest space for fresh compost around them, rather than a large empty volume. Confirm its drainage holes are open. Add compost, spread the roots without sharply folding them and hold the crown at its previous soil level. Fill around the roots and firm gently with fingertips; burying the leaf bases or compressing the mix hard encourages poor conditions around the crown.
Photorealistic illustration · Waey
6. Water through and drain completely
Water slowly across the compost until water drains below, then let the pot drain and empty its saucer. Check that settling has not exposed roots; add a little compost if needed without raising it around the crown. The first watering brings compost into contact with the roots. Repeatedly topping up a full saucer does the opposite of helping recovery because it keeps the root zone saturated.
Photorealistic illustration · Waey
7. Manage recovery by checking the compost
Keep the divisions in bright indirect light away from harsh balcony sun and air-conditioner drafts. Check the compost with a finger before watering and keep it lightly moist, allowing surplus water to escape. Delay feeding while roots recover, and consider any fertiliser already present in the mix. Some temporary leaf droop can occur, but persistent collapse, a soft crown or sour wet compost calls for inspection, not extra water.
Watch the method
How I Divide and Repot My Spider Plants
Shows a mature clump separated into rooted divisions and potted individually. Follow the written crown, root and drainage checks; frame samples do not establish a success rate or universal timing.
M&J Market Farm · English
Watch on YouTube ↗Final checks
Each pot drains; every division has a healthy crown and roots; leaf bases remain above compost. Monitor moisture and new growth before feeding.
Where to find supplies
Sources
RHS: How to grow spider plants ↗
Step images are AI-generated photographic illustrations created for Waey. Video demonstrations remain the work of their credited creators.