
Glue up a flat three-board timber panel
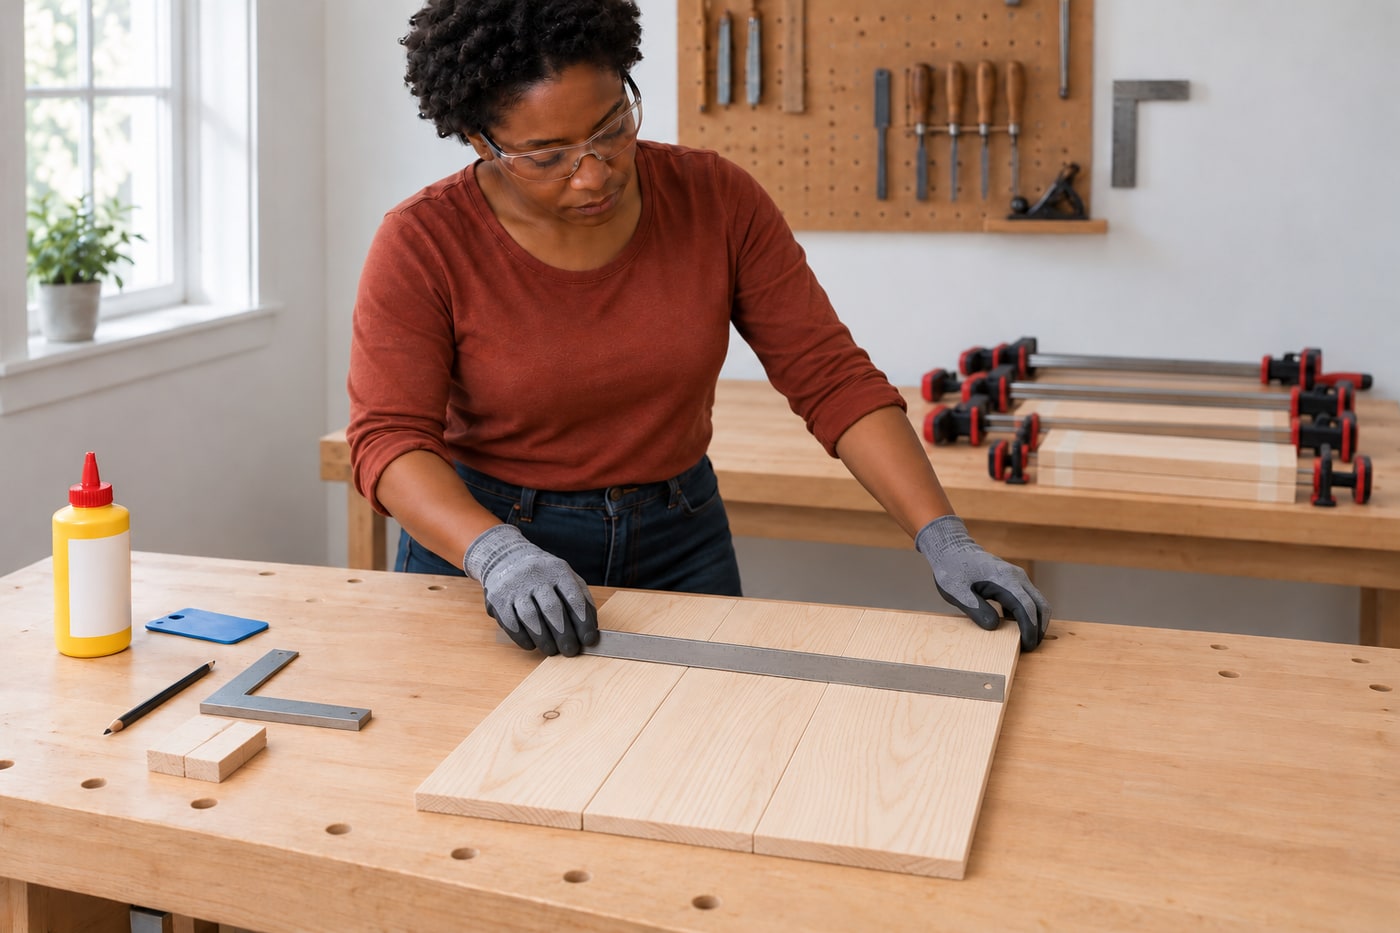
Prepare and dry-fit the stock, spread compatible wood glue, balance clamps and cauls, allow a proper cure and inspect the completed panel blank.
What will you learn?
Prepare and dry-fit the stock, spread compatible wood glue, balance clamps and cauls, allow a proper cure and inspect the completed panel blank. The photorealistic illustrations show one consistent practice sample and generic tools; they do not certify measured dimensions, clamping force, product controls or a physically tested load.
Tools
- Suitable hand-tightened bar or parallel-jaw clamps, plus small clamps for the caulsSearch Amazon Spain ↗
- Flat stable bench, protected supports, straight paired cauls and protective padsSearch Amazon Spain ↗
- Straightedge, small square, tape measure and pencilSearch Amazon Spain ↗
- Suitable glue spreader, controlled cleanup scraper and hand-sanding blockSearch Amazon Spain ↗
- Eye protection, suitable close-fitting protective gloves and footwear; dust protection for sandingSearch Amazon Spain ↗
Materials
- Three prepared dry bare-wood boards of matching thickness/species with straight square mating edgesSearch Amazon Spain ↗
- Wood adhesive compatible with the actual timber and dry indoor use, with its current instructionsView at Madinter España (Titebond III 473ml) ↗Search Amazon Spain ↗
- Non-stick barrier for supports/cauls, suitable packing tape and cleanup materialsSearch Amazon Spain ↗
- Appropriate hand-sanding abrasive where neededView at Leroy Merlin España (lija manual madera, grano 180) ↗Search Amazon Spain ↗
Step by step
Photorealistic illustration · Waey
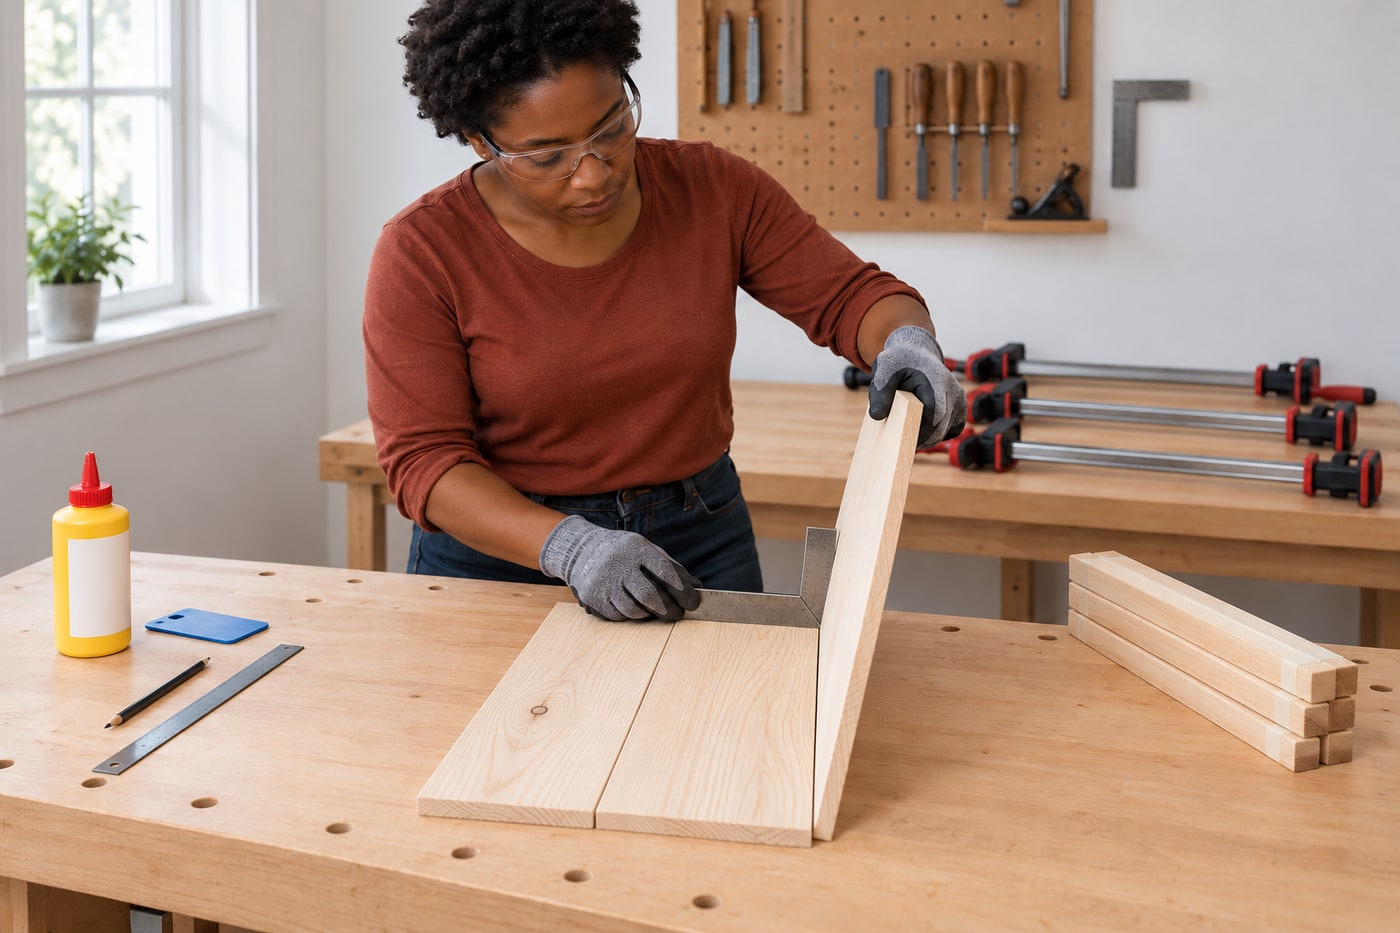
1. Start with genuinely prepared stock
Use three small boards of the same species and thickness, with flat parallel faces and straight, square mating edges. Buy them prepared or have a competent workshop prepare them; this guide does not teach powered jointing. Check the edges against a straightedge and square, then bring each pair together without clamps. The contact should be continuous rather than closing only when forced. Reject badly twisted, split, finished or contaminated stock. A clamp cannot turn a poor edge fit into a reliable glue joint.
Photorealistic illustration · Waey
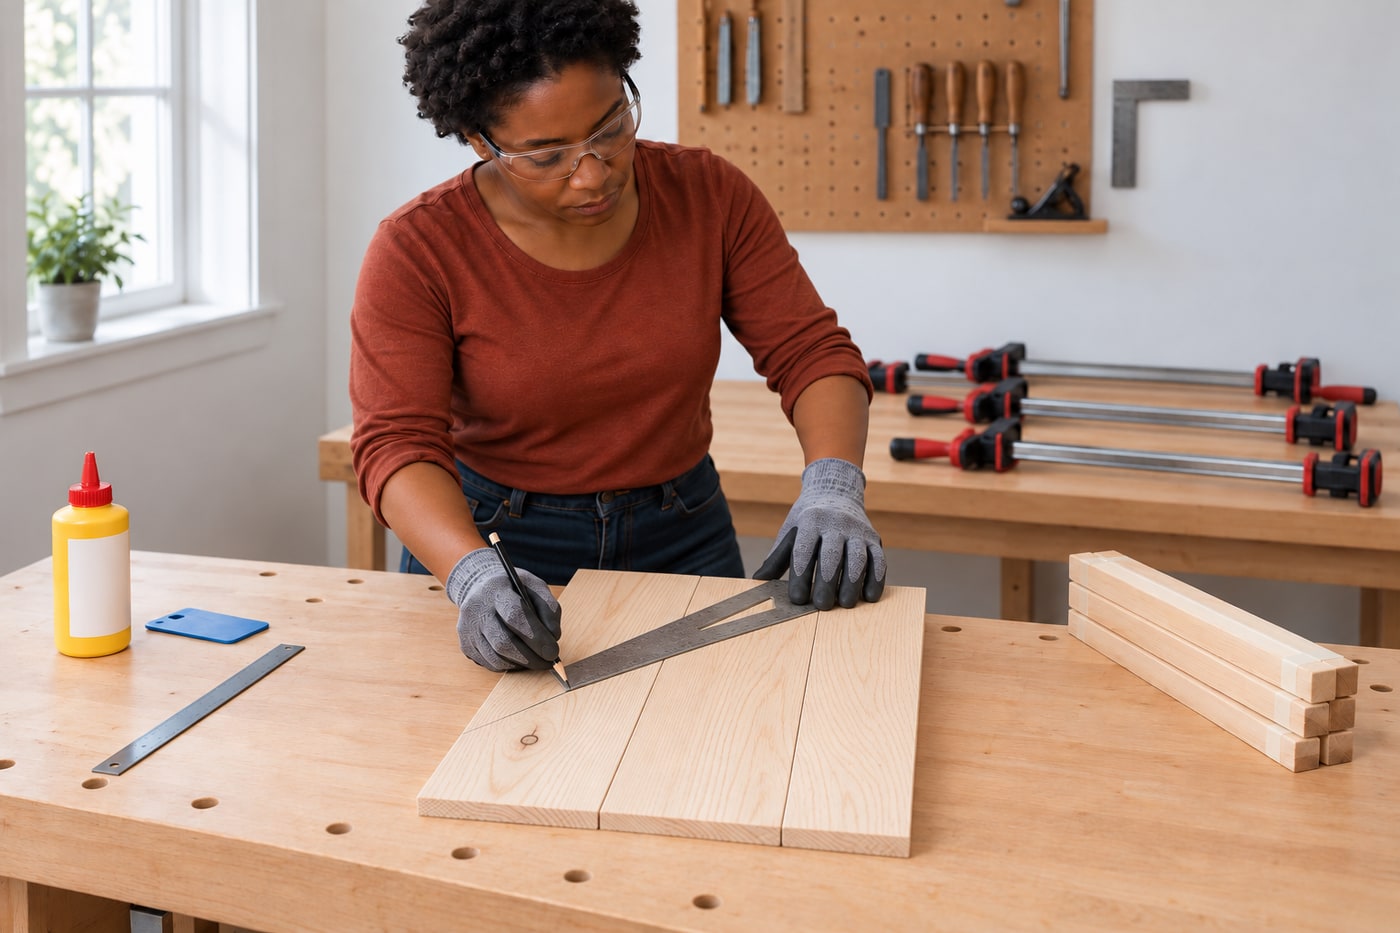
2. Compose the panel and preserve the board order
Arrange the boards edge to edge along their long grain, not end to end or stacked face to face. Choose the visible face and a pleasing grain sequence, keeping the ends reasonably aligned. Draw a light carpenter’s triangle across the faces so its segments restore the same order after separation. Three nominal 450 × 100 mm boards produce about a 450 × 300 mm blank before any later trimming; this is an example, not a dimension certified by the illustrations. Leave finishing allowances appropriate to the eventual project.
Photorealistic illustration · Waey
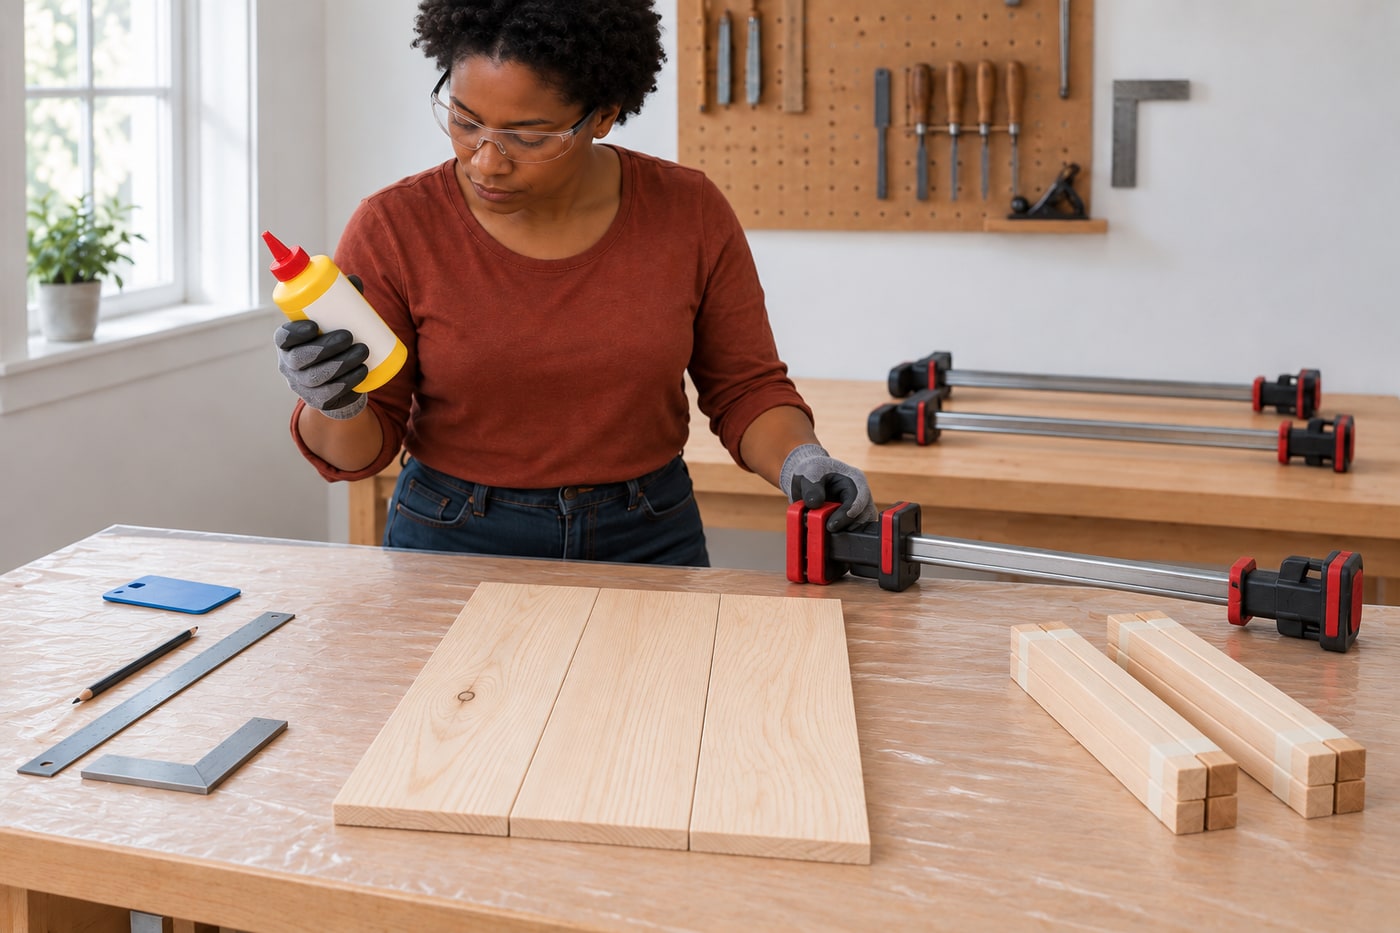
3. Choose the glue and inspect the complete clamp setup
Select a wood adhesive explicitly suitable for the bare timber and the intended dry indoor use. Read its application temperature, open time, total assembly time, clamping period and handling restrictions before starting; these are different limits. Titebond Original, for example, lists a 4–6 minute open time at about 21°C and 50% relative humidity, so do not copy that timing to another glue or climate. Inspect clamp rails, pads, screws and stops, rejecting damage. Prepare enough suitable clamps, protected supports and all cleanup materials within easy reach.
Photorealistic illustration · Waey
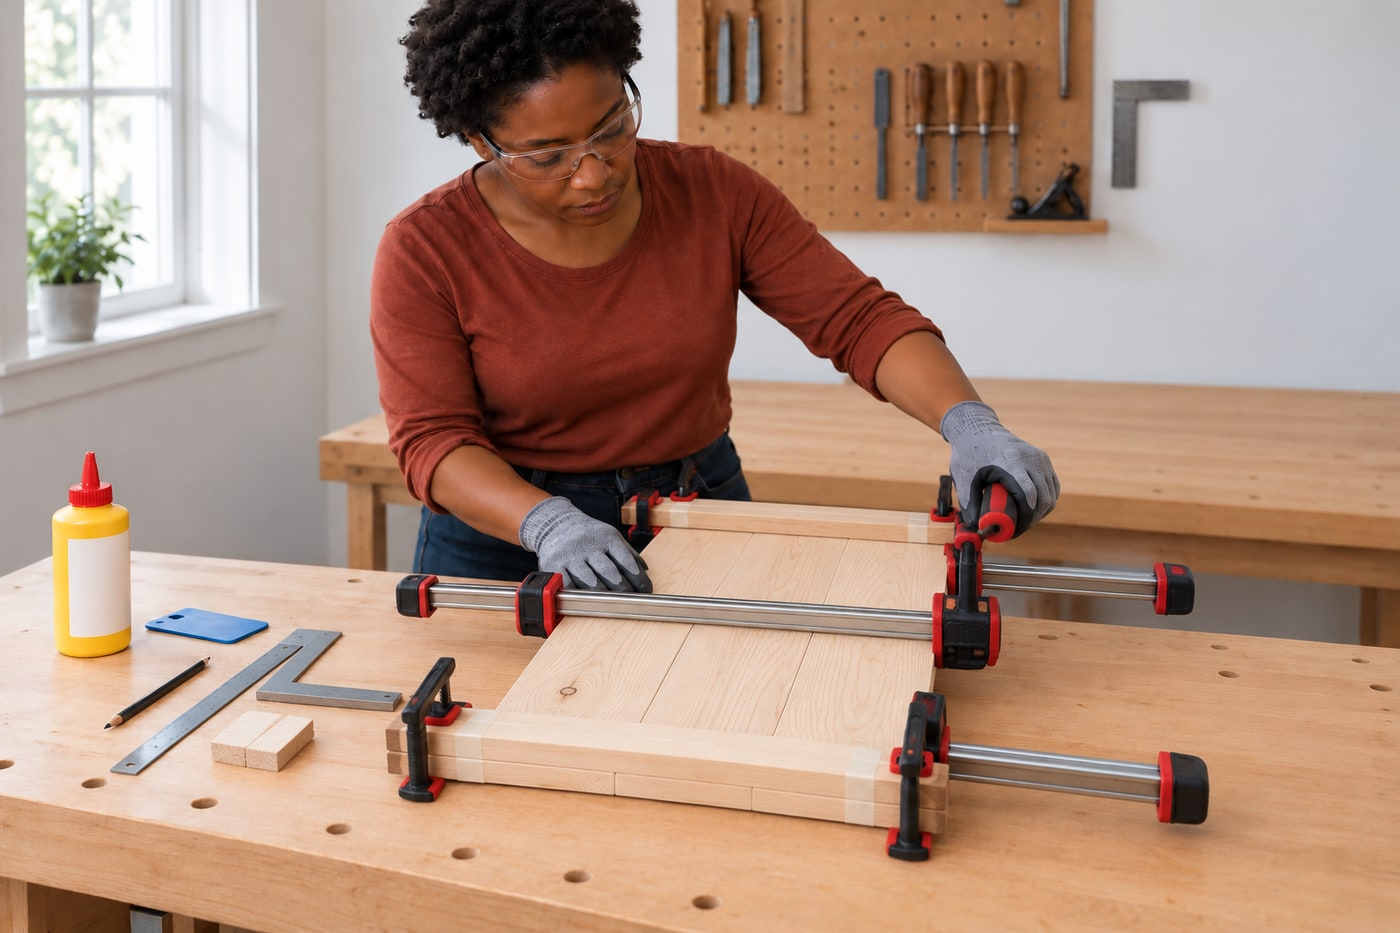
4. Rehearse the entire assembly without adhesive
Protect a flat stable bench and the support or caul contact faces with a suitable non-stick barrier, keeping it off the actual glue edges. Trial the boards, clamps and paired cauls before opening the glue. Clamps across the panel width close its two long seams; cauls across the faces help keep adjacent boards flush. Alternate the main clamp positions above and below where the system permits, and distribute them along the panel length. Confirm handle clearance and a repeatable tightening order. Correct any poor fit now rather than wrestling with wet parts.
Photorealistic illustration · Waey
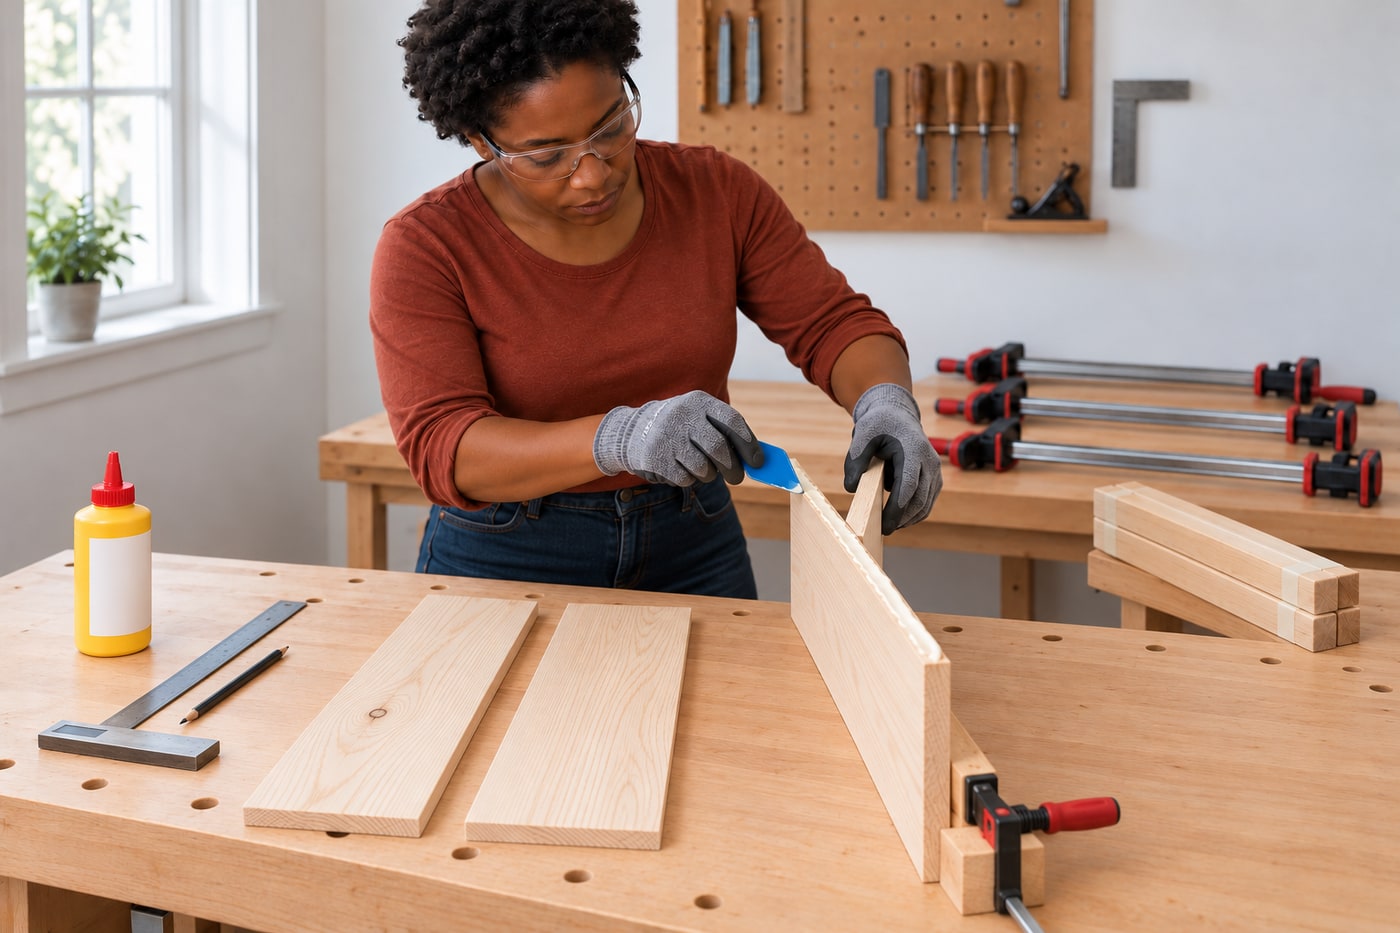
5. Spread a controlled coat over the mating edges
Separate the numbered boards while preserving their orientation and brush away dust without contaminating the joint. Support each piece securely, then spread a thin, complete coat of the chosen adhesive on the mating long edges as its instructions require. For this conventional prepared-board PVA method, coat both surfaces of each seam evenly; do not leave dry patches or a thick bead that hides missing coverage. Keep glue off the broad display faces as far as practical. Work in a small enough assembly to finish within the actual product’s timing.
Photorealistic illustration · Waey
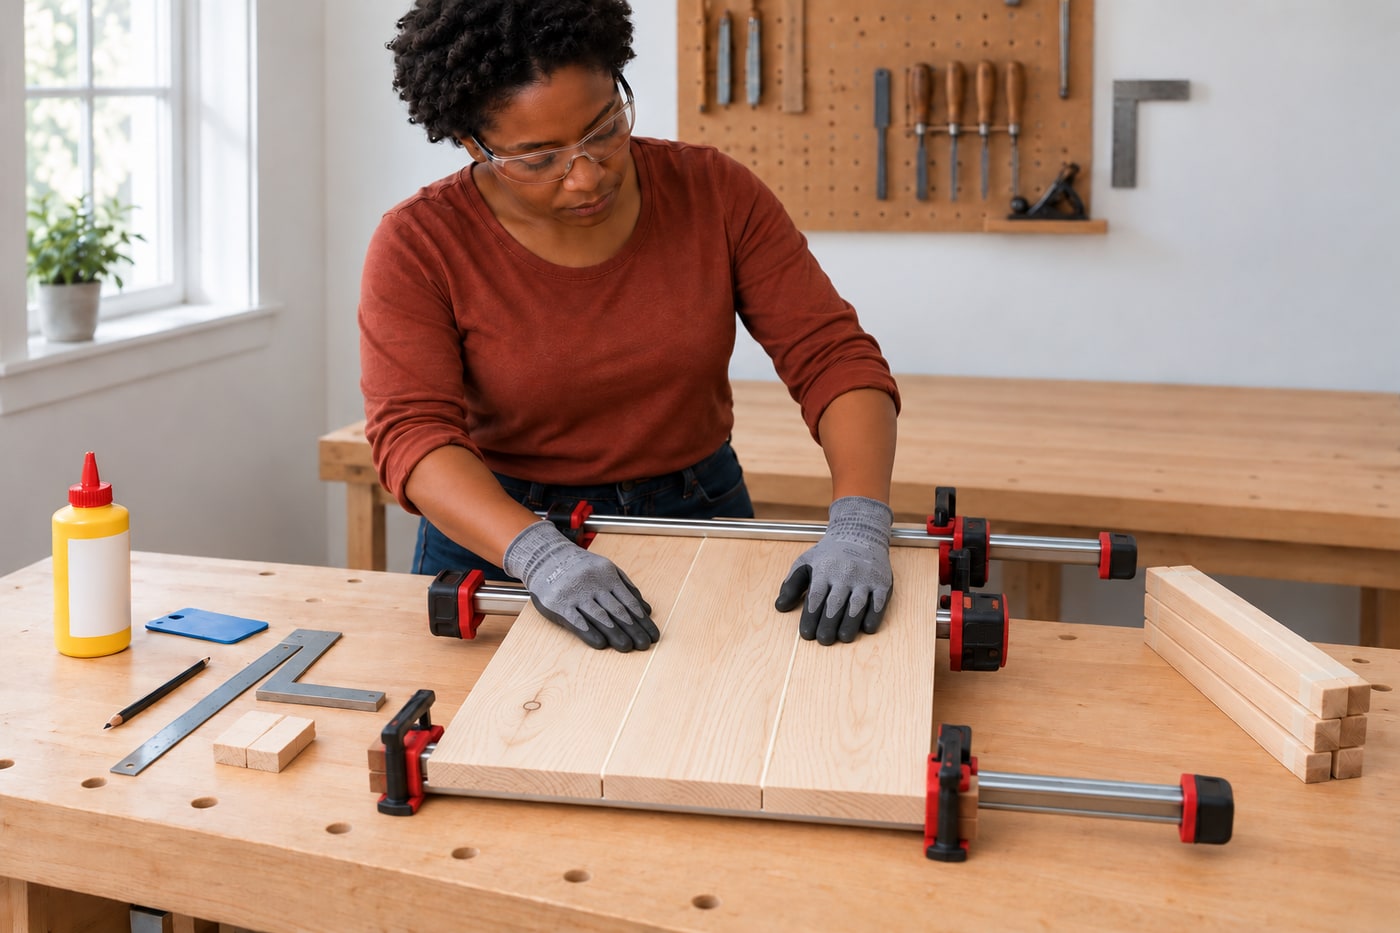
6. Bring the seams together with gradual hand pressure
Restore the triangle and bring the edges together on their supports. Fit the main clamps with protective pads bearing squarely on the outer long edges, rather than pushing against unsupported corners. Take up slack gradually from the centre towards the ends, initially using only enough pressure to hold alignment. Wet glue makes boards slide, so correct a rising edge before the clamps become tight. Tighten by hand within the clamp maker’s limits; never add a wrench or extension. More pressure is not a remedy for inaccurate edges or missing glue.
Photorealistic illustration · Waey
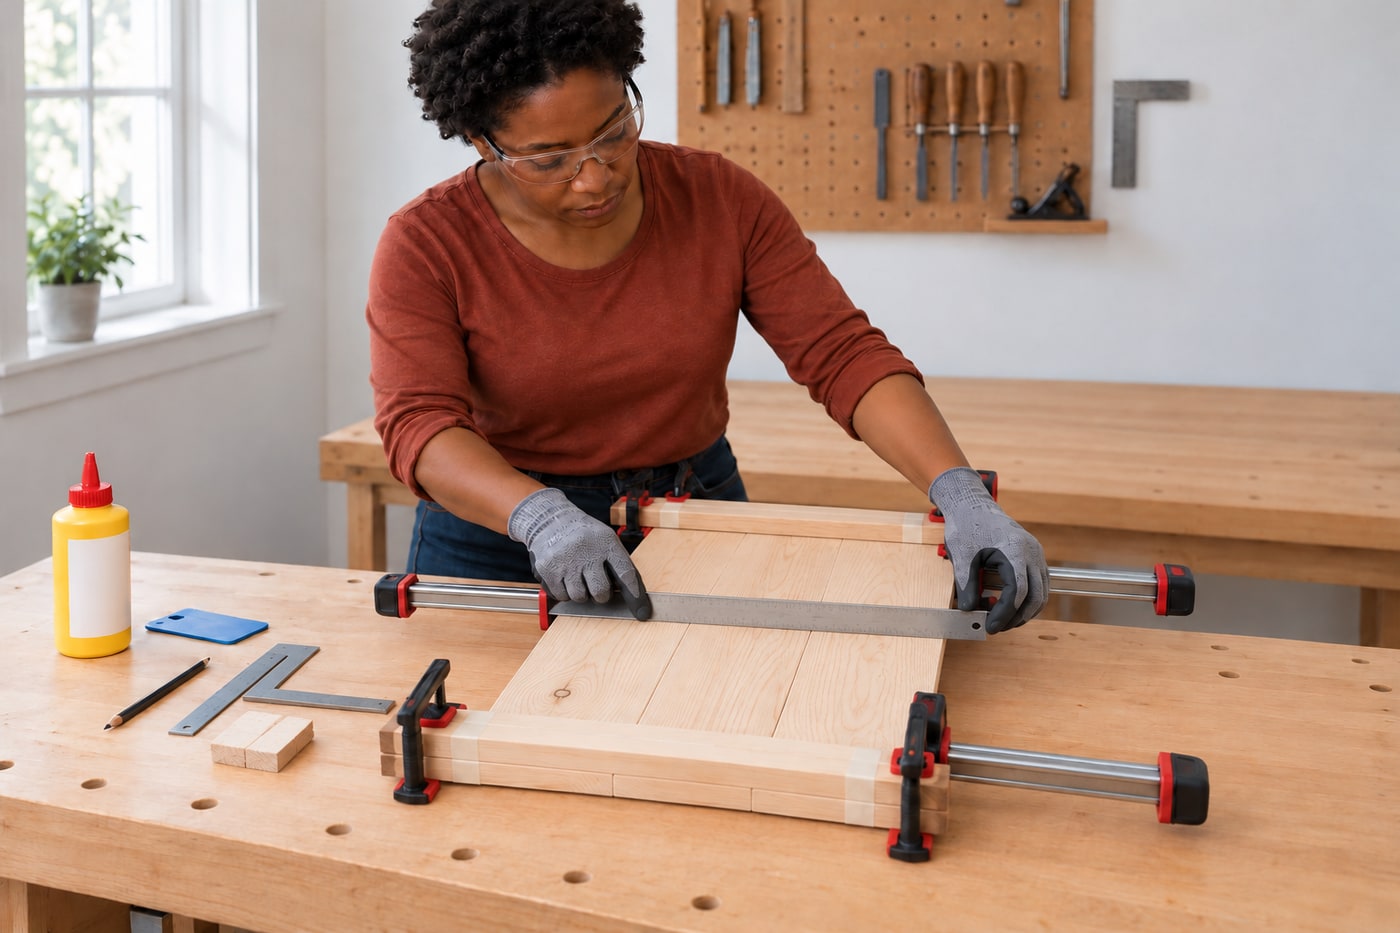
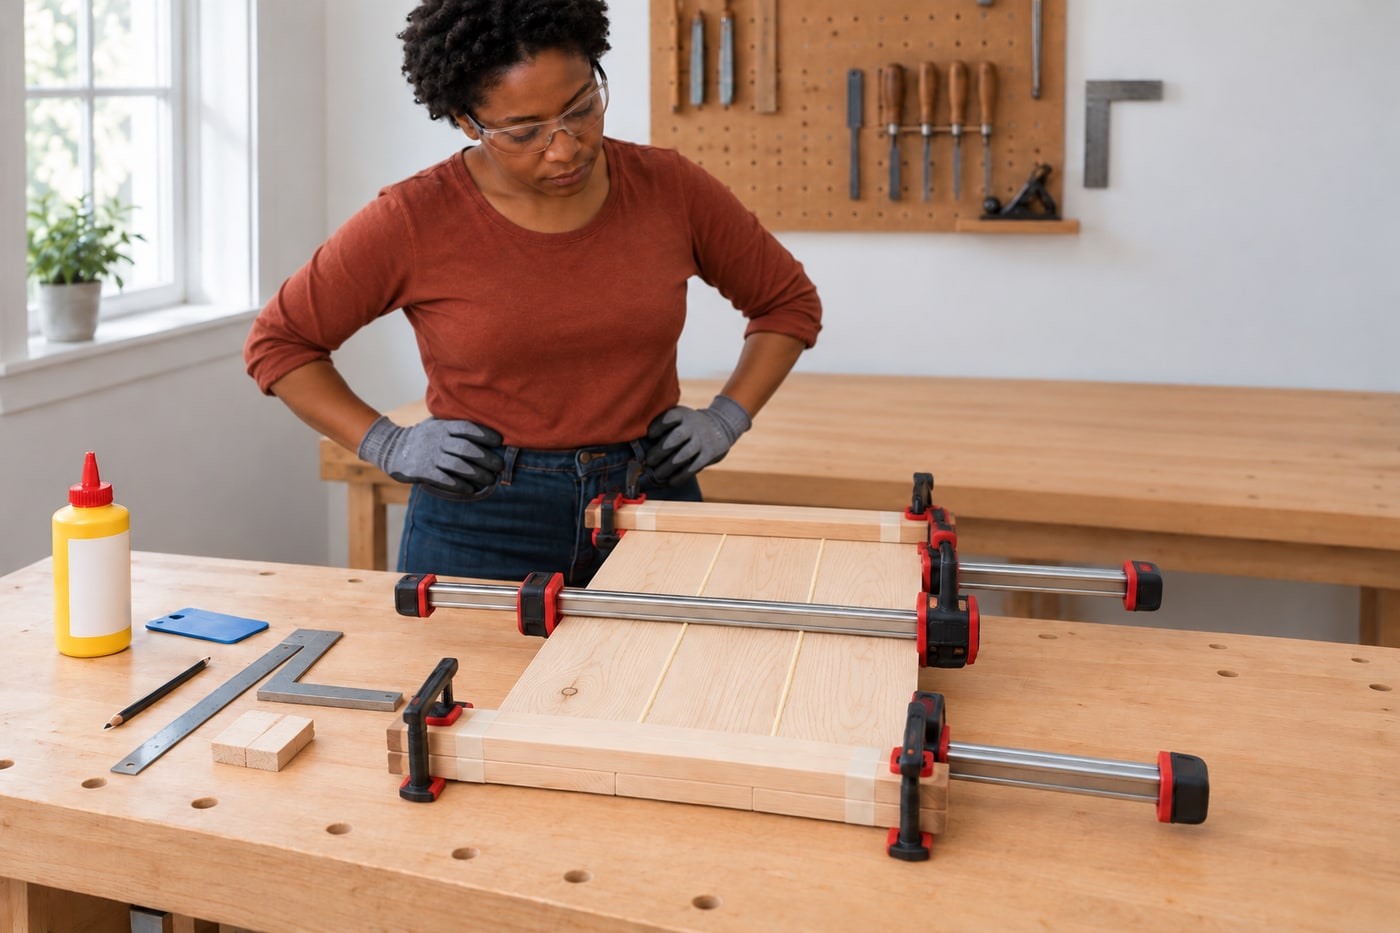
7. Use cauls and check flatness while adjustment is possible
Seat the protected caul pairs near the panel ends and apply controlled pressure at their ends, keeping the main seams closed and the faces flush. Check across and along the panel with a straightedge before the glue begins setting. If pressure is bowing the assembly, ease and rebalance the responsible clamps while adjustment remains possible. Look for continuous seam contact and modest squeeze-out, but do not treat squeeze-out alone as proof of a sound joint. Stop and correct slipping, a persistent gap or crushed fibres rather than adding force.
Photorealistic illustration · Waey
8. Leave the supported assembly to cure undisturbed
Record when clamping was completed and maintain the adhesive’s required conditions. Leave the panel supported and undisturbed for the stated clamping period, then allow the specified additional time before machining or stressing it. Titebond’s general FAQ distinguishes a common unstressed clamping period of 30–60 minutes from its recommendation not to stress a new joint for at least 24 hours; the exact product and conditions still control. Do not lift the assembly by a clamp or move it just to clear bench space. A dry-looking surface is not a cure test.
Photorealistic illustration · Waey
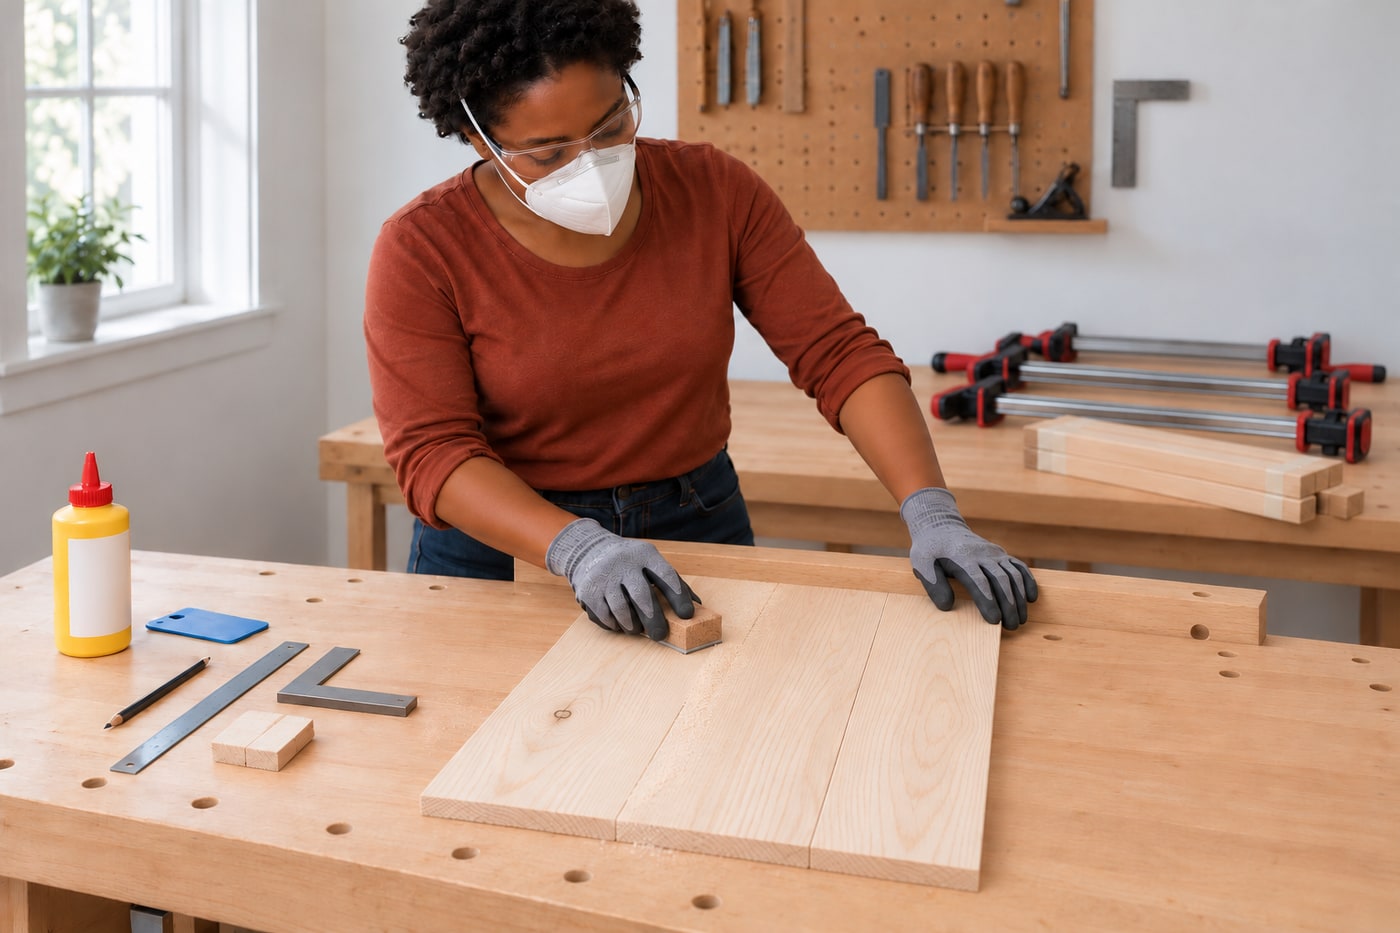
9. Release the clamps and clean without damaging the faces
Once the adhesive permits release, support the panel and loosen the clamps progressively, keeping fingers away from jaws and parts that could drop. Remove cauls and barriers without levering against a fragile edge. Follow the glue maker’s cleanup method: remove a permitted rubbery bead gently or scrape dried residue carefully, then use light hand sanding on a supported panel if needed. Wet wiping and scraping suit different stages and finishes; do not flood the wood or smear glue into its pores. Wear suitable eye and dust protection for the actual cleanup.
Photorealistic illustration · Waey
10. Inspect the blank before committing it to a project
Check both faces with a straightedge, feel for steps at the seams and inspect the full length of each glue line in good light. A persistent opening, rocking panel or damaged edge needs assessment before further work; sanding the top will not repair an open joint. Mark the blank’s orientation and keep a note of the adhesive and cure conditions. This exercise produces an untrimmed indoor practice panel, not a certified shelf, seat, cutting board or structural component. Final trimming, finishing, movement allowance and attachment need a design suited to the eventual use.
Video demonstrations
Gluing Up Wood Panels with Butt Joints and Biscuits
Prepared edges, board order, dry assembly and glue-up. Its optional biscuit-slot machinery is outside this three-board guide; biscuits are not required here.
Rockler Woodworking and Hardware · English
Watch on YouTube ↗Tips for Successful Wood Panel Glue-Up
A complementary panel demonstration covering stock preparation, clamping and later flattening. Begin with prepared stock here; powered jointing and flattening require separate training.
WoodworkersJournal / Ernie Conover · English
Watch on YouTube ↗Experts’ Guide to Gluing & Clamping: Edge Joints
A second teaching approach to edge-joint glue-ups and clamp technique, sponsored by Bessey and Titebond. Product pressures and timing are not universal.
Popular Woodworking · English
Watch on YouTube ↗Final checks
Two closed continuous seams, flat supported faces, no clamp damage, correct cure and a sound blank suitable for later design assessment.
Where to find supplies
Sources
ErnieConover panel assembly demonstration. Exclude poweredjointing/flattening from this guide. ↗
actual product controls clamping/cure ↗
primarypublisher relevantedgejointvideo, sponsoredbyTitebond/Bessey disclosed ↗