
Fit a compatible top-fix toilet seat
Check fit, align and secure a compatible oval seat using the Croydex TS074R06 top-fix route. Keep the ceramic pan untouched and use the exact supplied anchors, spacer and hinge instructions.
What will you learn?
Check fit, align and secure a compatible oval seat using the Croydex TS074R06 top-fix route. Keep the ceramic pan untouched and use the exact supplied anchors, spacer and hinge instructions.
Tools
- Supplied hex key
- Hand tool specified for removing the old seatSearch Amazon Spain ↗
- Tape measureView at FEMTO España (INSIZE metric tape) ↗Search Amazon Spain ↗
- Soft clothView at Leroy Merlin España (KH-7 ultrasoft cloths, 3 pack) ↗Search Amazon Spain ↗
- Cleaning glovesView at Carrefour España (latex cleaning gloves, M) ↗Search Amazon Spain ↗
- Small parts trayView at Suministros Revuelto España (plastic parts tray L1001) ↗Search Amazon Spain ↗
Materials
- Compatible Croydex oval seat with complete TS074R06 top-fix kitSearch Amazon Spain ↗
- Mild soap solutionSearch Amazon Spain ↗
- Clean drying clothView at Leroy Merlin España (KH-7 lint-free glass cloth) ↗Search Amazon Spain ↗
- Temporary cling film for the bowl openingView at Carrefour España (cling film) ↗Search Amazon Spain ↗
Step by step
Photorealistic illustration · Waey
1. Match the seat and identify the top-fix kit
Before opening protective packaging, compare the pan shape and the seat’s published dimensions and adjustment range. Check length, width, fixing-hole spacing and clearance behind the hinges rather than assuming that every oval seat fits. Confirm the leaflet number and inventory its parts. This article selects the top-fix rubber-plug route; put the alternative bottom-fix washers and nuts aside. Missing or mismatched parts require the correct replacement kit, not improvised hardware.
Photorealistic illustration · Waey
2. Remove the old seat and prepare a dry surface
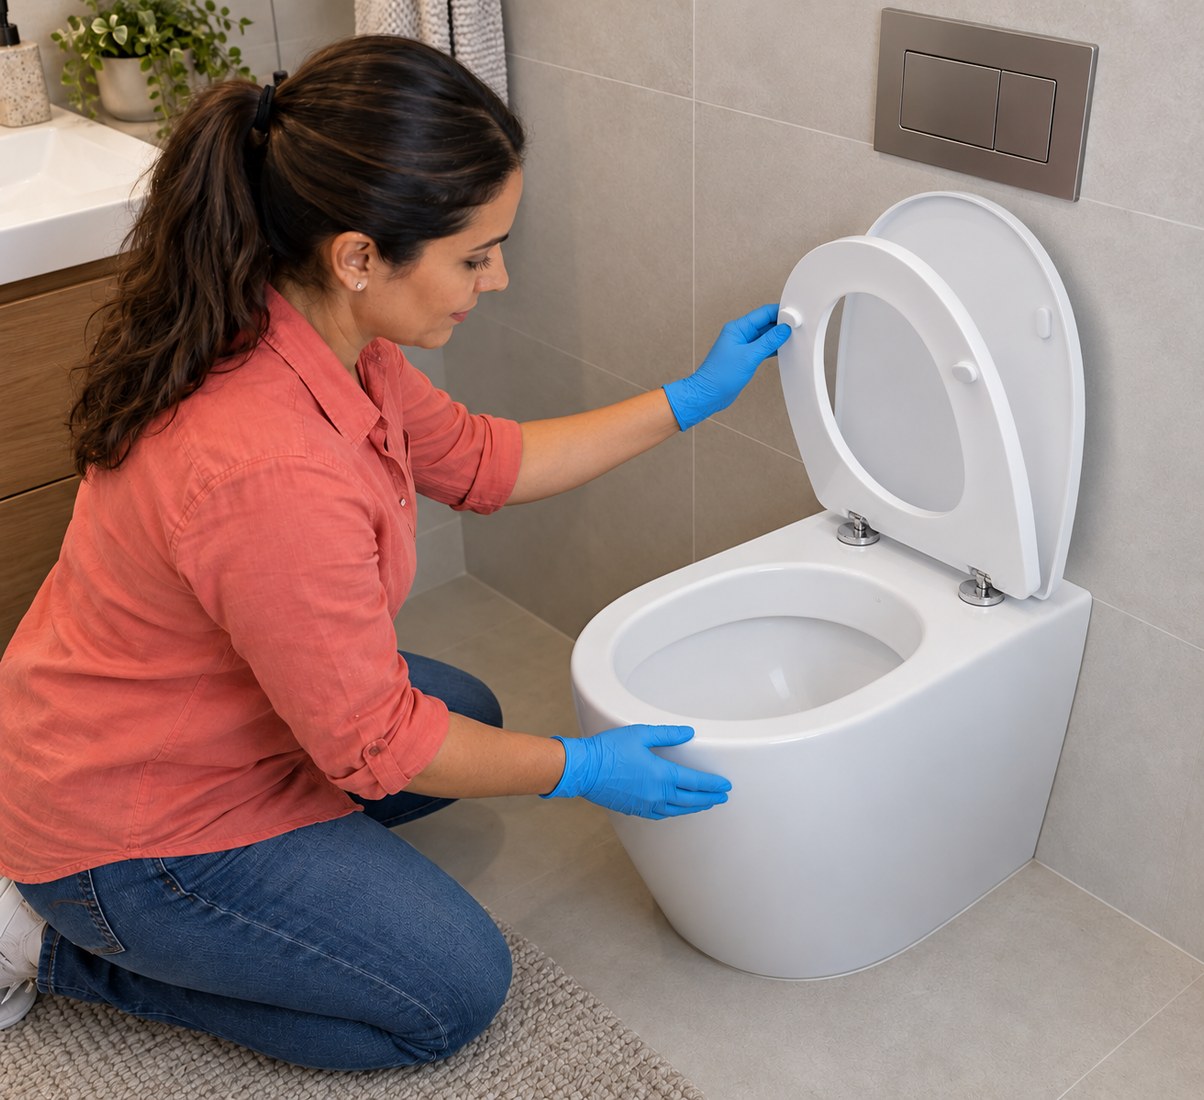
Remove the existing seat using its own release and fixing instructions, supporting it so it cannot strike the ceramic. Stop rather than cutting or forcing seized concealed fittings. Clean around the mounting holes, remove loose dirt and dry the surface thoroughly. Place temporary cling film over the bowl opening to catch dropped parts, and keep tools on the separate tray. Do not flush while the temporary cover is in place.
Photorealistic illustration · Waey
3. Check the outline and backward clearance before peeling
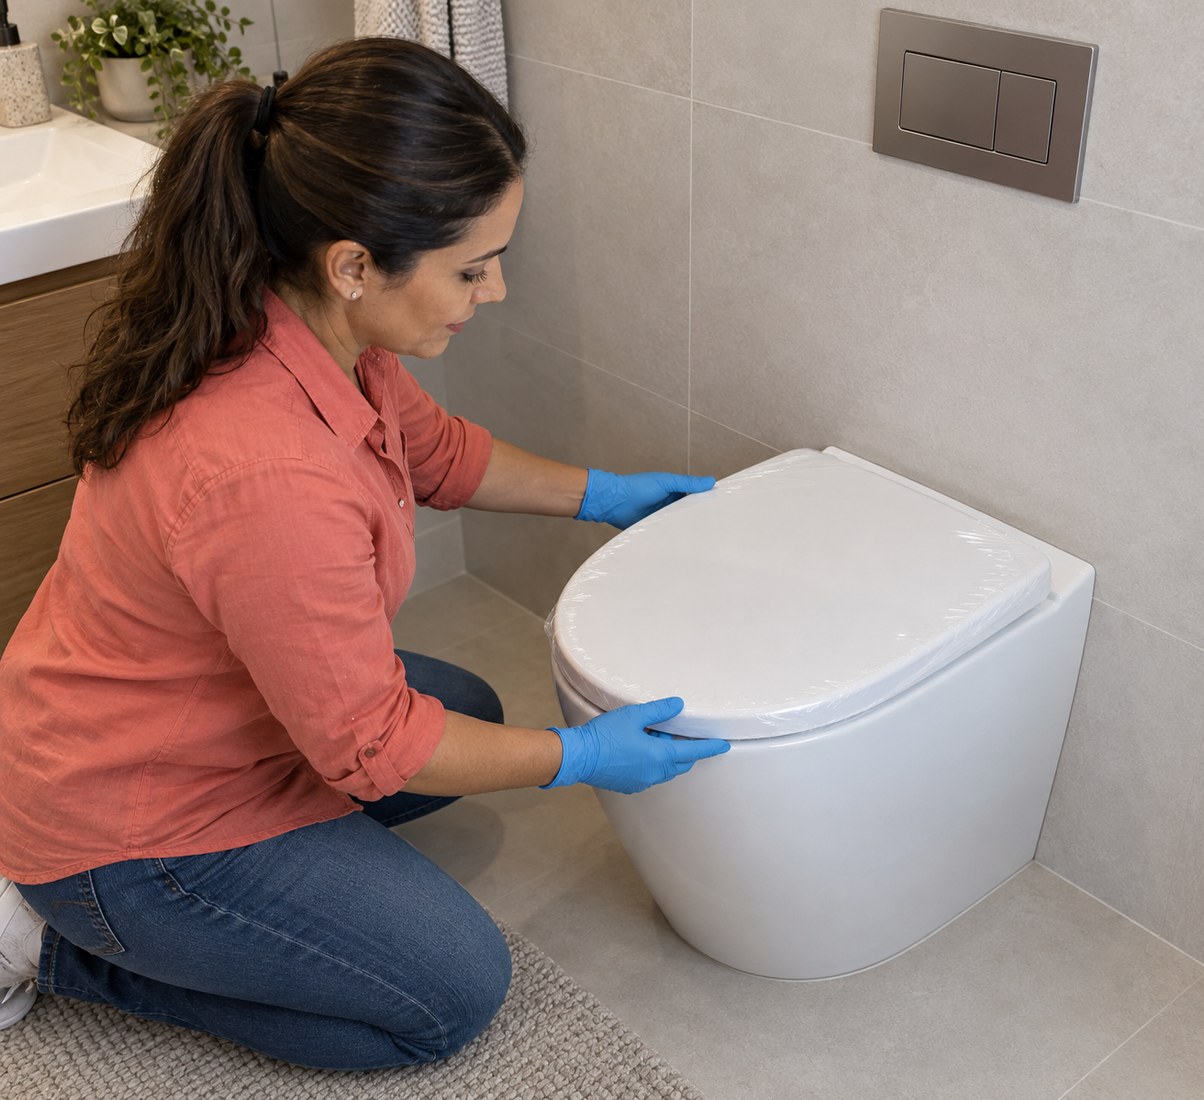
Keep the new seat’s hygiene film on while checking its position over the pan. Align the front edge and support the rear as a pivot to raise it carefully. Both the ring and lid need the backward resting clearance required by the leaflet; a position that allows only upright vertical resting is unsuitable. Stop if the shape, support or rear clearance fails. Remove the hygiene film only after these checks succeed.
Photorealistic illustration · Waey
4. Start the supplied top fixings loosely
Remove the bracket support covers and, only when ready to fit, peel the adhesive protective films. Insert the supplied rubber plugs into the compatible mounting holes and assemble the brackets and bolts in the leaflet’s top-fix order. Leave adjustment possible and avoid pressing the adhesive pads onto the pan yet. Do not mix the bottom-fix hardware into this assembly, enlarge the holes or use a powered driver to overcome resistance.
Photorealistic illustration · Waey
5. Use the correct spacer holes and align symmetrically
Fit the supplied spacer across the two hinge posts using its inner holes for this selected TS074R06 route. Rest the seat on the posts and spacer, then adjust both brackets until the seat sits evenly over the pan and the brackets are symmetrical. Lift the seat off if needed to reposition the brackets without sticking the pads prematurely. Recheck the front outline and rear movement before committing the adhesive position.
Photorealistic illustration · Waey
6. Set the adhesive position and tighten carefully
With the final alignment confirmed, press both brackets firmly against the pan for the leaflet’s specified twenty seconds. Lift the seat away carefully without shifting the brackets. Use the supplied hex key to secure the top-fix bolts, stopping short of overtightening. There is no universal extra-turn or torque value to add here. If a fixing spins, the bracket moves or ceramic sounds or damage raise concern, stop and consult the supplier.
Photorealistic illustration · Waey
7. Remove the spacer and engage the seat
Remove the temporary spacer, place the decorative caps over the secured brackets and lower the seat onto both posts. Listen for the engagement click described in the instructions. Check that both sides have engaged rather than accepting one locked hinge and one raised hinge. Locate the actual quick-release button, which may be at the front or back of the hinge barrel, and follow the model’s removal and refitting procedure without forcing it.
Photorealistic illustration · Waey
8. Check operation and remove the temporary bowl cover
Test the ring and lid gently through their intended movement and allow any soft-close action to finish on its own. Confirm even support on the pan and no sideways movement during ordinary hand checks. If anything shifts or binds, stop using the seat and correct it according to the kit instructions. Remove the temporary bowl film and loose packaging before use, clean up and wash your hands. Keep the leaflet for future release, cleaning and fixing checks.
Watch the method
NEW 2023 HOW TO GUIDE: Croydex Flexi-Fix Toilet Seats Step-By-Step Installation
Croydex demonstrates Flexi-Fix installation, alignment and release. Follow only the top-fix branch and your TS074R06 leaflet’s inner spacer holes; other kits differ.
Croydex · Unconfirmed; English title/description only
Watch on YouTube ↗Final checks
Matching seat/kit and sound pan; retained hygiene film until fit confirmed; correct inner spacer holes; symmetric brackets, twenty-second adhesive contact and secure unforced top fixings; both hinges engaged, smooth movement and bowl cover removed.
Where to find supplies
Sources
Croydex — TS074R06 oval-seat installation and care leaflet ↗
AI-generated representative photographic illustrations by Waey using only Waey-generated references. Manufacturer diagrams are private research, not public assets or generator inputs. External video belongs to its credited creator.