
Hand-clean a sound porcelain patio
Lift ordinary surface dirt from identified outdoor porcelain with a compatible mild detergent, a non-metal brush and clean-water rinsing. Work in small sections, collect wash water and let the paving dry before judging the result.
What will you learn?
Lift ordinary surface dirt from identified outdoor porcelain with a compatible mild detergent, a non-metal brush and clean-water rinsing. Work in small sections, collect wash water and let the paving dry before judging the result.
Tools
- Non-metal bristle brush approved for the porcelain finish, with a long handleSearch Amazon Spain ↗
- Separate clean-water and wastewater bucketsView at Action España (buy 2 buckets; in-store) ↗Search Amazon Spain ↗
- Absorbent mopView at BricoRuiz España (microfibre mop with handle) ↗Search Amazon Spain ↗
- Collection clothsView at Leroy Merlin España (KH-7 ultrasoft cloths, 3 pack) ↗Search Amazon Spain ↗
- Suitable glovesSearch Amazon Spain ↗
- Splash gogglesView at Preventec España (Ruiz 1 Acetate splash goggles) ↗Search Amazon Spain ↗
- Slip-resistant footwearView at COMUCA España (SRC water boots, size 42) ↗Search Amazon Spain ↗
- Broom and dustpanView at IKEA España (PEPPRIG broom and dustpan set) ↗Search Amazon Spain ↗
Materials
- Clean warm water, renewed for rinsing
- Mild detergent approved for the actual porcelain finish and cured joint materialSearch Amazon Spain ↗
Step by step
Photorealistic illustration · Waey
1. Identify the paving and plan a contained work area
Confirm the paving material and read the slab, jointing and cleaner instructions before choosing this route. Check for cracks, rocking slabs, missing joints or an unknown coating; arrange suitable advice if any are present. Choose mild weather and a small area where you can keep wash water contained and collected. Do not begin on frozen or hot paving, or where water could escape toward an outside drain, pond, electrical equipment or neighbouring property.
Photorealistic illustration · Waey
2. Clear the area and remove loose dirt
Move lightweight furniture and pots away without dragging grit across the surface; get help with heavy items rather than straining or tipping them over the paving. Sweep up loose leaves, soil and debris into the dustpan before wetting the patio. Keep buckets and tools out of the walking route and establish a dry place to stand. Inspect the cleared surface again so a hidden damaged joint or unstable slab is not mistaken for a cleaning problem.
Photorealistic illustration · Waey
3. Patch-test the mild cleaning solution
Prepare the mild compatible detergent with warm water at the dilution on its own label. Do not add bleach, vinegar, acids or a second cleaner. Try it on a small discreet area, including the edge of a compatible cured joint, using the same gentle brush and rinse method you intend to use. Allow that test to dry and check for a changed finish or residue before expanding the work. Stop if compatibility is uncertain or the surface changes.
Photorealistic illustration · Waey
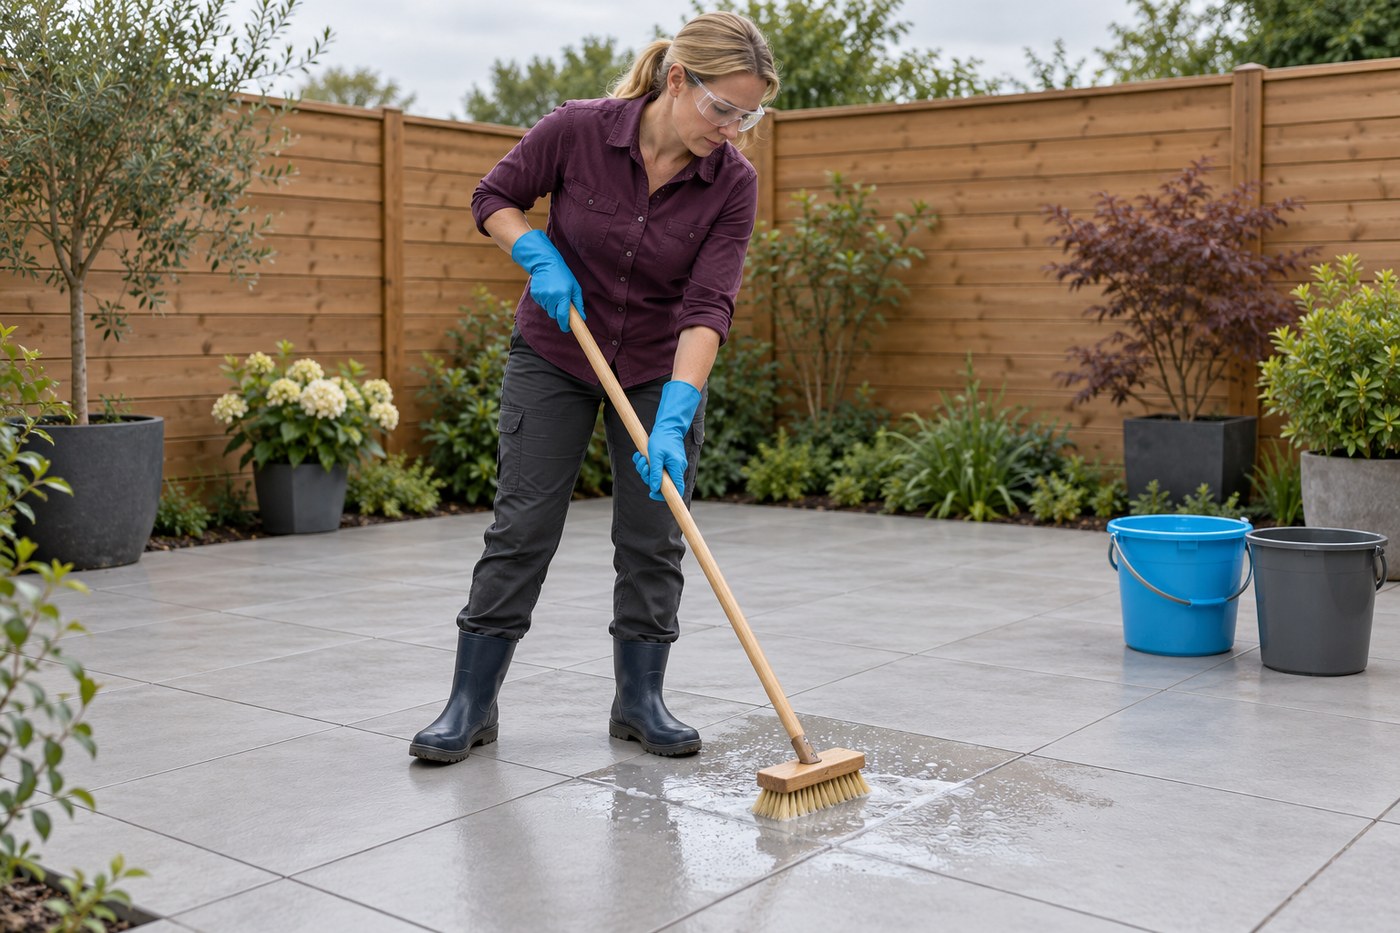
4. Brush one small wet section at a time
Lightly wet a manageable section and apply the tested solution, keeping enough moisture for dirt to lift without flooding the patio. Brush with controlled strokes across the textured slab face, using a non-metal brush approved for that finish. Keep the solution from drying on the surface and rinse this section before starting another. Do not gouge jointing, use a wire brush or increase force to remove a mark that is outside ordinary surface-soil cleaning.
Photorealistic illustration · Waey
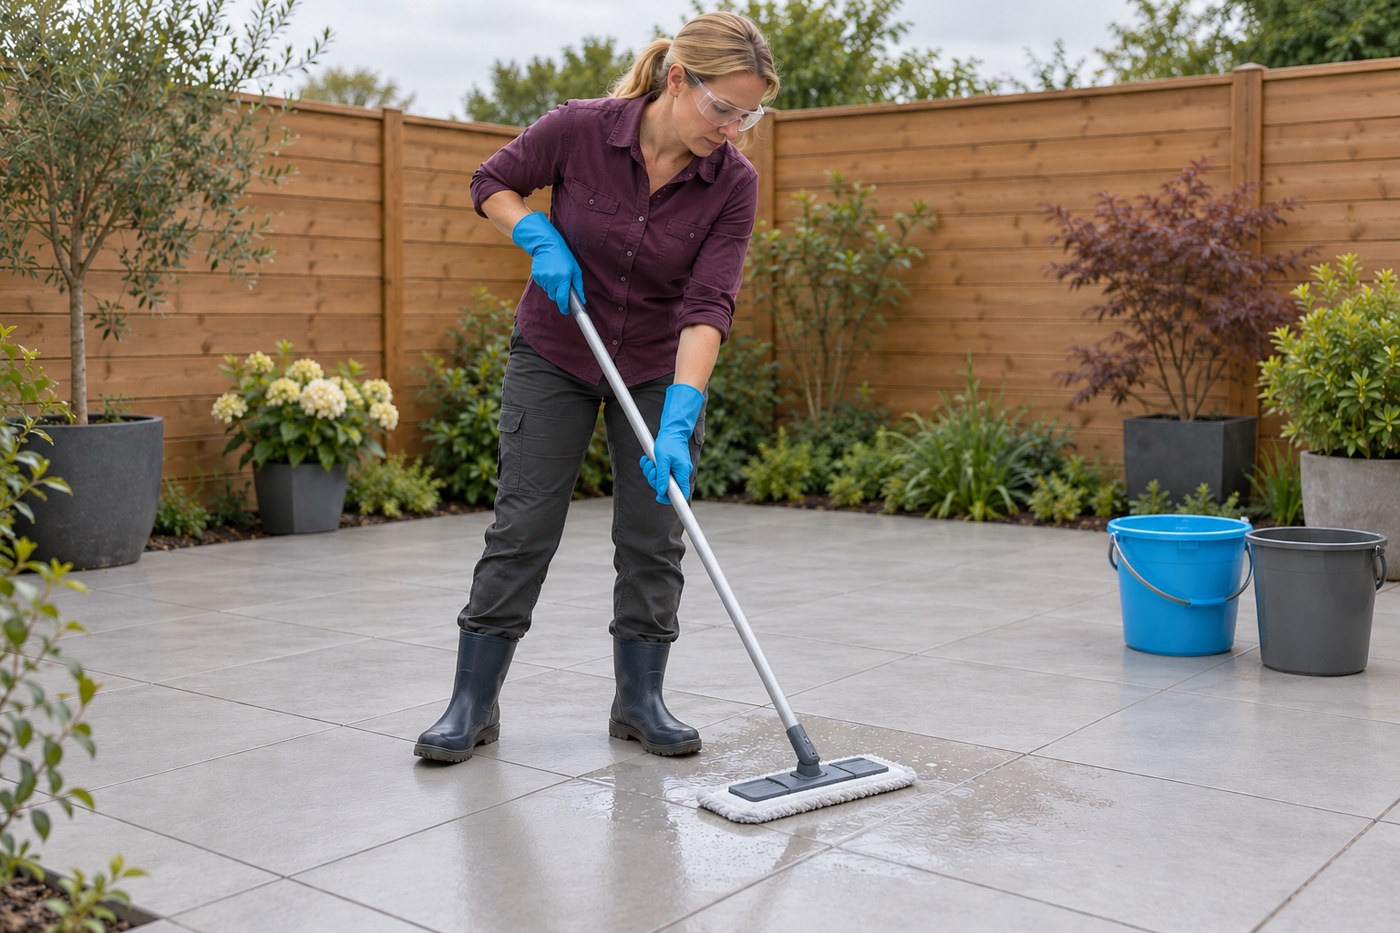
5. Rinse thoroughly and collect the wash water
Use fresh clean water in modest amounts to lift away loosened dirt and detergent, then collect the used water promptly with the absorbent mop or cloths into the separate bucket. Repeat with renewed rinse water until soap and dirt are removed, rather than allowing them to dry as a film. Keep runoff out of surface-water drains and planted or aquatic areas. Follow the cleaner’s disposal instructions and local wastewater guidance; if you cannot contain and dispose of it appropriately, stop.
Photorealistic illustration · Waey
6. Let the patio dry and assess the result
Remove remaining surface water where practical and keep the area closed to traffic until it is dry. Judge the finish only after drying; a wet slab can look darker and hide remaining residue. Check that joints remain intact and no cleaning tools, grit or soap film remain. Repeat a gentle clean only where appropriate; persistent marks, algae or damaged joints need specific advice rather than stronger improvised chemicals. Replace clean furniture carefully. Appearance alone does not certify slip resistance or successful disinfection.
Watch the method
How To Clean Porcelain Paving
Ovaeda demonstrates hand brushing and rinsing. Follow this guide’s small sections and collected wash water; do not copy free runoff or pressure-washing methods.
Ovaeda Ltd · English caption metadata; audio unconfirmed
Watch on YouTube ↗Final checks
Known porcelain and sound cured joints; compatible patch-tested mild solution; small wet brush/rinse sections; collected wastewater, no detergent drying or uncontrolled runoff; dry surface assessed before normal use.
Where to find supplies
Sources
Bradstone — Patio cleaning and porcelain cautions ↗
Bradstone — Routine porcelain cleaning ↗
AI-generated representative photographic illustrations by Waey using only Waey-generated references. No third-party photographs or diagrams reused. External video belongs to its credited creator.