
Sew a lined zip-top tote from a reclaimed T-shirt
Stabilize cotton jersey, reinforce handles and assemble a boxed-base tote with a woven lining and recessed zipper.
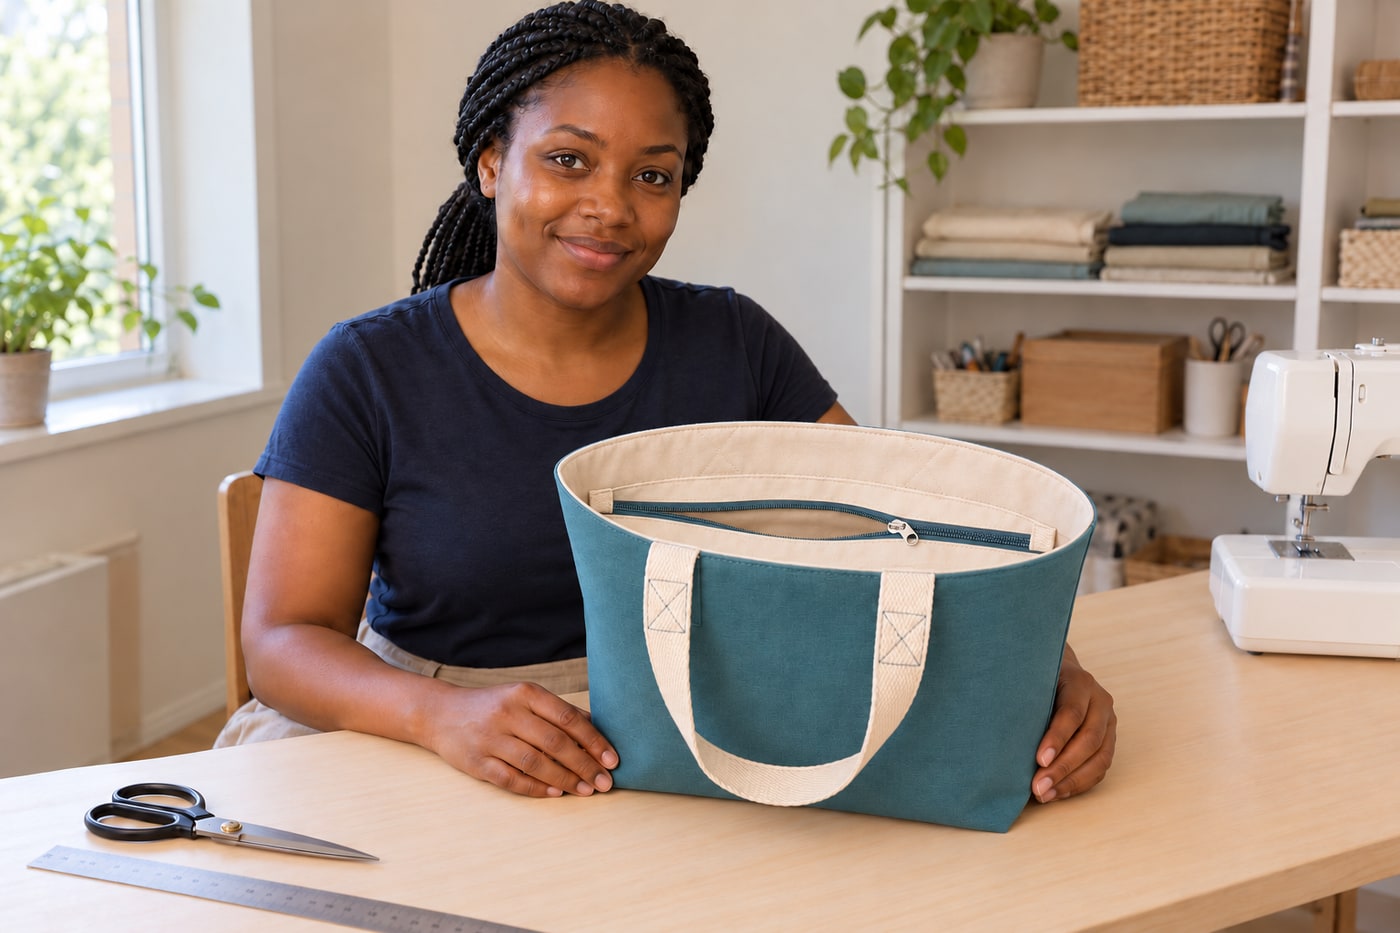
What will you learn?
Stabilize cotton jersey, reinforce handles and assemble a boxed-base tote with a woven lining and recessed zipper.
Tools
- Suitable sewing machine, ordinary and compatible zipper feet, machine-compatible ball-point needle and hand-sewing needleSearch Amazon Spain ↗
- Fabric scissors, seam ripper, ruler, square template, marking tool and clipsSearch Amazon Spain ↗
- Iron, stable ironing board and thin pressing cloth; care-label-compatible heatSearch Amazon Spain ↗
Materials
- Sound plain cotton T-shirt panels: two finished raw rectangles400×360mm, with spare fabric for testsSearch Amazon Spain ↗
- Compatible woven fusible; worked example Pellon SF101, two386×346mm support pieces after checking the packetSearch Amazon Spain ↗
- Prewashed woven cotton: two400×330mm lining panels, two400×50mm facings, four340×40mm zipper flanges, two40×60mm tail covers and four60×100mm reinforcement patchesView at Artipistilos España (cotton poplin 1m ×148cm) ↗Search Amazon Spain ↗
- Cotton webbing25mm wide: two600mm lengths; compatible sewing threadSearch Amazon Spain ↗
- Closed-end nylon-coil zipper: actual300mm stop span with at least20mm tape beyond both ends; no cutting factory stopsSearch Amazon Spain ↗
Step by step
Photorealistic illustration · Waey
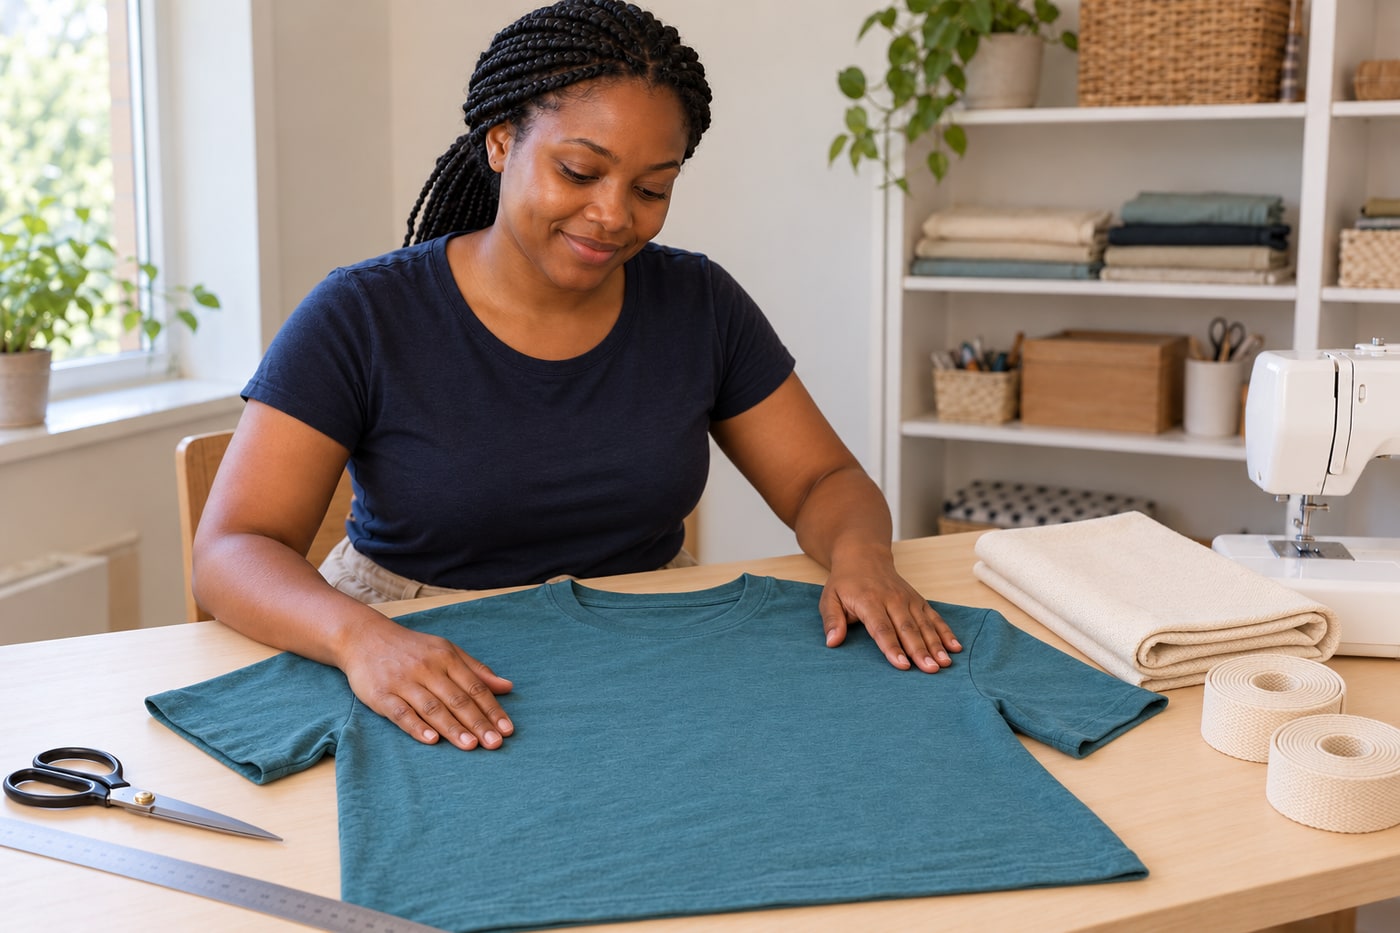
1. Choose usable jersey and a complete supported construction
Use sound, washed plain cotton T-shirt fabric for the outside, not stretched hems, thin worn areas or unknown heat-sensitive prints. This project makes a sewn, lined tote with woven support, reinforced webbing handles, boxed corners and a recessed coil zipper. The example is for light personal belongings, with no tested load rating. Check that the shirt supplies two usable panels before cutting it apart; smaller pieces need a separately planned patchwork construction rather than stretched-out rectangles.
Photorealistic illustration · Waey
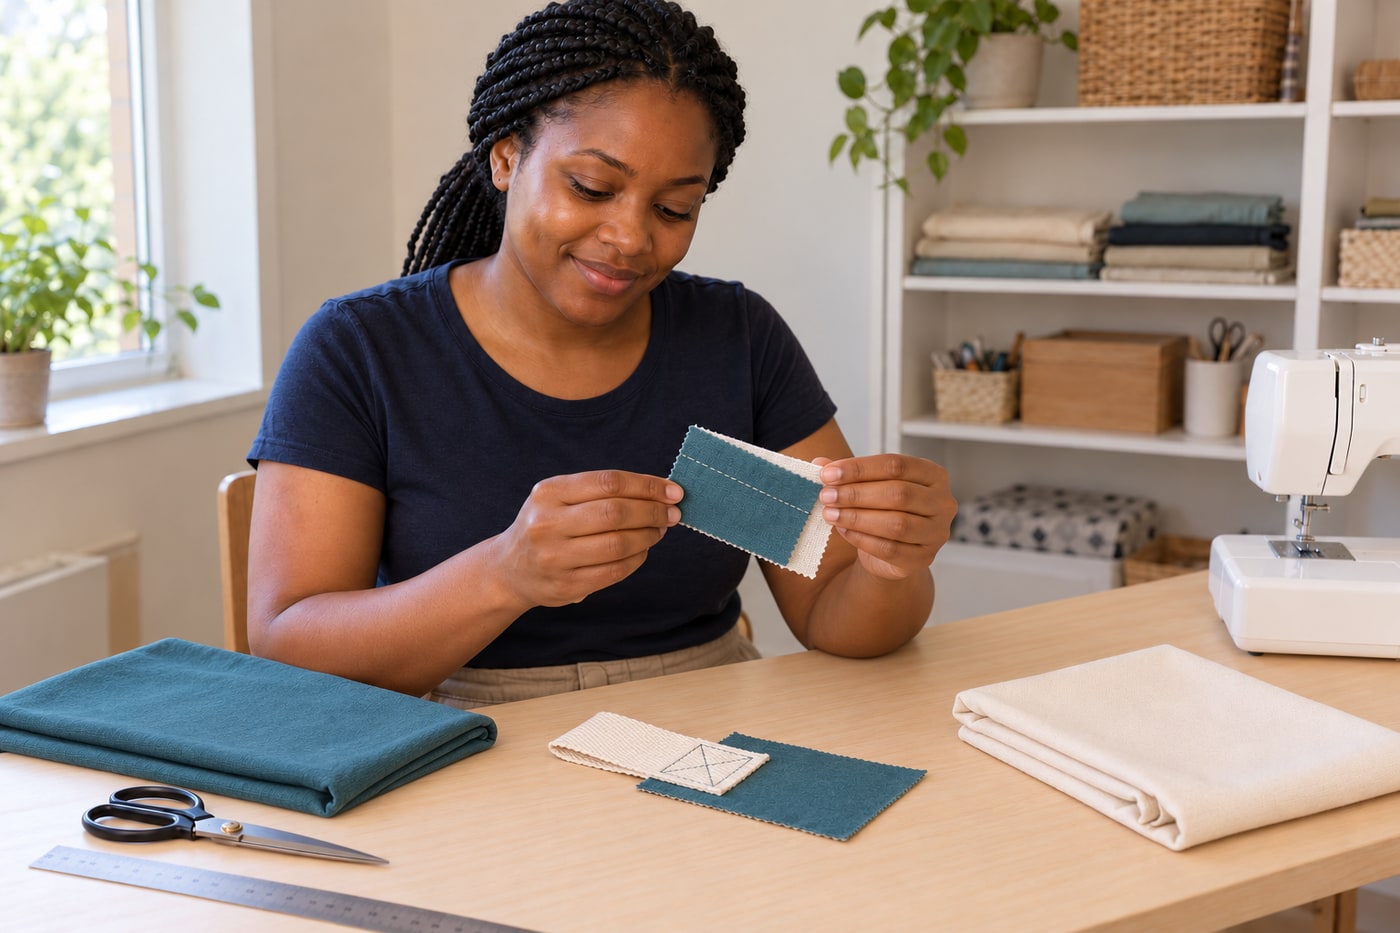
2. Prove the fabric, interfacing and machine combination on scraps
Wash and dry the jersey, woven lining and cotton webbing according to their compatible care labels; omit fabric softener before fusing. Test the selected woven fusible on a spare jersey patch and let it cool before judging adhesion, shrinkage and surface damage. Pellon SF 101 is the worked example, not a universal substitute for every fusible. Follow its actual packet for preshrinking and pressing. Sew a sample of the complete fabric stack with the intended thread and a machine-compatible ball-point needle. Resolve skipped stitches, damaged loops or poor feeding before making the bag.
Photorealistic illustration · Waey
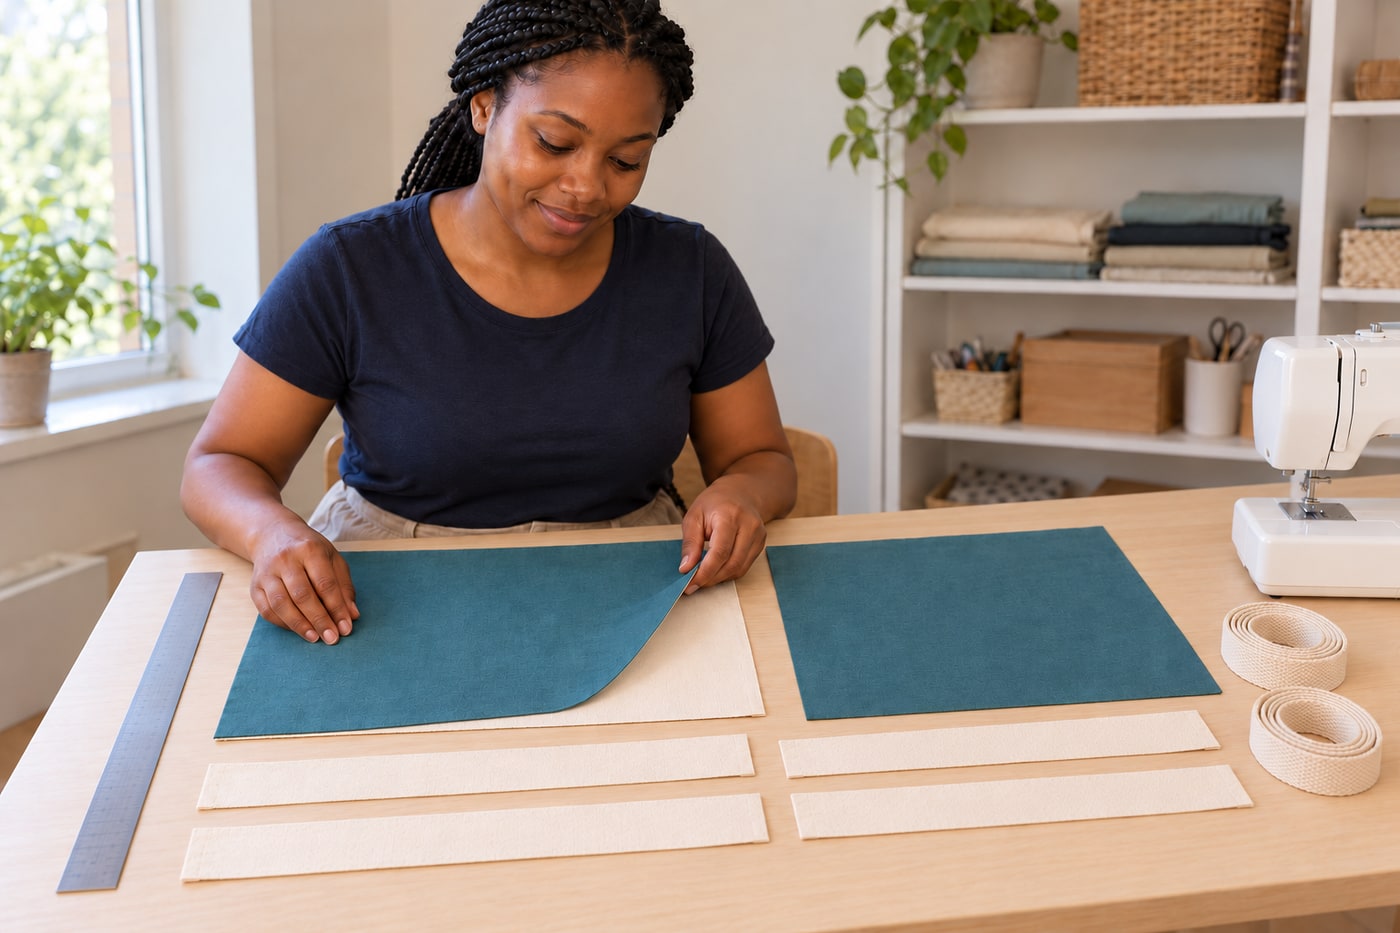
3. Prepare an internally consistent cut plan
All dimensions are millimetres, width first. Cut two outer panels 400×360, two lining panels 400×330 and two woven top facings 400×50. Use 10mm construction seams unless a zipper operation states otherwise. Each lining plus facing becomes 360mm high after their joining seam consumes 20mm. Later, 50mm raw-corner cutouts produce an approximately 80mm boxed depth, not 100mm. The calculated finished bag is about 380mm across its flattened top, 300mm across its base and 300mm high. Check the actual zipper tape and a paper layout before cutting; do not mix these allowances with another pattern.
Photorealistic illustration · Waey
4. Stabilize the jersey without stretching its loops
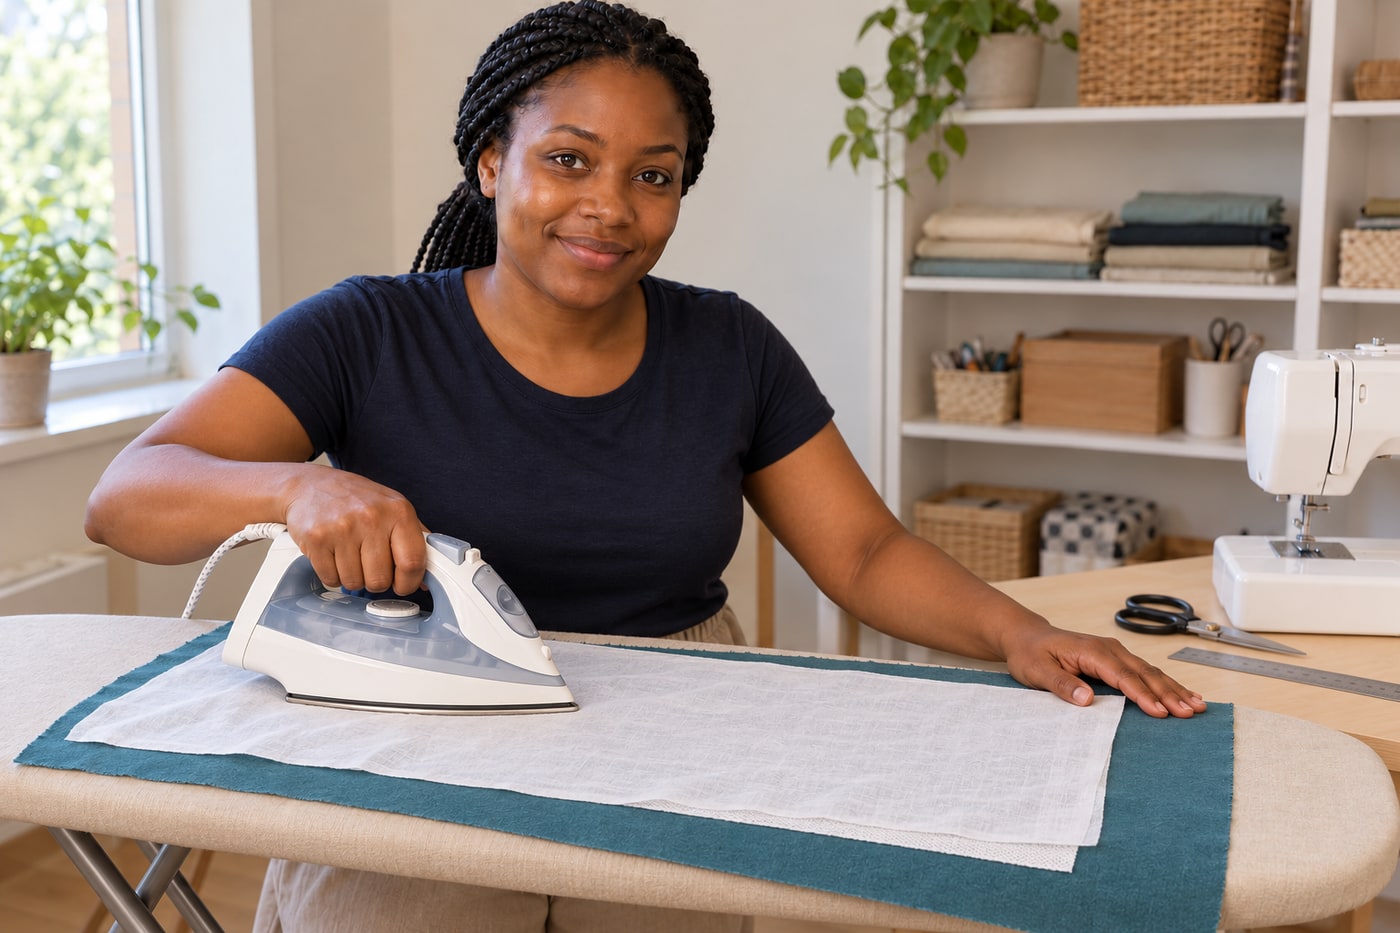
Cut the outer jersey slightly oversize first, keeping its knitted columns straight. For the SF 101 example, the final support pattern is 386×346, centred 7mm inside each final outer edge: its edge extends about 3mm beyond the 10mm seam line. Check that arrangement against the actual packet, which specifies trimming interfacing seam allowances to about 3mm. Fuse resin-side to the fabric wrong side with the specified press cloth, heat, moisture and dwell. Lift rather than slide the iron. Cool flat, check the bond and only then mark and trim the final 400×360 panels.
Photorealistic illustration · Waey
5. Prepare and reinforce four handle anchors
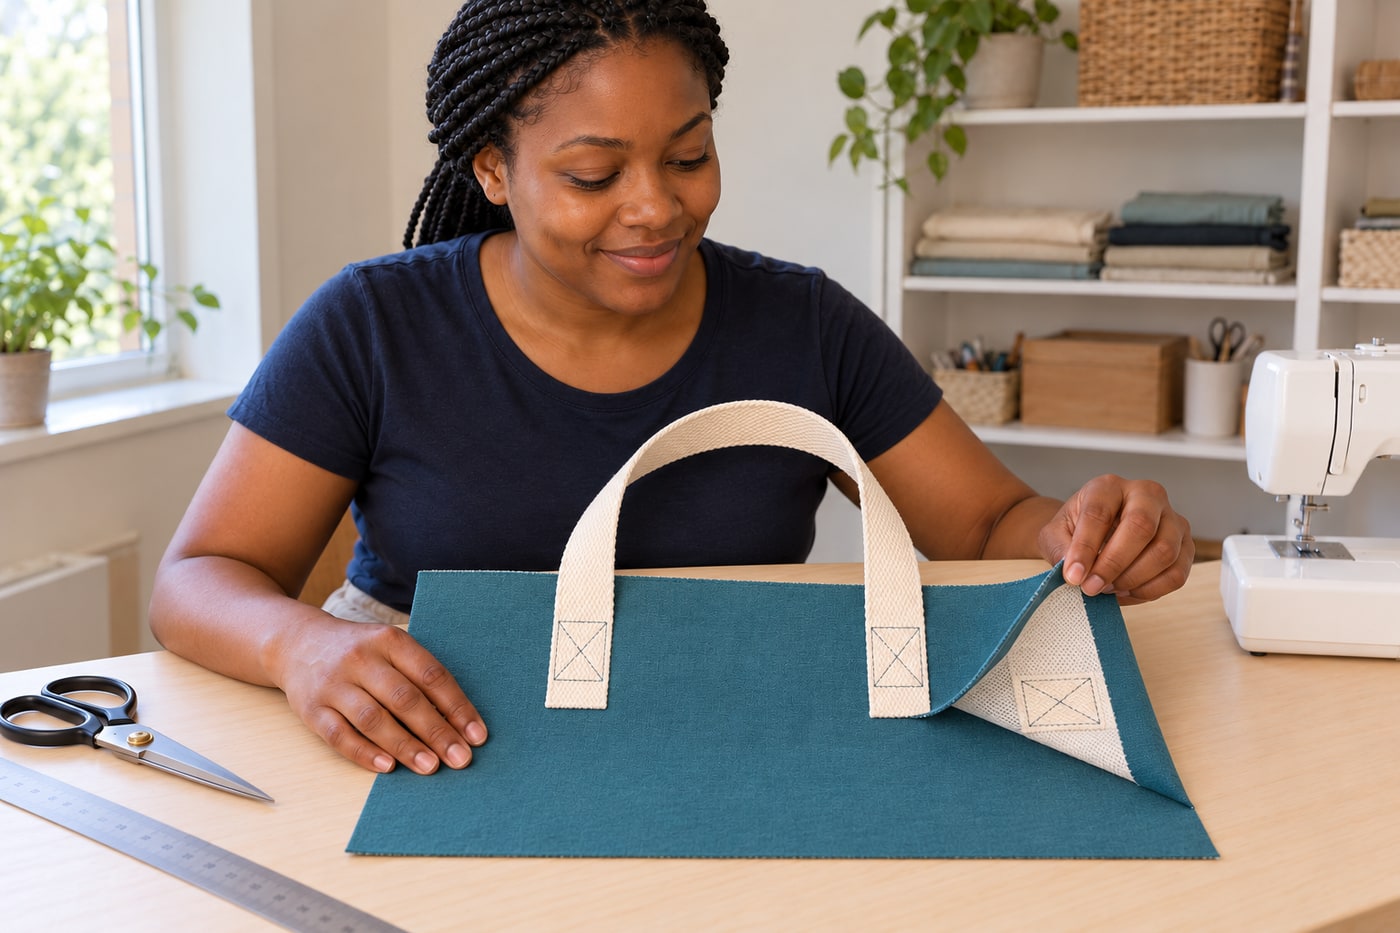
Cut two 600mm lengths of suitable 25mm cotton webbing. Fold each raw end under 10mm; do not melt cotton with a flame. On each outer panel, mark anchor centre lines 100mm and 300mm from the left edge. Place each folded end from 30mm to 110mm below the raw top, making one untwisted loop per face. Put a 60×100mm woven reinforcement patch behind each anchor, clear of the later top fold. Stitch the anchor rectangle and diagonals through webbing, stabilized jersey and patch. Test this stack first; do not force a domestic machine through excessive thickness.
Photorealistic illustration · Waey
6. Select the zipper and prepare four fabric flanges
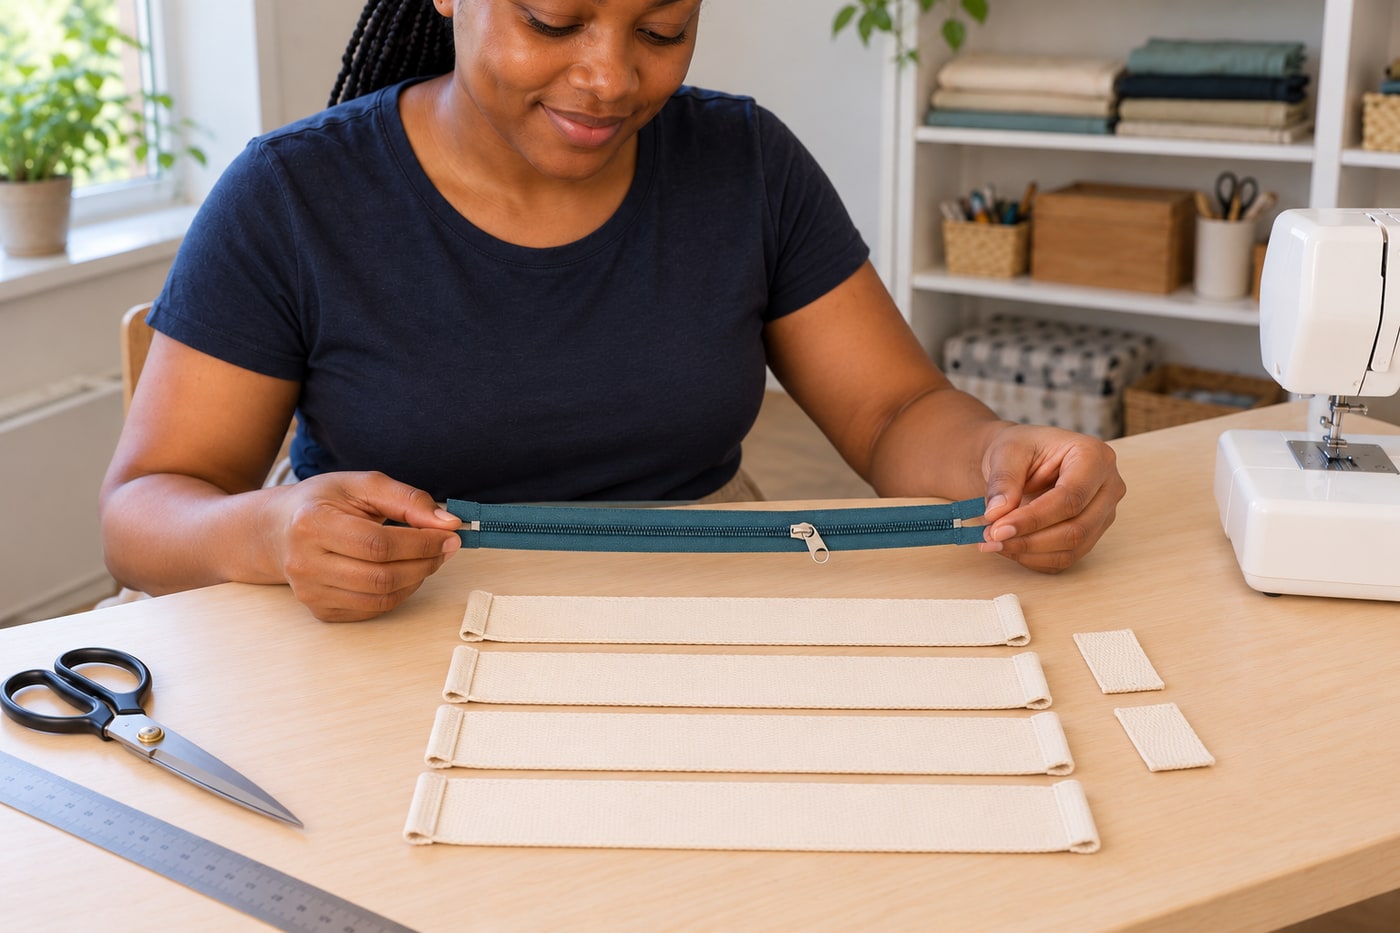
Use a closed-end nylon-coil zipper with a measured 300mm stop-to-stop span and at least 20mm of sound tape beyond the stops at both ends. Retain its factory stops; do not cut teeth or metal parts to make an unsuitable zipper fit. Cut four woven strips 340×40, folding each short end inward 10mm to make a 320mm length. Centre these against the zipper so their folded ends extend 10mm beyond the stop positions. Check the complete assembly against the 380mm finished opening before sewing; the end covers must also remain clear of the bag side seams.
Lyndadelz · CC BY-SA 4.0 · Resized and orientation normalized; no AI adaptation.
7. Sandwich each zipper side without sewing into hardware
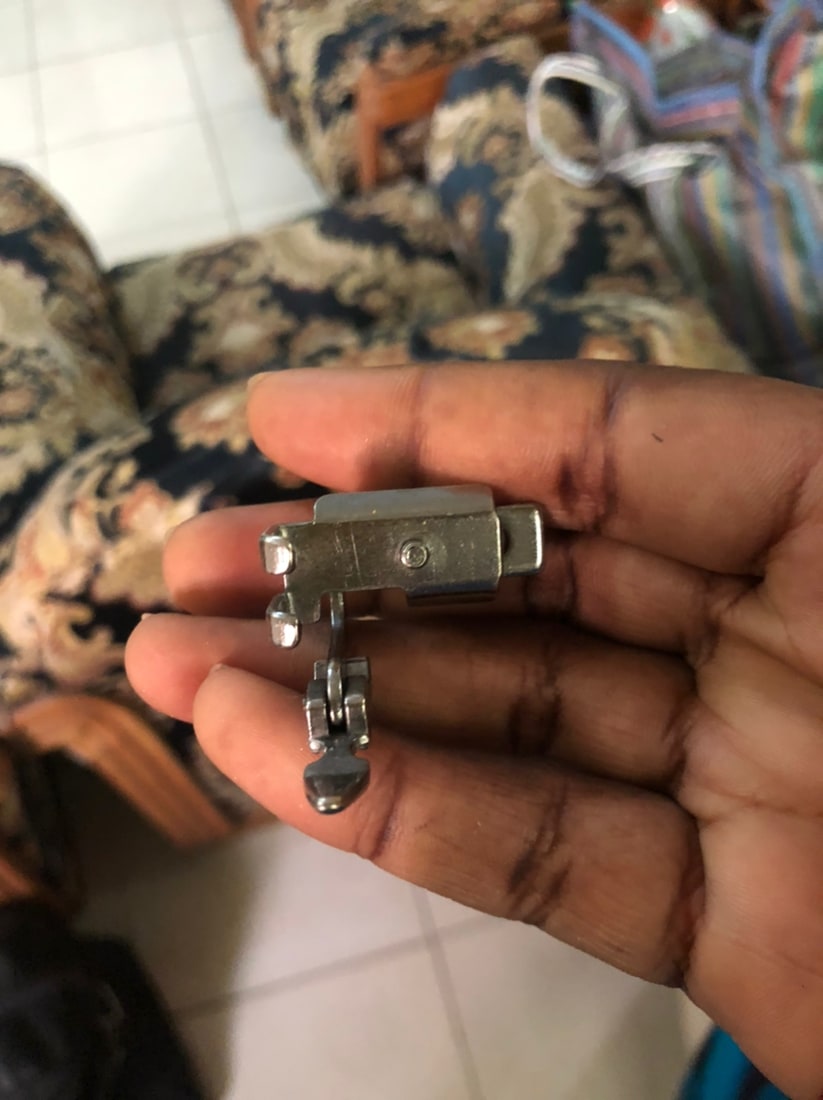
Switch the machine off before changing to its compatible zipper foot. Select the straight stitch and needle position specified for that foot, then hand-turn a complete stitch cycle to check clearance. Sandwich one tape edge between two flange strips, their right sides together, with both folded ends matched. A 7mm seam from the aligned raw tape edge is the example only if it leaves safe tooth and slider clearance on the actual zipper. Sew parallel to the coil, never into teeth, stops or slider. Stop before the pull, reposition it with the machine stopped, and continue without pulling the jersey or tape.
Photorealistic illustration · Waey
8. Finish the zipper unit and cover only its tape tails
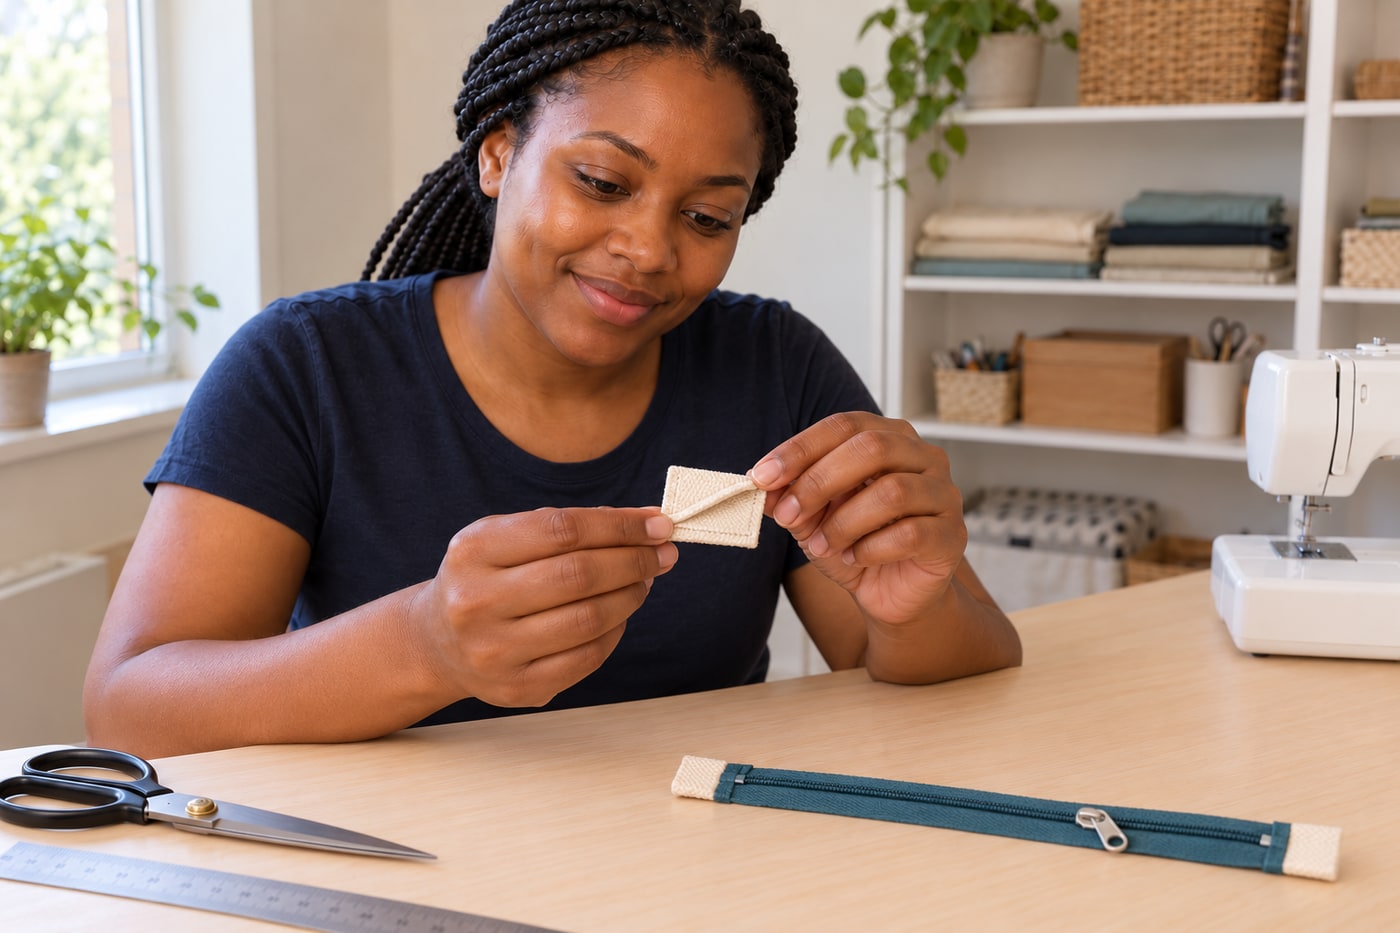
Fold the flange layers away from the teeth, wrong sides together, and topstitch them clear of the moving slider. Repeat on the other tape edge with all four folded ends aligned. For each tail cover, use a woven 40×60 rectangle: fold its 40mm edges inward 10mm, fold across the middle, and turn the two remaining raw side edges inward 5mm. This gives an approximately 30mm-wide, 20mm-deep cap. Position its inner edge at least 5mm beyond the factory stop, toward the tape tail. Secure through fabric and clear tape only; hand-sew if machine clearance is uncertain. Do not enclose the slider or active coil.
Photorealistic illustration · Waey
9. Join the zipper to the lining with the correct face upward
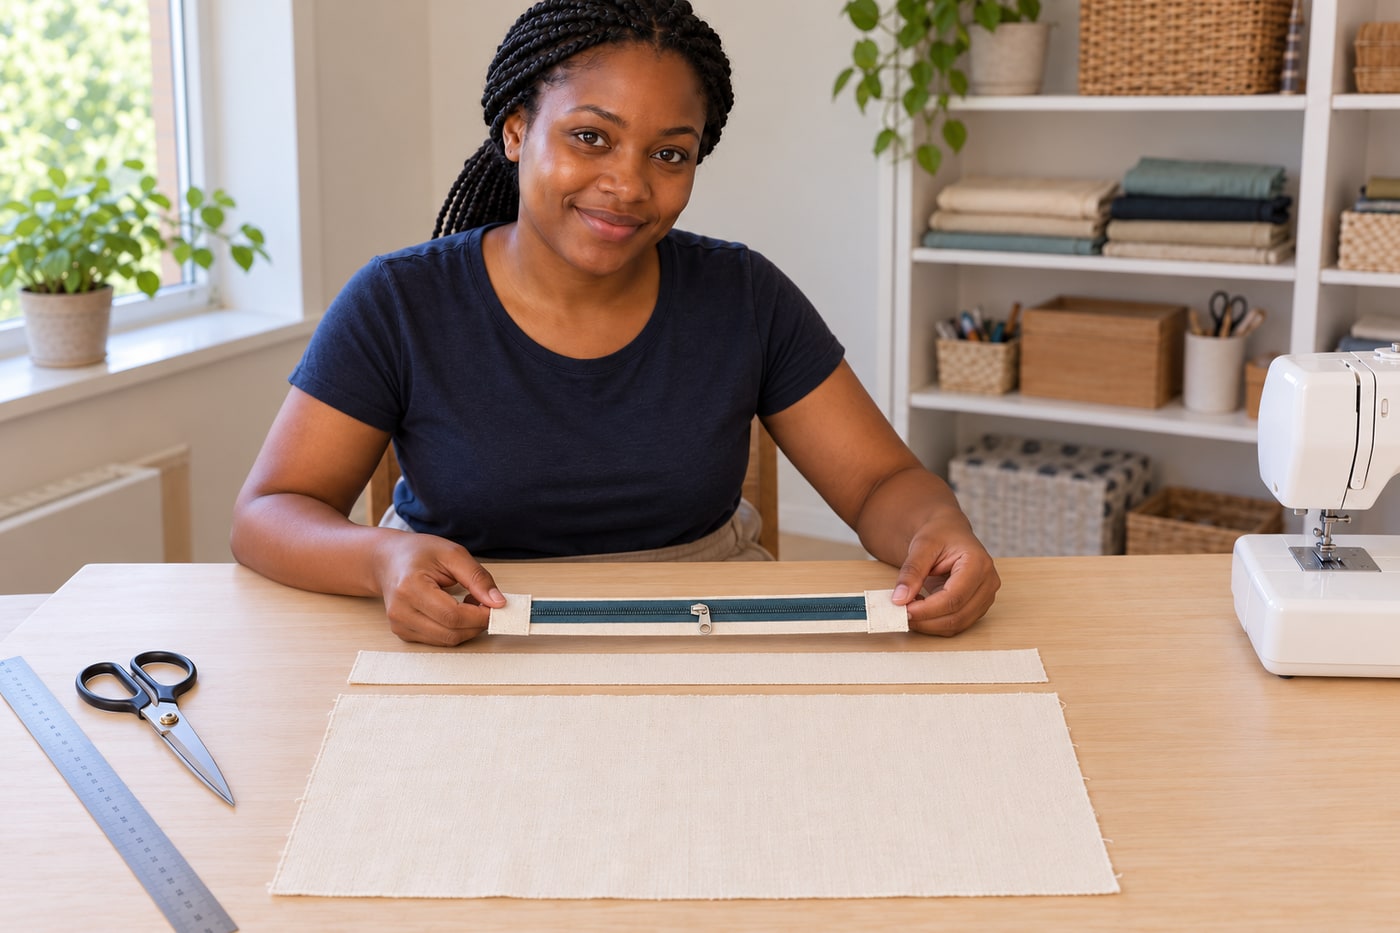
Place a lining panel right side up. Lay the zipper unit right side up on it, centring one free long flange edge along the lining top edge. The lining right side therefore touches the underside of the zipper unit. Put one facing right side down above it, matching the 400mm edges, and sew the sandwich at 10mm. Keep free zipper ends out of the stitching. Repeat on the other lining panel and flange. Fold the facings upward and press their fabric seams without heating the coil. Open and close the zipper now; a reversed or trapped unit is easiest to correct while flat.
Photorealistic illustration · Waey
10. Sew the outer shell and form its boxed base
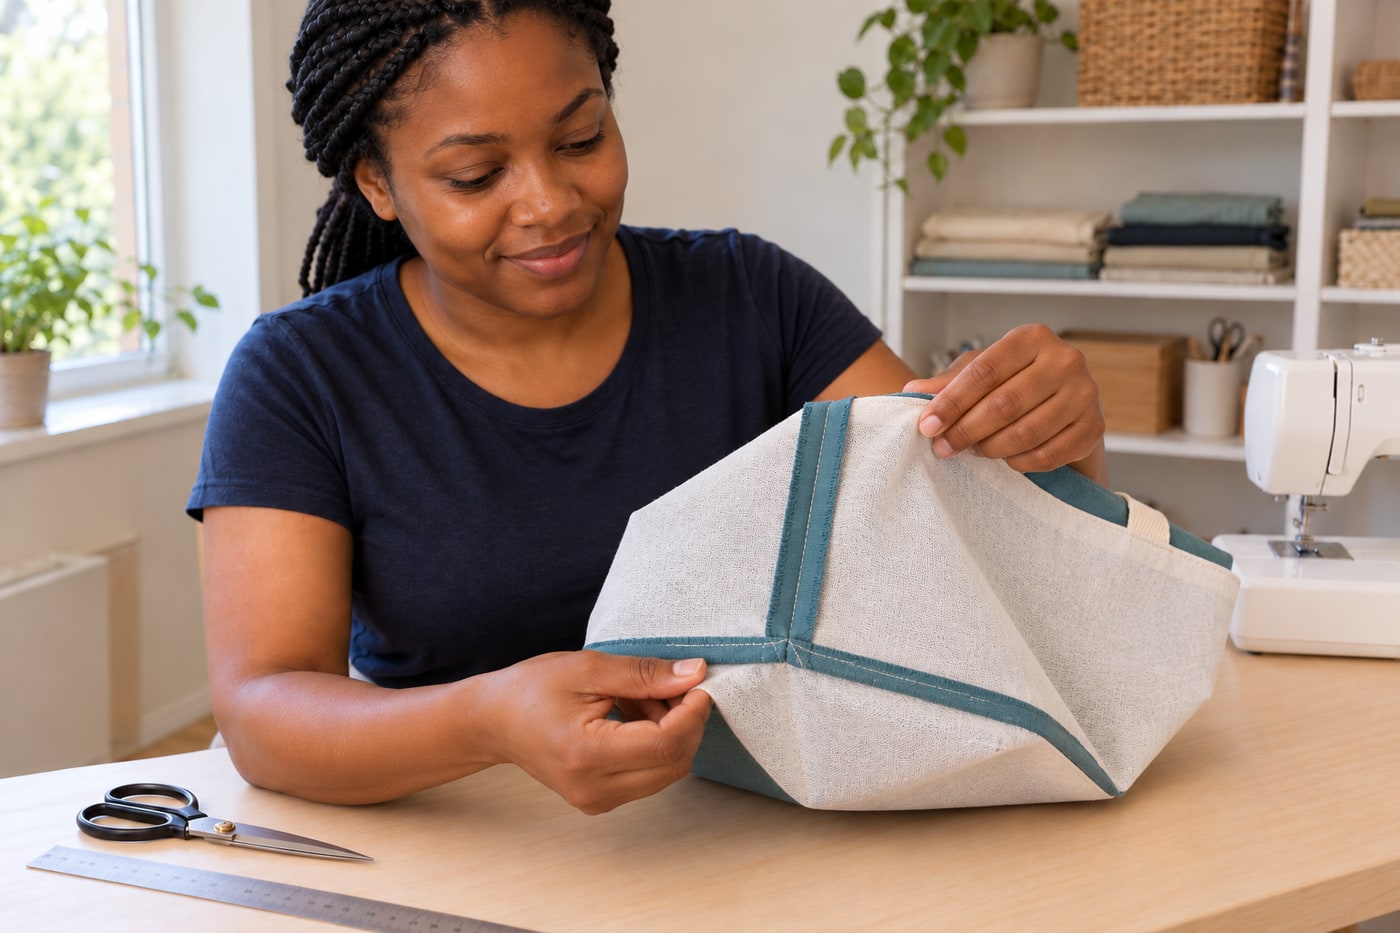
Keep the handles safely inside the panel area and place the two outer faces right sides together. Stitch both sides and the bottom at 10mm, securing the seam ends. At each bottom corner, mark a 50×50 square from the original raw side and bottom edges, not from the stitched lines, then cut it out. Open the corner and align the side and bottom seams; stitch the new straight opening at 10mm. Repeat for the second corner. This leaves approximately 40mm each side of the seam intersection, making an 80mm base. Inspect for missed layers and reinforce the corner seams.
Photorealistic illustration · Waey
11. Construct the lining without trapping the zipper ends
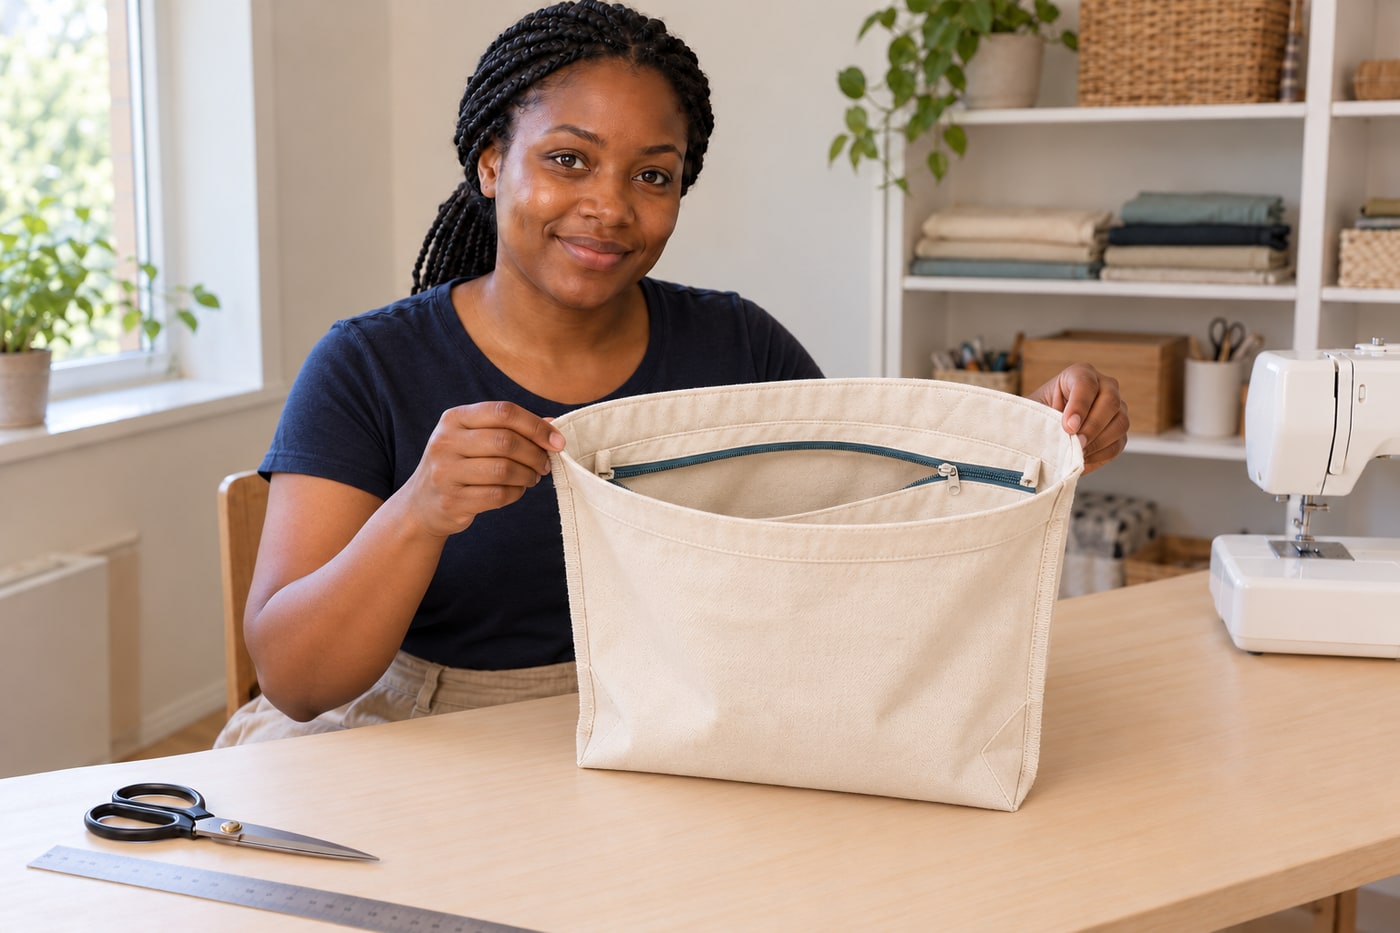
Arrange the lining panels right sides together, with the zipper and its covers held inside and away from both 10mm side-seam paths. Match the facing joins, then sew the sides and bottom. Make the same 50mm raw-edge corner cutouts and 10mm boxed-corner seams as the outer. Check the bag interior remains accessible through the open zipper and that the facing is above it. The example has no pocket or turning gap: the outer and lining will be nested and joined at their folded top edges. Remove loose threads before they can catch in the zipper.
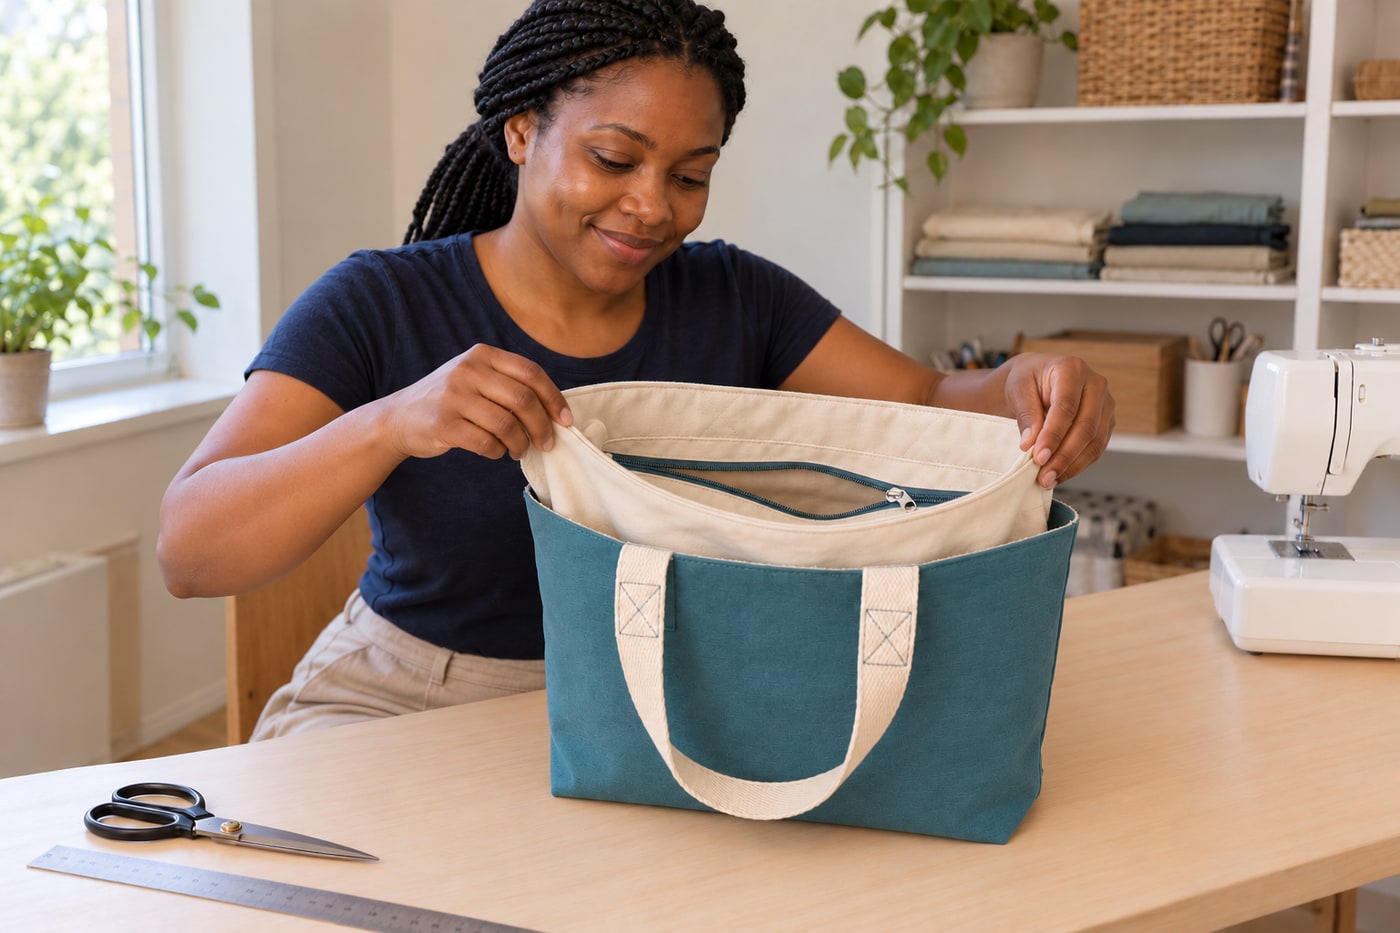
Photorealistic illustration · Waey
12. Nest the layers and reconcile their top edges
Turn the outer right side out and leave the lining wrong side out. Slip the lining inside so their wrong sides touch and all four boxed corners seat together. Fold the outer raw top and the facing raw top inward 10mm, away from the finished opening. Match side seams and compare the folded heights without stretching the jersey. The facing places the zipper seam approximately 30mm below the finished top. Small end gaps are part of this recessed construction; it is not an airtight or child-resistant closure. Correct mismatched seams or excessive lining bulk before topstitching.
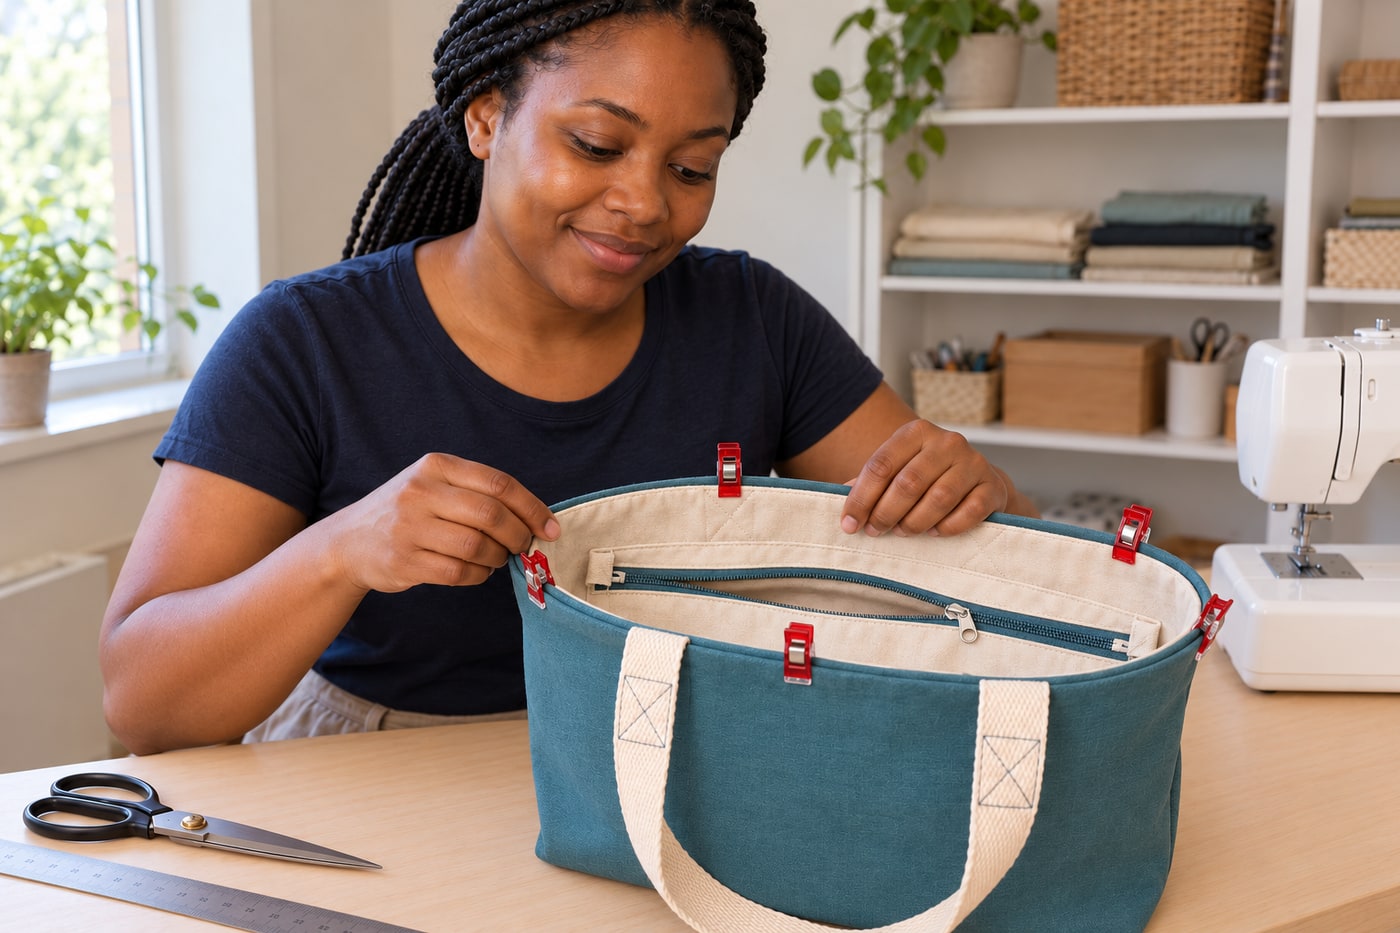
Photorealistic illustration · Waey
13. Topstitch the rim while keeping every moving part free
Baste or clip the matched folded rim all around with the zipper open and the handle loops outside. Topstitch through both folds about 3mm from their upper edge using a suitable ordinary foot and tested stitch length. Remove clips before they reach the foot, and keep fingers out of the needle path. Move the free zipper caps aside rather than sewing over them. Check the lining has not been folded into a hidden pleat. At handle areas, slow down and stop if the needle deflects or feeding stalls; forcing a bulky stack can break a needle and damage the fabric.
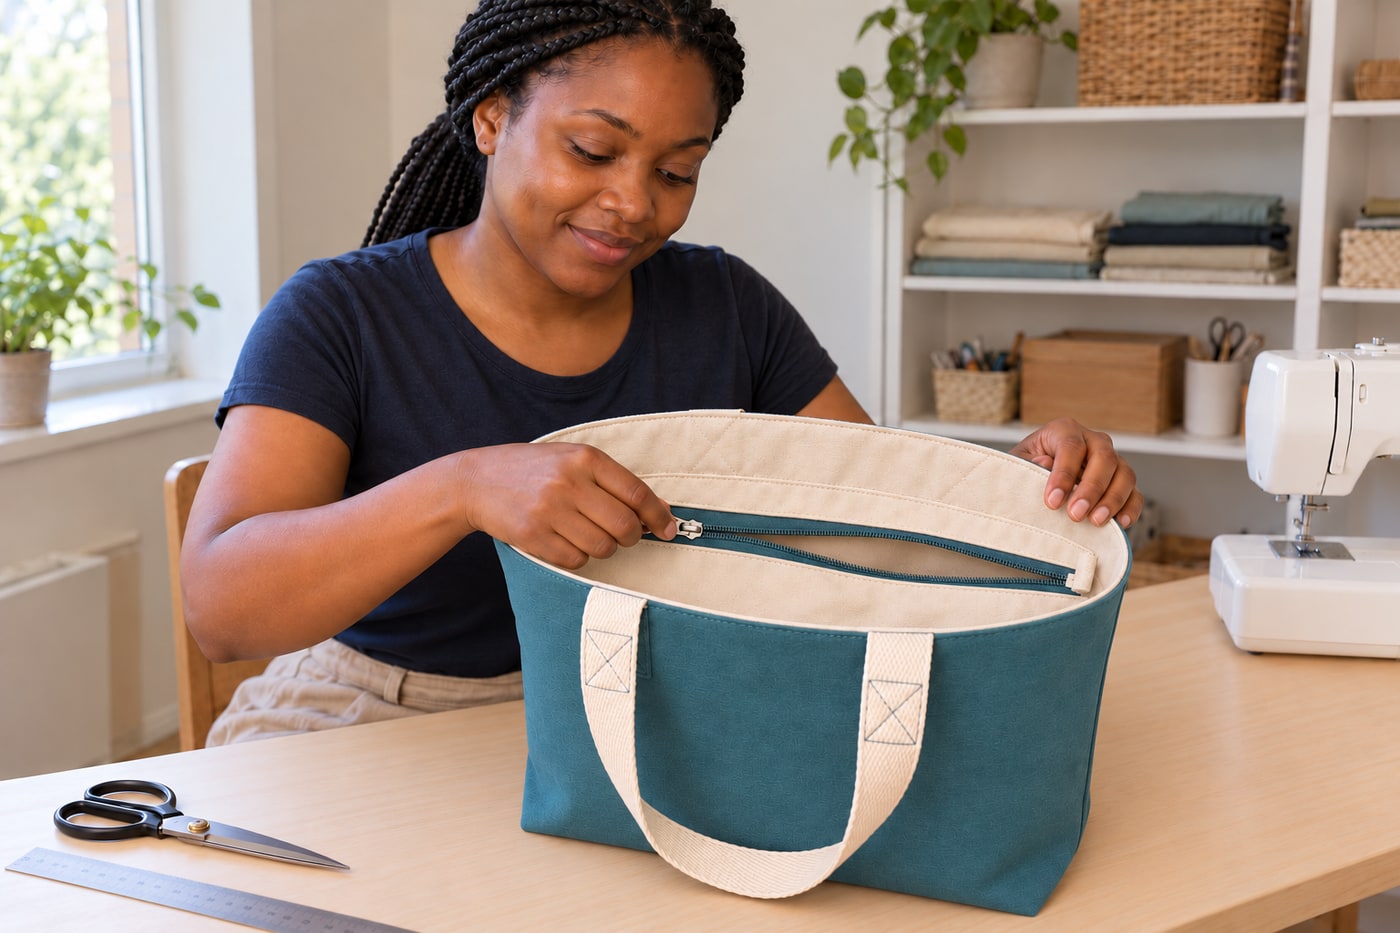
Photorealistic illustration · Waey
14. Inspect the seams, zipper and handles before carrying
Remove basting and stray threads, then operate the zipper several times with the bag both empty and gently opened into shape. The slider must move without eating lining, and both covers must stay outside its travel. Inspect all four anchors from inside and outside for skipped stitches, torn knit or loose patch edges. Check boxed corners for holes and the top rim for unsewn sections. Try a few light, smooth belongings first and observe the seams; this is a functional check, not a load certification. Repair any fault before ordinary use.
Photorealistic illustration · Waey
15. Care for the mixed materials and repair early wear
Keep the shirt care label, interfacing instructions and zipper details with the project notes. Use the gentlest cleaning and drying method permitted by every component; do not assume the old T-shirt tumble setting remains suitable after fusing and adding hardware. Avoid pressing the coil or pulling the slider through a caught fold. Periodically check handle anchors, corner seams and the jersey around the support. Unpick and repair a failing seam on a flat supported area rather than adding random stitches through the lining. Retire fabric that is thinning or tearing despite sound stitching.
Video demonstrations
How to Use Knit/Stretch or Garment Fabric for a Bag
Knit stabilization with SF101; use the current packet and the actual fabric heat/care limits.
Sew Sweetness · English
Watch on YouTube ↗How to Add a Recessed Zipper to a Bag with No Side Panel
Recessed zipper technique for a bag without side panels. Our cut plan and tail covers differ; follow the written dimensions and preserve clear needle paths.
Sew Sweetness · English
Watch on YouTube ↗DIY How to Make a Zippered and Lined Tote Bag with Boxed Corners | Tutorial | Bravo Dada
A smaller woven tote with a direct top zipper, 7mm construction seams and different dimensions. Useful for lining and boxed-corner technique; do not substitute its cut list.
Bravo Dada! · English
Watch on YouTube ↗Final checks
Free zipper travel, sound anchor stitching and support, closed corner seams, smooth lining and correctly nested rim. A light functional trial is not a certified load test.
Where to find supplies
Sources
Pellon SF101 actual fusing instructions ↗
Sew Sweetness: stabilizing knit garment fabric for bags ↗
Sew4Home: inset zipper construction ↗
Sew4Home: corrected facing and lining orientation ↗
Brother: zipper-foot installation and needle clearance ↗
Fourteen original AI-generated photographic illustrations and one real CC BY-SA4.0 accessory photograph, visibly attributed. The vintage foot detail is not a compatibility claim for the illustrated machine. Videos belong to their attributed creators.