
Organize pot lids in a freestanding rack
Make each lid easy to reach with a freestanding divider rack that fits your existing cupboard or drawer.
What will you learn?
Make each lid easy to reach with a freestanding divider rack that fits your existing cupboard or drawer.
Tools
- 1 tape measure; 1 cleaning clothSearch Amazon Spain ↗
Materials
- 1 freestanding lid rack suitable for your lids; the lids you actually useSearch Amazon Spain ↗
Step by step
Photorealistic illustration · Waey
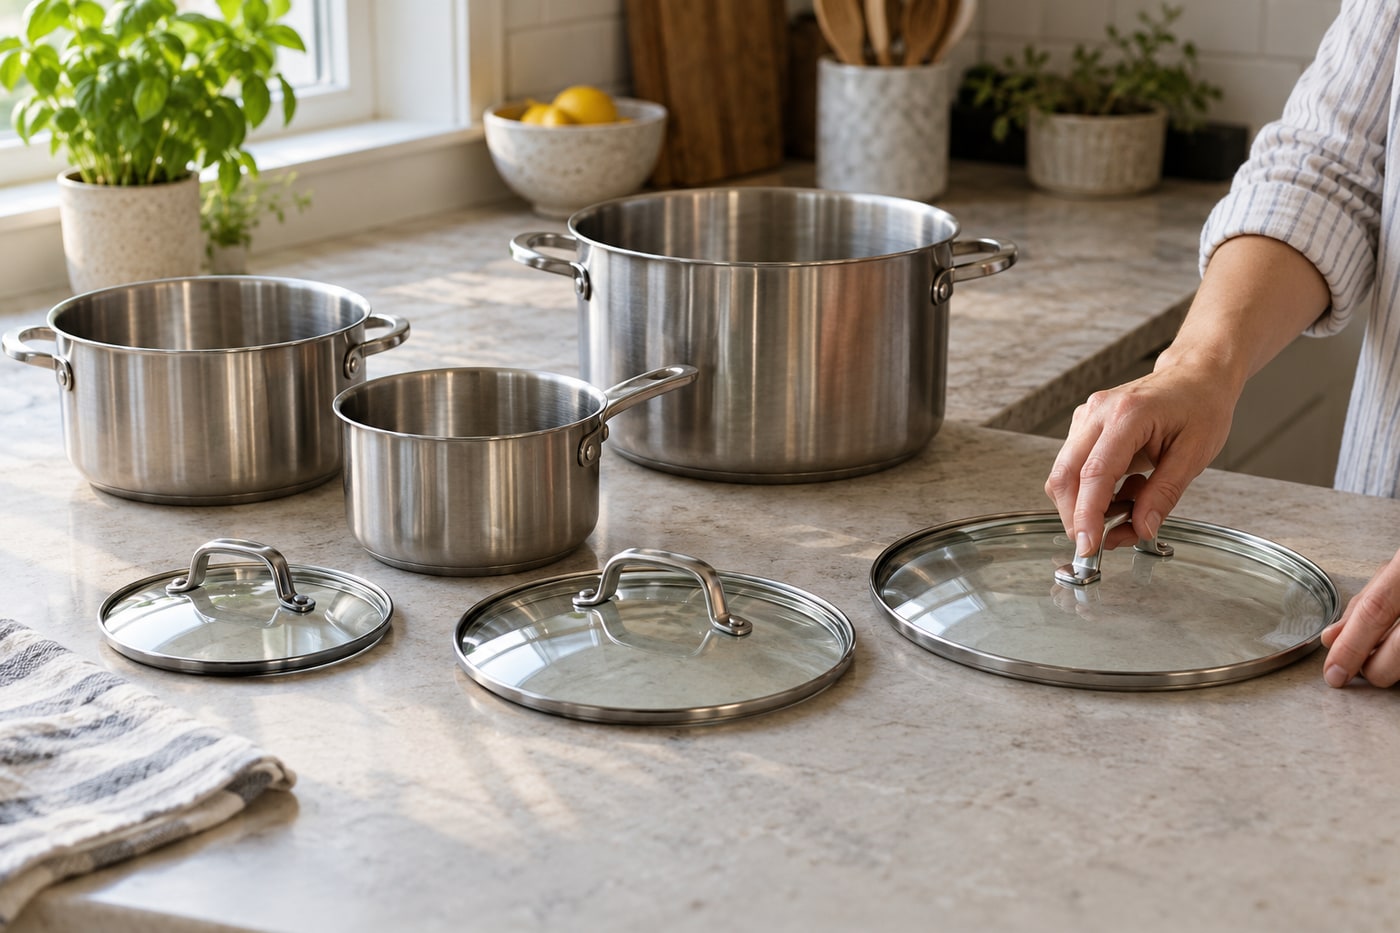
1. Match lids to the pots you use
Lay the cool lids on the counter beside their matching pots. Check that each lid seats correctly and that glass, rims and knobs are sound. Put unmatched or rarely used items aside while you decide what belongs in this storage space. Starting with the useful set prevents an organiser from becoming another crowded container, and it shows how many separate slots you really need.
Photorealistic illustration · Waey
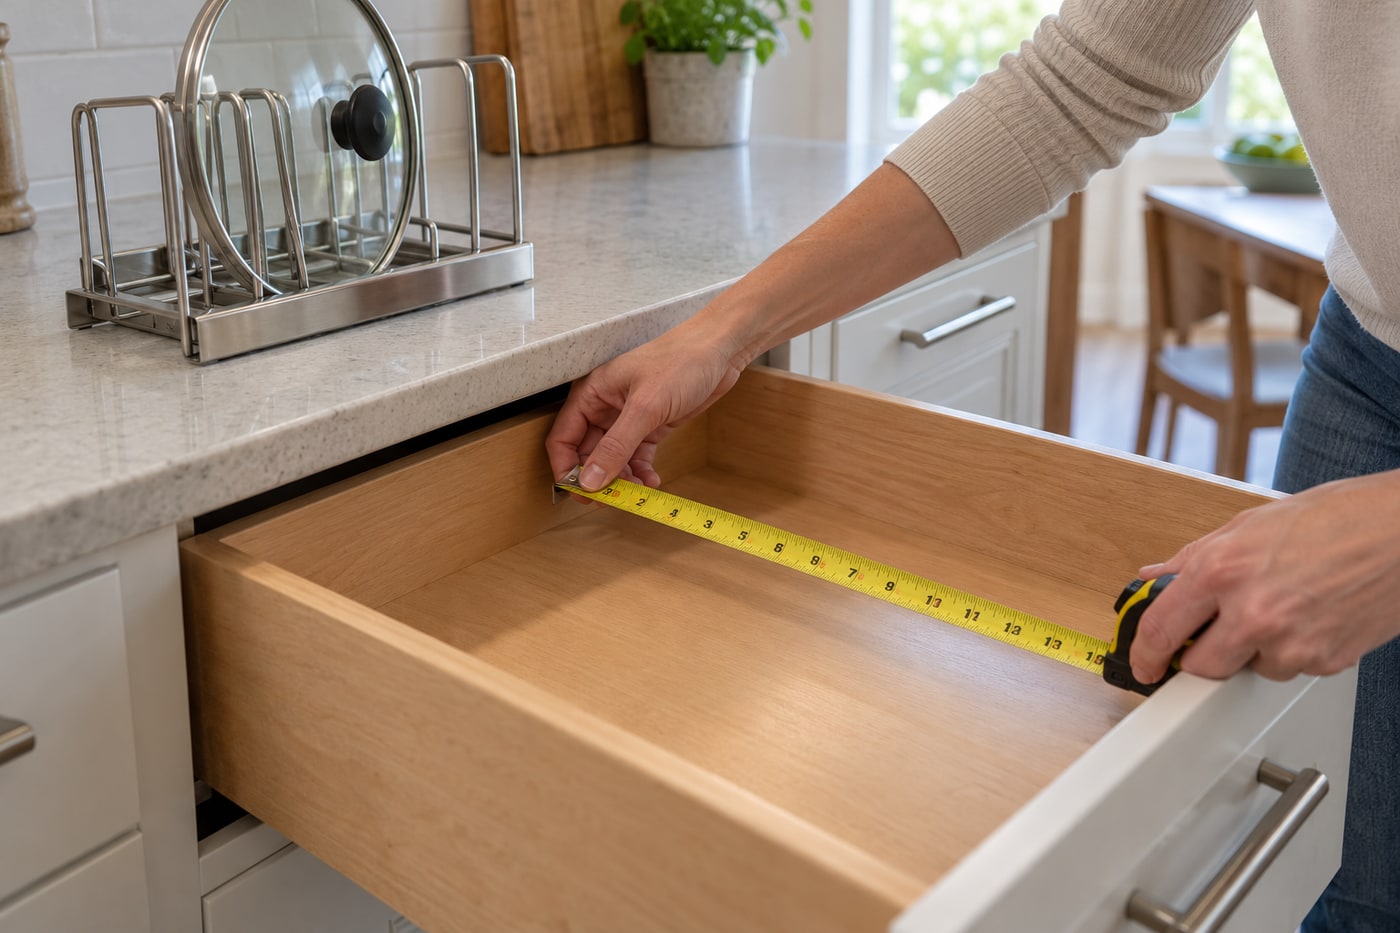
2. Measure the space, including the knobs
Measure the usable width, depth and height of the drawer or shelf, allowing for hinges, runners and the drawer above. Hold the largest lid upright to check its handle clearance. Choose a rack that stands securely within those limits and supports the lids without leaning them against the door. A rack that fits the empty drawer can still be too tall once the lids are inside.
Photorealistic illustration · Waey
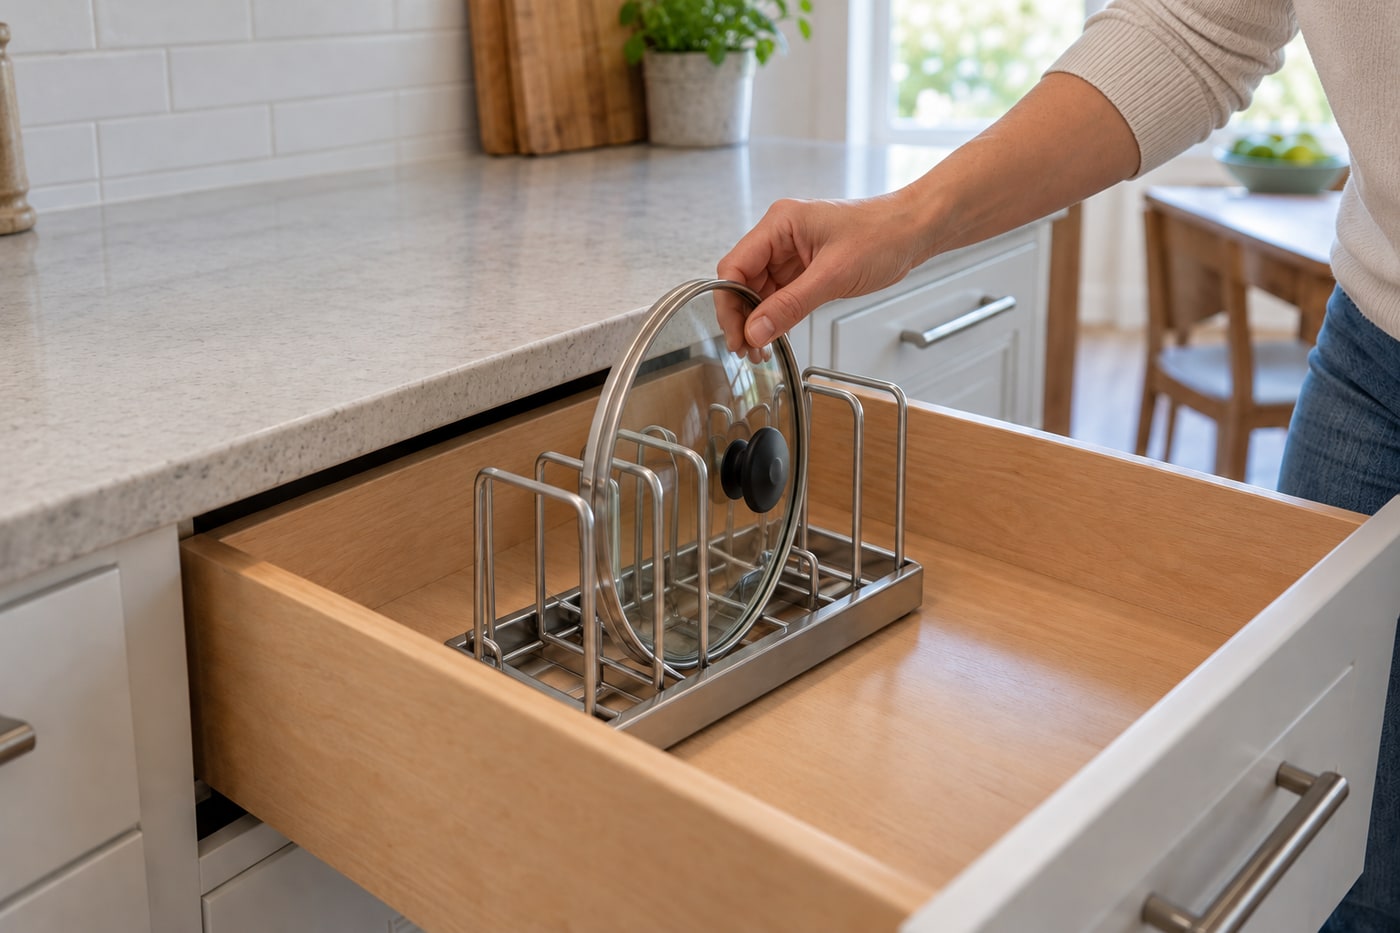
3. Set the rack and load one lid at a time
Wipe the storage surface and let it dry before setting the rack down. If it is adjustable, open it only as far as its instructions allow, with slots wide enough for the lid rims and knobs. Place lids upright in separate slots, starting with the largest. Each should rest securely on the rack without forcing the dividers or rubbing against its neighbour.
Photorealistic illustration · Waey
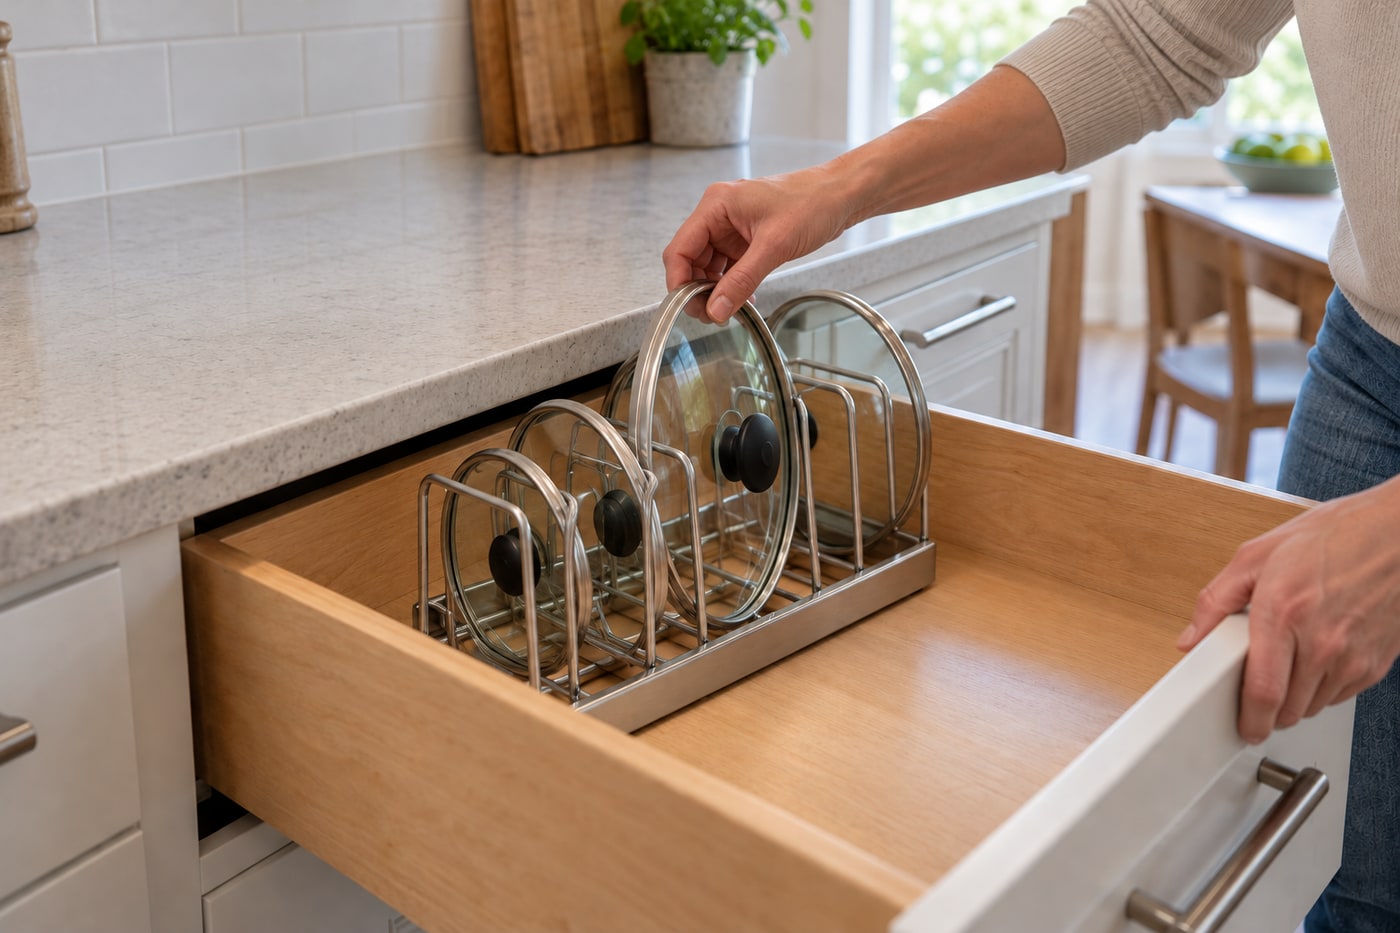
4. Test access before you finish
Remove and replace every lid once, then slowly close and reopen the drawer or cupboard. Watch for knobs catching, lids wobbling or the rack sliding when one item is removed. Rearrange the spacing until each lid is easy to lift without moving the others. Keep the frequently used sizes at the easiest reach, and return lids only after they have cooled and dried.
Watch the method
Watch the method
Shows assembly and use of one adjustable rack; follow the instructions supplied with your own model.
Spice Journey · English
Watch on YouTube ↗Final checks
The door or drawer closes freely, the rack stays stable and every lid can be removed independently. Do not use a cupboard door as a support for an overloaded rack.
Sources
Photographs are credited beside each image. Generated photorealistic illustrations by Waey; linked videos remain with their creators.