
Root rosemary from semi-ripe stem cuttings
Prepare non-flowering rosemary shoots, root them in a free-draining mix and move established cuttings into individual pots. Learn to judge suitable stems and real root development instead of relying on a fixed rooting date.
What will you learn?
Prepare non-flowering rosemary shoots, root them in a free-draining mix and move established cuttings into individual pots. Learn to judge suitable stems and real root development instead of relying on a fixed rooting date.
Tools
- Clean sharp pruning snipsSearch Amazon Spain ↗
- RulerView at Alcampo España (MAPED 30cm ruler) ↗Search Amazon Spain ↗
- Wooden dibberView at La Tienda del Huerto España (Romberg wooden dibber) ↗Search Amazon Spain ↗
- Small watering canView at Leroy Merlin España (small watering can) ↗Search Amazon Spain ↗
- Gardening glovesView at Leroy Merlin España (Gardena, 9/L) ↗Search Amazon Spain ↗
- Potting traySearch Amazon Spain ↗
- Plant labels and pencilSearch Amazon Spain ↗
Materials
- Three healthy non-flowering rosemary shoots taken with permission
- Clean pot about10cm wide with drainage holesSearch Amazon Spain ↗
- Peat-free potting compostView at Planeta Huerto España (COMPO BIO peat-free compost) ↗Search Amazon Spain ↗
- Horticultural perliteView at Leroy Merlin España (MASSO perlite) ↗Search Amazon Spain ↗
- Clear plastic bagSearch Amazon Spain ↗
- Supports to keep the bag off leavesSearch Amazon Spain ↗
- Small individual pots with drainage holesSearch Amazon Spain ↗
- Free-draining potting compost for potting onSearch Amazon Spain ↗
Step by step
Photorealistic illustration · Waey
1. Choose suitable current-season shoots
Choose a healthy rosemary plant and look for non-flowering shoots whose bases have become firm while their tips remain softer. In the UK this semi-ripe stage is usually available in late summer into early autumn; judge the plant as well as the season. Avoid very floppy tips, completely old leafless wood and pest-damaged shoots. If suitable material is unavailable, wait rather than forcing unsuitable stems into this method.
Photorealistic illustration · Waey
2. Prepare a small draining pot
Check that the pot’s drainage holes are open and mix equal volumes of peat-free potting compost and horticultural perlite. Moisten the ingredients gently to limit dust, fill the pot without hard packing and leave a small watering gap below the rim. Water and let surplus drain away before inserting stems. The mix should be evenly damp and airy, not a muddy reservoir; never stand the pot in retained water.
Photorealistic illustration · Waey
3. Take three shoots without letting them wilt
Take a few suitable shoots early in the day with clean sharp snips, leaving the parent plant with plenty of healthy growth. Work on one small batch rather than collecting more than you can prepare promptly. Put waiting shoots in a clean plastic bag in shade to reduce moisture loss and prepare them as soon as practical. Keep any visibly damaged or wilting material out of the batch.
Photorealistic illustration · Waey
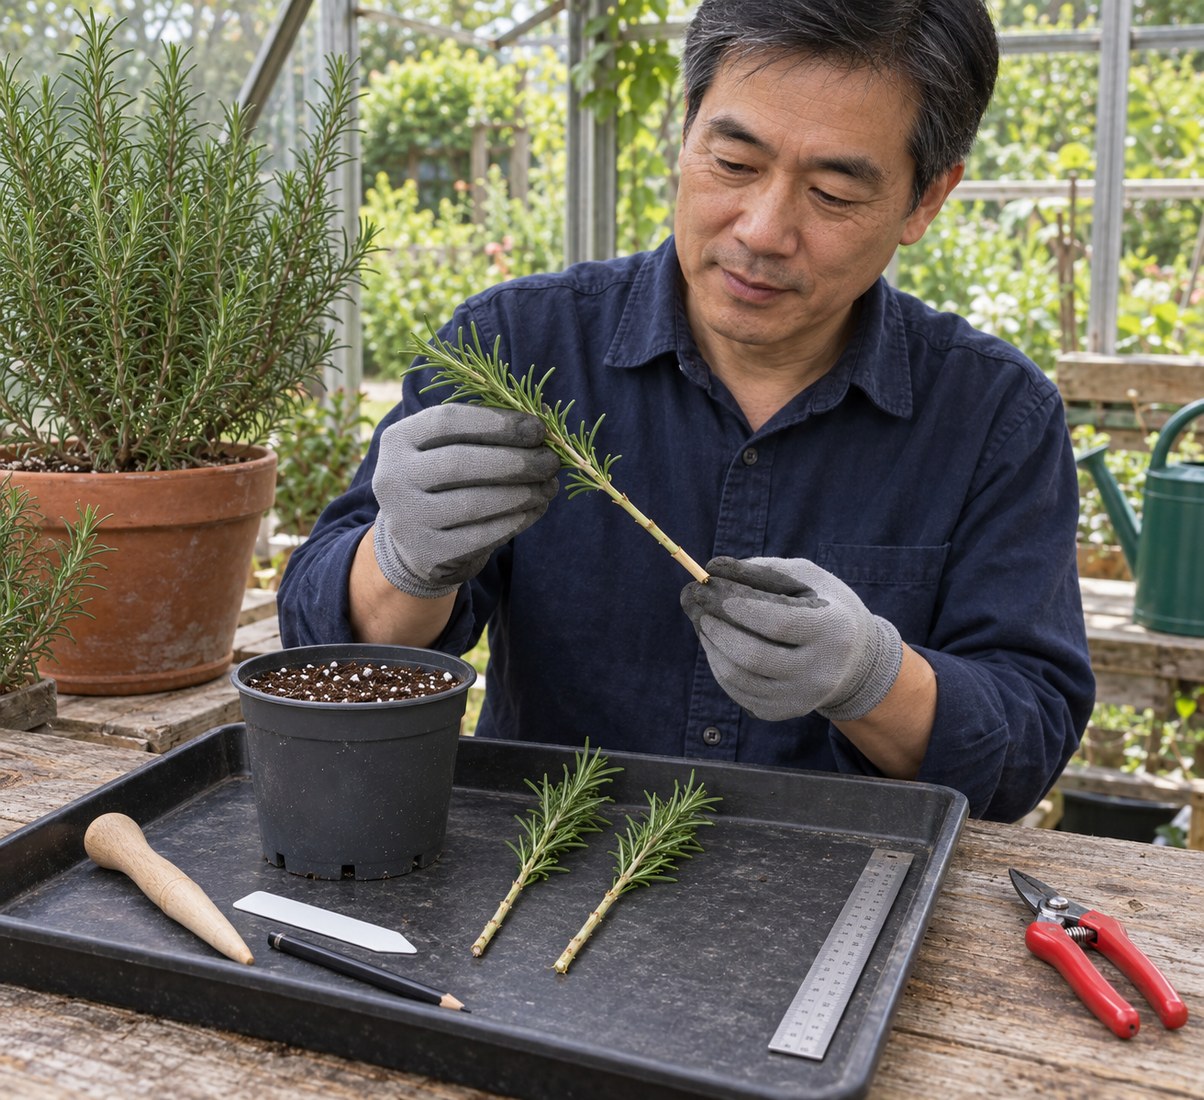
4. Trim below a node and clear the lower stem
Prepare each cutting about 10–15cm long, making a clean basal cut just below a leaf node, where leaves attach to the stem. Remove the lower leaves from roughly the lower half to two-thirds, leaving a leafy upper section. Pinch off a very tender tip if it is too soft to remain firm. Keep the stem uncrushed and do not strip its bark or split its base; no leaves should be buried later.
Photorealistic illustration · Waey
5. Insert stems into prepared holes
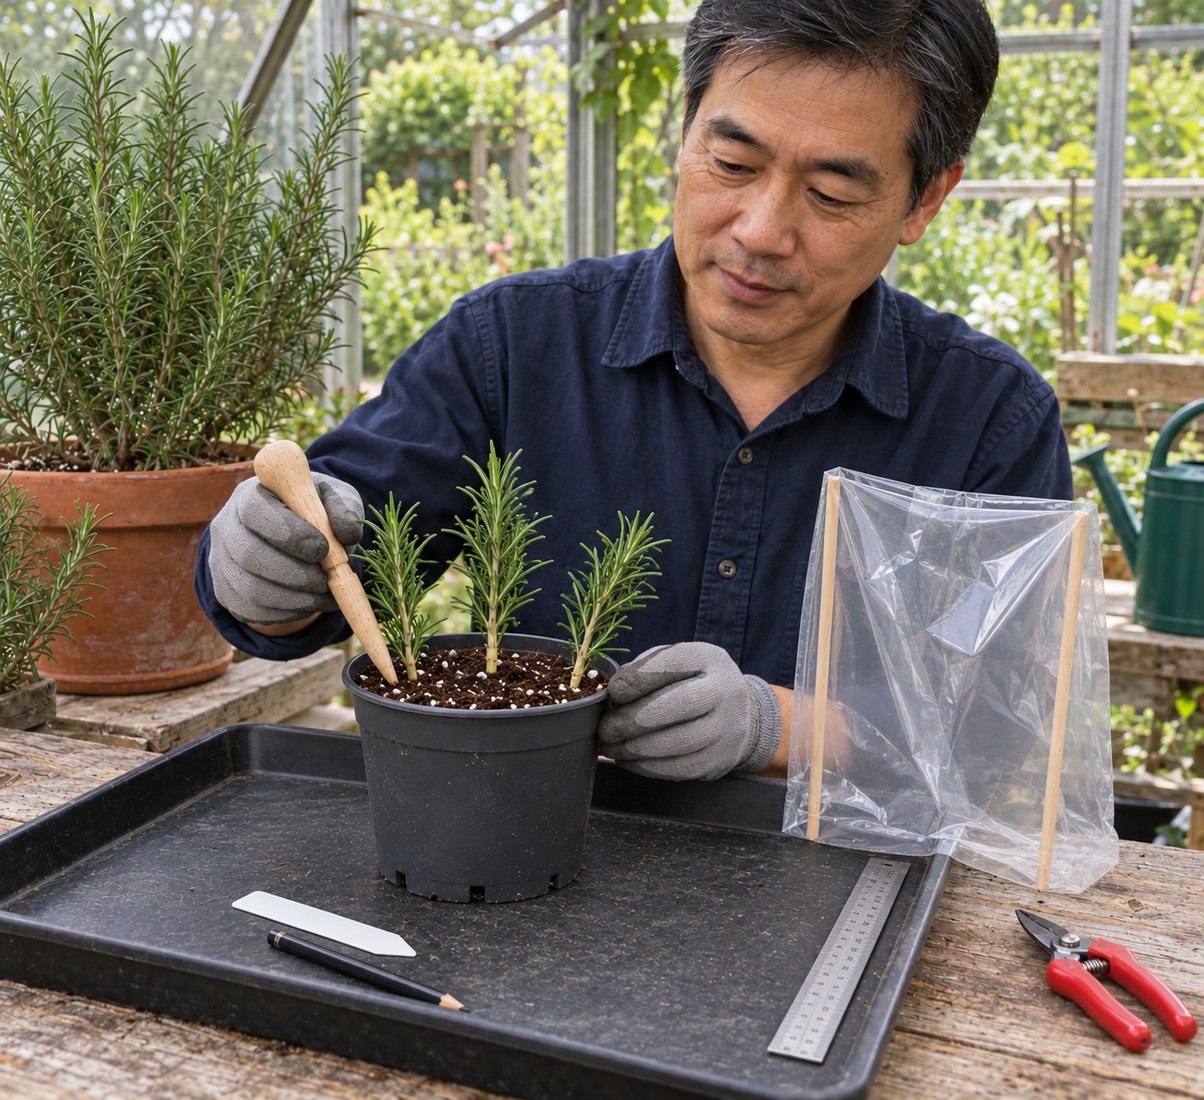
Make three separate holes around the pot’s edge with the dibber, spaced so the leafy tops do not crowd or touch. Insert the bare lower stem of each cutting about 4–5cm, with at least one lower node in the mix and all remaining leaves above it. Close the mix gently around the stem so it is supported without crushing. Water lightly to settle contact, let it drain and label the plant and date.
Photorealistic illustration · Waey
6. Provide humidity with air and shade
Support a clear bag over the pot so the plastic does not lie on the leaves, or use a suitable vented propagator. Place it in bright indirect light in a sheltered, frost-free position, never sealed in direct sun. Check daily: ventilate to release excessive condensation and keep the mix damp without waterlogging. If leaves repeatedly collapse or mould appears, correct the conditions and remove failed material rather than adding more water automatically.
Photorealistic illustration · Waey
7. Wait for roots rather than a calendar date
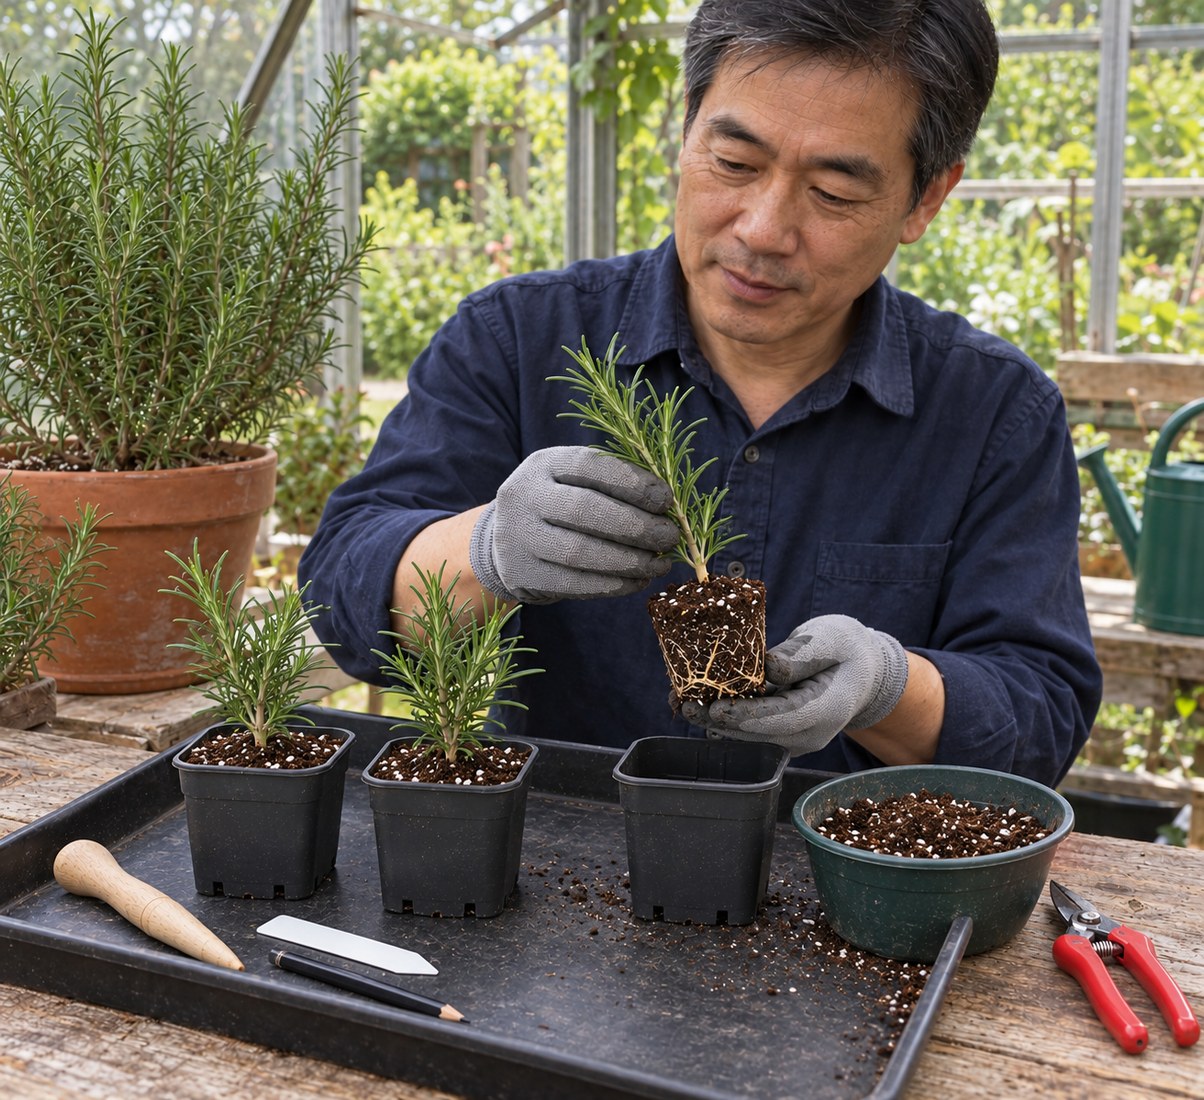
Allow several weeks or longer, depending on the material and conditions. New leaves alone do not prove that a cutting has rooted, and repeated tugging can break developing roots. When there is reason to expect a developed root system, support the stems and mix, gently slide the root mass from the pot and look for branching roots. If the mix falls apart without roots, replace it carefully and continue care rather than pulling individual stems out.
Photorealistic illustration · Waey
8. Acclimatise and pot rooted cuttings separately
Once roots are established, increase ventilation gradually over about two to three weeks until the cuttings cope without their cover. Then gently separate the rooted plants, preserving roots and attached mix, and pot each into a small draining pot that accommodates its roots with a little fresh free-draining compost. Keep the previous planting depth, water and drain. Maintain sheltered frost-free care, introduce stronger light gradually and harden plants off before later outdoor planting; do not plant out merely because the first roots appeared.
Watch the method
Propagate Rosemary from Cuttings
Shows stem preparation, insertion and rooted examples. The video uses trays and an additional dipping treatment; follow the written hormone-free method and local seasons here.
Fraser Valley Rose Farm · English
Watch on YouTube ↗Final checks
Cuttings have leafy tops and bare buried stems; the mix drains freely; leaves stay clear of wet plastic; failed material is removed; potting on follows branching root development and gradual cover removal, not a fixed deadline.
Where to find supplies
Sources
BBC Gardeners’ World — Take rosemary cuttings ↗
University of Georgia Extension — Starting plants from cuttings ↗
AI-generated representative photographic illustrations by Waey, using only Waey-generated references. External video belongs to its credited creator.