
Sew a washable cushion cover with a centred zip
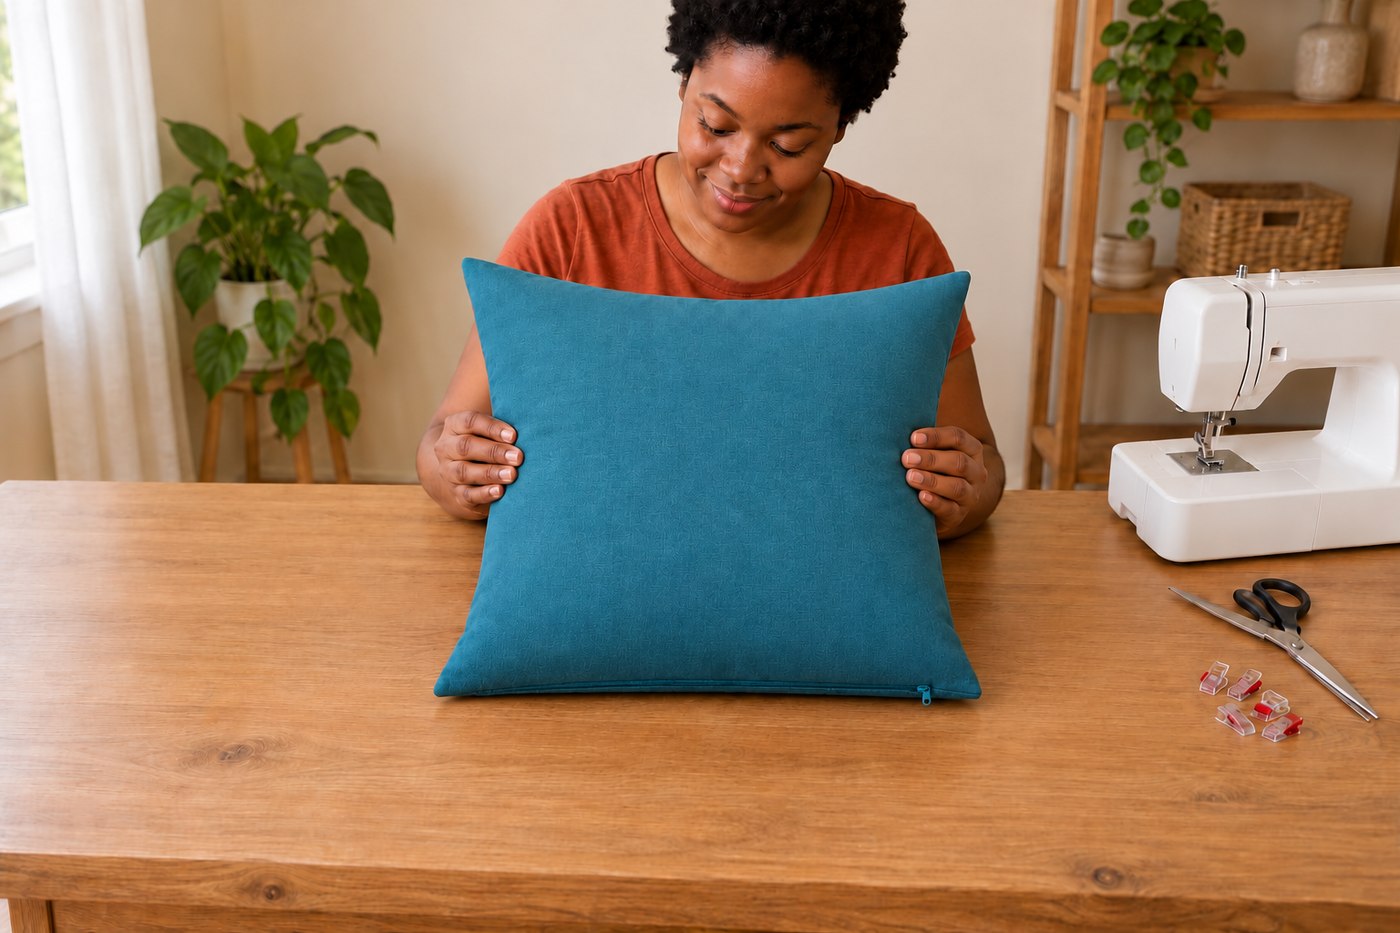
Make a removable cover for a 40 cm cushion insert, with a centred coil zip and enclosed corners. Practise the zipper seam before sewing the cover.
What will you learn?
Make a removable cover for a 40 cm cushion insert, with a centred coil zip and enclosed corners. Practise the zipper seam before sewing the cover.
Tools
- Domestic sewing machineView at Alfahogar España (Alfa Style 30) ↗Search Amazon Spain ↗
- Compatible zipper footView at eCostura (Alfa Style, solo si falta el prensatelas) ↗Search Amazon Spain ↗
- Standard presser footView at Alfahogar España (Alfa Style, solo si falta el prensatelas) ↗Search Amazon Spain ↗
- Machine needle suitable for woven cottonView at Consuelo Textil (Schmetz Universal, elige 80/12) ↗Search Amazon Spain ↗
- Hand-sewing needle for bastingView at Truben (Prym agujas de coser 5–10) ↗Search Amazon Spain ↗
- Fabric scissorsView at Tejidos Yasmina (Fiskars RazorEdge 21 cm) ↗Search Amazon Spain ↗
- Tape measureView at Mercería Alfambra (Prym Color 150 cm) ↗Search Amazon Spain ↗
- RulerView at Mercería Lluvia de Ideas (regla 60 cm) ↗Search Amazon Spain ↗
- Washable markerView at Bernina Navarra (Prym turquesa, comprobar contraste) ↗Search Amazon Spain ↗
- Seam ripperView at Mercería Alfambra (Prym 611205) ↗Search Amazon Spain ↗
- Sewing clips or pinsView at Mercería Sarabia (Clover 3155, 10 pinzas) ↗Search Amazon Spain ↗
- IronView at Click Electrodomésticos (Philips DST3011/20, si hace falta) ↗Search Amazon Spain ↗
- Ironing surfaceSearch Amazon Spain ↗
- Blunt point turnerSearch Amazon Spain ↗
Materials
- Two prewashed cotton panels43×43cm each, including15mm seam allowancesView at TraeTela (popelín de algodón por metro) ↗Search Amazon Spain ↗
- One35cm closed-end nylon coil zipView at Mercería Aurora (cremallera espiral cerrada de 35 cm) ↗Search Amazon Spain ↗
- Matching all-purpose sewing threadView at Stoklasa (elige tono; pedido mínimo 10 €) ↗Search Amazon Spain ↗
- One40×40cm cushion insertView at Curtidos y Tapicerías (relleno de 40 × 40 cm) ↗Search Amazon Spain ↗
- Scraps of the same fabric for stitch tests
Step by step
Photorealistic illustration · Waey
1. Prepare and square the panels
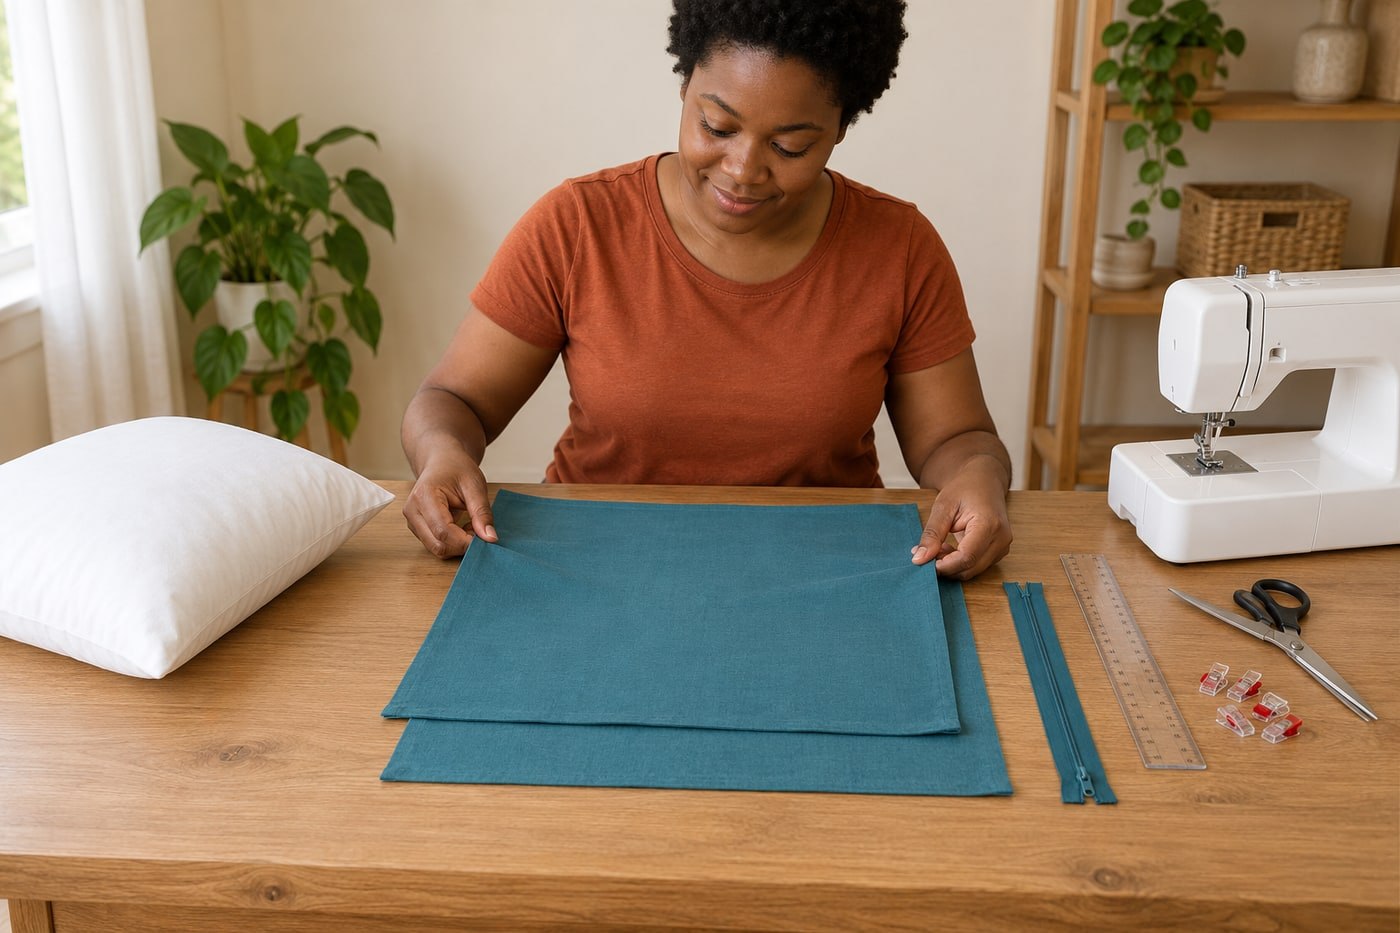
Wash and dry washable cotton as its care label allows before cutting, then press it flat. This reduces shrinkage after the finished cover is washed. For this project, cut two 43 cm squares: the finished 40 cm cover plus two 15 mm seam allowances. Check both diagonals and mark the wrong side lightly. Keep the grain straight; do not stretch a distorted square back into shape while cutting.
Photorealistic illustration · Waey
2. Finish edges and mark the zip opening
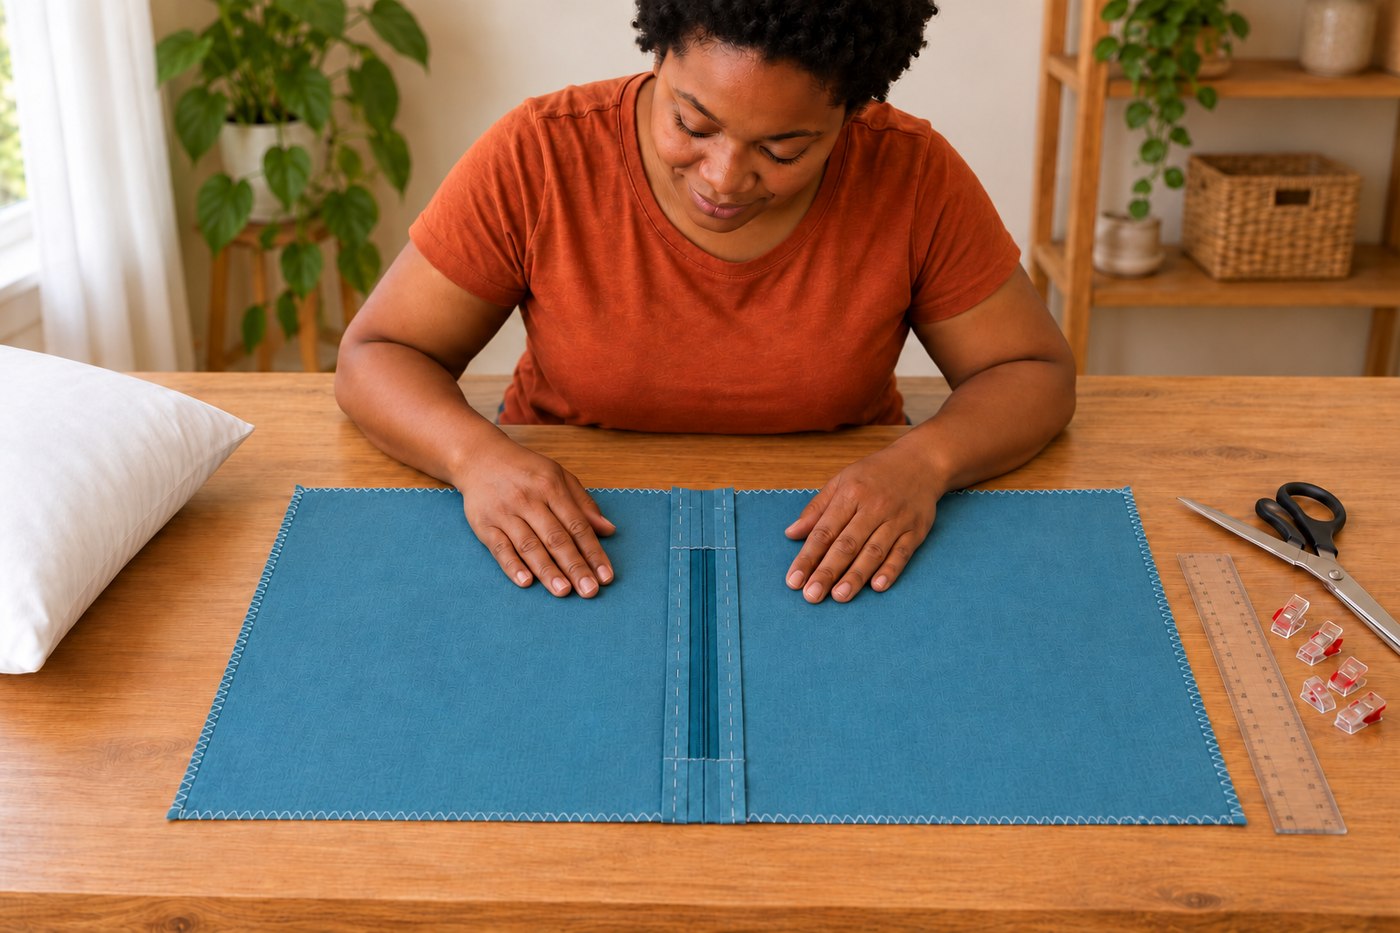
Zigzag or overcast the raw edges of each panel separately so they will withstand washing without being sewn together yet. Put the panels right sides together and choose the bottom edge for the zip. Centre its actual teeth between the 15 mm side seam lines and mark both stops. Check that the opening will admit the compressed cushion insert without forcing either end of the zipper.
Photorealistic illustration · Waey
3. Sew a seam that can be opened
Stitch the short sections from each bottom corner to its zipper-stop mark with a normal stitch, securing those sections at the ends. Machine-baste only the opening between the marks with a long removable stitch. Press the two seam allowances open. This temporary seam holds the fabric edges straight while you attach the zip; permanent stitches across the opening would make it harder to remove the basting neatly.
Photorealistic illustration · Waey
4. Baste the closed zip underneath
With the wrong side facing up, place the closed zip face down so its teeth lie directly over the basted seam and its stops align with the marks. Hand-baste each tape to its corresponding allowance, checking from the right side that nothing has shifted. Keep the zipper tape flat. If you use pins, position them for removal before machine stitching; never sew across pins or the metal stops.
Photorealistic illustration · Waey
5. Topstitch the centred opening clear of the stops
Disconnect power before fitting the compatible zipper foot, and check needle clearance with the handwheel as the machine manual directs. With the right side uppermost, topstitch beside the basted centre seam, catching the tape underneath. Stitch across fabric beyond the lower stop, never through the stop or coil, then sew the other side. Keep the slider out of the sewing path; stop for the actual machine and zip instructions if it obstructs the foot. Do not force the foot over it. Remove the temporary seam basting only after checking both tapes are caught.
Photorealistic illustration · Waey
6. Open the zip and close the other sides
After removing the temporary centre-seam basting, test the zip gently without cutting the permanent short seams at either end. Open it at least halfway before joining the other edges; this is your turning opening. With right sides together, align and clip the remaining three sides, keeping the zip tapes and excess allowance clear at the corners. Sew the 15 mm seams and secure the ends. Finish disturbed raw edges and inspect all stitching before turning.
Photorealistic illustration · Waey
7. Turn, insert and check the finished cover
Trim excess corner allowance diagonally without cutting the seam, then turn through the zip opening. Shape the corners with a blunt tool instead of stabbing them with scissors. Press only as the fabric and zipper instructions allow. Compress and insert the cushion, supporting the zip ends as you close it. The cover should sit smoothly without pulling the zipper apart; if it strains, check the seam position and actual insert dimensions before using it.
Video demonstrations
Sew your own Throw Pillows with a Zipper Opening
Related cushion construction and zipper-sewing demonstrations use different zipper placements, corners and machines. Follow the centred seam method, cut sizes and safety checks written here. These samples do not test this cover’s dimensions or insert opening.
Sailrite · English
Watch on YouTube ↗Learning to Sew Part 5: How to Sew a Zipper
Zipper insertion practice for pillows and cushions; machine and material choices differ.
Sailrite · English
Watch on YouTube ↗Final checks
Zip opens and closes without catching fabric; ends are secured; no pins remain. Remove the insert before washing and follow the cotton, thread and zip care limits.
Where to find supplies
Sources
Sailrite: Throw pillow with zipper ↗
AI-generated representative photographic illustrations by Waey, derived only from prior Waey-generated images. Manufacturer diagrams/photos were not reused or generator inputs. Videos remain their credited creators’ work.