
Grow dwarf sunflowers from seed to flowering in final pots
Raise a compact branching sunflower crop in its final pots, managing germination, acclimatisation and care through flowering.
What will you learn?
Raise a compact branching sunflower crop in its final pots, managing germination, acclimatisation and care through flowering.
Tools
- Gardening glovesView at Leroy Merlin España (Gardena, 9/L) ↗Search Amazon Spain ↗
- Small scoopView at Leroy Merlin España (Gardena, PracticDomus) ↗Search Amazon Spain ↗
- Ruler or depth-marked dibberView at SFPintures España (Dismoer 150mm ruler) ↗Search Amazon Spain ↗
- Gentle-rose watering canView at EgarBonsai España (Terrassa fine-rose can) ↗Search Amazon Spain ↗
- Seed-zone thermometerView at BioHuerto España (Nature soil thermometer) ↗Search Amazon Spain ↗
- Plant labels and pencilView at Planeta Huerto España (10 zinc labels and pencil) ↗Search Amazon Spain ↗
- Growing recordSearch Amazon Spain ↗
Materials
- Big Smile annual sunflower seedSearch Amazon Spain ↗
- Three 15 cm final pots with drainage holesView at Planeta Huerto España (15cm pot; quantity 3) ↗Search Amazon Spain ↗
- Fresh light peat-free potting compostView at MasFerretería España (Vithal peat-free compost, 20L) ↗Search Amazon Spain ↗
- WaterSearch Amazon Spain ↗
- Potassium-rich flowering feed used according to its labelView at Leroy Merlin España (Massó flowering feed) ↗Search Amazon Spain ↗
Step by step
David J. Stang · CC BY-SA 4.0 · JPEG optimized; complete image and original copyright notice retained. No AI adaptation.
1. Plan a complete dwarf-container crop
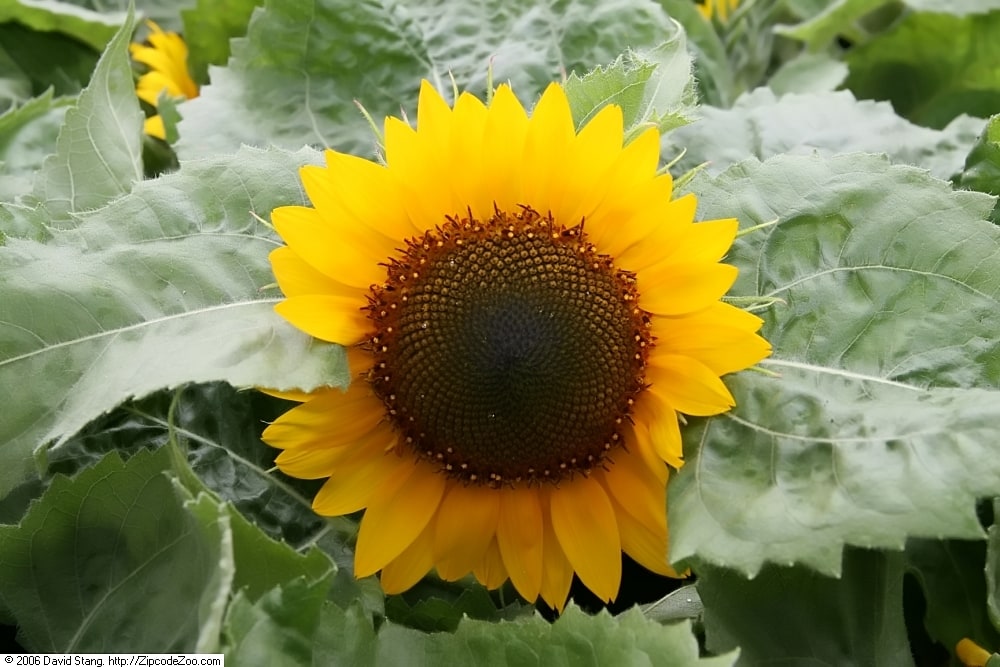
Choose the annual cultivar Big Smile rather than a giant sunflower or a perennial Helianthus. Its supplier describes a compact, branching plant about 25–38 cm tall in containers, with yellow flowers and dark centres. Plan three separate final pots, one plant in each. Select a locally suitable mild growing period with good sunlight and protection from frost. British spring dates are not a planting calendar for every region. The supplier’s 50–60-day maturity estimate is a guide, not a promised flowering date.
Photorealistic illustration · Waey
2. Prepare final pots with working drainage
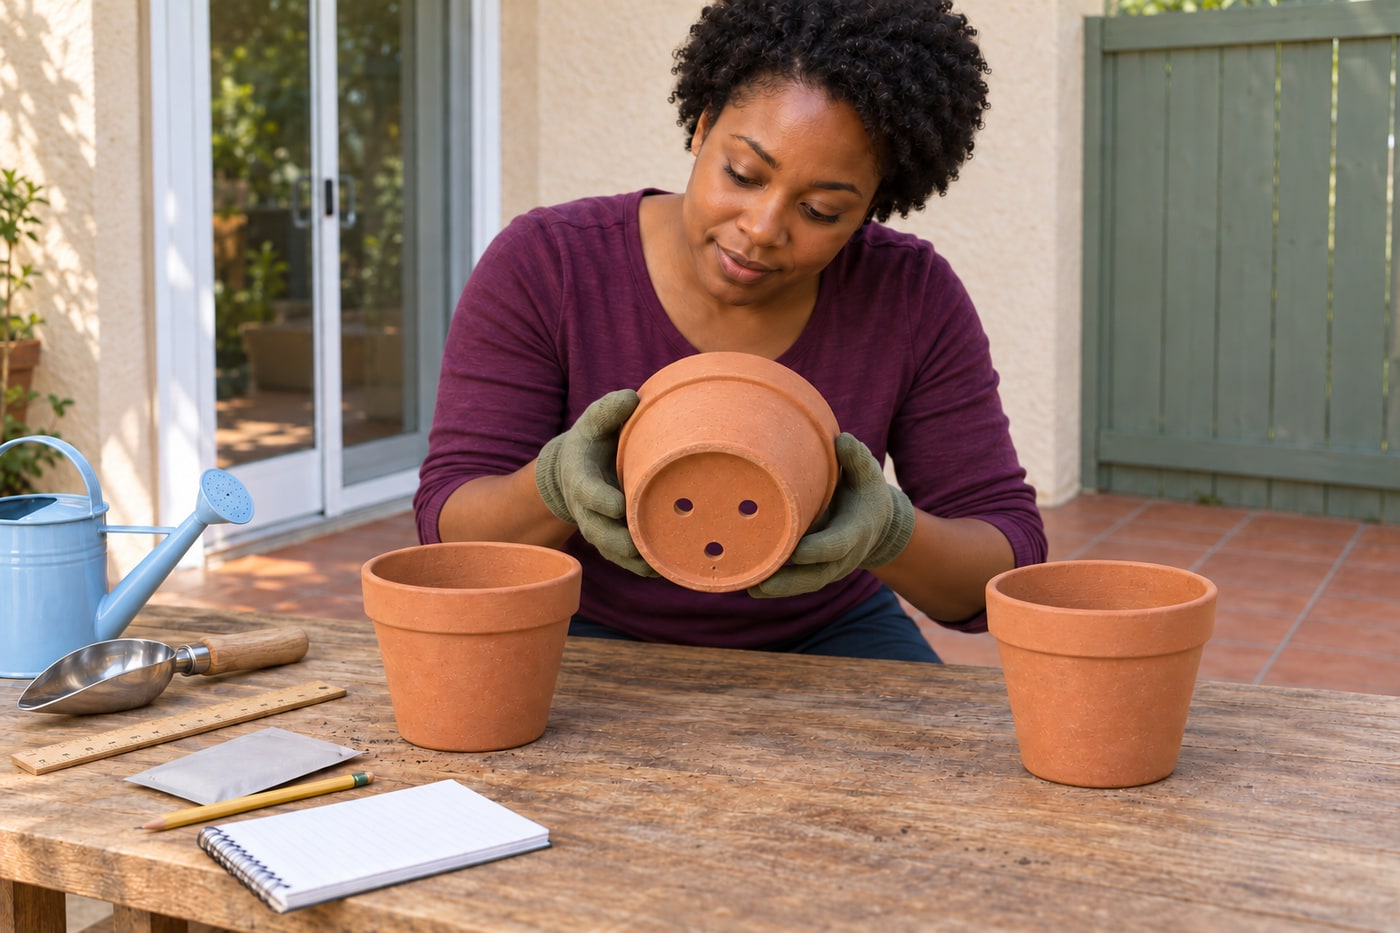
Use clean, stable pots about 15 cm across, matching the supplier’s final-container method. Check that drainage holes are open and that water can escape from the standing surface. Fill with fresh, light, free-draining peat-free potting compost, leaving a watering space below the rim. Moisten it gently and let excess water drain before sowing. Do not pack the medium hard or add a gravel layer as a substitute for drainage. Wear gardening gloves and avoid breathing dust when handling dry compost.
Photorealistic illustration · Waey
3. Sow once without planning a transplant
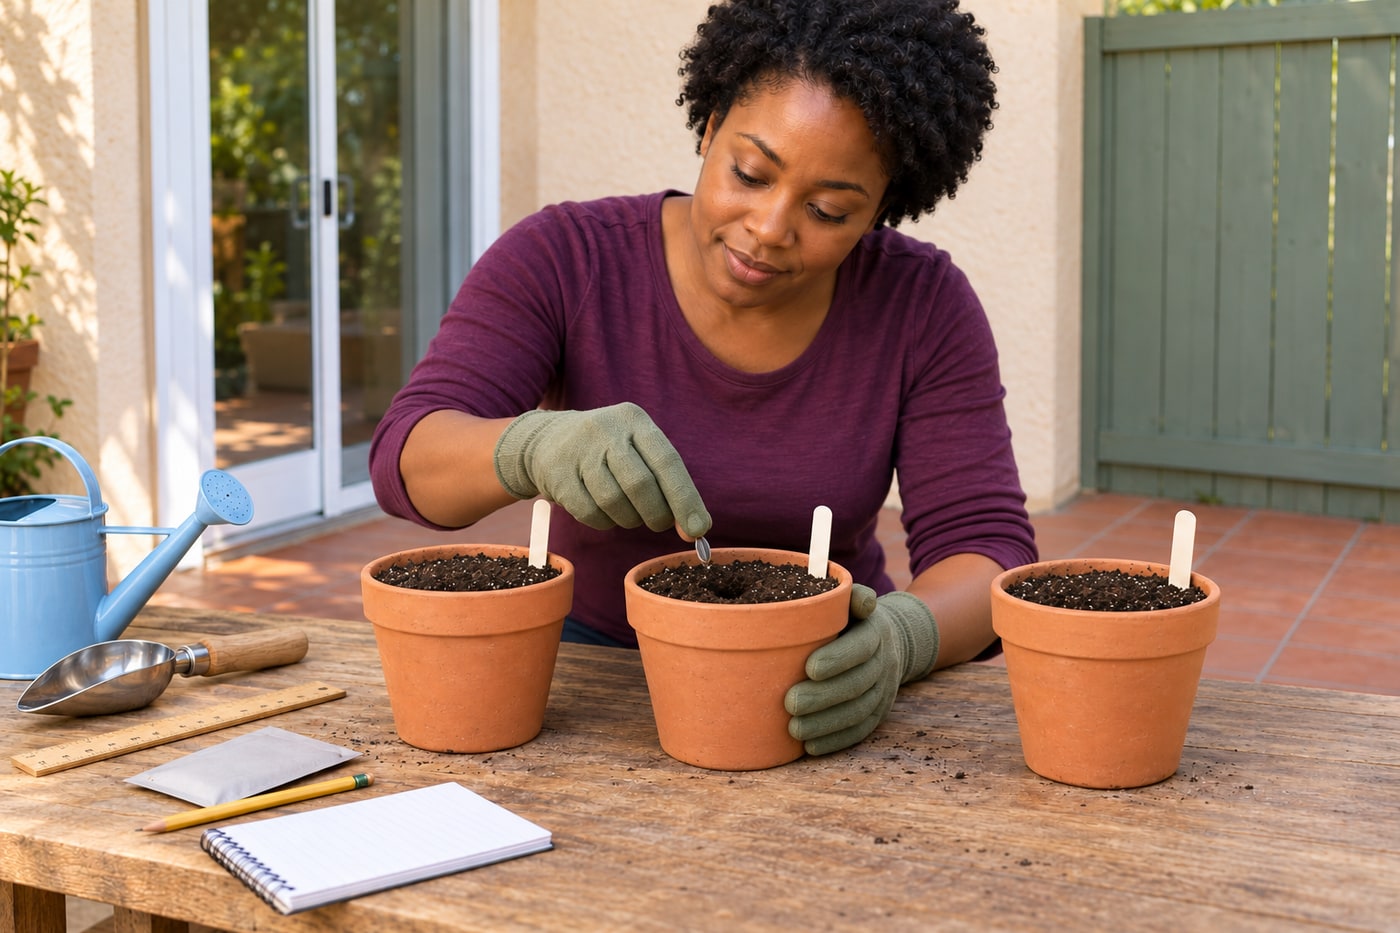
Make one central hole about 13 mm deep in each prepared pot, unless the actual seed packet specifies a different depth. Place one seed in each hole, cover with compost and gently settle the surface. Label each pot with cultivar and sowing date. Keep the seed in this final container through the growing cycle so that its developing roots remain undisturbed. With one seed in each pot, there is no crowded group to separate later. Keep spare seed dry for replacing a failed sowing.
Photorealistic illustration · Waey
4. Manage moisture and warmth until emergence
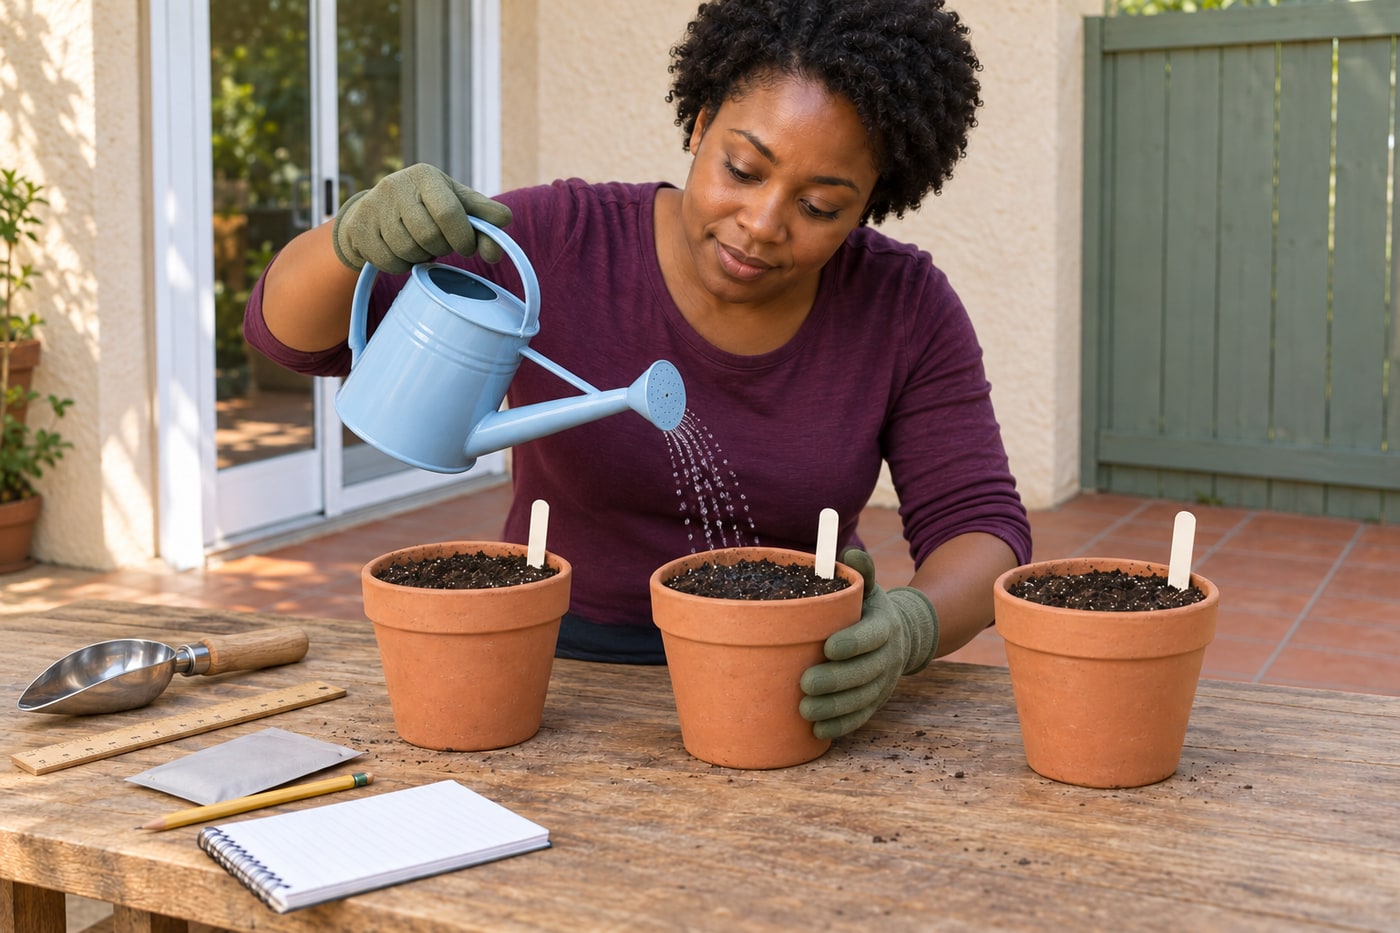
Place the pots in a bright protected position and aim for the supplier’s germination range of 21–24°C. A seed-zone thermometer helps distinguish actual conditions from a warm-looking windowsill. Keep the medium evenly moist with a gentle rose or small controlled flow, allowing it to drain. Avoid standing water and repeated soaking. Germination commonly takes 7–14 days in suitable conditions. If pots remain cold, saturated or overheated, correct the cause rather than continually adding water or digging up seeds to inspect them.
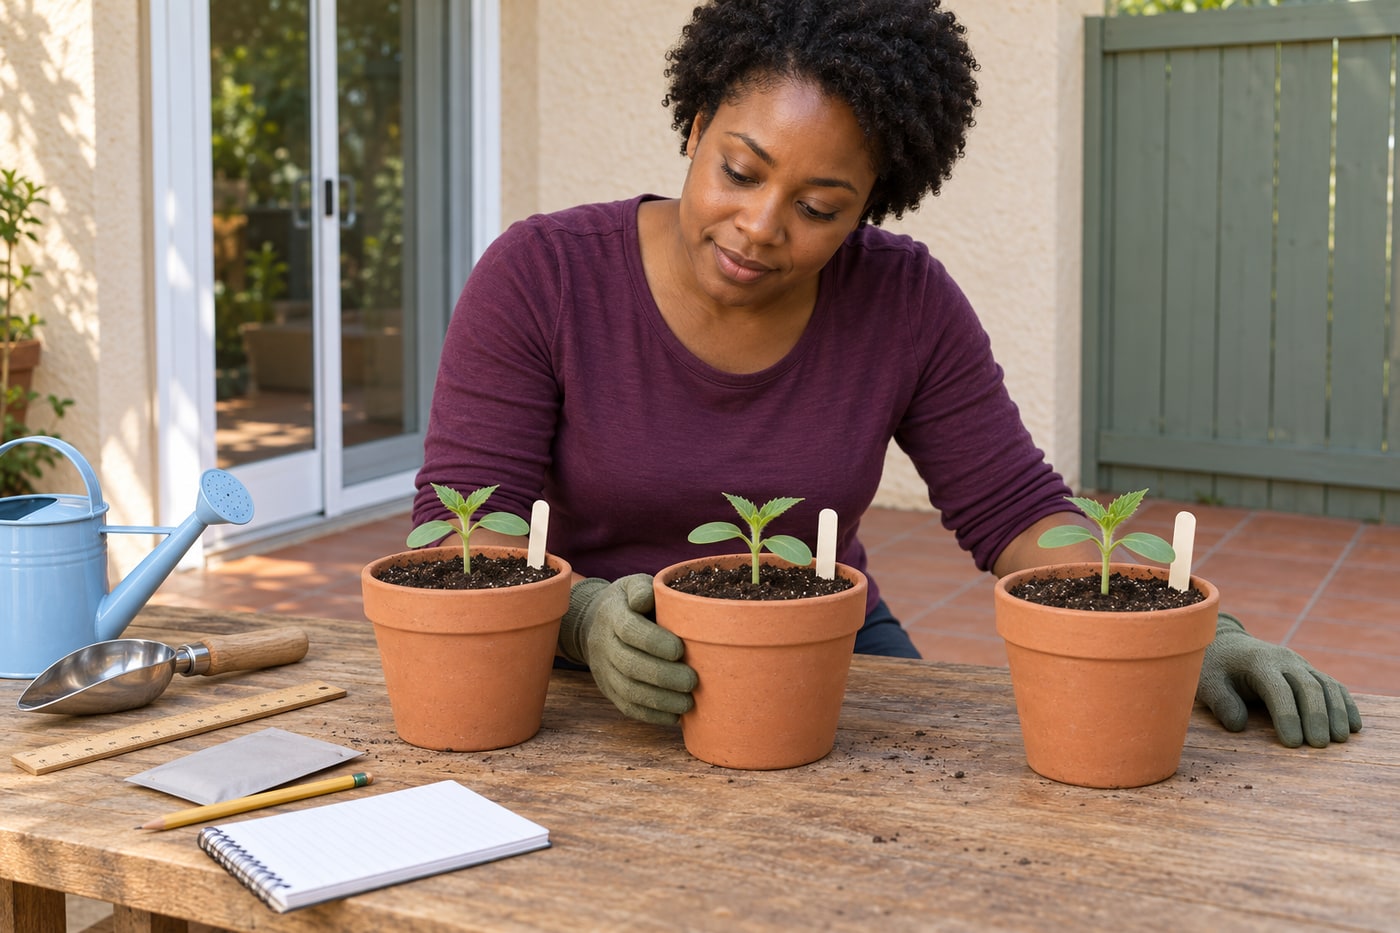
Photorealistic illustration · Waey
5. Establish stocky seedlings in their own pots
Once seedlings emerge, give them strong light without abruptly exposing protected leaves to harsh outdoor sun. Check for upright growth, developing true leaves and a stable stem. Space pots so neighbouring foliage does not overlap; crowding and excessive warmth encourage stretching. Turn pots as needed for balanced light rather than letting stems lean persistently. Keep each plant in its original final pot. If a sowing fails, record it and restart that pot with fresh seed after checking moisture and temperature; do not disturb a healthy neighbour.
Photorealistic illustration · Waey
6. Acclimatise gradually before permanent outdoor placement
Move protected-grown plants outside in stages, beginning with short periods in a sheltered position during suitable weather. Increase exposure to sun and air movement gradually, returning pots to protection when conditions become unsuitable. RHS guidance commonly allows two to three weeks, adjusted to how the plants were raised and the weather. This process does not make plants frostproof. Avoid the sudden jump from a protected windowsill to a hot, windy patio; pause or reduce exposure if leaves wilt or scorch.
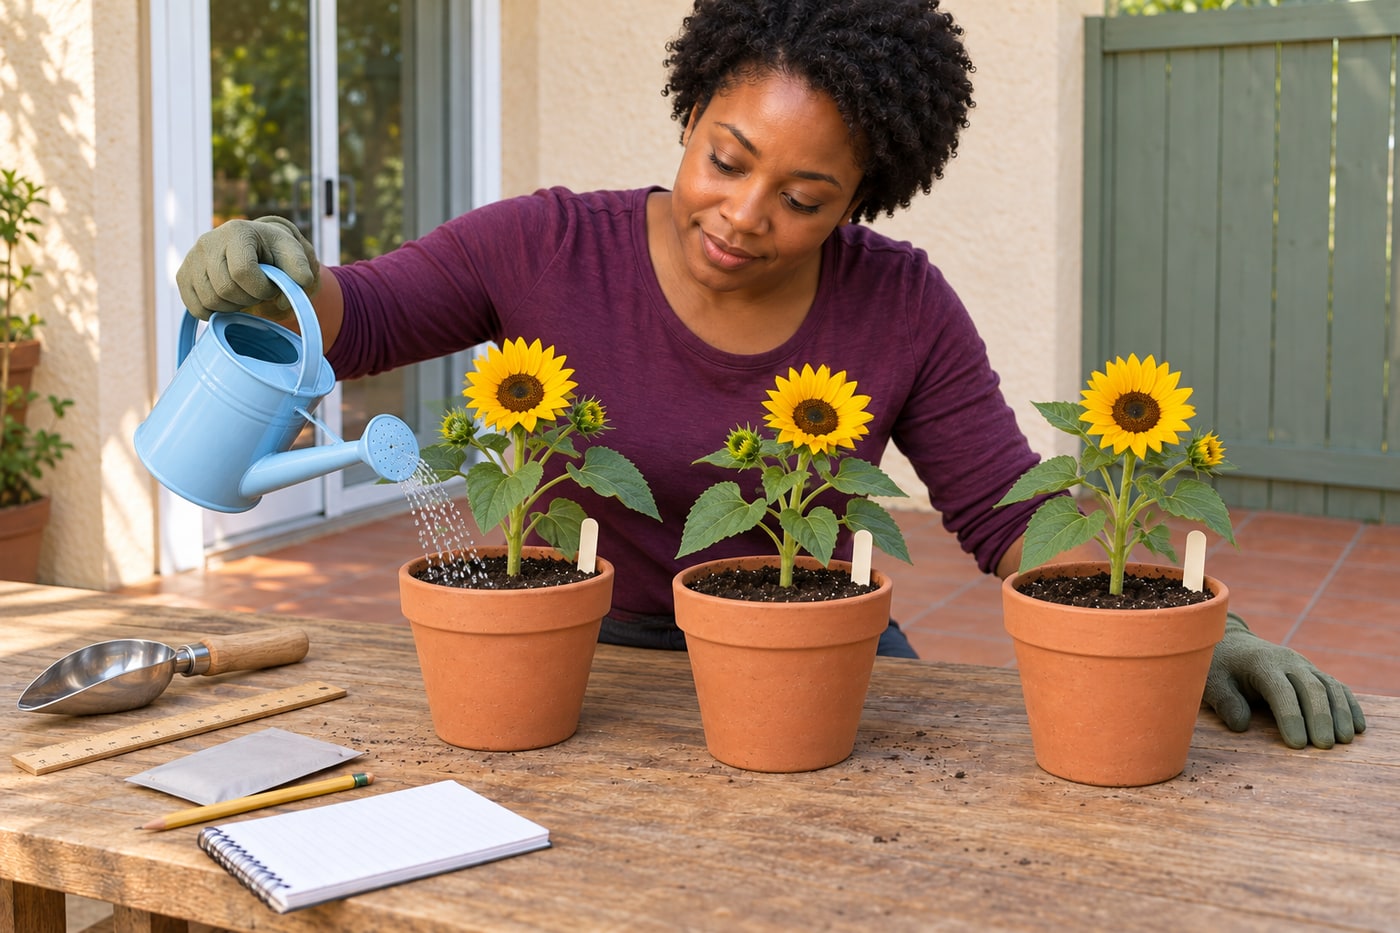
Photorealistic illustration · Waey
7. Arrange a sunny and sheltered final display
After acclimatisation, place the final pots where the plants receive good sun, with enough separation that leaves do not press together. Check pot stability and keep drainage routes free. These dwarf plants usually do not need the tall canes used for giant sunflowers. If wind rocks the pots or bends stems, improve shelter and stability first instead of forcing a rigid tie around the stem. Keep the growing area accessible for watering and inspection, and avoid exposed ledges where a pot could fall.
Photorealistic illustration · Waey
8. Maintain the root zone through flowering
Check the compost regularly and water when it begins to feel dry; small containers may need attention every day in hot weather. Water the medium gently and allow drainage rather than leaving roots standing in a full saucer. Keep notes so that heat, pot size and actual moisture determine care instead of a fixed daily dose. Follow the compost’s feeding guidance, then use an appropriate potassium-rich flowering feed only at its labelled rate and interval. More concentrated fertiliser does not guarantee better flowers.
David J. Stang · CC BY-SA 4.0 · JPEG optimized; complete image and original copyright notice retained. No AI adaptation.
9. Finish the crop and plan the next sowing
Follow the plant through budding and flowering rather than treating emergence as the finished project. Record plant height, flower timing and any problems with moisture, crowding or exposure. If you want seed heads for birds, leave selected faded flowers in place instead of removing every head. Keep pots stable while heads mature. This annual crop eventually finishes; review the records before starting another suitable-season sowing. Do not promise that every seed will germinate or that every flower will produce usable seed under every growing condition.
Video demonstrations
How to sow sunflowers | Grow Your Own | The RHS
Original RHS sunflower-sowing demonstration. General sowing guidance; this article uses the written dwarf-cultivar final-pot method.
RHS - Royal Horticultural Society · en
Watch on YouTube ↗How To Grow Sunflowers video with Thompson & Morgan.
Original supplier demonstration linked from its sunflower guide; the watch description identifies Russian Giant, a tall cultivar. Do not copy its mature spacing, potting-on or staking assumptions to Big Smile.
Thompson & Morgan TV · en
Watch on YouTube ↗Final checks
One identified dwarf cultivar, one plant per final pot, free drainage, gradual acclimatisation, moisture-led watering and labelled feeding, with the growing cycle recorded.
Where to find supplies
Sources
Johnny’s dwarf sunflower growing information ↗
Five original AI-generated photographic illustrations and one real David J. Stang cultivar photograph (CC BY-SA 4.0) across nine steps, with three context reuses. The nursery flower is a different plant from the illustrated crop. Its original notice is retained; it was not used as AI input or adapted. Images do not prove a physically grown crop or numerical readings. Original videos belong to their attributed creators.