
Descale a compatible hansgrohe hand shower
Use the Crometta 100 Vario 26824400 service route to rinse the removable inlet filter and descale only the spray face with a compatible mild citric-based cleaner. Preserve the correct filter and sealing ring, respect the shallow-bath limit and flush every spray mode.
What will you learn?
Use the Crometta 100 Vario 26824400 service route to rinse the removable inlet filter and descale only the spray face with a compatible mild citric-based cleaner. Preserve the correct filter and sealing ring, respect the shallow-bath limit and flush every spray mode.
Tools
- Shallow chemical-compatible traySearch Amazon UK ↗
- Small parts dishSearch Amazon UK ↗
- TimerSearch Amazon UK ↗
- Soft cotton cloth or natural non-abrasive spongeSearch Amazon UK ↗
- Gloves suitable for the cleanerSearch Amazon UK ↗
- Eye protectionSearch Amazon UK ↗
- Suitable fine-nose pliers, only if needed for the illustrated filter removalSearch Amazon UK ↗
Materials
- Mild citric-acid-based hand-shower descaler approved for the exact material and shallow short immersionSearch Amazon UK ↗
- Clean water for rinsing and flushing
Step by step
Photorealistic illustration · Waey
1. Match the model and the cleaner before removal
Confirm the actual hand-shower model and finish and compare the service leaflet with the fitted parts. The selected reference is Crometta 100 Vario 26824400; do not assume another white or chrome handset has the same filter. Select a mild citric-based cleaner whose label permits this material and short immersion. If its instructions conflict with the shower’s limits, obtain a compatible product or manufacturer advice rather than changing the dose or extending the soak. For light deposits, try the manufacturer’s gentle fingertip QuickClean nozzle rubbing and clean-water rinse first; stop after successful cleaning rather than using descaler unnecessarily.
Photorealistic illustration · Waey
2. Turn off, cool and disconnect the handset carefully
Turn the shower off, let it cool and follow the shower system’s instructions to isolate the water supply safely. Support the handset while undoing the hose’s swivel nut by hand, keeping any residual water in the shower tray. Do not twist the hose, force a seized nut or disturb the mixer or wall connection. Keep the hose supported and retain the sealing ring in the parts dish. Stop if water continues flowing or isolation and access are uncertain.

Photorealistic illustration · Waey
3. Record and rinse the correct filter insert
Record the position of the inlet filter and sealing ring before removing them as shown in the matched service diagram. Gently withdraw the filter basket, using the illustrated suitable tool only if necessary; do not crush it or pry the handset body. Rinse the basket under clean running water and keep its parts together. The screen has a protective function: never substitute a plain washer, omit it or replace it with an apparently similar unverified insert.
Photorealistic illustration · Waey
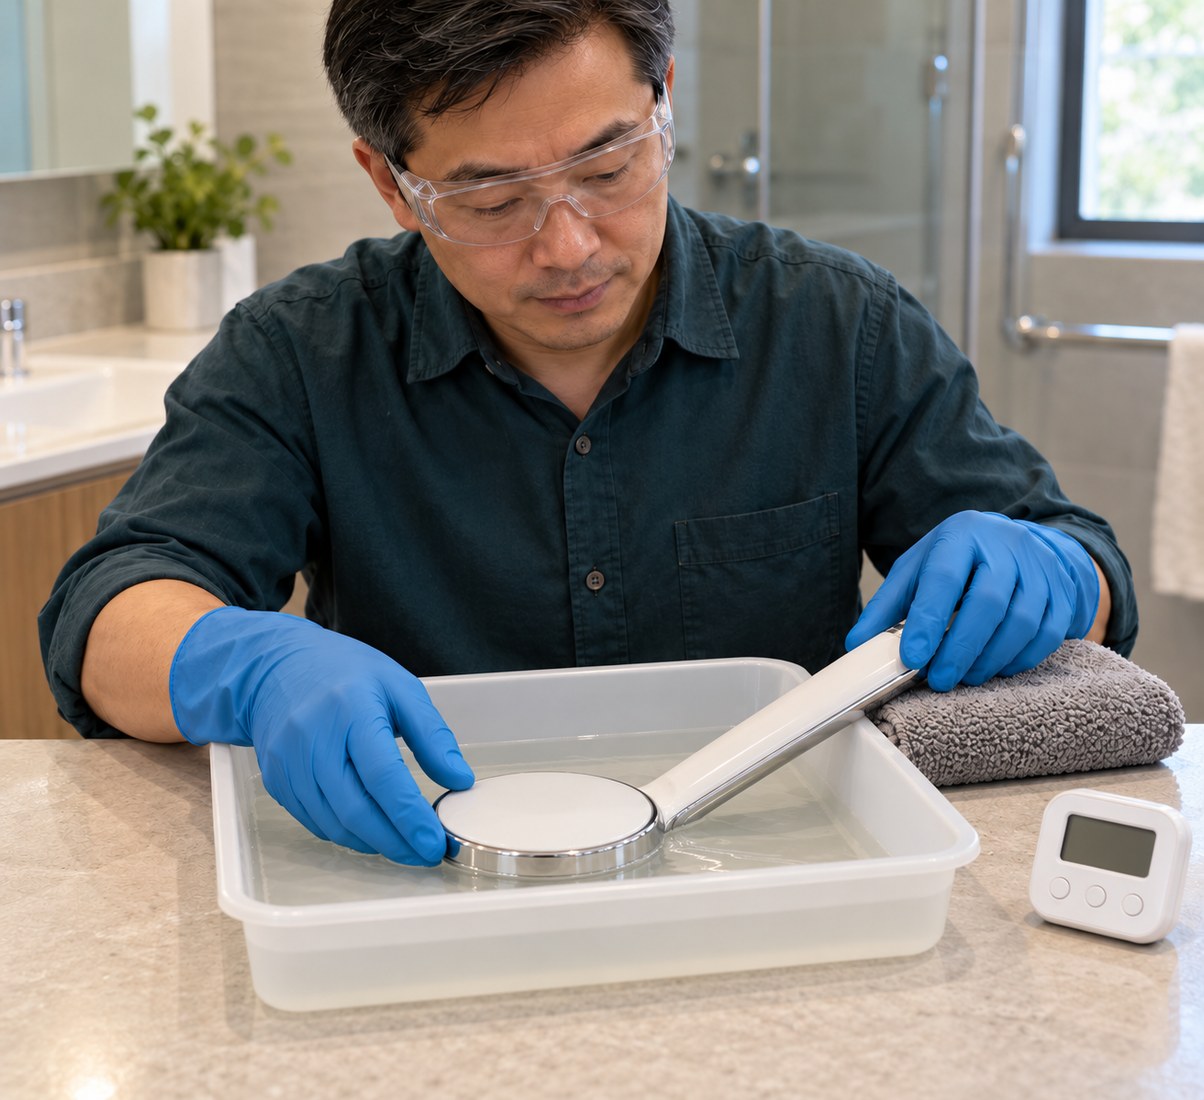
4. Use the shallow face bath within both limits
Prepare the compatible cleaner exactly as its label directs and set a timer before exposing the shower. Lay the handset with the spray openings downward in the shallow tray, immersing the spray face rather than the whole handle. The selected model diagram shows a 20 mm bath and a maximum ten-minute contact; follow any shorter cleaner limit. Do not use an hour-long or overnight soak, add another chemical or increase concentration to speed the work.
Photorealistic illustration · Waey
5. Rinse the face, body and internal passage thoroughly
Remove the handset within the permitted contact time and rinse it thoroughly with clean running water, inside and outside. Wipe remaining surface deposits gently with the natural sponge or soft cotton cloth. The model’s sequence includes a separate face rinse and, after reassembly, a through-flush exceeding one minute; preserve both stages. Do not scrape nozzle holes with metal, use a scouring pad or spray cleaner into openings. If scale persists, seek model-specific advice rather than over-soaking.
Photorealistic illustration · Waey
6. Refit the filter and seal without forcing threads
Refit the clean filter in its recorded original orientation and check the correct sealing ring is seated as the service diagram requires. Inspect the ring and threads; damaged parts need the exact approved replacement before use. Support the handset and start the hose nut squarely, tightening by hand without tape or extra stacked washers. Do not force a nut that catches. Keep the external hose routing and any required retaining ring in their proper existing positions.
Photorealistic illustration · Waey
7. Flush every spray mode and inspect the connection
Restore the supply according to the system instructions, directing water into the shower tray and keeping it away from your face. Flush the refitted handset thoroughly in every spray mode to remove cleaner residue, completing the model’s more-than-one-minute through-flush requirement. Check the hose connection for leaks; turn off the water before reseating a seal and stop for persistent leakage or abnormal operation. Dispose of used cleaner as labelled, rinse the work area and dry the handset with a soft cloth.
Watch the method
Hansgrohe Technical Tip: How to descale a hand shower
Hansgrohe demonstrates a cleaning bath and rinsing. This related handset demonstration does not replace the Crometta leaflet: use its20mm face bath, ten-minute maximum and any shorter cleaner limit.
hansgrohe · English supplied captions; German ASR; audio unconfirmed
Watch on YouTube ↗Final checks
Exact model/finish and compatible cleaner; preserved filter and sealing ring; shallow face-only bath within 20 mm/ten-minute model and shorter product limits; thorough inside/outside rinse, correct reassembly and every-mode flush/leak check.
Sources
Hansgrohe — Crometta 100 model assembly/service leaflet ↗
Hansgrohe — Current care guide, hand showers page15 ↗
Hansgrohe — Hand-shower cleaning and material cautions ↗
AI-generated representative photographic illustrations by Waey using only Waey-generated references. No third-party photographs or diagrams reused. External video belongs to its credited creator.