
Hang straight-match nonwoven wallpaper on a feature wall
Complete a paste-the-wall installation from substrate and roll checks to repeat-aware cutting, plumb hanging, clean seams, final trimming and drying.
What will you learn?
Complete a paste-the-wall installation from substrate and roll checks to repeat-aware cutting, plumb hanging, clean seams, final trimming and drying. One licensed photograph demonstrates wall pasting; the other views are clearly credited AI adaptations maintaining its character and setting. Illustrated dimensions are examples, not measurements certified by the photographs.
Tools
- Tape measure, pencil, long spirit level or plumb toolSearch Amazon UK ↗
- Clean cutting table/mat, wallpaper scissors, suitable sharp knife and broad trimming edgeSearch Amazon UK ↗
- Paste roller and edge brush; smoothing brush/tool suitable for the paperSearch Amazon UK ↗
- Suitable stable platform steps; buckets, sponge/cloth permitted by the finish; floor protectionSearch Amazon UK ↗
- Protective equipment specified for the preparation, products and cutting workSearch Amazon UK ↗
Materials
- Matching-batch straight-match nonwoven paste-the-wall wallpaper, with labels and adequate cutting/spare allowanceSearch Amazon UK ↗
- Adhesive and any primer/sizing treatment explicitly compatible with the paper and wallSearch Amazon UK ↗
- Suitable filler/abrasive for known-safe minor preparation where required; clean waterSearch Amazon UK ↗
- Replacement blades and safe used-blade containerSearch Amazon UK ↗
Step by step
Henkel Klebstoffe; AI adaptation by Waey · CC BY-SA 3.0 · AI-adapted photorealistic tutorial illustration: new action and scene based on the licensed photograph; resized and JPEG encoded. No source endorsement implied.
1. Confirm the wallpaper system and inspect the rolls
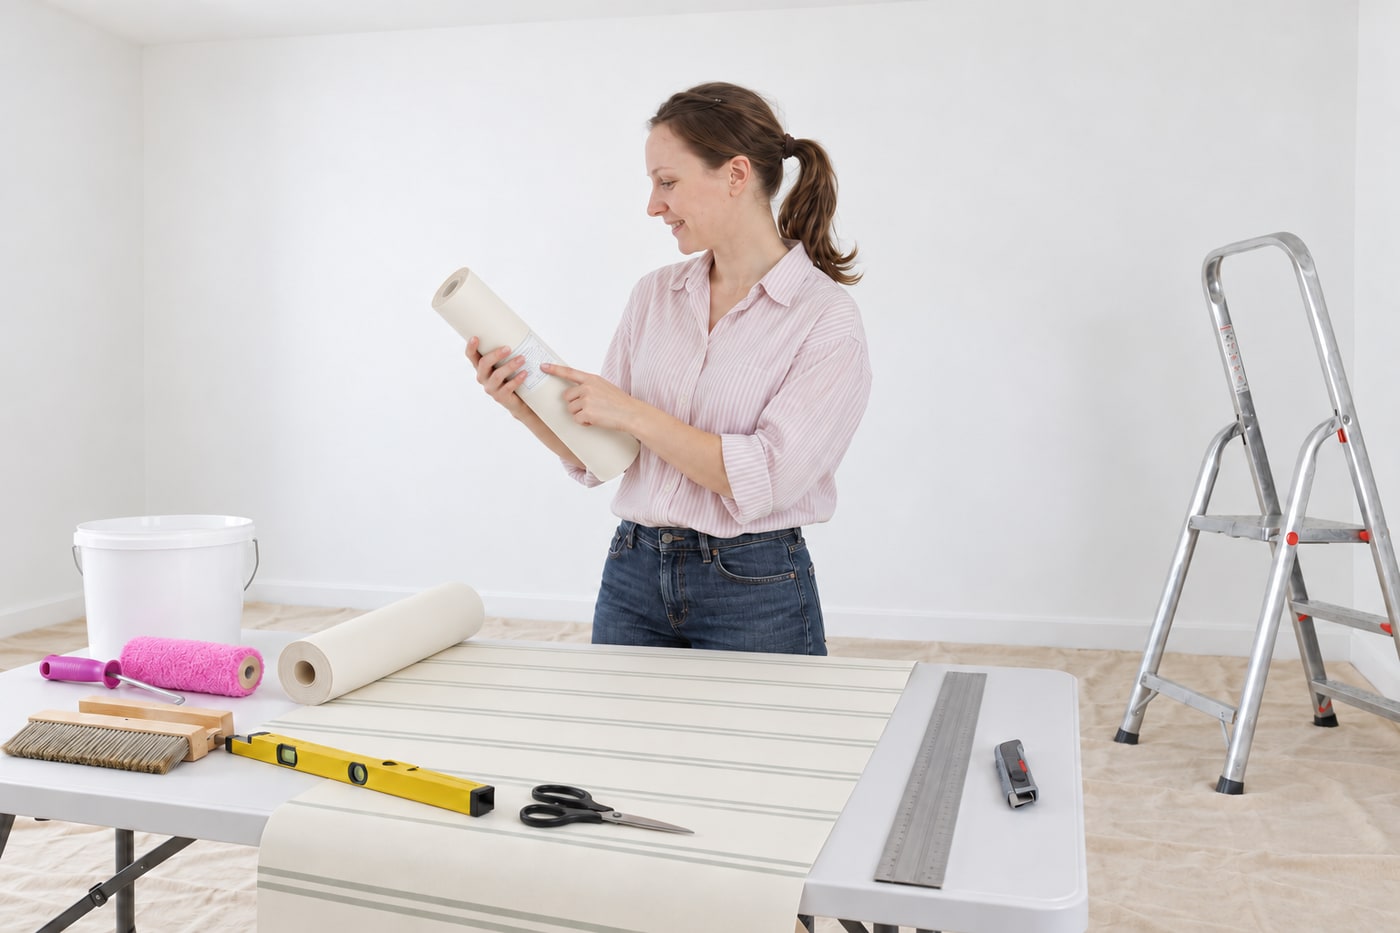
Choose a smooth nonwoven wallcovering explicitly marked for paste-the-wall installation and a compatible adhesive and primer. Check the design, colour, batch numbers, roll width, hanging direction and straight-match repeat before removing labels or cutting. Straight match means the adjoining motifs align at the same height; a drop-match product needs a different cutting plan. Inspect for damage or colour variation in good light. Keep labels and spare samples, and plan to review the first few hung drops before committing the remaining rolls.
Henkel Klebstoffe; AI adaptation by Waey · CC BY-SA 3.0 · AI-adapted photorealistic tutorial illustration: new action and scene based on the licensed photograph; resized and JPEG encoded. No source endorsement implied.
2. Prepare a sound, even and fully dry wall
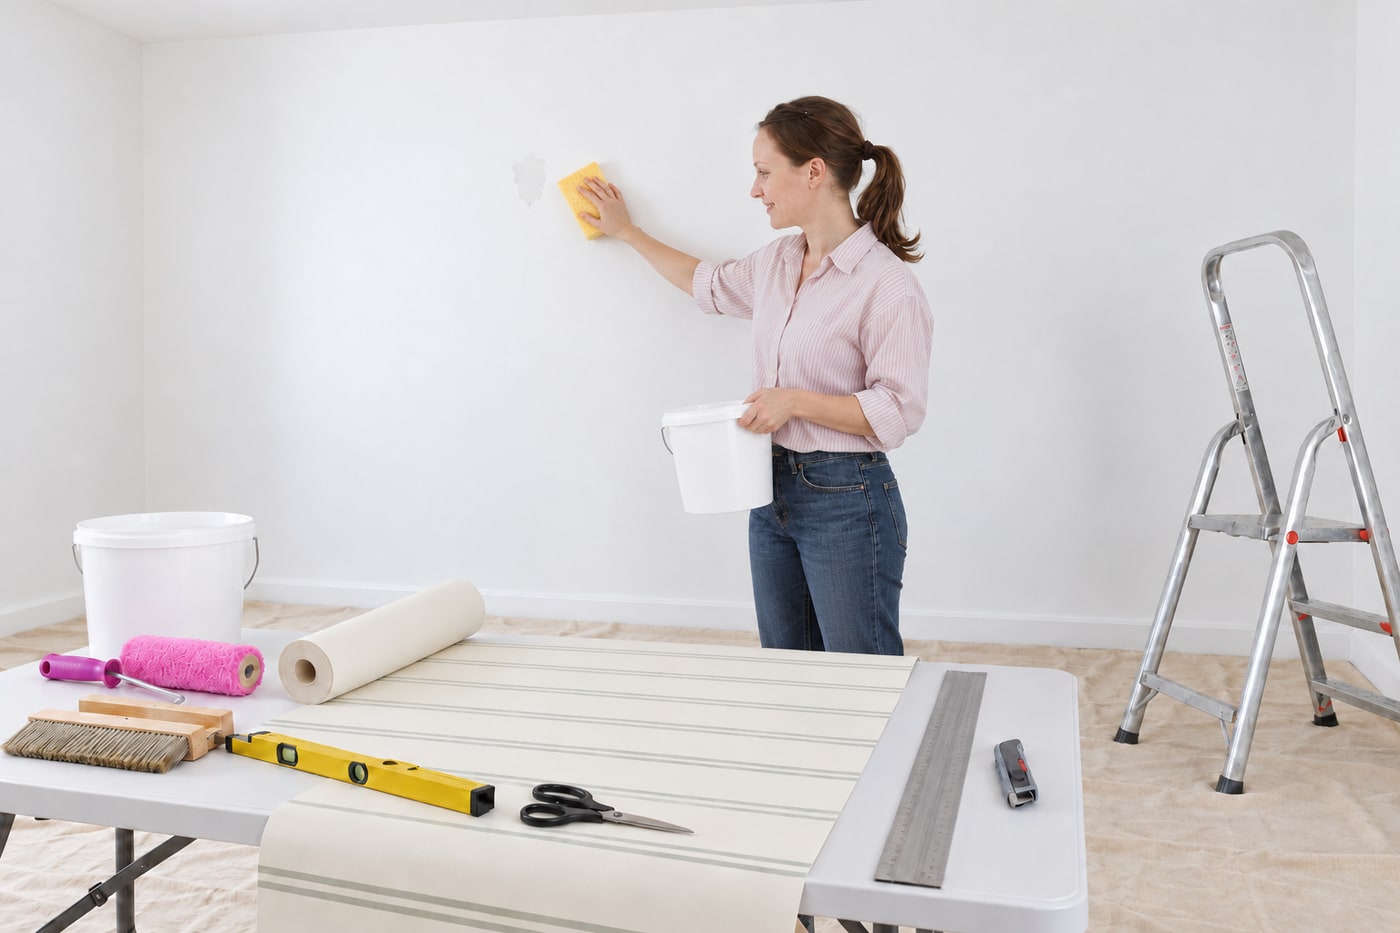
Clear the working area and protect the floor and skirting. Remove old covering and loose material only where the substrate and coating are known safe, fill minor sound defects and bring the surface smooth. Clean off dust and grease, then allow it to dry. Use the paper-and-adhesive maker’s specified primer or sizing treatment for the actual wall and respect its drying time. Uneven absorbency can make paste dry too quickly and reveal patches through the finish. Damp, mould, moving cracks, damaged plasterboard or unknown hazardous coatings need assessment before papering.
Henkel Klebstoffe; AI adaptation by Waey · CC BY-SA 3.0 · AI-adapted photorealistic tutorial illustration: new action and scene based on the licensed photograph; resized and JPEG encoded. No source endorsement implied.
3. Measure the wall and plan useful strip widths
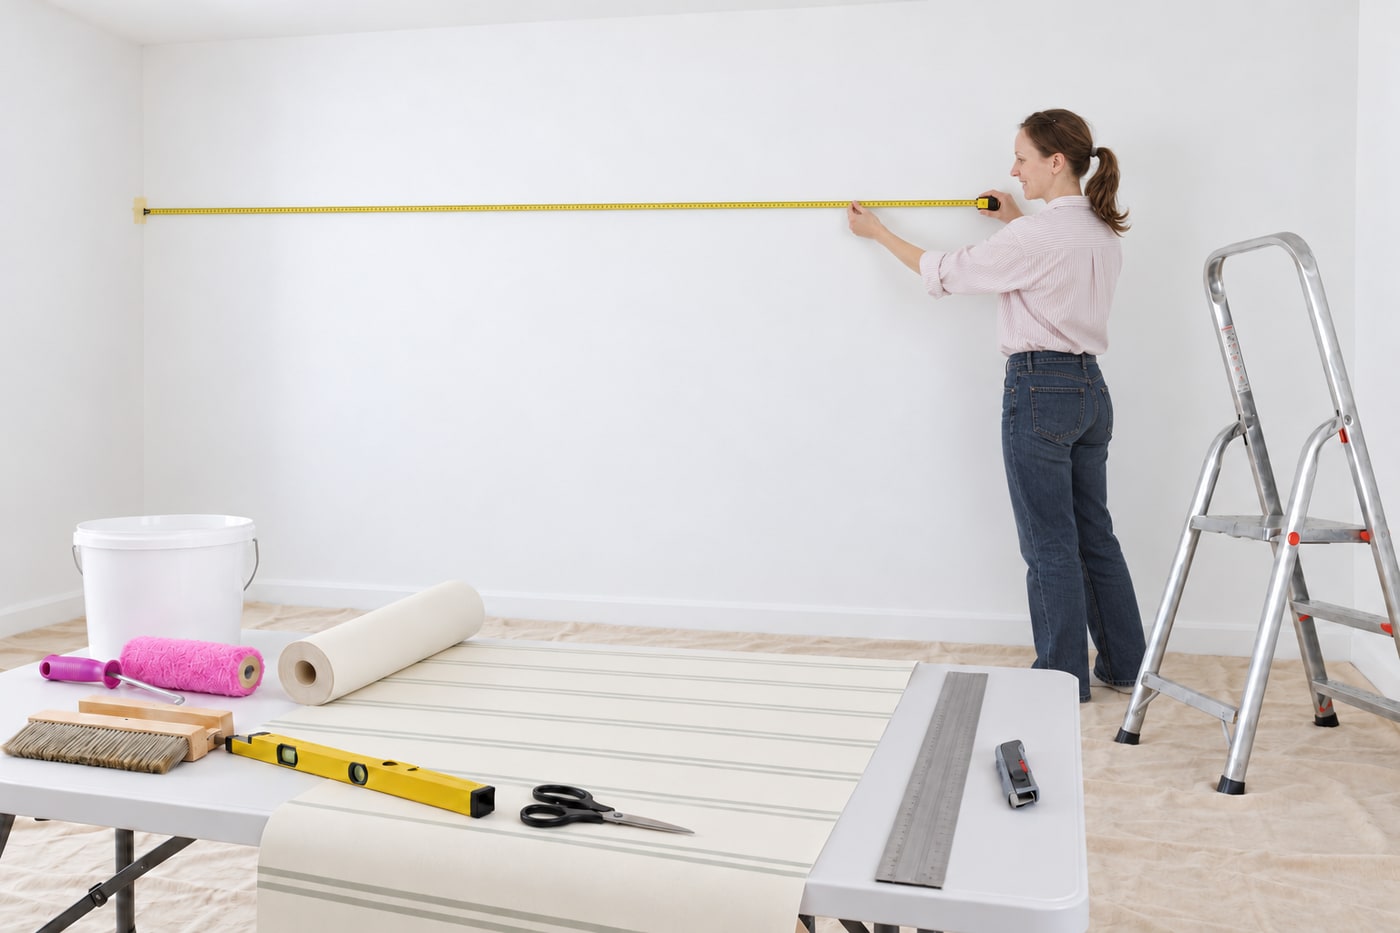
Measure the wall height and width at several points because corners and ceilings may be uneven. Lay out the roll widths across the wall, allowing trimming at both ends, and adjust the starting position to avoid an awkward narrow last sliver. As a simple width example, a 2.0 m wall needs four strips of nominal 0.53 m paper before the edge trims are worked out. Check the actual rolls and wall rather than treating this as a universal quantity. Include pattern waste, defects and a suitable spare allowance in the cutting plan.
Henkel Klebstoffe; AI adaptation by Waey · CC BY-SA 3.0 · AI-adapted photorealistic tutorial illustration: new action and scene based on the licensed photograph; resized and JPEG encoded. No source endorsement implied.
4. Match, cut and number the first drops on a clean surface
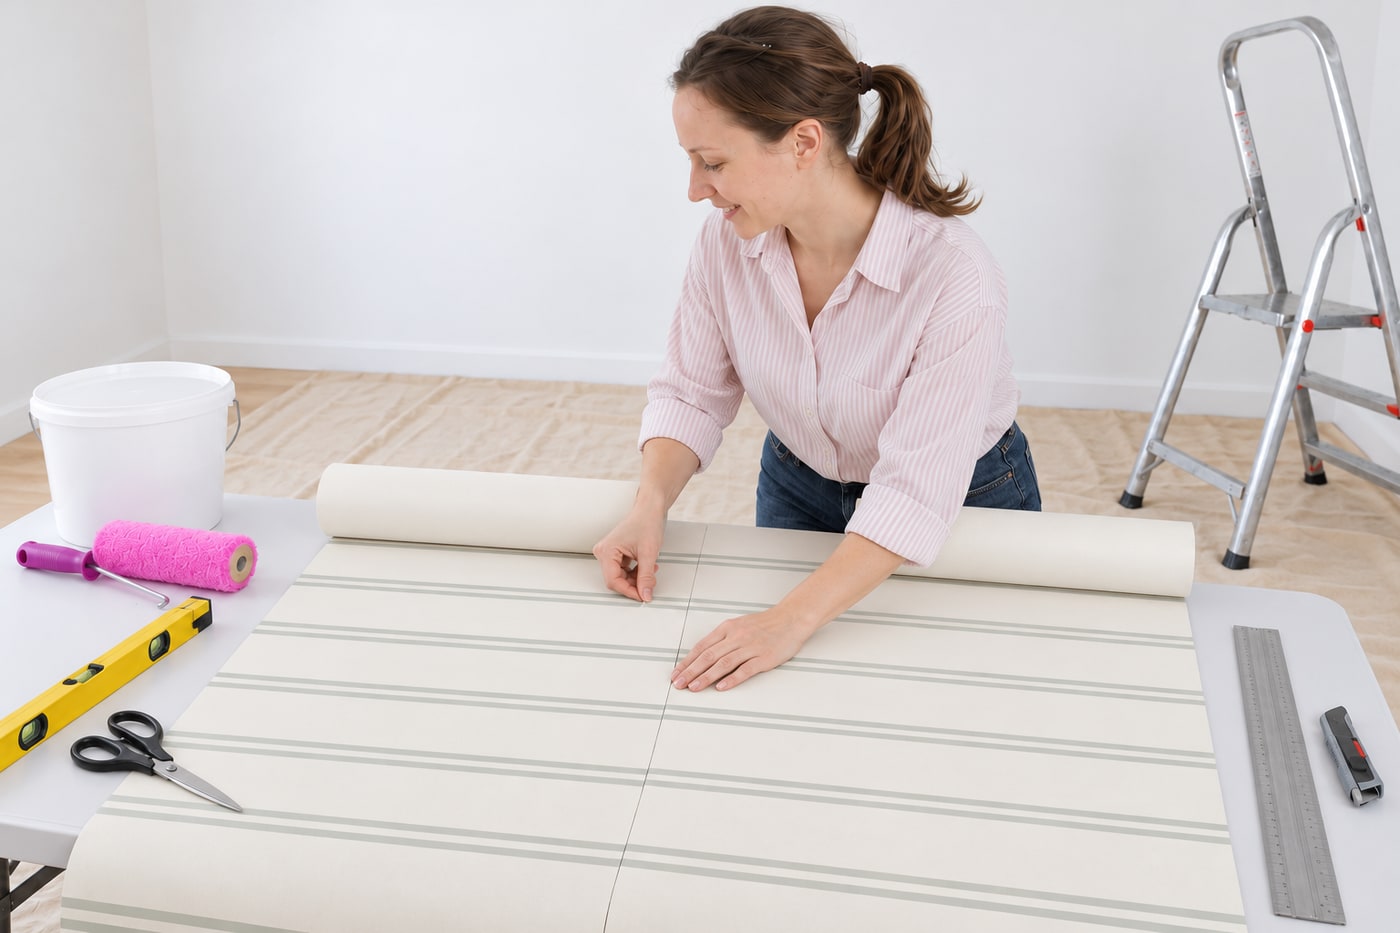
Add the trimming allowance specified for the paper, then account for the repeat so adjacent strips reach the same motif height. For illustration, a 2.4 m wall plus 0.10 m total trim allowance needs 2.5 m; rounding up to a whole 0.20 m repeat gives a nominal 2.6 m drop. Initial pattern positioning can require additional waste. Dry-align the next strip beside the first before cutting, keep all tops in the correct direction and mark their order lightly on the reverse. Keep printed faces clean and avoid sharp folds.

Henkel Klebstoffe; AI adaptation by Waey · CC BY-SA 3.0 · AI-adapted photorealistic tutorial illustration: new action and scene based on the licensed photograph; resized and JPEG encoded. No source endorsement implied.
5. Establish a plumb reference for the first edge
Use a long spirit level or plumb tool to mark a light vertical reference at the planned first-strip edge. Allow the paper to run slightly into the starting corner for trimming, choosing the offset from the real roll width and wall shape. Do not assume the corner itself is vertical or copy a fixed distance from a different-width roll. Recheck the line from top to bottom before applying paste. Set suitable platform steps on a level clear floor so you can reach the upper edge without standing on furniture or overreaching.
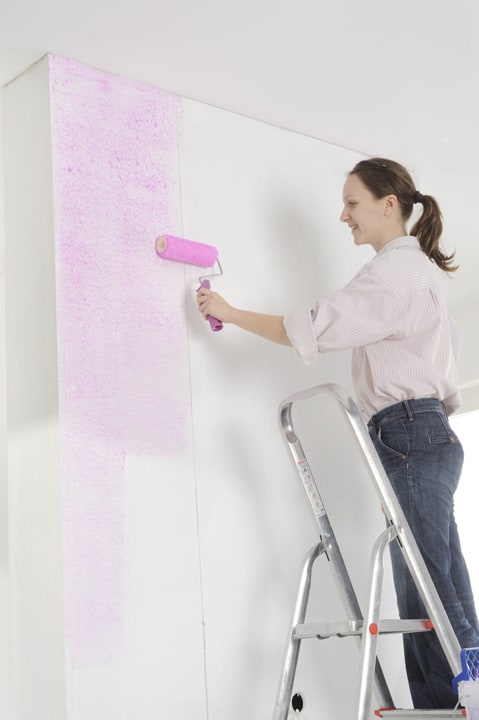
Henkel Klebstoffe · CC BY-SA 3.0 · Re-encoded as JPEG for the website; original composition retained.
6. Apply an even bed of compatible paste for one strip
Prepare the adhesive exactly as its label requires, keeping the container and applicators clean. Roll an even coat onto only the wall area for the next strip, extending slightly beyond its planned edge, then brush neatly at the ceiling and skirting so dry margins do not lift. Avoid thick ridges and work within the product’s open time. Paste-the-wall nonwoven is hung dry unless its own instructions state otherwise. The licensed reference photograph shows tinted wallpaper adhesive; appearance varies by product, so judge coverage and handling from the selected system’s instructions.
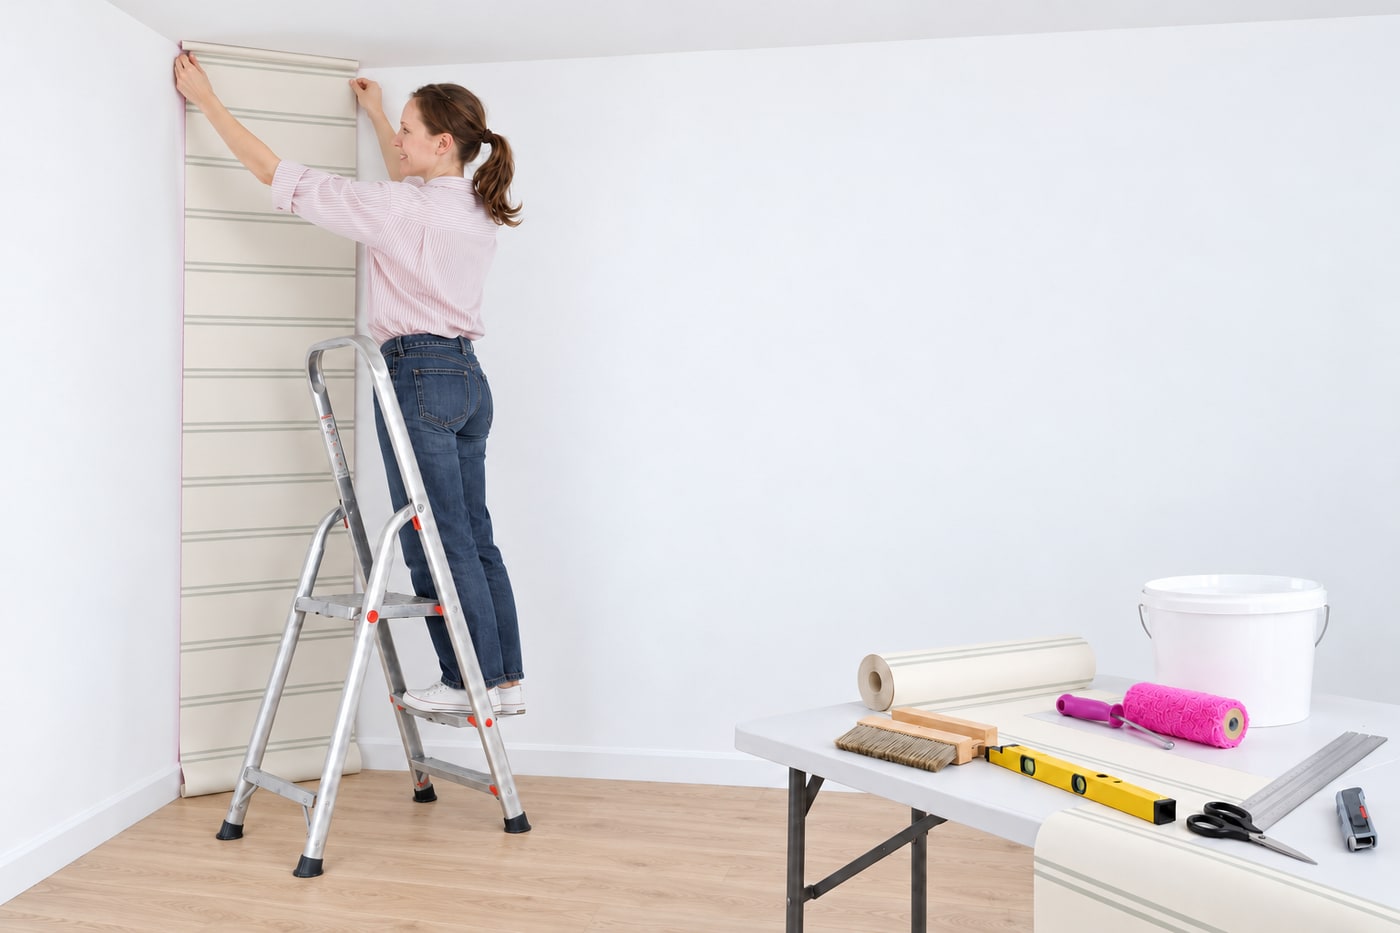
Henkel Klebstoffe; AI adaptation by Waey · CC BY-SA 3.0 · AI-adapted photorealistic tutorial illustration: new action and scene based on the licensed photograph; resized and JPEG encoded. No source endorsement implied.
7. Hang the first drop with trimming allowance intact
From stable access, position the first drop at the upper edge with its planned excess at the ceiling. Bring its reference edge to the plumb line, then allow the length to unfold gently without dragging its printed face through paste or across the floor. Lightly smooth enough to support the sheet while you check the complete vertical edge and the lower trimming allowance. If it is crooked, ease it back and reposition while the adhesive permits adjustment. Stretching the paper to reach a line can create gaps as the installation settles.
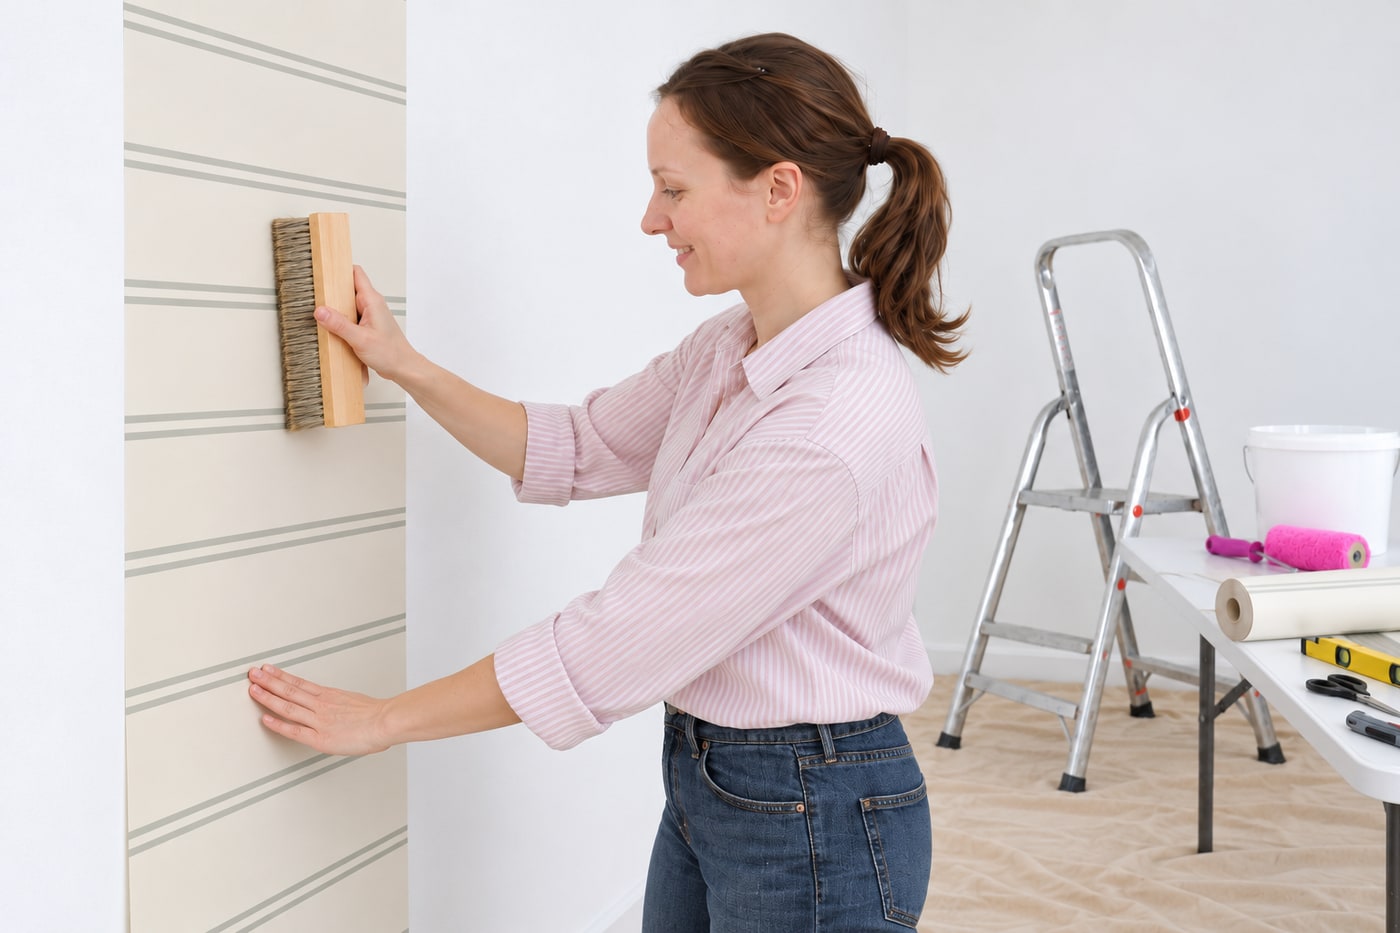
Henkel Klebstoffe; AI adaptation by Waey · CC BY-SA 3.0 · AI-adapted photorealistic tutorial illustration: new action and scene based on the licensed photograph; resized and JPEG encoded. No source endorsement implied.
8. Smooth and trim without stretching or crushing the surface
Use the smoothing brush or tool approved for the finish, working from the centre towards the edges to release air and establish contact. Keep tools clean and use controlled pressure, especially on textured or delicate faces. Form the ceiling and skirting crease gently, then trim with a sharp suitable blade against a broad trimming edge, keeping fingers out of its path. Replace a dragging blade safely or use the manufacturer’s scissor method where appropriate. Lift and reposition a fresh wrinkle rather than forcing it flat or cutting into the wall behind it.
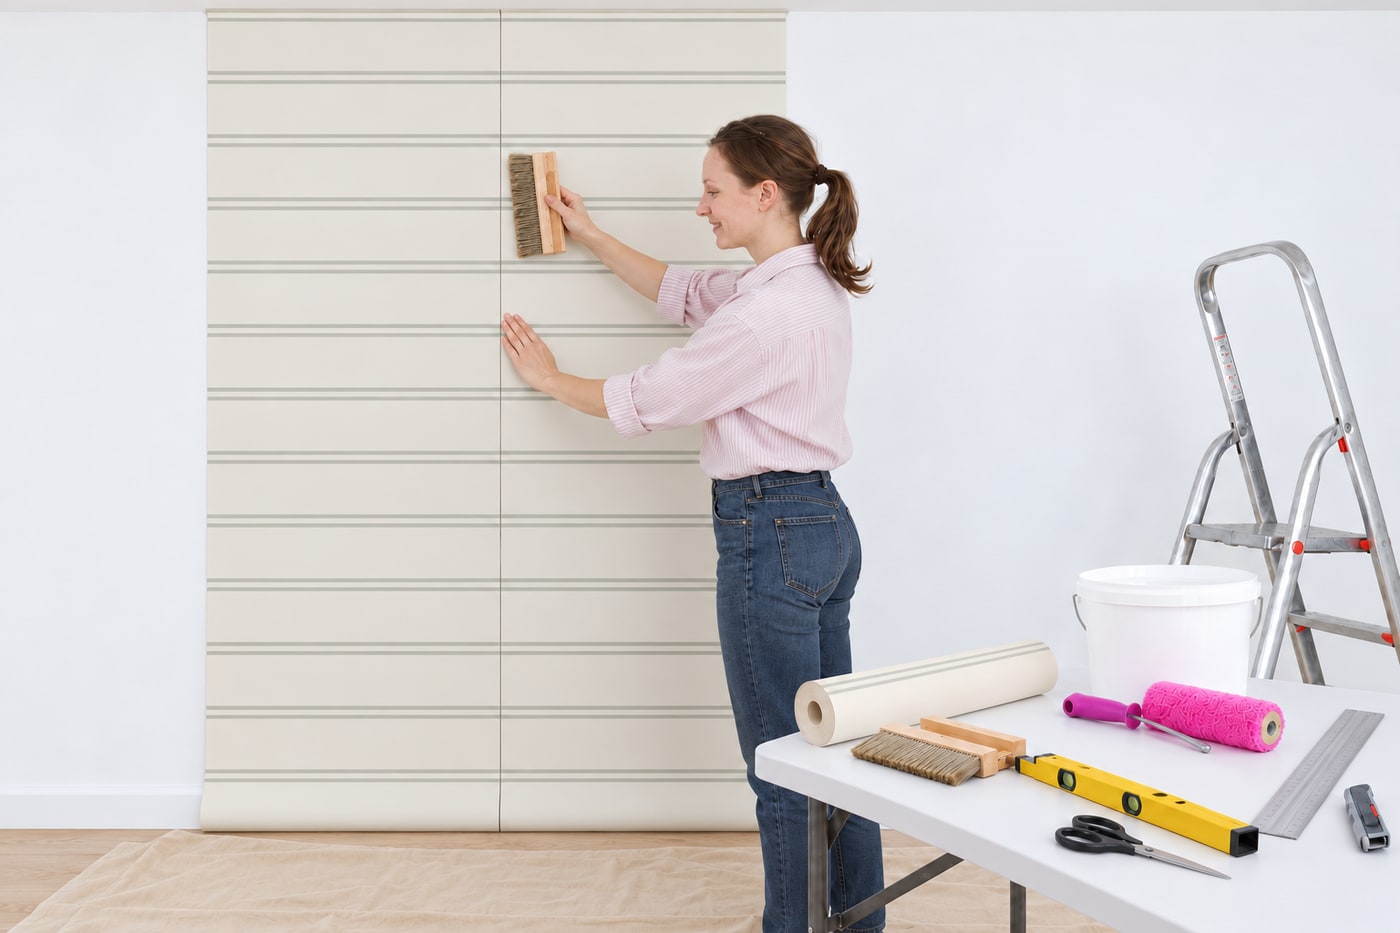
Henkel Klebstoffe; AI adaptation by Waey · CC BY-SA 3.0 · AI-adapted photorealistic tutorial illustration: new action and scene based on the licensed photograph; resized and JPEG encoded. No source endorsement implied.
9. Match the next drops and inspect the first three
Paste the next strip’s wall area and bring its motif level with the preceding drop. Butt the edges neatly without overlapping them or pulling them sideways to close a gap; use a seam roller only where the paper maker permits it. Step back regularly to check the pattern across the join and the vertical alignment. Dab adhesive from the face promptly using only the permitted cleaning method, testing a spare piece if needed. Inspect the first three drops for colour, printing, seams and adhesion, and stop for a defect before covering the rest.
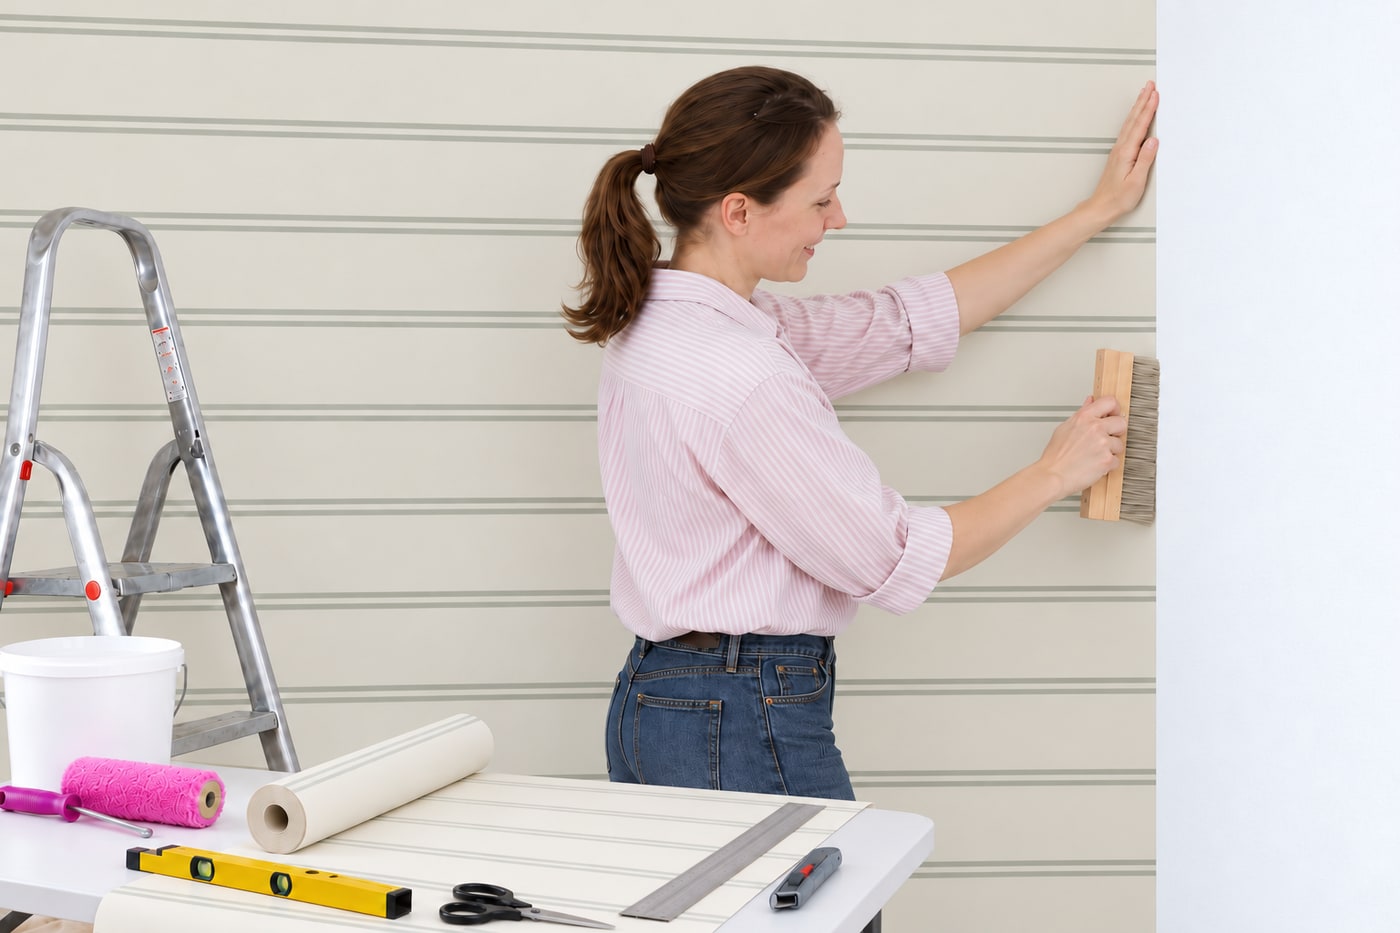
Henkel Klebstoffe; AI adaptation by Waey · CC BY-SA 3.0 · AI-adapted photorealistic tutorial illustration: new action and scene based on the licensed photograph; resized and JPEG encoded. No source endorsement implied.
10. Fit the final strip to the changing corner width
Measure the remaining gap at the top, middle and bottom, retaining the paper’s pattern position and the prescribed trimming allowance. Prepare the final strip wide enough for the widest part, hang it with its join matched to the previous sheet, then trim the corner edge neatly. Keep the adjacent wall protected and avoid forcing a full-width sheet around an uneven corner. This guide finishes a simple single feature wall; returns, sockets, switches, radiators and difficult access need their own appropriate method rather than improvised cuts or electrical dismantling.
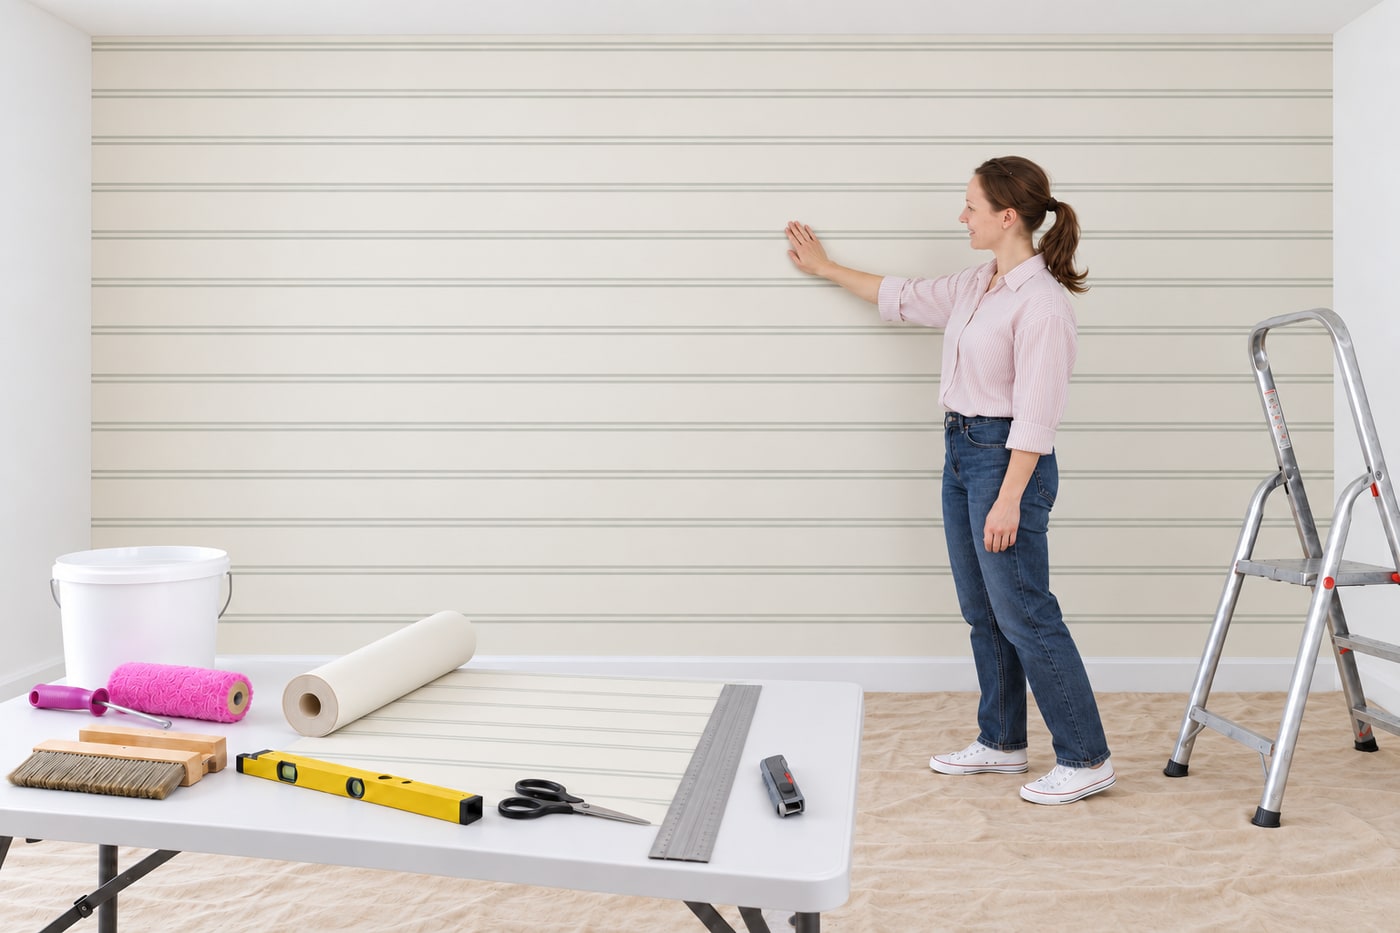
Henkel Klebstoffe; AI adaptation by Waey · CC BY-SA 3.0 · AI-adapted photorealistic tutorial illustration: new action and scene based on the licensed photograph; resized and JPEG encoded. No source endorsement implied.
11. Allow normal drying and check the finished wall
Maintain the room conditions specified for the paper and adhesive, without directing heaters, strong fans or harsh sunlight at the wet installation. Drying time varies with the wall, products and climate; do not assume a universal overnight cure. Clean the tools and contain offcuts and used blades safely while keeping the paper undisturbed. Once dry, inspect seams, edge adhesion, pattern alignment and any persistent bubbles in normal light. Seek the supplier’s repair advice for a remaining fault instead of immediately slitting the paper or injecting an unspecified glue. Retain labels and a labelled spare length.
Video demonstrations
Hanging non-woven wallpapers — Straight match patterns
The manufacturer demonstrates repeat-aware cutting, a starting line, wall pasting and hanging straight-match nonwoven. Use the labels of your actual rolls and adhesive; the example dimensions are not universal.
ascreation / A.S. Création · English
Watch on YouTube ↗How to hang wallpaper — paste the wall
A second full paste-the-wall demonstration for preparation, positioning and finishing. This guide chooses a simple wall without electrical fittings; do not dismantle sockets or improvise difficult returns from a general video.
B&Q · English
Watch on YouTube ↗How to Hang Wallpaper — Paste the Wall
Covers preparation, plumb layout, cutting, wall-paste application, smoothing and clean finishing. Priming/lining needs and face-cleaning methods depend on the actual substrate and paper; follow the selected system.
Wallpaper Direct · English
Watch on YouTube ↗Final checks
Sound dry base, compatible system, correct batch/direction/repeat, plumb first strip, consistent matched motifs, butt seams without stretch, clean face and neatly trimmed edges; inspect after the first three drops and after the specified drying period.
Sources
A.S. Création: nonwoven hanging and first-three-strip check ↗
A.S. Création: wall surface preparation ↗
Graham & Brown: paste-the-wall hanging and pattern alignment ↗
Graham & Brown: primer, sizing, application and drying differences ↗
Wickes: layout, pattern allowance and trimming ↗
Metylan: compatible nonwoven adhesive and surface-safe cleanup ↗