
Install a BURHULT shelf on matching SIBBHULT brackets
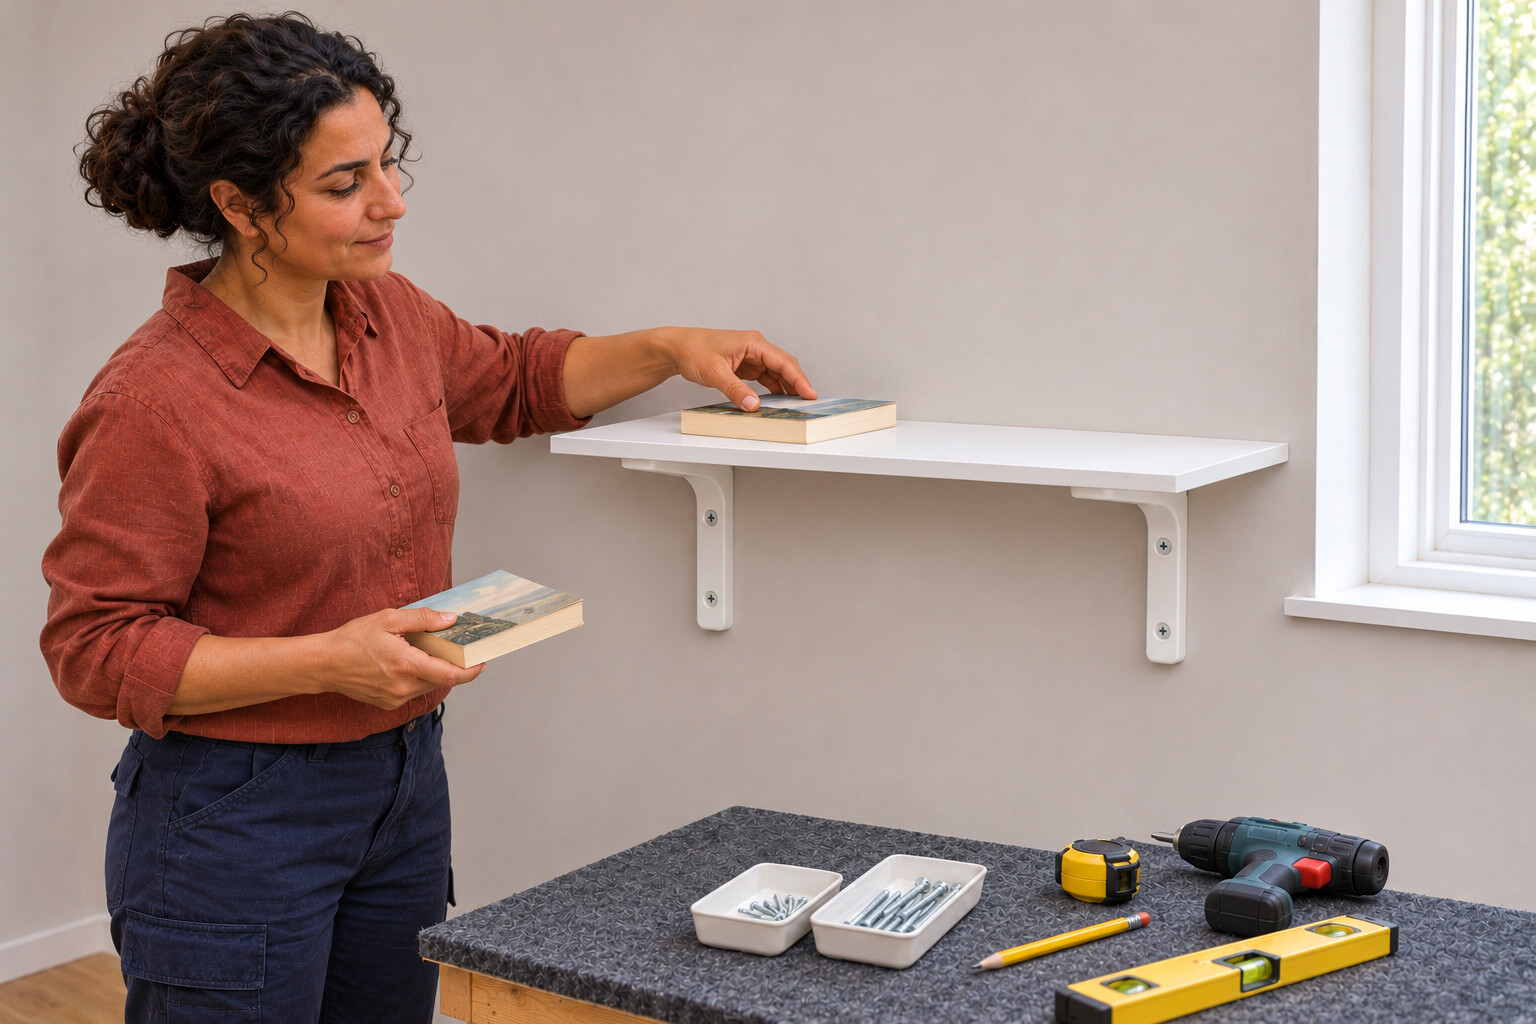
Fit one small white shelf to matching plastic brackets on verified sound masonry, using a competent preselected fixing schedule for the actual wall and shelf.
What will you learn?
Install one59×20cm BURHULT shelf on two matching18×18cm SIBBHULT brackets in a dry interior room. This guide requires known sound solid masonry and assessed service routes. Before starting, obtain a competent, labelled fixing schedule for the actual brackets,15mm shelf and wall: locations/count, head/diameter/length for each screw, plugs, drill mode/diameter/depth, hole cleaning, finish allowance and shelf pilot/engagement limits. Both wall and shelf fixings are separate purchases. If these conditions are missing, arrange the preparation first; a detector scan or a generic screw kit cannot replace them.
Tools
- Tape measureSearch Amazon UK ↗
- PencilSearch Amazon UK ↗
- Spirit levelSearch Amazon UK ↗
- Caliper or suitable depth-measuring tool for actual screw seating pathsSearch Amazon UK ↗
- Selected wall-service detector with its complete instructionsSearch Amazon UK ↗
- Suitable drill with the specified masonry bit and positive depth stopSearch Amazon UK ↗
- Specified shelf pilot bit with positive depth stopSearch Amazon UK ↗
- Correct hand screwdriver or bit driver for each selected screw headSearch Amazon UK ↗
- Stable padded workbenchSearch Amazon UK ↗
- Suitable padded clamps to hold the shelf for pilot drillingSearch Amazon UK ↗
- Compatible drilling dust-capture attachment and hosesSearch Amazon UK ↗
- Suitable M or H class dust extractorSearch Amazon UK ↗
- Safety glassesSearch Amazon UK ↗
- Hearing protection appropriate to the drillSearch Amazon UK ↗
- Correctly fitted FFP3 respirator; select size, obtain fit testing and perform the maker’s user seal check each useSearch Amazon UK ↗
- Specified hole-cleaning tools compatible with the dust-control methodSearch Amazon UK ↗
Materials
- One white BURHULT shelf804.000.42,59×20cm,15mm thickSearch Amazon UK ↗
- Two matching white SIBBHULT brackets104.177.34,18×18cmSearch Amazon UK ↗
- Wall plugs and matching wall screws selected and individually labelled in the competent fixing scheduleSearch Amazon UK ↗
- Separate shelf-retention screws selected and labelled for each actual bracket seating pathSearch Amazon UK ↗
- Protective floor coveringSearch Amazon UK ↗
Step by step
Photorealistic illustration · Waey
1. Confirm the parts and fixing schedule
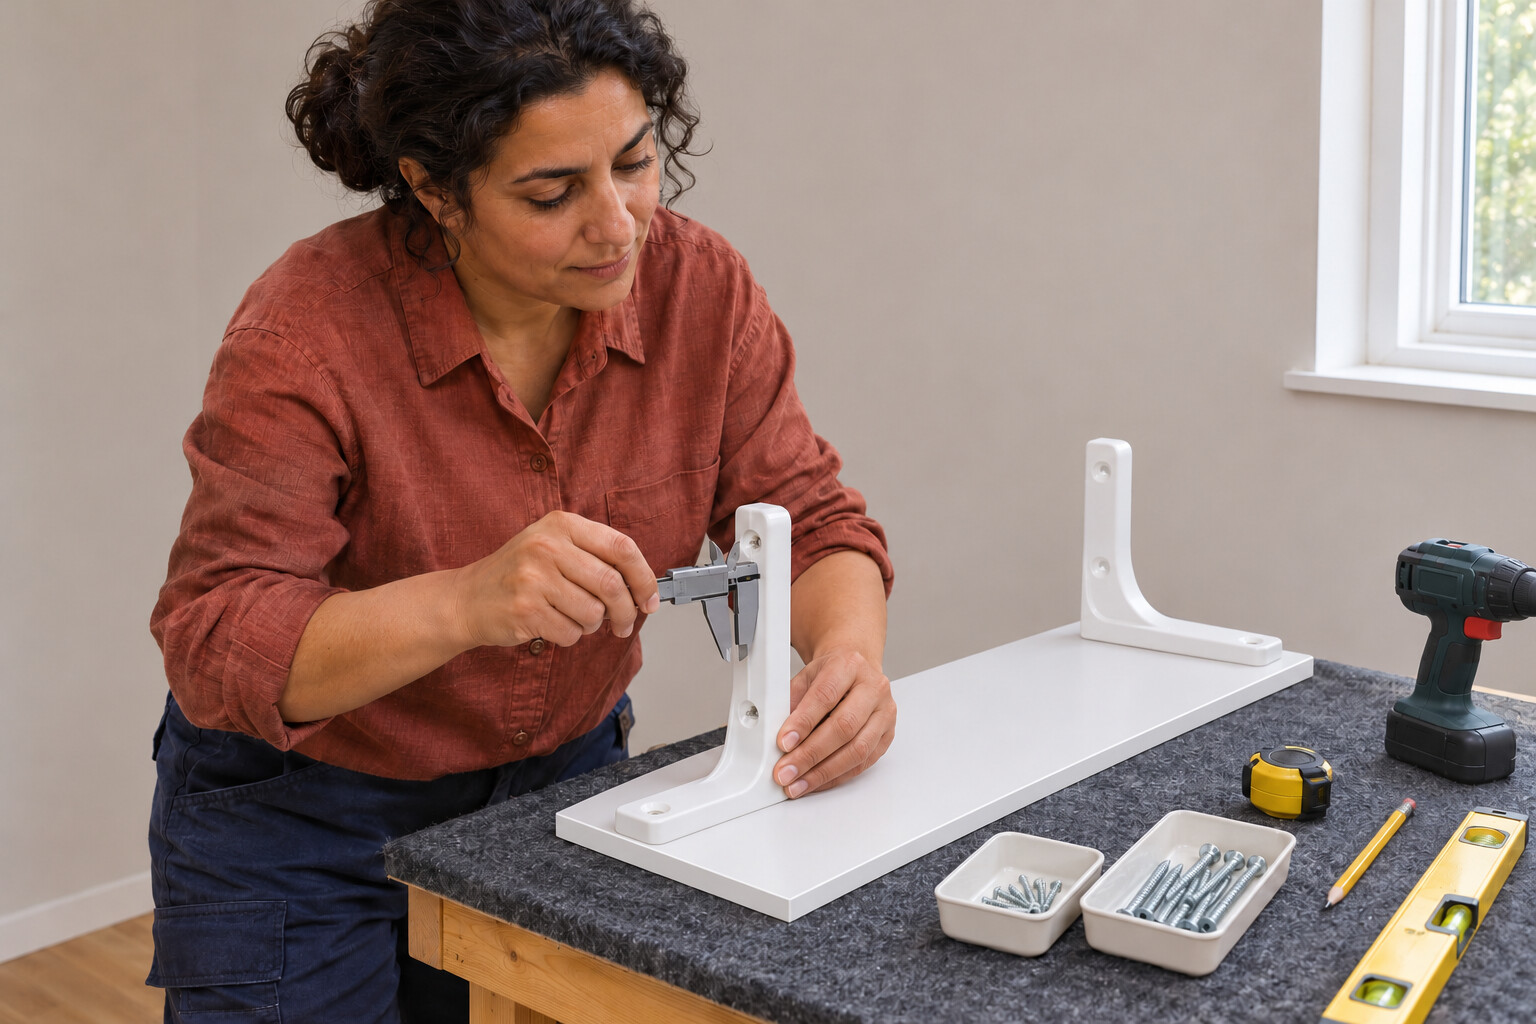
Use the 59×20 cm BURHULT panel and two matching 18×18 cm SIBBHULT brackets. Before starting, have a competent fixing supplier select and label the wall and shelf screws against your actual parts and verified solid masonry. The schedule must state each screw’s head, diameter and length, wall plug, fixing locations and count, drill mode/diameter/depth, hole-cleaning method, finish-layer allowance and shelf pilot/engagement limits. Measure every recessed seat separately. Do not substitute a convenient mixed screw box: the short shelf screws and wall screws perform different jobs.
Photorealistic illustration · Waey
2. Choose an assessed safe fixing position
Choose a dry interior location within comfortable reach, away from collision routes and places where anyone might climb or hang on the shelf. Establish the wall construction and service routes using plans, both sides of the wall and the detector’s complete instructions. A negative scan does not prove that cables or pipes are absent. Stop for uncertain routes, crumbling masonry, thick unknown plaster or unsuitable fixings. Locate services before switching off relevant circuits, and ensure affected cables are de-energised before drilling.
Photorealistic illustration · Waey
3. Lay out the supports on the actual board
Place the shelf upside down on a padded stable surface and arrange both brackets in their working orientation. Keep supports at least 50 cm apart while ensuring their full footprints and fixing holes remain within the 59 cm panel. A centred 50 cm layout leaves 4.5 cm from each support centre to the board end, but this is layout arithmetic, not a manufacturer drilling offset. Check the board’s actual 15 mm thickness and each planned screw path before marking. Never copy 70–80 cm spacing intended for a 120 cm shelf.
Photorealistic illustration · Waey
4. Transfer and check the wall marks
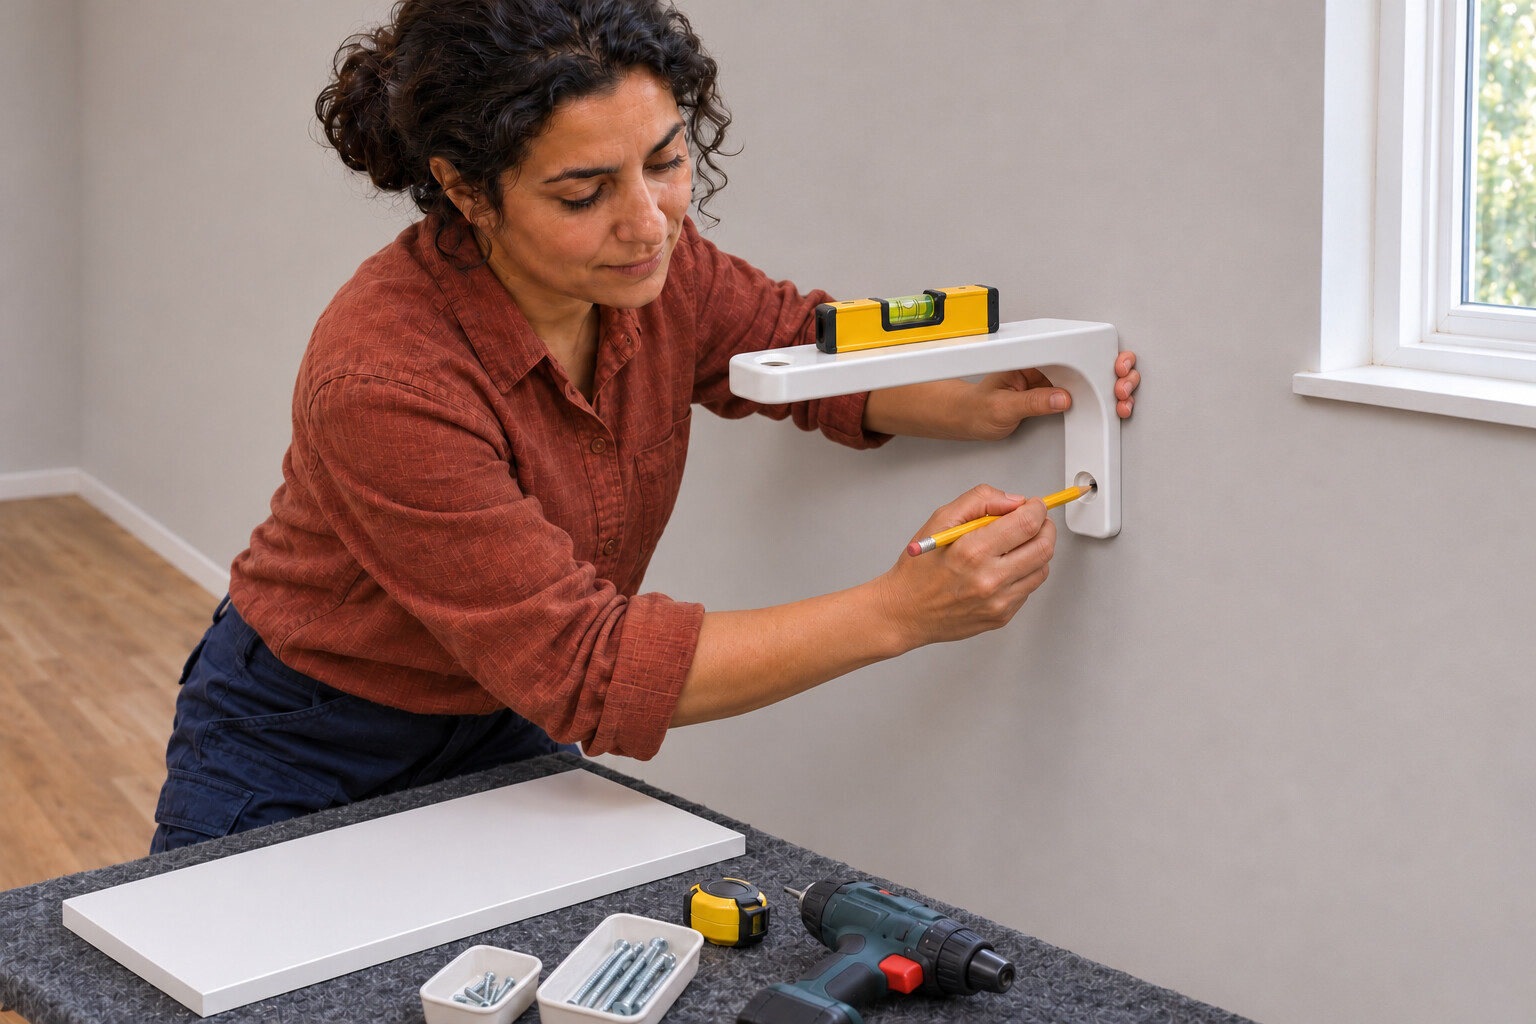
Use the actual brackets as templates, keeping their shelf-supporting arms level with one another and their wall faces flush. Mark all intended wall-fixing centres through the real holes; do not estimate from the outside corners. Recheck the horizontal level, bracket spacing and shelf position before removing the brackets. Check every marked drilling path against the established service information. If a safe fixing position cannot retain the required layout, relocate the whole shelf rather than omitting a fixing or moving one hole arbitrarily.
Photorealistic illustration · Waey
5. Drill and clean the specified holes
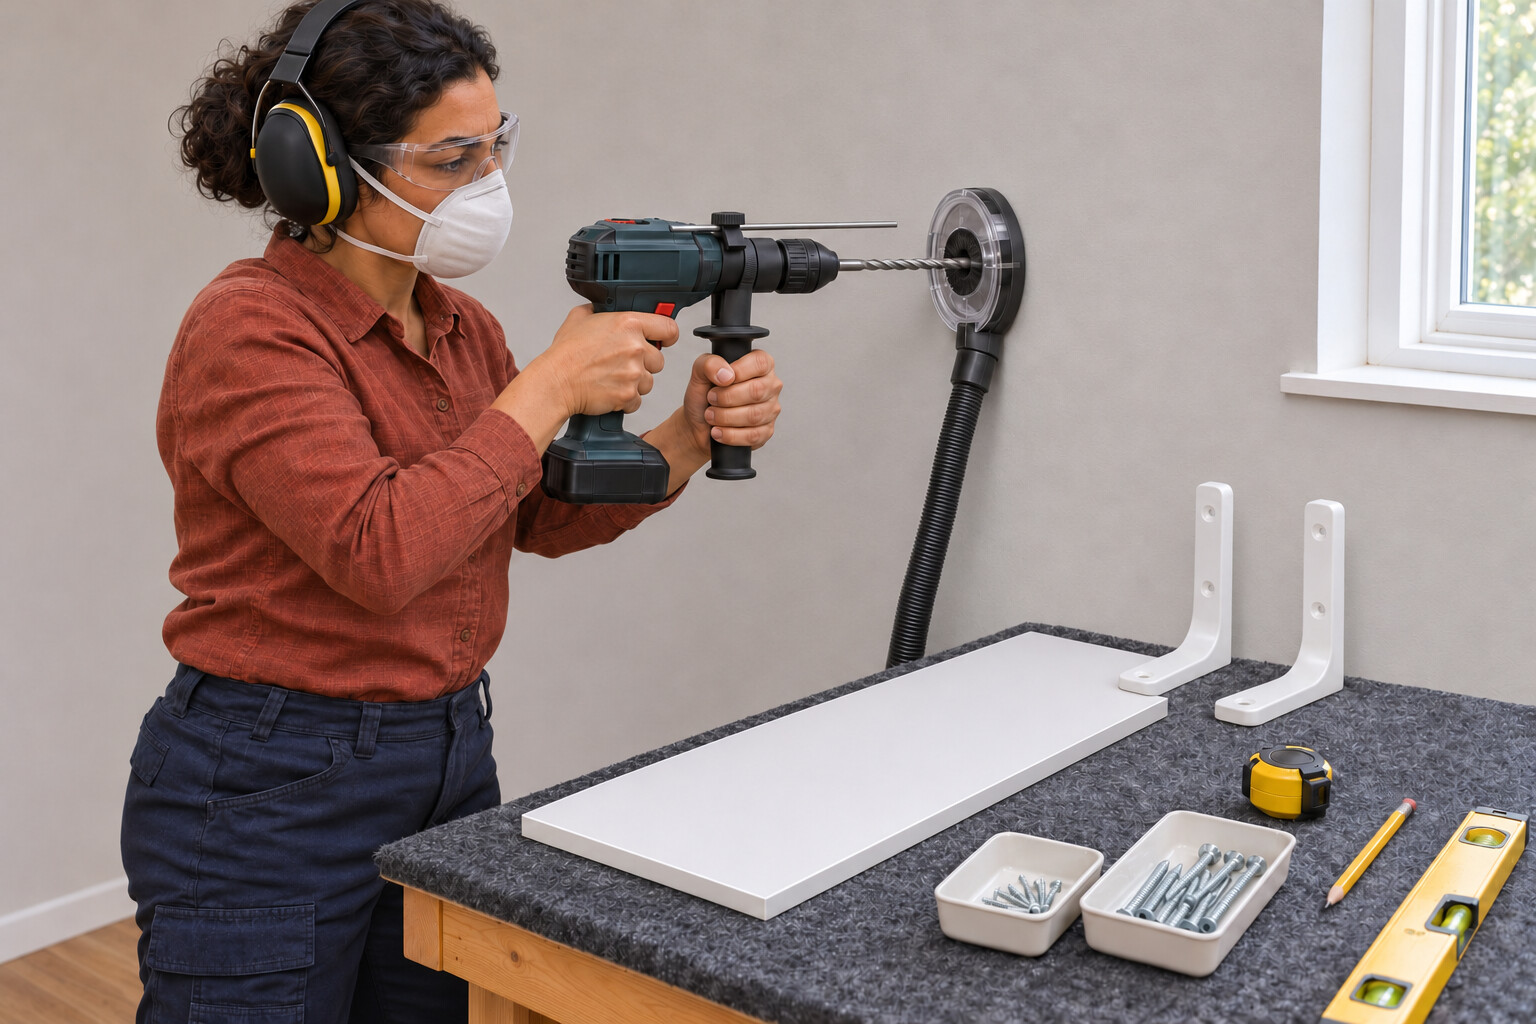
Fit the bit and depth stop specified by the selected fixing schedule. Protect the room, connect the dust-capture attachment and suitable M or H class extraction, and wear eye protection and the selected hearing and respiratory protection. Hold the drill square to the wall and start slowly so the bit does not wander. Drill only to the verified depth, then clean each hole by the anchor maker’s method while controlling dust. Stop for an unexpected void, metal, moisture or an enlarged hole; do not hide it with a larger screw.
Photorealistic illustration · Waey
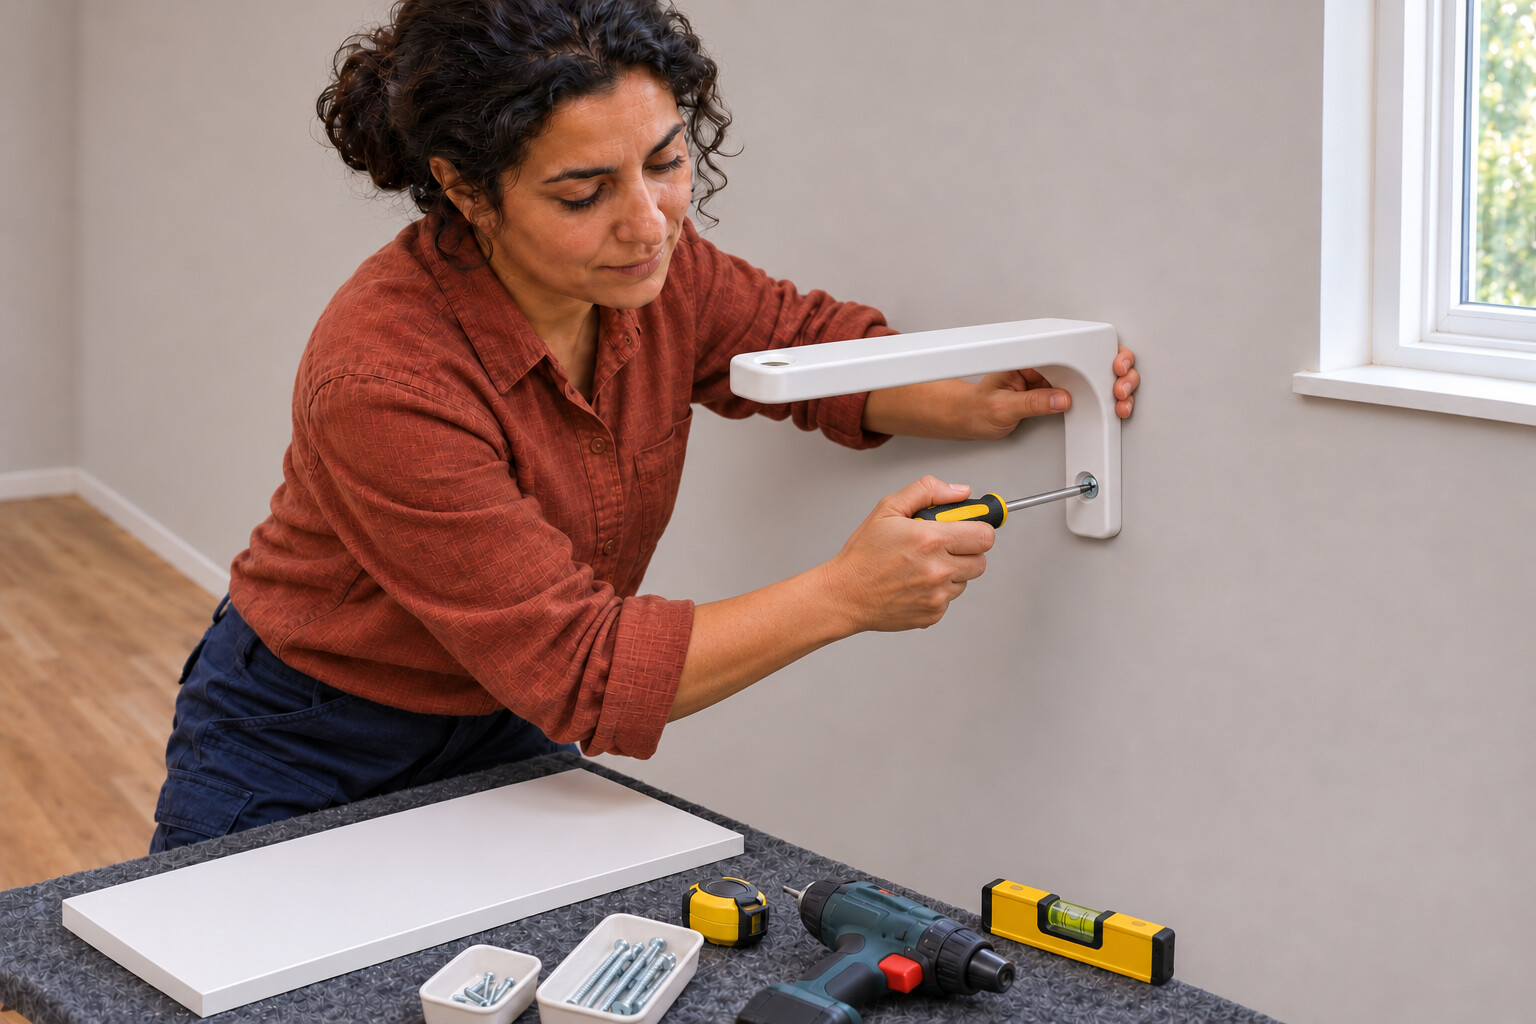
6. Secure and level both brackets
Install the selected plugs in sound masonry exactly as their instructions require, accounting for any approved plaster allowance. Offer each bracket to its marked holes and start all matching wall screws without forcing their heads into the plastic. Check level and flush contact again, then tighten progressively with controlled hand finishing. Do not crush, bend or split the bracket. A spinning plug, rocking bracket or screw that bottoms out before clamping is a fault to correct before placing the shelf, not something to conceal by overtightening.
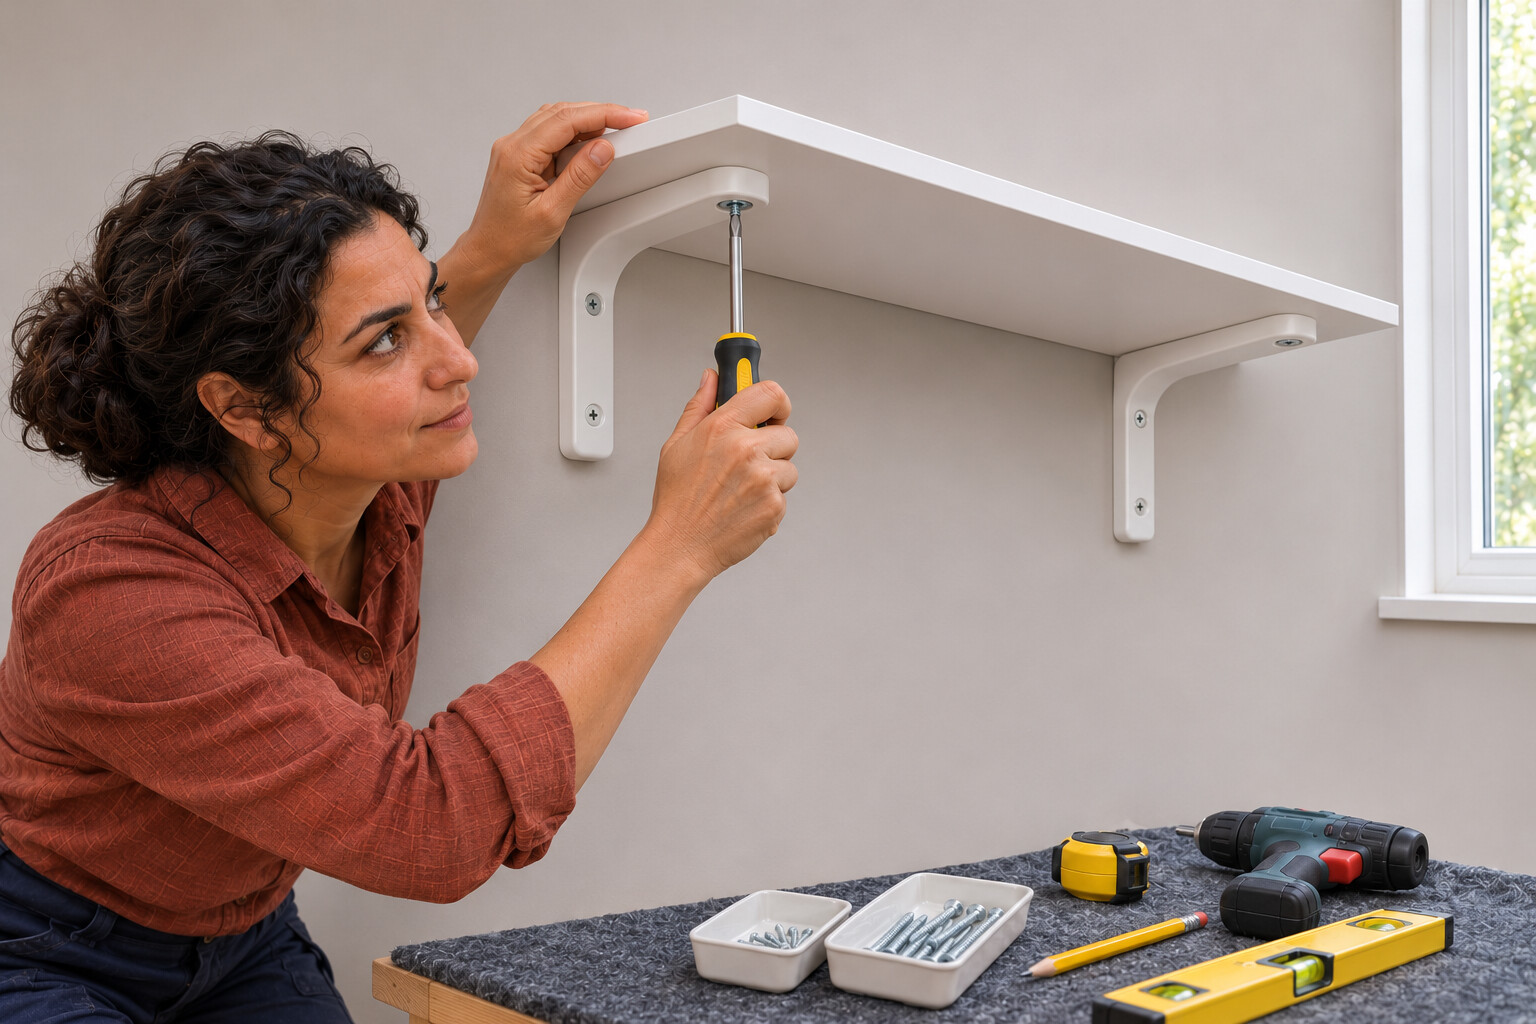
Photorealistic illustration · Waey
7. Retain the shelf without breaking through its top
Position the shelf on the brackets with the checked overhangs and keep it supported while transferring the underside fixing marks. Remove it to a padded bench for any pilot holes specified by the competent screw schedule; use a positive depth stop and keep the drill square. Refit and hold the board while installing the labelled short shelf screws through the correct bracket holes. Finish by hand and stop as the head seats. Check the underside and top face for damage; no screw tip may emerge through the 15 mm panel.
Photorealistic illustration · Waey
8. Inspect and introduce a light even load
Check that both brackets remain level and secure, every intended fixing is present and the shelf cannot slide off its supports. Add a few light items gradually and spread them evenly; do not test by pulling, standing or hanging on it. The maker’s 10 kg figure assumes correct installation and even loading, and does not override a lower limit imposed by the actual wall or fixings. Remove the load immediately if anything moves, bends or cracks. Vacuum drilling debris with the suitable extraction unit and keep the fixing schedule for later checks.
Video demonstrations
How to install Ikea wall shelf
Reviewed samples at1:50 and2:16 show different screw lengths beside the bracket and the creator’s9mm local-section graphic. The graphic is not an IKEA specification or a verified wall-fixing measurement. Match both wall and shelf screws to your actual parts and the competent fixing schedule.
k-nemo · English title; audio not reviewed
Watch on YouTube ↗How to install shelves on a concrete, block or brick wall, using Tapcon Anchor Screws.
The reviewed sample at 4:46 shows a drill bit contacting a painted masonry-block wall. The title identifies a Tapcon project; this sample does not validate the selected SIBBHULT fixing schedule. Do not transfer screw or bit sizes. No dust-capture attachment is visible in the sample; use this guide’s specified extraction and protection.
C.L.S. ALL-IN-ONE · English title; audio not reviewed
Watch on YouTube ↗Final checks
Every scheduled fixing present and secure; brackets level; shelf retained without top-face damage; light items distributed evenly. Stop for movement, cracking or loose fixings.
Sources
IKEA BURHULT80400042:59×20cm,15mm panel, supports at least50cm apart, conditional10kg even load ↗
Instruction images generated with OpenAI image generation and reviewed individually and as a sequence. No physical installation tests were performed.