
Fit an Oi Classic Small bell to a compatible bicycle handlebar
Check the actual 22.2 mm mounting point, fit the split clamp and verify thumb reach, control clearance and ringing while stationary.
What will you learn?
Check the actual 22.2 mm mounting point, fit the split clamp and verify thumb reach, control clearance and ringing while stationary.
Tools
- Supplied hex key
- Checked caliper for actual mounting diameterSearch Amazon UK ↗
- Soft clothSearch Amazon UK ↗
Materials
- Undamaged Oi Classic Small bell and its original clamp boltSearch Amazon UK ↗
- Compatible stationary bicycle with a clear sound 22.2 mm cylindrical metal mounting location
- Small tray to retain the boltSearch Amazon UK ↗
Step by step
Photorealistic illustration · Waey
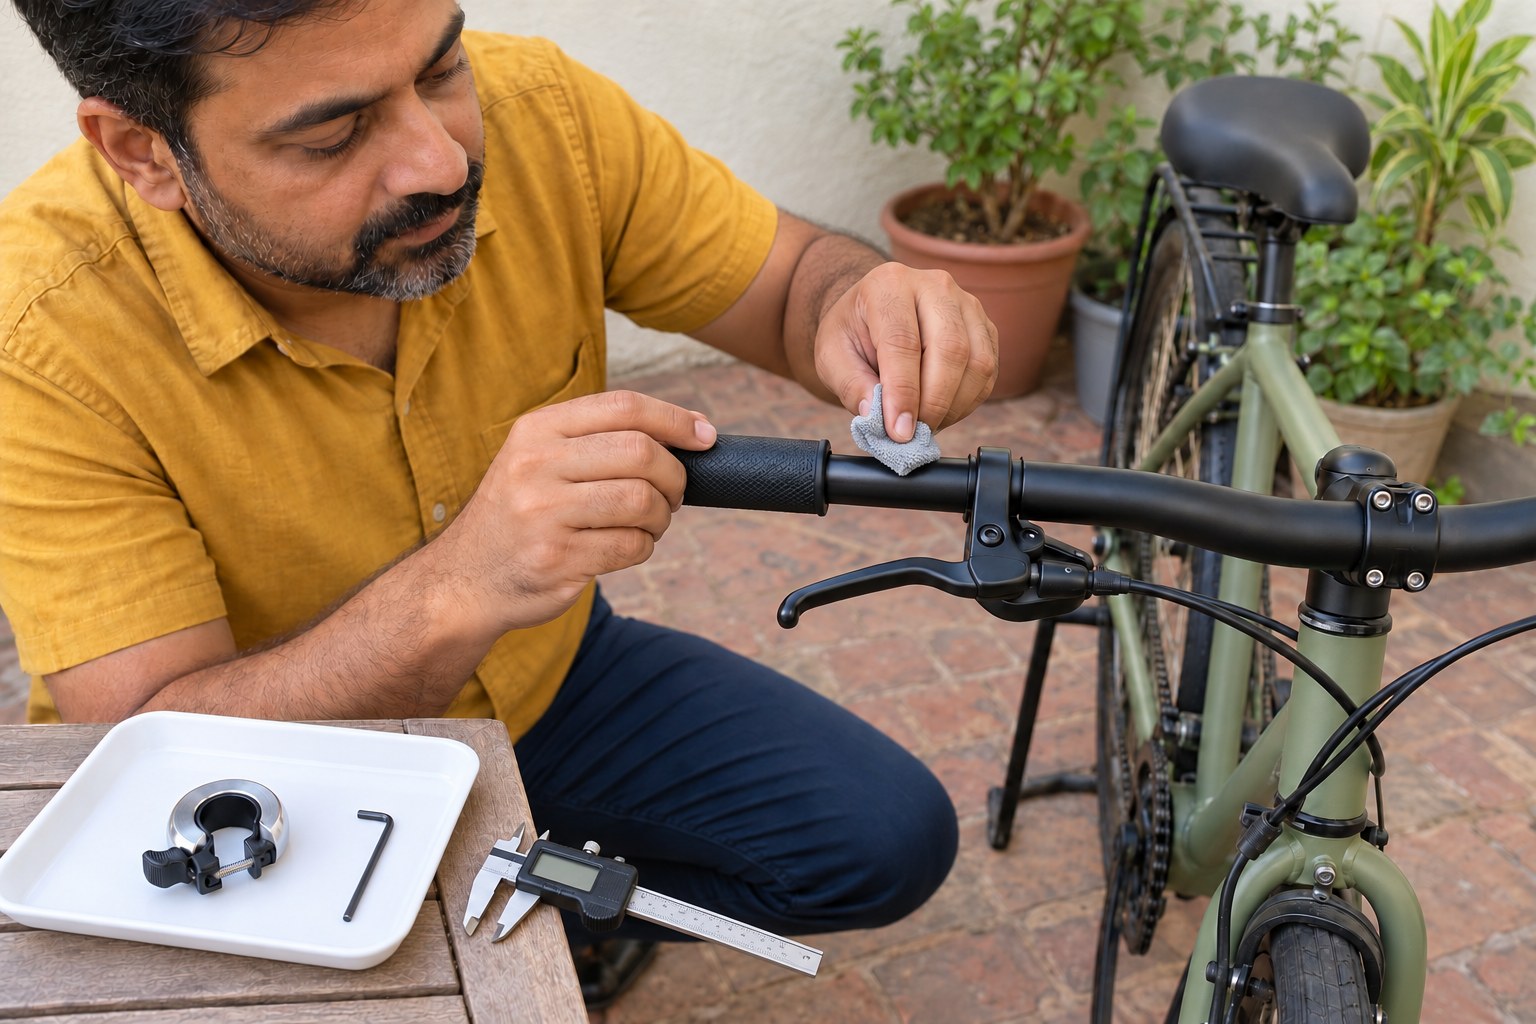
1. Confirm the mounting location and Small size
Keep the bicycle stationary and securely supported. Choose a sound, bare, straight round section of metal handlebar near the grip with room for the bell and your thumb. Clean it with a soft cloth. Measure its outside diameter at that exact location with a checked caliper; Oi Classic Small fits 22.2 mm only. Stop for an uncertain size, tapered or aero section, damage, or carbon bar without explicit compatibility approval. Do not move brake controls to make space.
Photorealistic illustration · Waey
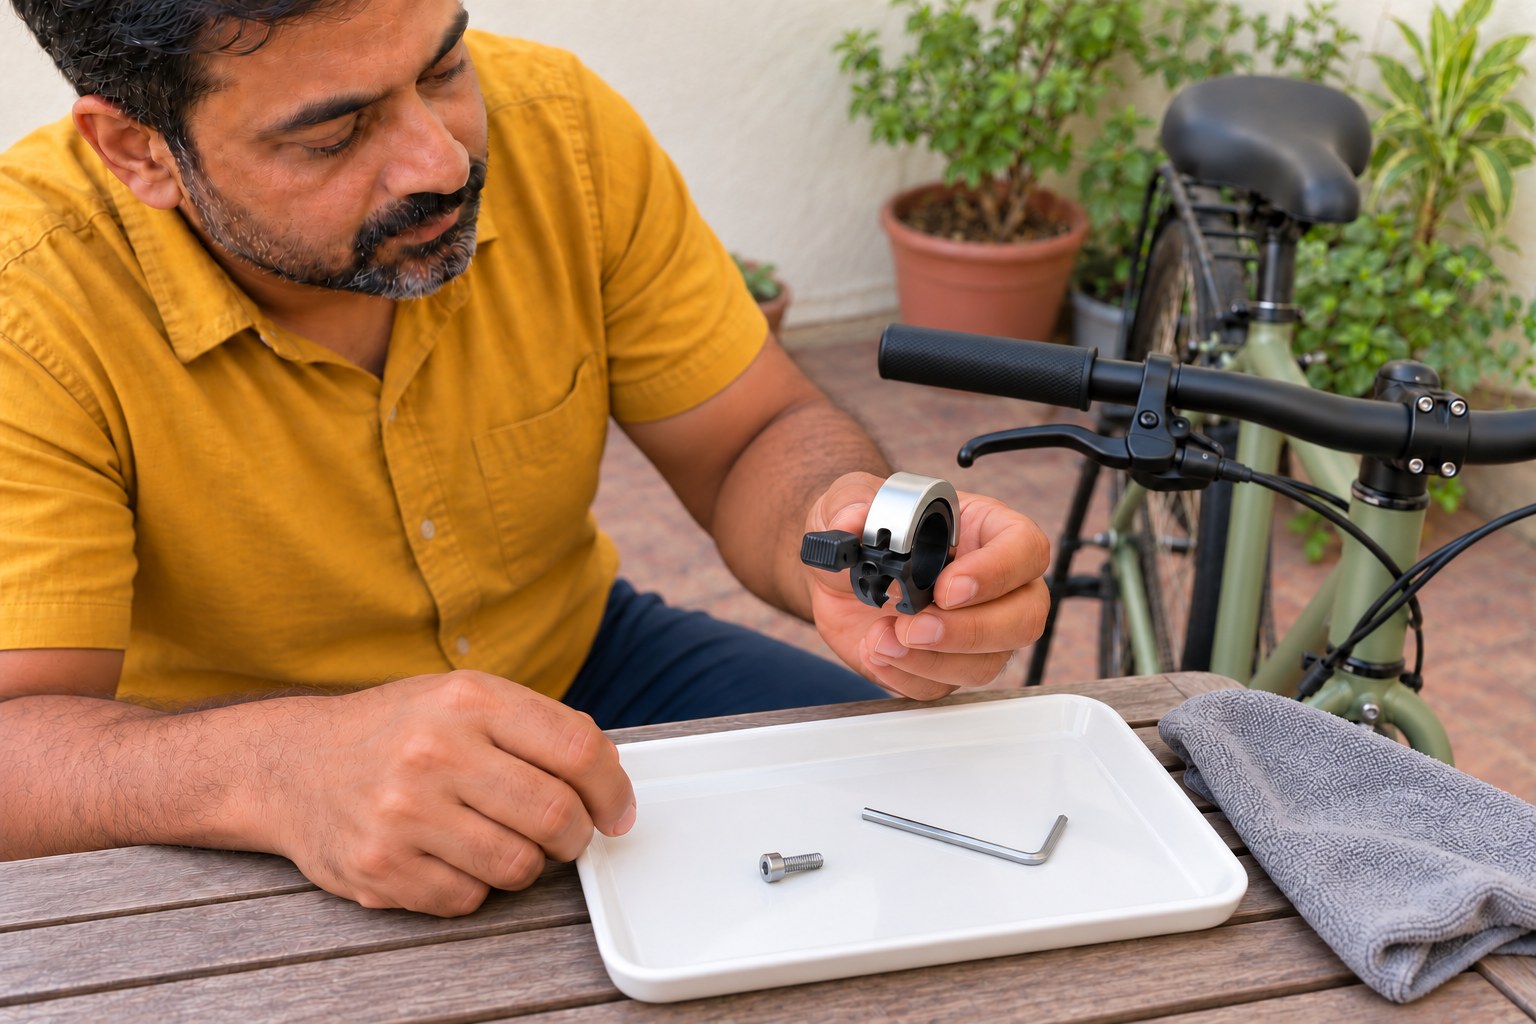
2. Remove the bell’s own clamp bolt
Confirm that the part is Oi Classic Small, not Luxe, Prima or the Large version. Inspect the ring, plastic mount and thumb striker for damage. On a tray, support the bell and remove its own short clamp bolt with the supplied hex key. Keep the bolt safely on the tray. Leave the bicycle’s stem, brake lever and grip fasteners untouched. This Small-size procedure does not use the spacers supplied with Large bells or improvised tape to force a mismatch.
Photorealistic illustration · Waey
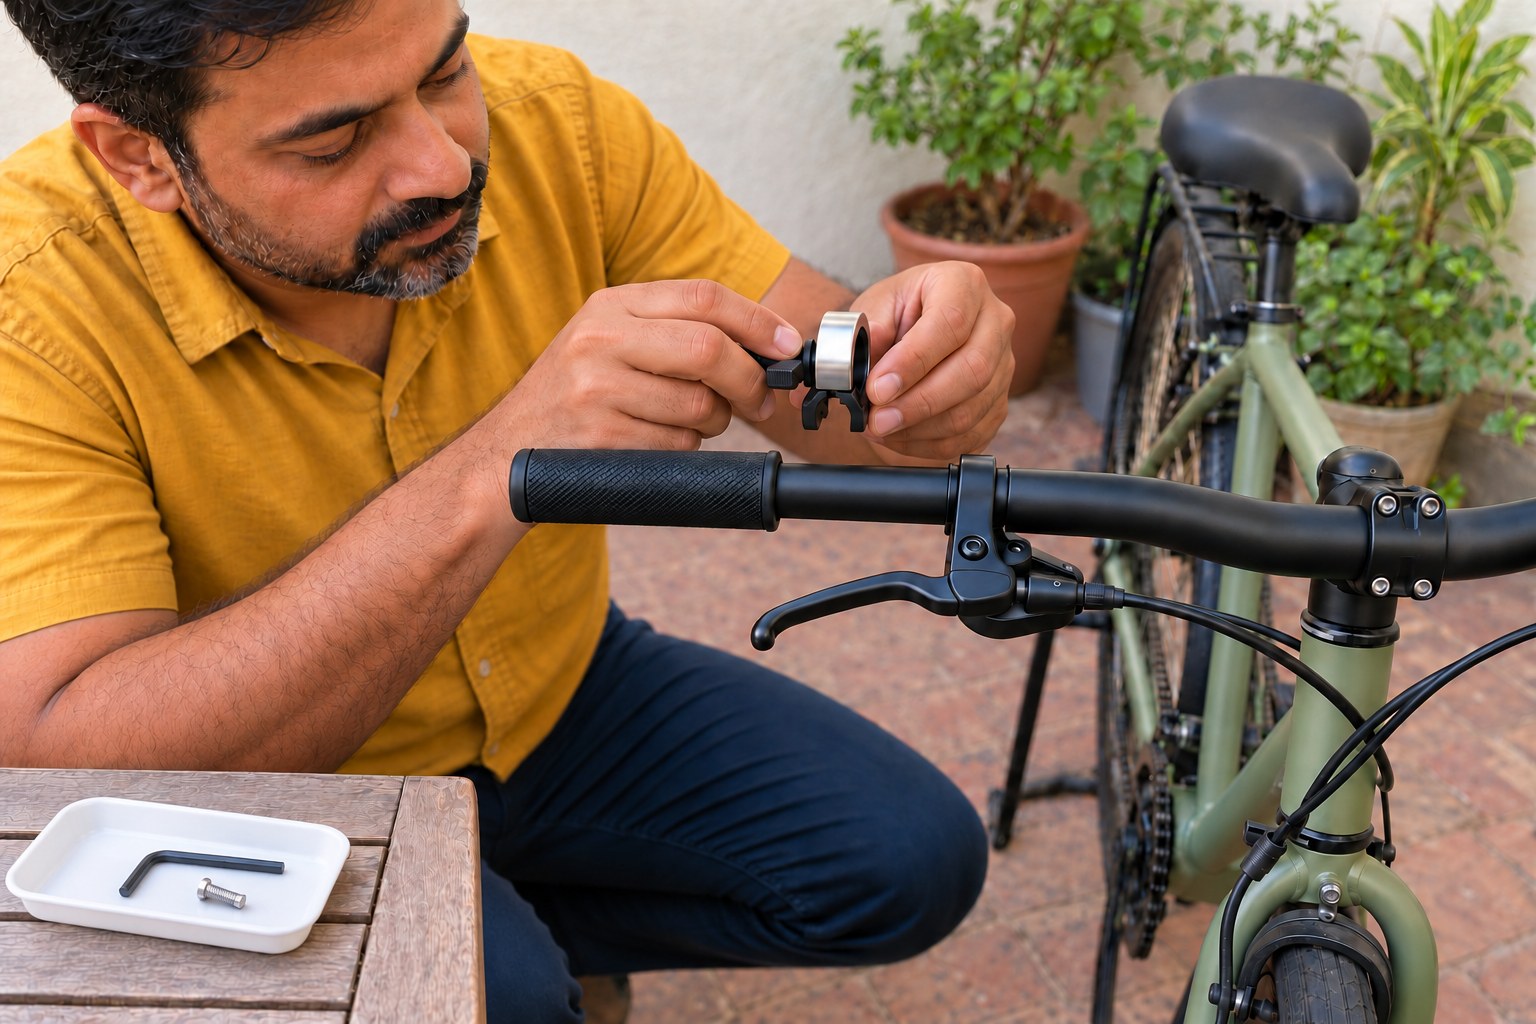
3. Open the split mount and place it over the bar
Gently spread the split plastic mount by hand only enough to pass over the chosen round section, then seat it around the bar. Keep fingers clear of the closing split and avoid twisting or levering the metal sound ring. Use the built-in cable channel only where the existing cable naturally fits without squeezing, pulling or changing its route. If the mount needs force, a cable becomes trapped or the controls obstruct fitting, remove the bell and choose a compatible location or seek help.
Photorealistic illustration · Waey
4. Position the striker and secure the clamp
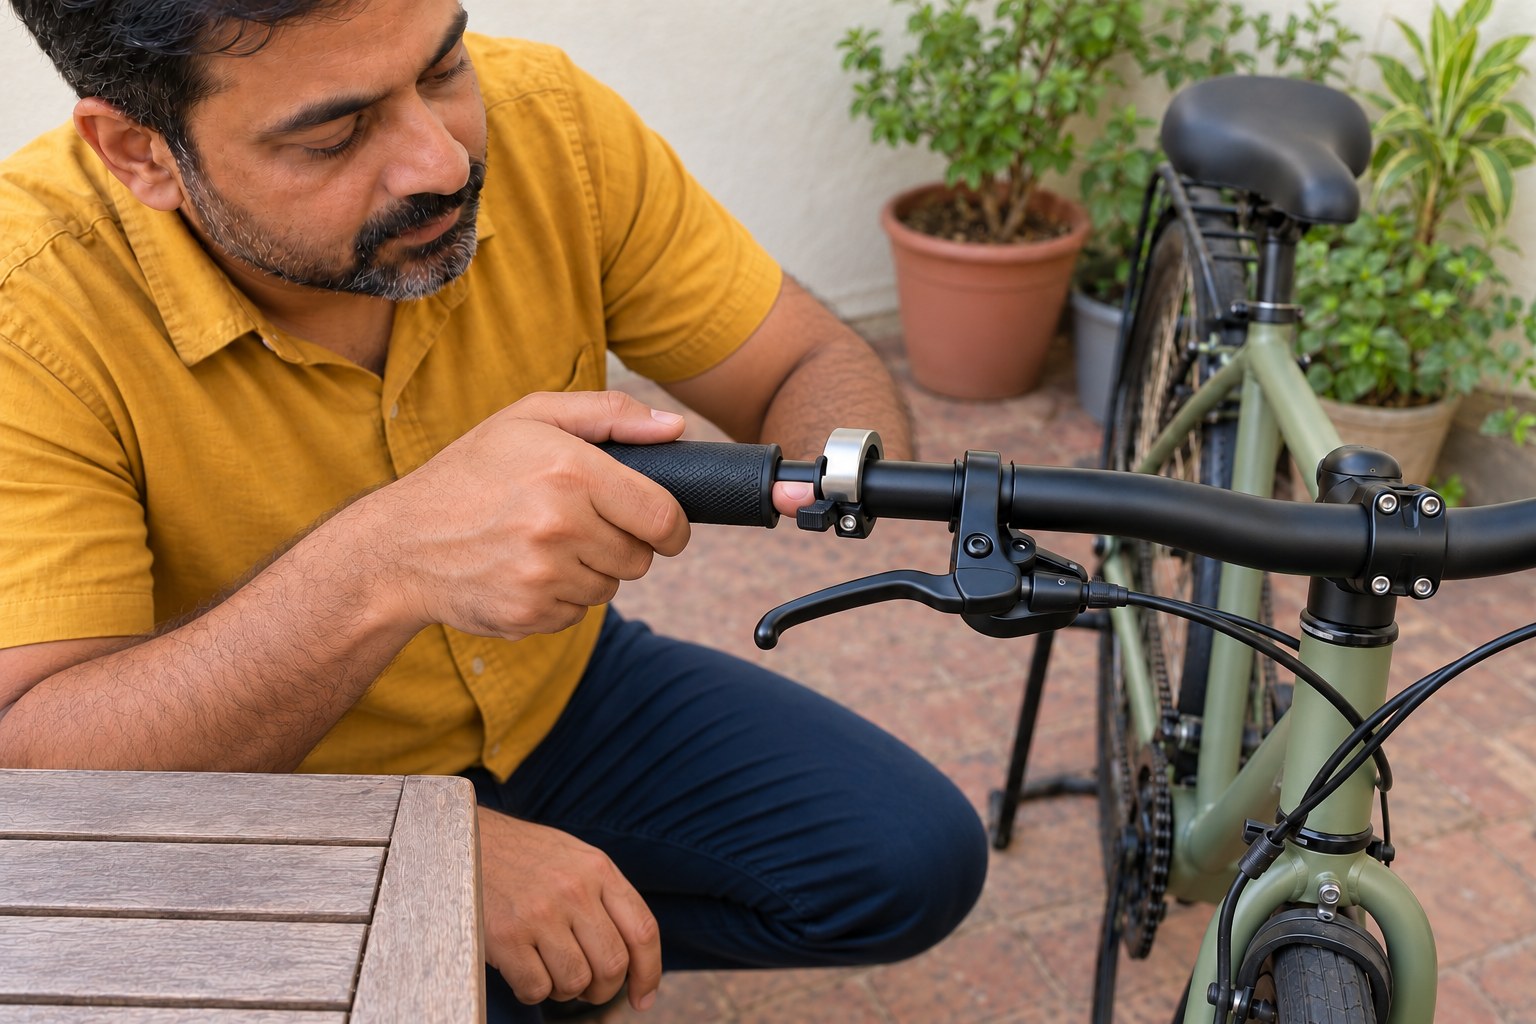
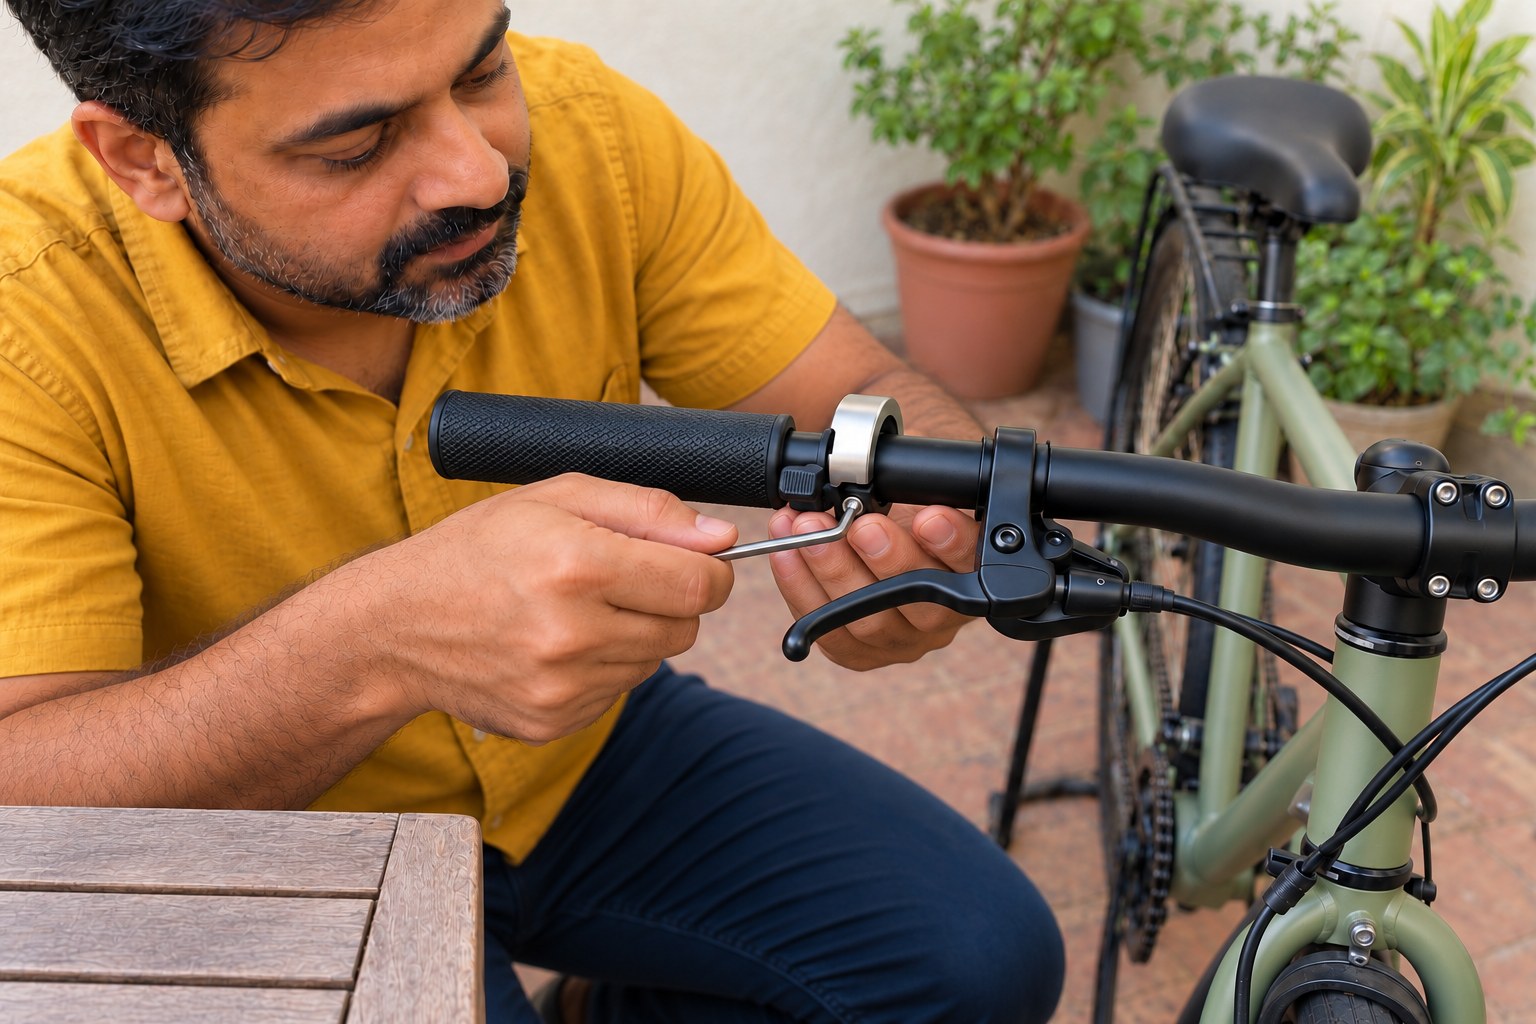
Orient the bell so your thumb can comfortably flick the striker while your hand remains at the grip. Keep the sound ring clear of the grip, brake clamp, cable and other accessories. Align the clamp ends and start the original bolt gently with the supplied key; stop if it binds. Tighten progressively until the bell cannot rotate, following the matched English quickstart. Do not force the split closed or keep tightening to cure poor fit; excessive tightening can affect the tone.
Photorealistic illustration · Waey
5. Check control and steering clearance while stationary
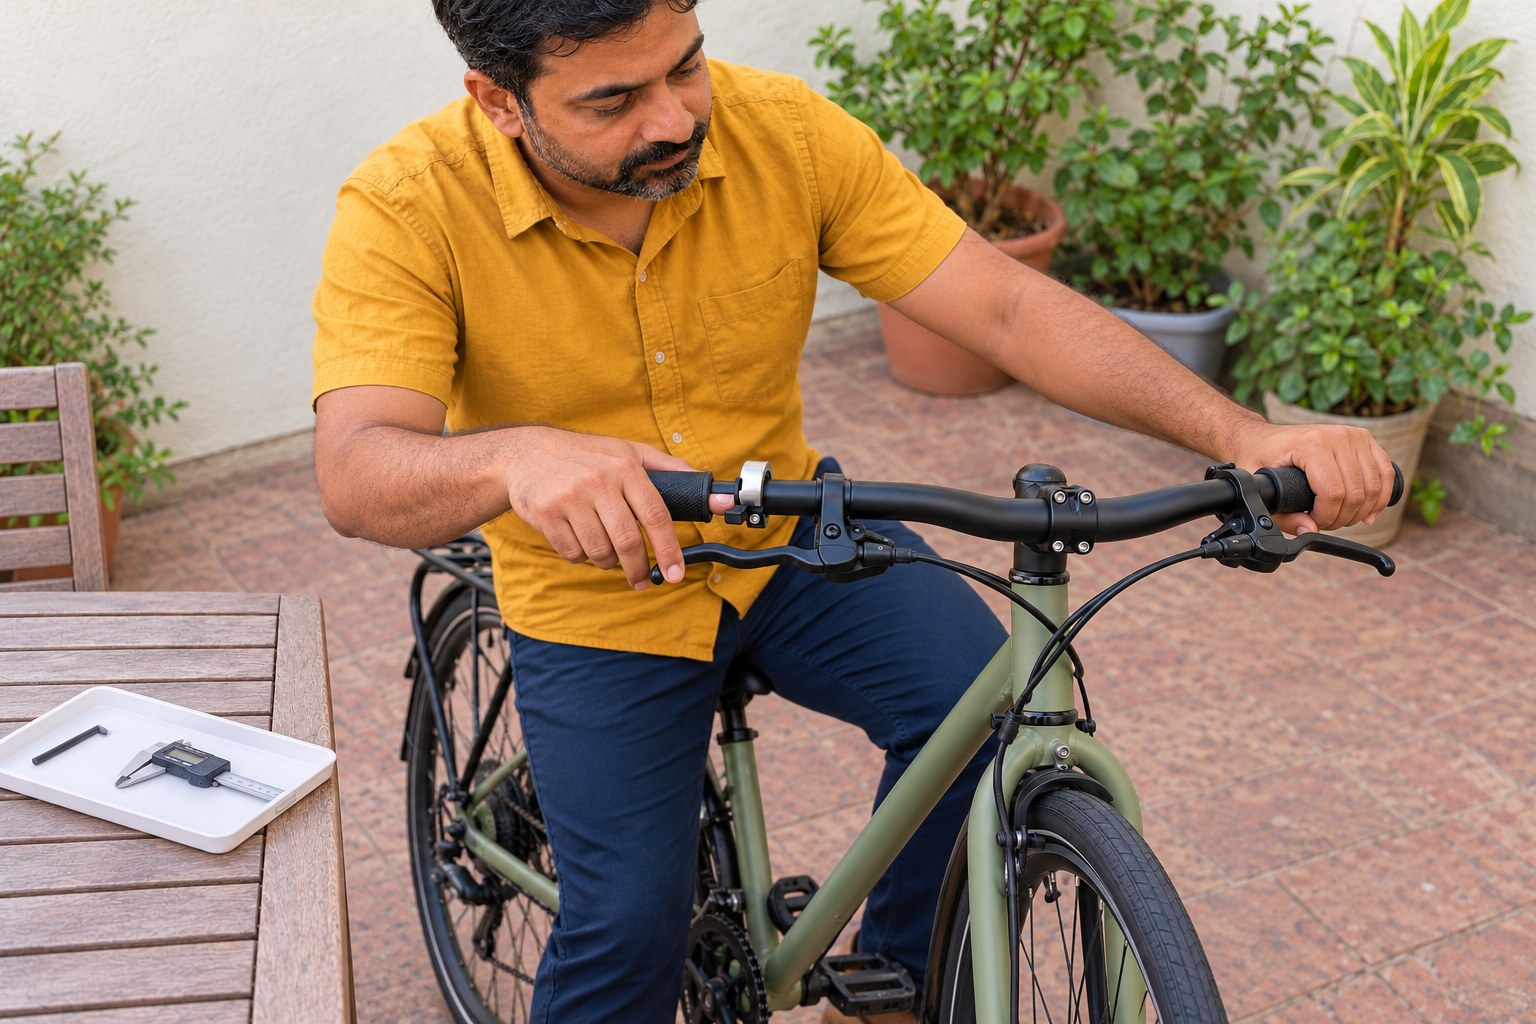
With the bicycle still securely supported, gently check that the bell stays in position. Operate the brake lever through its usual travel and check access to any nearby shifter. Turn the handlebar slowly in both directions and watch for cables pulling, snagging or contacting the bell ring. Stop if any control is obstructed or a cable is pinched. Reposition the bell only after loosening its own bolt, then secure and repeat all checks; leave brake and stem adjustments to a qualified mechanic.
Photorealistic illustration · Waey
6. Test the ring and retain the fitting information
While stationary, gently flick and release the thumb striker and confirm that it returns freely and the ring sounds without rubbing or rattling. Keep your fingers off the sound ring during this check. For a dull or abnormal sound, first check size, contact with nearby parts and clamp tightness against the manufacturer’s troubleshooting advice. Stop for a damaged mount or striker rather than bending springs or adding improvised parts. Keep the key and size details, and recheck security and clearance before riding.
Video demonstrations
Oi instructional vid.
Knog shows Oi positioning and clamp adjustment, including a flat-bar example. Follow the Small22.2mm guide; Large-bell and shim sections are separate.
Knog · Caption availability varies; browser showed captions unavailable. Narration not independently assessed.
Watch on YouTube ↗Knog Oi Classic Bike Bell
Knog’s presentation includes clamp tightening with the supplied hex key. Its drop-bar example does not specify the fit or spacers for your Small bell.
Knog · Caption availability varies; browser showed captions unavailable. Narration not independently assessed.
Watch on YouTube ↗Final checks
Correct Small size at measured round 22.2 mm mounting section; secure clamp; free striker; no contact with ring; full normal control and steering clearance. All checks stationary.
Where to find supplies
Use the matched guide for Large, Luxe or Prima. Choose another compatible mounting location or ask a bicycle mechanic if space or cable clearance is inadequate. Do not improvise size adapters or adjust brakes to make the bell fit.
Sources
Knog — matched English Oi Classic quickstart ↗
Original generated instructional illustrations individually reviewed. Manufacturer PDF and video frames remain private technical references, never image-generation inputs or article assets. Illustrations do not establish actual diameter, clamp torque, control performance or sound.