
Build a short loose-gravel garden path
Set out a small pedestrian route, secure its timber sides and build a firm compacted base beneath a thin angular-gravel surface. Use one coherent layer build-up and check edges, entrances and drainage before opening the path.
What will you learn?
Set out a small pedestrian route, secure its timber sides and build a firm compacted base beneath a thin angular-gravel surface. Use one coherent layer build-up and check edges, entrances and drainage before opening the path.
Tools
- Tape measureSearch Amazon UK ↗
- Setting-out stringSearch Amazon UK ↗
- Marking pegs, only after service assessmentSearch Amazon UK ↗
- Spirit levelSearch Amazon UK ↗
- StraightedgeSearch Amazon UK ↗
- SpadeSearch Amazon UK ↗
- RakeSearch Amazon UK ↗
- Wheelbarrow or bucketsSearch Amazon UK ↗
- Hand tamperSearch Amazon UK ↗
- Screwdriver or drill matching the edging screwsSearch Amazon UK ↗
- Work glovesSearch Amazon UK ↗
- Eye protectionSearch Amazon UK ↗
- Protective work bootsSearch Amazon UK ↗
- Suitable cutting tool only if timber is not supplied pre-cut; follow treated-timber dust controlsSearch Amazon UK ↗
Materials
- Two 3 m timber side boards suitable for ground contact, roughly 100 ×25 mm sectionSearch Amazon UK ↗
- Matching ground-contact support stakes, four positions per sideSearch Amazon UK ↗
- Suitable exterior-grade screwsSearch Amazon UK ↗
- Permeable separation geotextile sized to cover the formation and specified overlaps; no waterproof polytheneSearch Amazon UK ↗
- Graded Type 1 granular sub-base: 0.2025 m³ at 75 mm compacted depth for 2.7 m², before ordering allowancesSearch Amazon UK ↗
- Nominal 10–12 mm angular path gravel: 0.0675 m³ at 25 mm surface depth for 2.7 m², before allowancesSearch Amazon UK ↗
Step by step
Photorealistic illustration · Waey
1. Check the route and the ground before committing
Choose an occasional-use garden route with adequate clear width, firm ground and a safe place for excavated soil and delivered materials. This example is 3 m long and 0.9 m clear between its side boards. Check the real users and entrances: loose gravel is unsuitable where a firm accessible route is required. Resolve buried-service locations and stake depths before ground penetration, and move the route or obtain specialist help if conditions cannot be confirmed suitable.
Photorealistic illustration · Waey
2. Set levels and calculate one layer build-up
Use a finished-surface datum that meets both entrances without a sudden step and follows the planned gentle site fall without directing water toward a building. The selected build-up is 75 mm compacted sub-base plus 25 mm gravel, so firm formation is 100 mm below that surface. For 3 × 0.9 m, area is 2.7 m²: base volume is 0.2025 m³ and gravel 0.0675 m³. These are installed volumes; ask the supplier for delivered quantities and allowances rather than guessing tonnes.
Photorealistic illustration · Waey
3. Mark and excavate a shallow, even formation
After the service assessment, mark the inside path line and remove turf, roots belonging to the turf and loose organic material down to the planned formation. Use controlled shallow hand-tool work and keep checking depth from the surface datum with a straightedge. Do not cut tree roots or dig around an unexpected cable, pipe or marker. Stop if the formation pumps, holds water or contains soft spots; this simple build-up is not a cure for unsuitable ground.
Photorealistic illustration · Waey
4. Secure the two timber side restraints
Fit ground-contact-suitable boards along both sides with their tops at the planned finished level, maintaining the 0.9 m clear width. Position supporting stakes outside the walking area and only where their full penetration depth is safe. Wickes recommends spacing supports no more than 1.2 m apart; four positions per 3 m side give approximately 1 m spacing. Fix with suitable exterior screws, keep stake tops and screw heads from projecting, and leave both entrances free of raised timber crossbars.
Photorealistic illustration · Waey
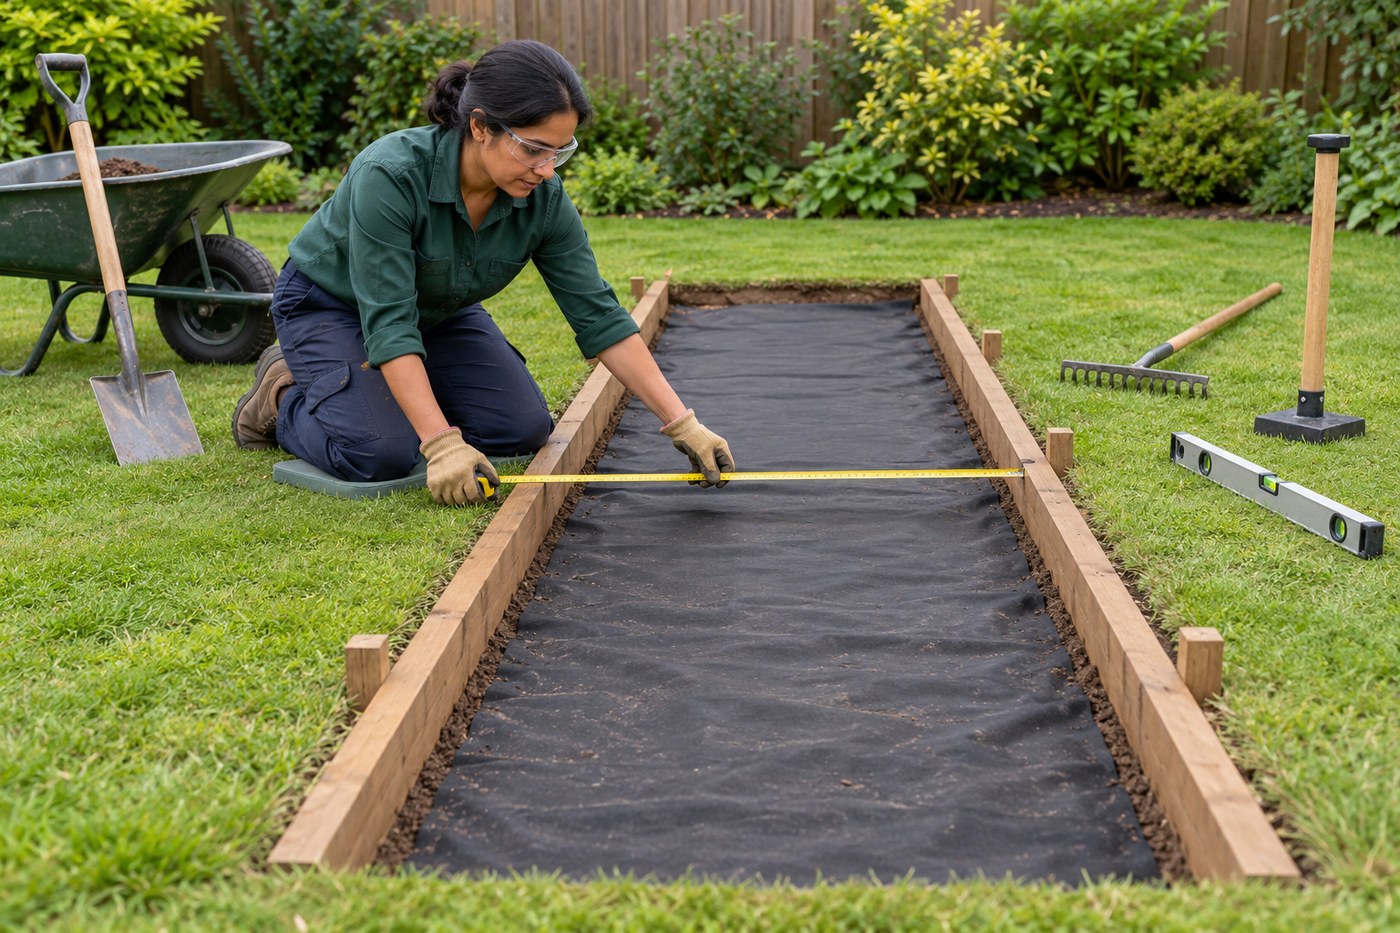
5. Lay permeable separation fabric neatly
Lay suitable permeable geotextile on the prepared formation, following its supplier’s overlap requirements and avoiding folds or holes. The fabric separates soil from the load-bearing aggregate; it is not a waterproof liner and does not guarantee a weed-free path. Keep it contained inside the sides and plan to bury every exposed edge beneath the finished layers. Do not add a second fabric directly beneath loose gravel unless the selected construction instructions require it.
Photorealistic illustration · Waey
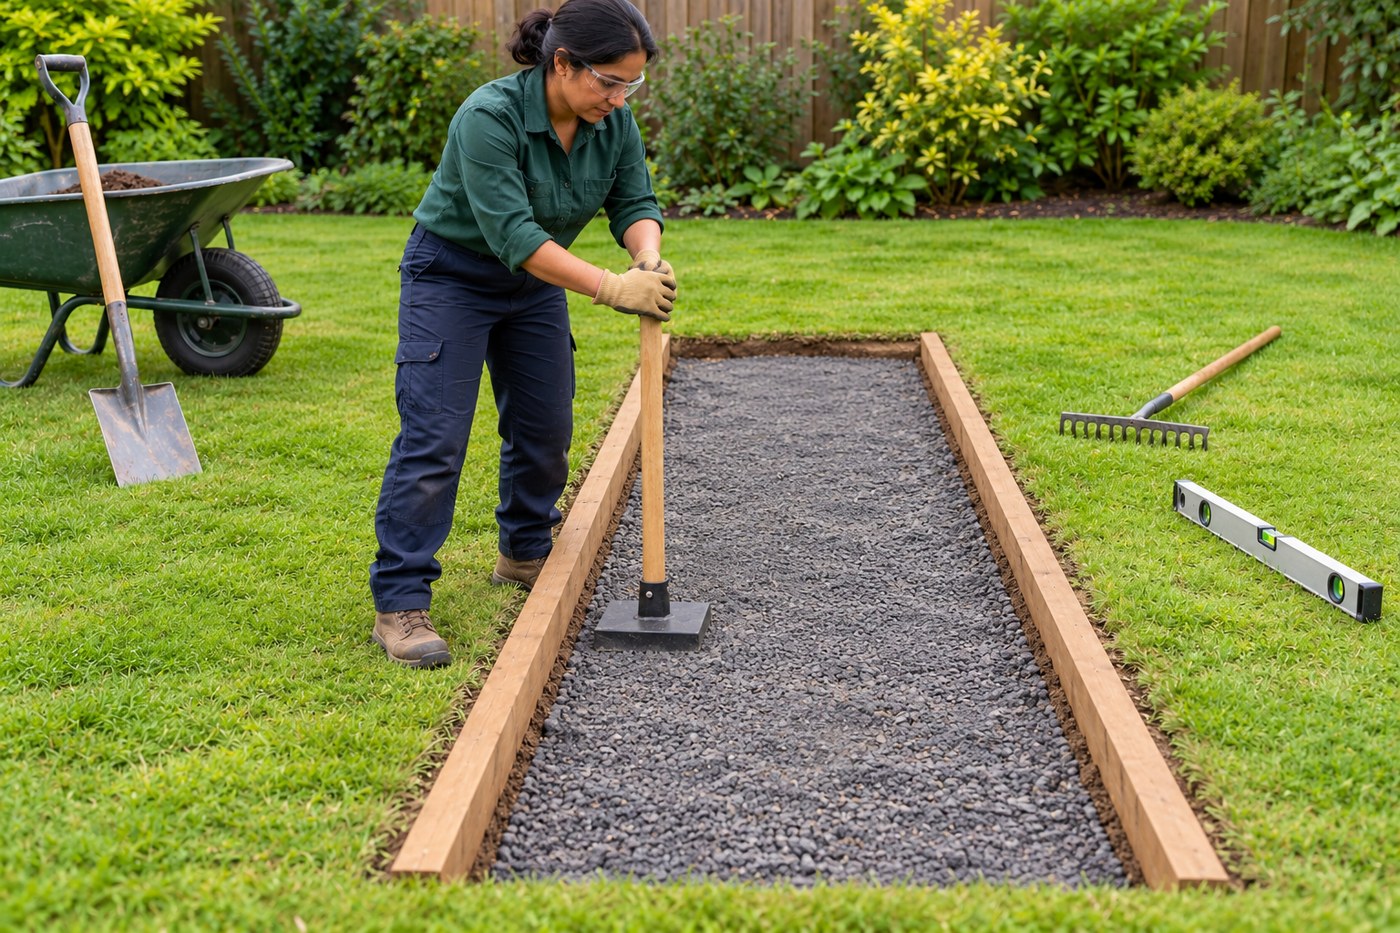
6. Compact the base in manageable lifts
Place graded sub-base in shallow lifts that the hand tamper can consolidate, spreading it evenly without dragging soil onto the fabric. Dampen only as the aggregate instructions recommend, avoiding dust clouds and saturation. Work systematically with controlled two-handed tamper strokes, feet clear, until each lift is firm before adding the next. Build to 75 mm total COMPACTED depth, not 75 mm of loose tipped stone. If hand compaction cannot produce a firm, even base, arrange suitable help instead of hiding movement under gravel.
Photorealistic illustration · Waey
7. Check base height, support and entrance transitions
Use the straightedge and level to check the planned fall and look for hollows, high stones or loose edges. The finished base should leave about 25 mm for the selected gravel below the final surface datum. Correct base defects now with the same material and further compaction, rather than using extra loose gravel as filler. Check that both entrances can meet adjoining firm ground smoothly and that the timber sides are secure without creating a cross-route trip edge.
Photorealistic illustration · Waey
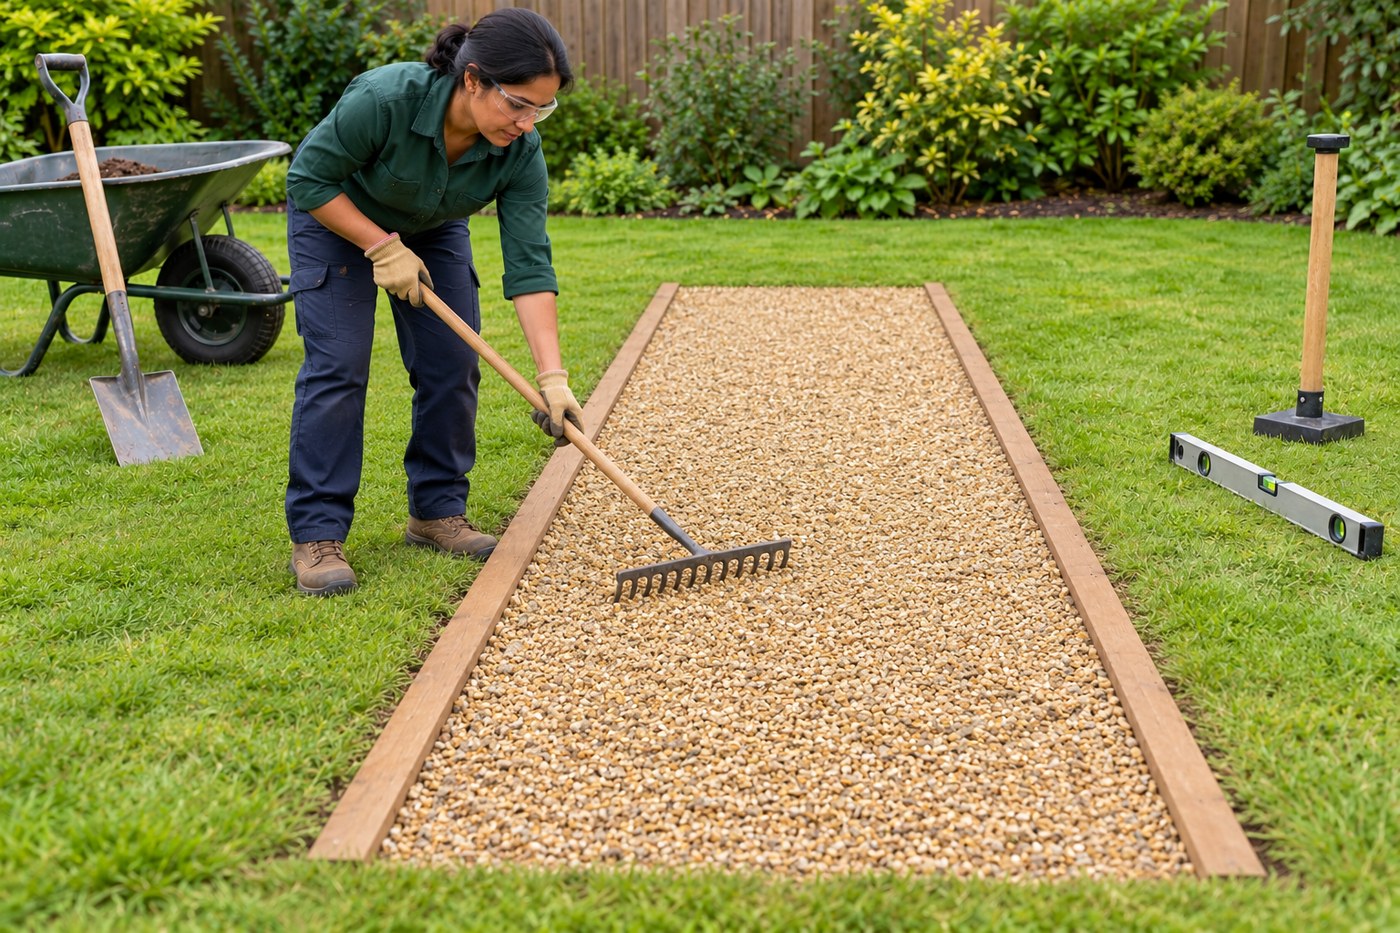
8. Spread a thin angular-gravel surface
Tip manageable small loads of the selected angular gravel onto the firm base and spread with a rake to about 25 mm depth. Check depth at several points; a deep decorative heap is harder to walk through and does not strengthen the foundation. Keep the gravel within the side restraints and entrances, and avoid burying the boards or leaving fabric visible. Settle the surface gently with the hand tamper, then rake lightly to an even finish without changing the layer build-up.
Photorealistic illustration · Waey
9. Remove setting-out hazards and walk the whole route
Remove string, temporary pegs, offcuts and spilled stones before opening the path. Walk slowly along both directions in ordinary shoes, checking for sinking, rolling heaps, moving boards and abrupt changes at the entrances. Correct any defect before regular use, and keep people away if the foundation remains unstable. A neat photograph or a single walk does not establish long-term drainage performance; inspect after the next ordinary rainfall without using a hose to flood the route.
Photorealistic illustration · Waey
10. Keep the thin surface and edges maintained
Rake displaced gravel back lightly and remove weeds by an appropriate non-destructive method without puncturing the fabric. Flush side edges reduce trip lips but allow some migration, so clear escaped stones from lawn before mowing and from every connecting walking surface. Check timber and fixings periodically and after wet weather. Replenish only enough gravel to restore the intended depth; recurring ruts, waterlogging or loose edging need the cause corrected rather than repeated deep top-ups.
Watch the method
How To Lay Your Gravel
Related gravel pouring and raking. The video uses a different garden layout; follow the path layers, service checks and precautions above.
Stone Warehouse · Unconfirmed; no streamed audio review
Watch on YouTube ↗Final checks
No unresolved service risk or unsuitable ground; side restraints secure; 75 mm firm compacted base and about 25 mm gravel retained; no exposed fabric, projecting screws, strings or abrupt entrance steps; monitor stability and drainage after rain.
Sources
Wickes — Straight loose-gravel path route ↗
HSE — Underground cables and safe digging ↗
Pavingexpert — Gravel path material and surface depth guidance ↗
AI-generated representative photographic illustrations by Waey using only Waey-generated references. Supplier photographs/diagrams are research, not public assets or generator inputs. External video belongs to its credited creator.